
The first ski came out mechanically sound, but with cosmetic issues. The second ski never really came out; my vacuum pump malfunctioned and I had no backup. There were gaping voids in my sandwich.
So i tried it again, starting with a new adjustable mold, made plenty wide. It is 18" wide, which gives me around 16" of room for skis plus an inch on either side for sealing the bag. It's covered in a thick sheet of Formica, smooth and airtight. I taped of the sealing surface and applied a release wax.
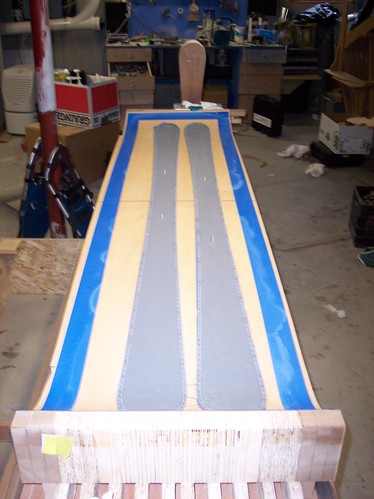
I must have done something right when I cut out the bases and attached the edges, everything sat perfectly flat on the mold.
Alignment block are a PITA, and I can't pin the cores due to the mold needing to be airtight. So I used an 1/8" dowel to make some alignment pins:
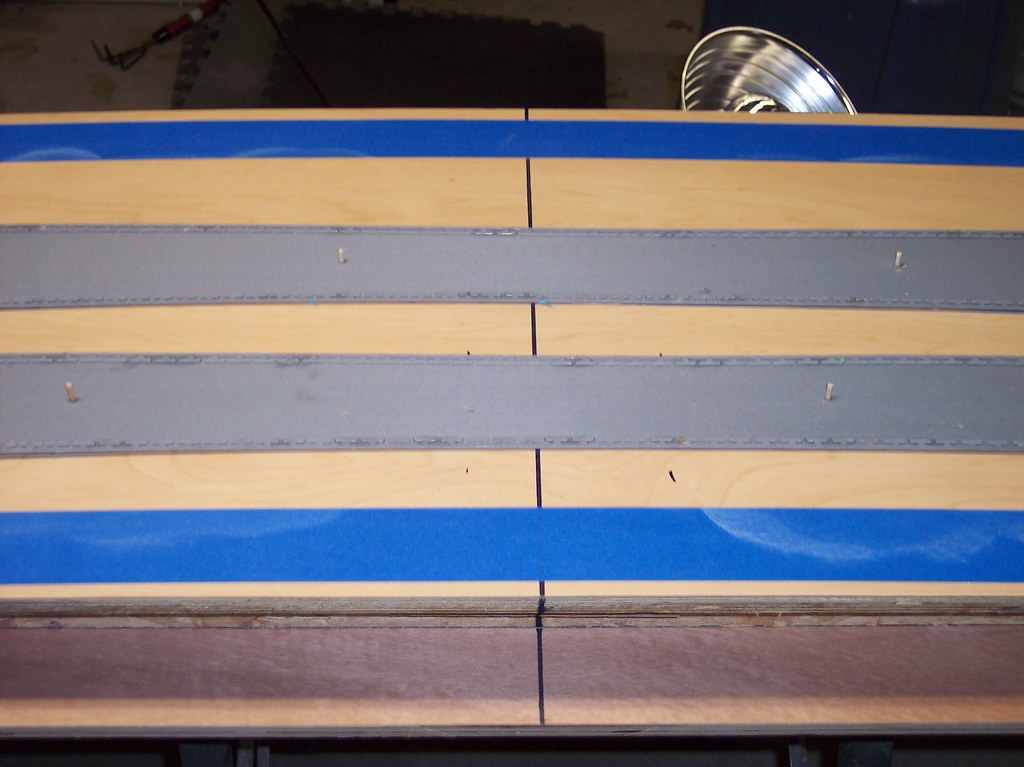
Here are the skis, all ready to be wrapped up:
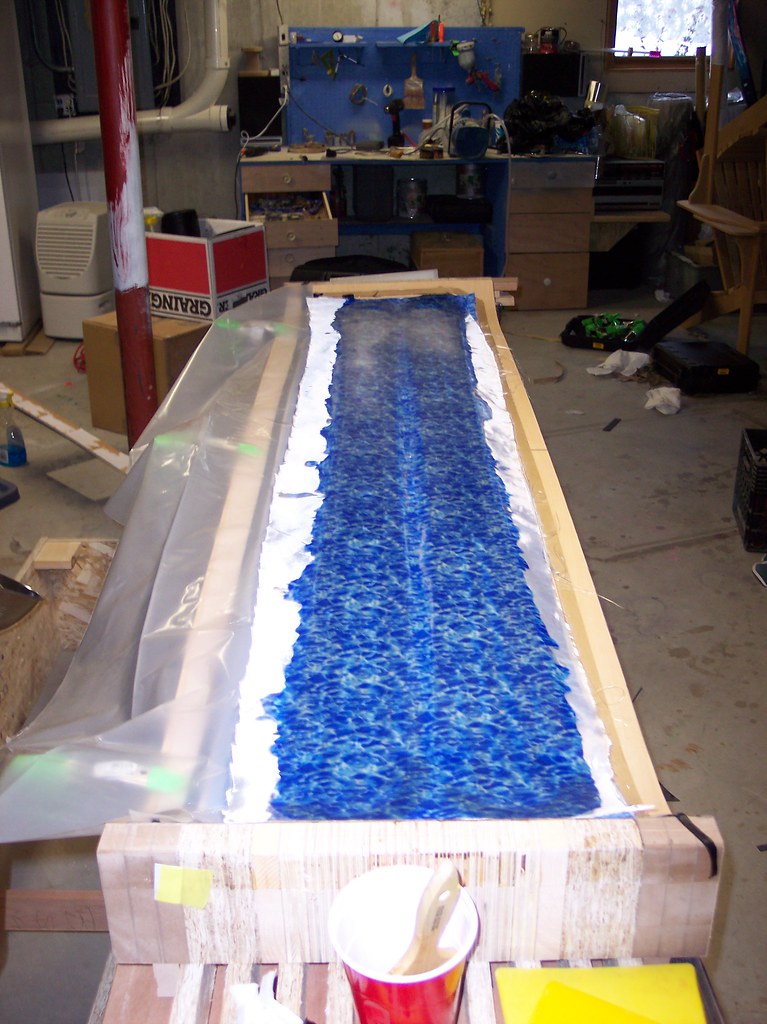
I kind of took a big leap of faith here and decided to do both skis at once. I had little faith, so I skipped over printing and applying graphics. Ooops.
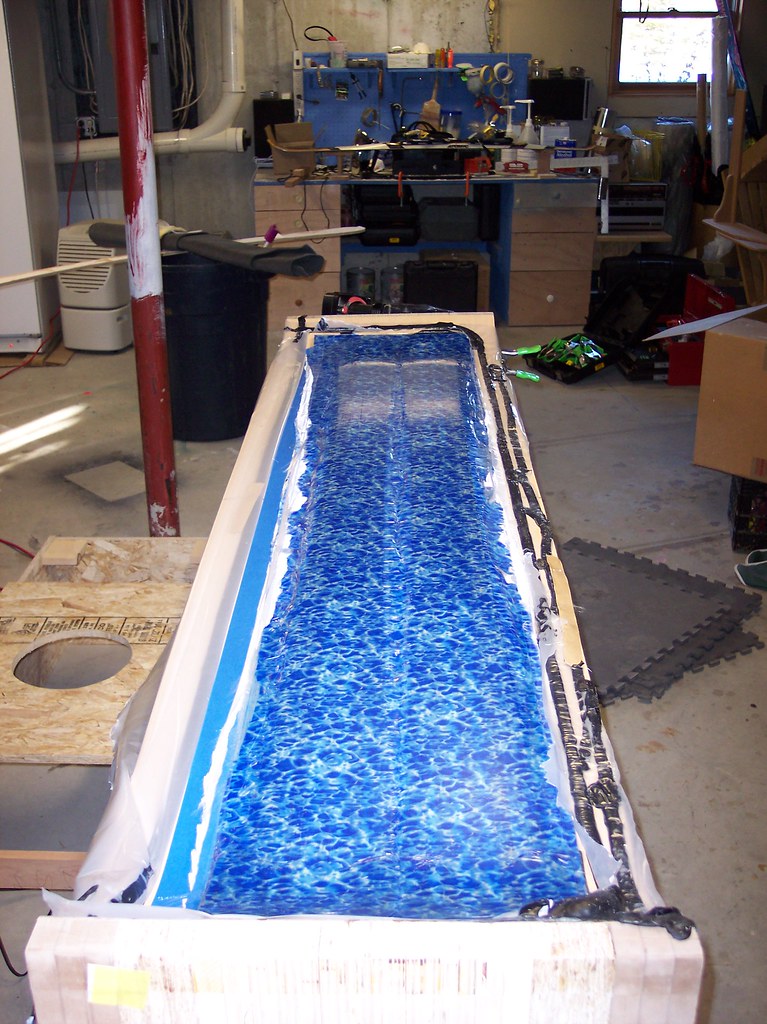
I sealed the bag up, located the leaks, and then placed the "Eazy Bake Oven eXtreme" over the mold. A 3/4" particle board enclosure placed over the mold with two 150w heat lamps inside. No idea on the actual temp, put it got past toasty in there. For some reason I had fluctuating vacuum throughout the day, it would plummet when I turned the pump off, but other times it would hold for over an hour. I checked on everything and then ran the pump a bit until 10pm when the rest of my family went to bed.
When I checked on everything in the morning, the gauge read 5" HG vacuum, put the bag was still as tight as could be. I think my brand new gauge is defective. I opened everything up to find this:
Success!
Here they are all cleaned up and mounted:
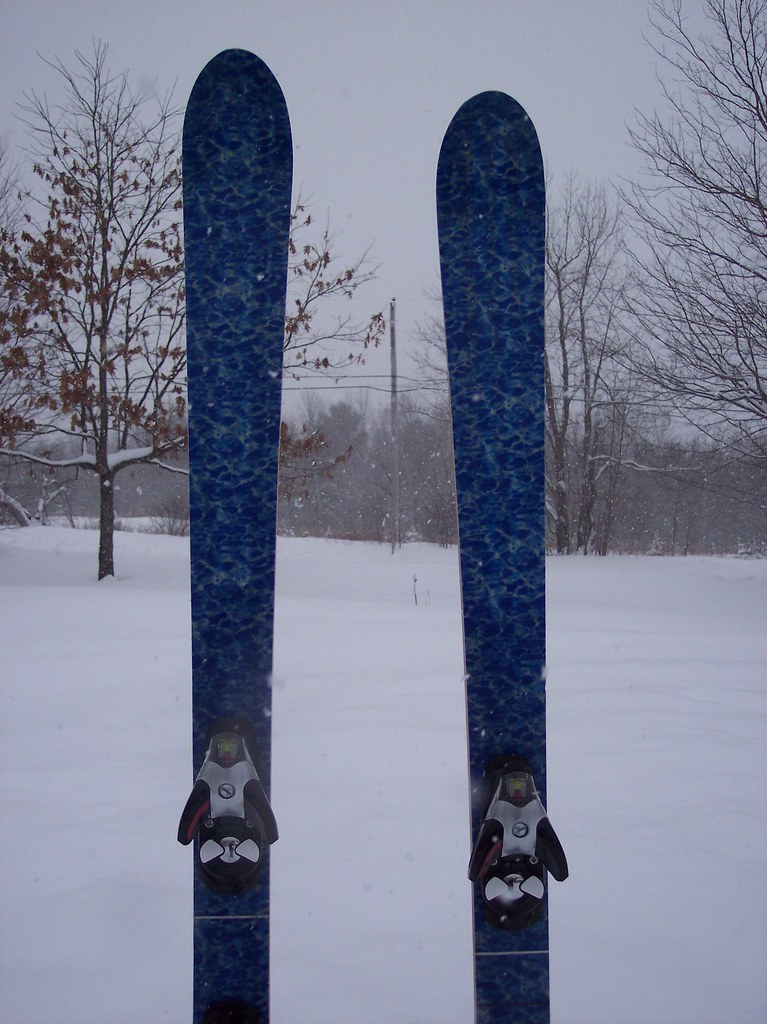
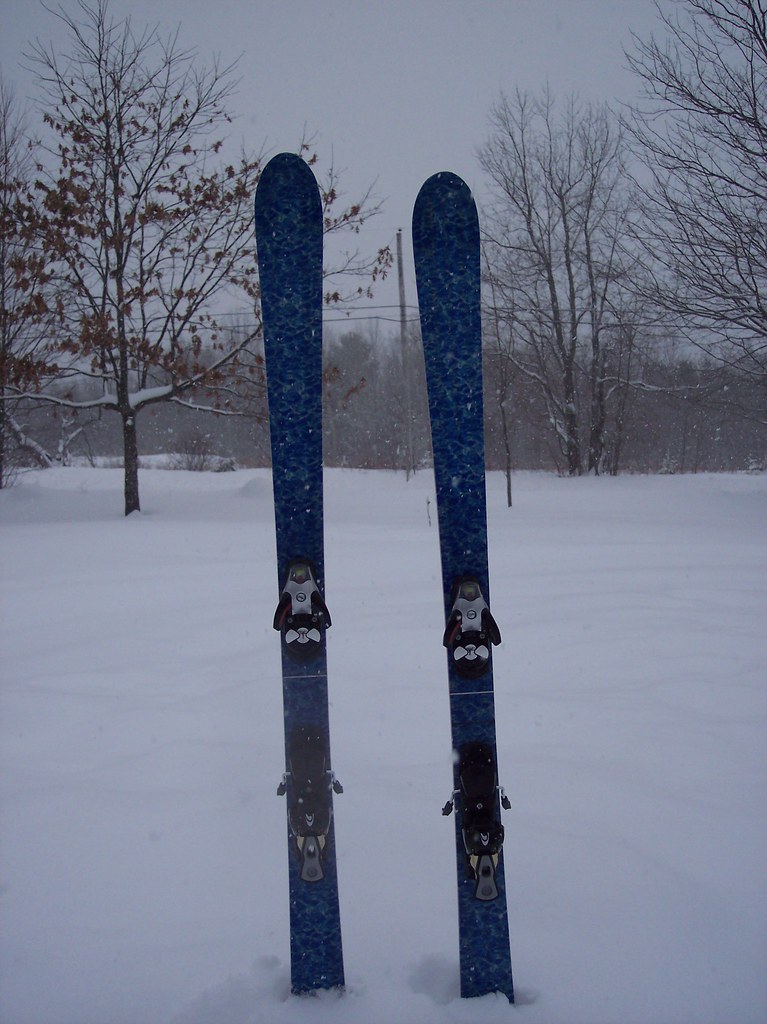
Oh yeah, we got 10" of powder at my parent's on Monday morning, and are looking to get 12-16" tonight. When I took this pick there was already 4" fresh on the ground. I think I'll skip work to go skiing tomorrow
Specs:
114-75-104, 172
15.7m radius
Mr. Fiberglass SLOW epoxy
VDS along edges, in tip and tail
22 oz triax
UHMW Tip/Tail Spacers
Cherry and White Pine core, with Cherry Sidewalls
VDS in binding area (~20")
22 oz triax
Cotton graphics
3 oz. woven glass
They ideally need a base grind, but I sharpened them Up a bit and threw on a coat of wax so I can play with them tomorrow.
