
HB (Hansen Boards)
Moderators: Head Monkey, kelvin, bigKam, skidesmond, chrismp

Good idea with the Frischhaltefoile.pmg wrote:Good enough for the first build definitely! Glue the edge on the way the picture is taken (dont flip it), then you can always see if you put everything in place correctly. If you put the edges on with the template below, make sure to have a layer of Frischhaltefolie or something similar on top of your template, otherwise you will glue your edges to the template
I just looked, you are only 1 1/2 hours away from me. And closer to the mountains you lucky b.... ;-)
I am nobody. Nobody's perfect, so I must be perfect.

Thanks.. Actually it wasn't too difficult, you just have to take your time.
As said "Practice makes perfect".
Gozaimaas said, I should probably straighten them and do them again 10 times just for the practice...
Naaaaa can't be bothered with that.
Hopefully they fit so well when I get them glued on.
Maybe tonight, hough I think my son wants me to help him clearcoat his carbon fibre longboard he is building.
Too much to do in too little time.
I am nobody. Nobody's perfect, so I must be perfect.
Just might do that when the snow arrives. And can then test some of my gear on the ski areas near you.pmg wrote:Well, if you wanna step by someday, just give me a messageAkiwi wrote:I just looked, you are only 1 1/2 hours away from me. And closer to the mountains you lucky b.... ;-)
I re-glued my edges and they look almost perfect now.
I made a new template for my core and will cut that out later.
So slowly I am getting closer to building my first board.
I am nobody. Nobody's perfect, so I must be perfect.
Progress on my Snowboard.
Maaan. Why didn't anyone tell me this took so long.
I thought I would do the layup today.. but didn't get anywhere near it!!!
Job 1 was to cut out my core.
I am doing what everyone sais I shouldn't do and making things difficult.. or maybe not.. by making a cap board.
So I cut the core, and bevled the edges, then marked where the binding screws go, and drilled those. Also dod the rabit for the edges.

Next I started preparing for the layup.
To help get everything centred and straight, I am trying using a laser mounted above my layup table.
Haven't seen anyoune else use one of these, but till now I have used it in several steps.

Lastly for today I cut out and bent my aluminium casette.

Hopefully if everything works out.. tomorrow will be layup day.
Maaan. Why didn't anyone tell me this took so long.
I thought I would do the layup today.. but didn't get anywhere near it!!!
Job 1 was to cut out my core.
I am doing what everyone sais I shouldn't do and making things difficult.. or maybe not.. by making a cap board.
So I cut the core, and bevled the edges, then marked where the binding screws go, and drilled those. Also dod the rabit for the edges.

Next I started preparing for the layup.
To help get everything centred and straight, I am trying using a laser mounted above my layup table.
Haven't seen anyoune else use one of these, but till now I have used it in several steps.

Lastly for today I cut out and bent my aluminium casette.


Hopefully if everything works out.. tomorrow will be layup day.
I am nobody. Nobody's perfect, so I must be perfect.
Wohoo. Got a lot done today. Weather was warm and sunny, but I still spent most of the day in my workshop.
Tasks completed today were finish building the layup table so I have a stable flat surface.
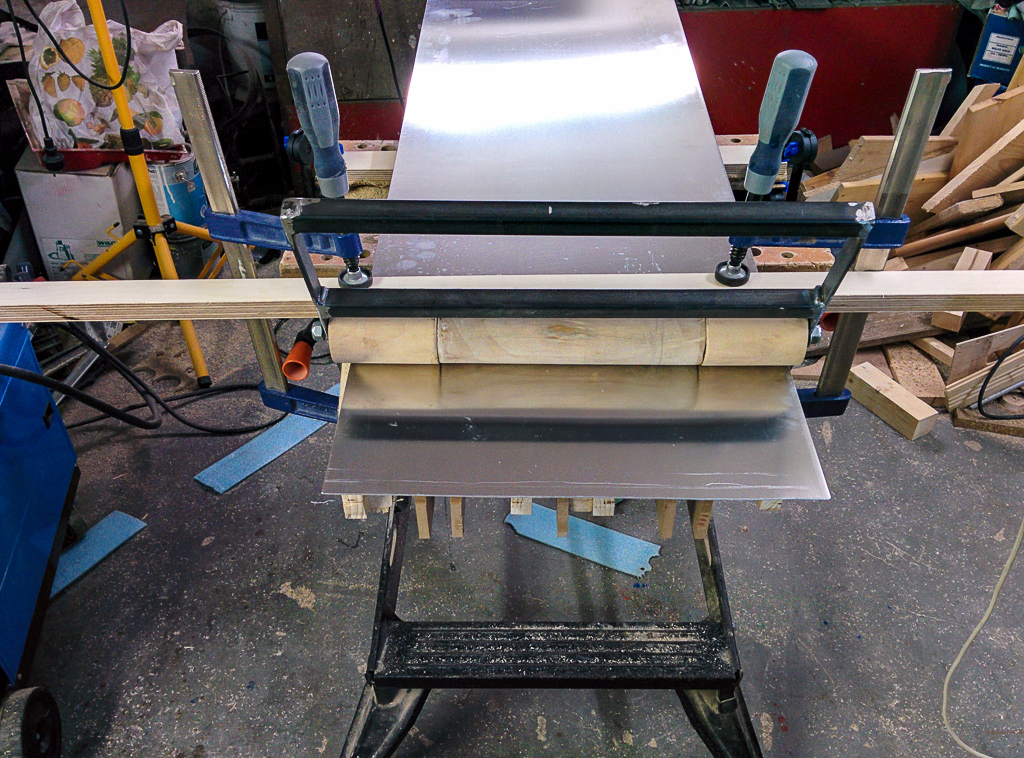
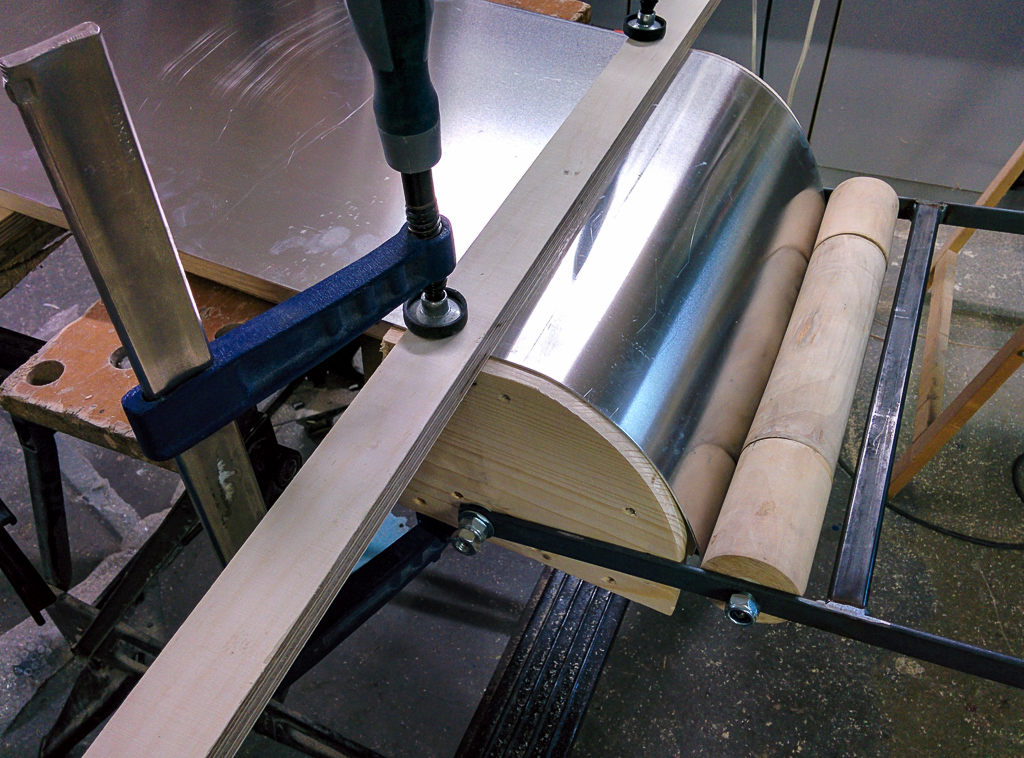
Strengthen the tip and tail of my press form. My form is made of 1.5mm Aluminium, and this is a bit thin to hold its form for the tip and tail of the board, so I strengthened the tip and tail with some strips of aluminium bent and stuck to the sheet aluminium.
I stuck my plan to the layup mould, and covered it with a layer of thick plastic.
Waxed the mould.

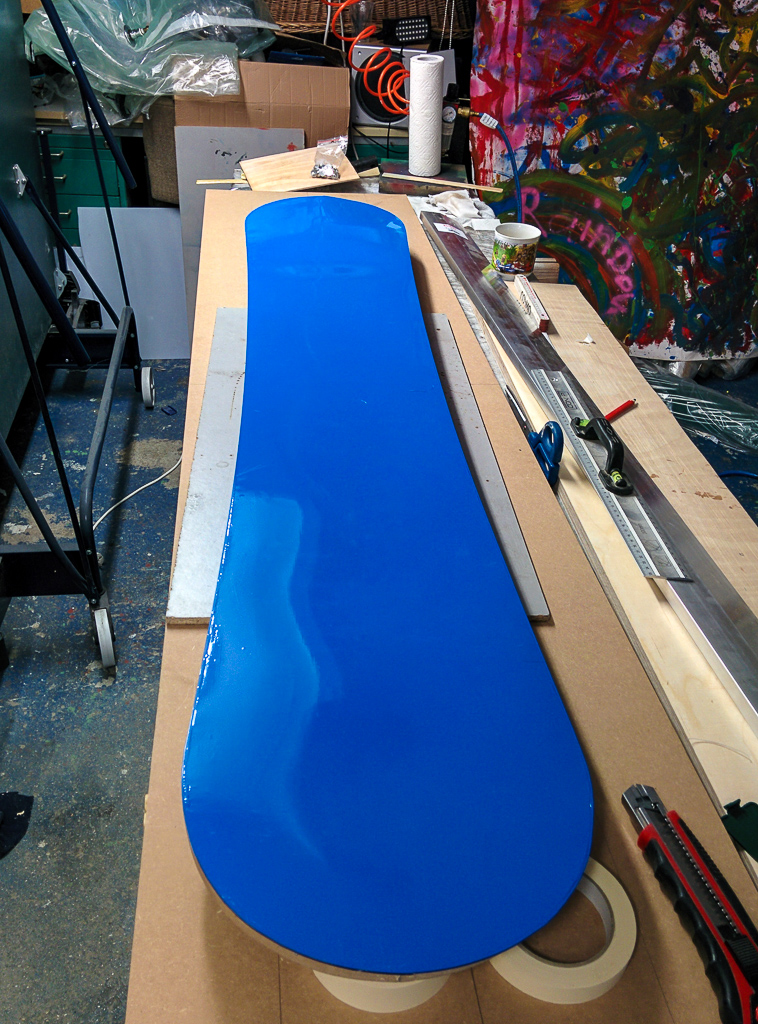
Next I stuck a vinyl sticker over the base.
Cut out all my fiberglass and things needed for the layup.
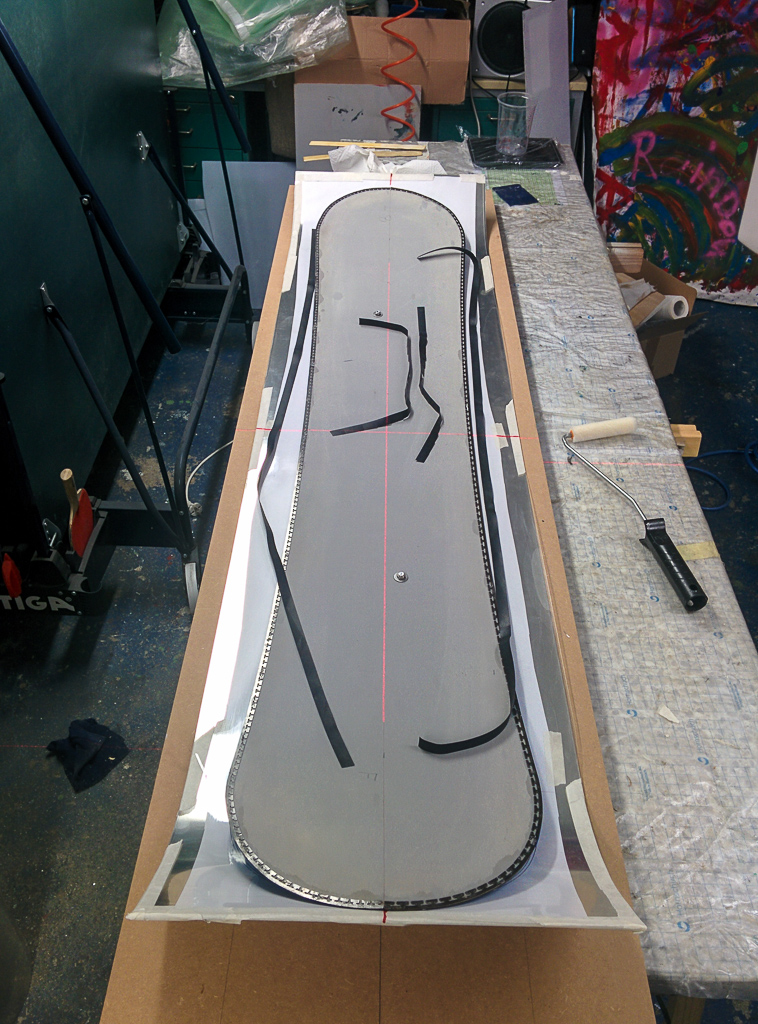
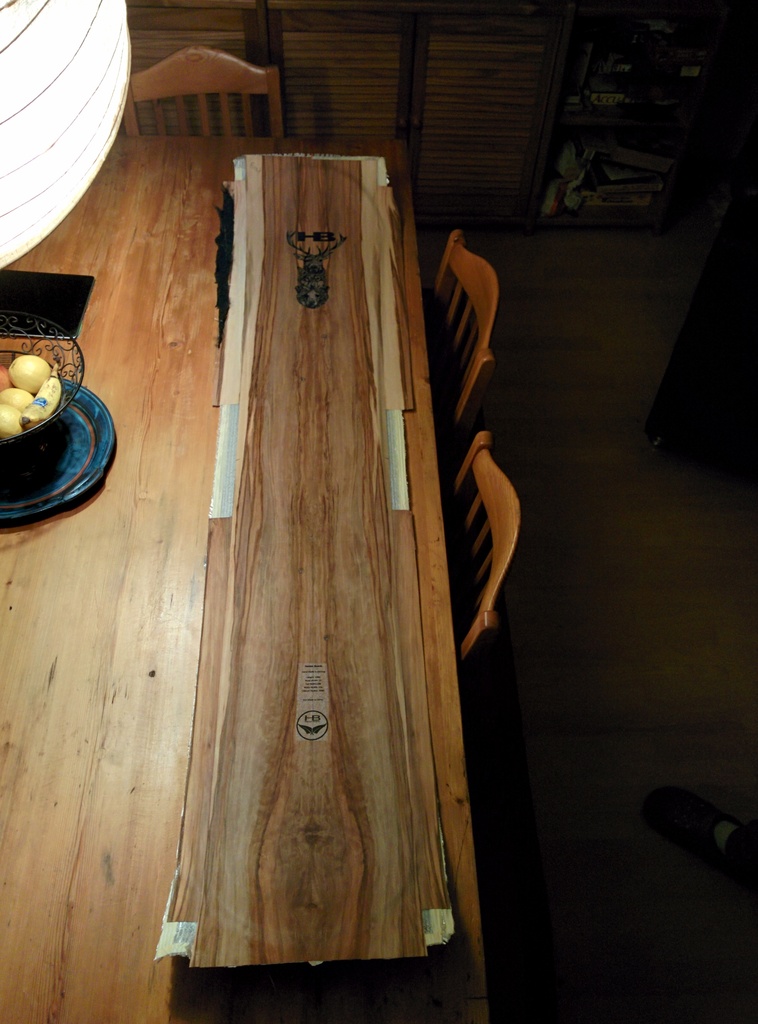
Prepared the veneer, printed graphics. lined everything up including the Laser cross to center on.
And started the layup.
That ugly one is me.

And this is my son, who the board is for. He was spreading the epoxy on the back of the veneer before flipping it, puting the graphics on, and finisheing the layup.
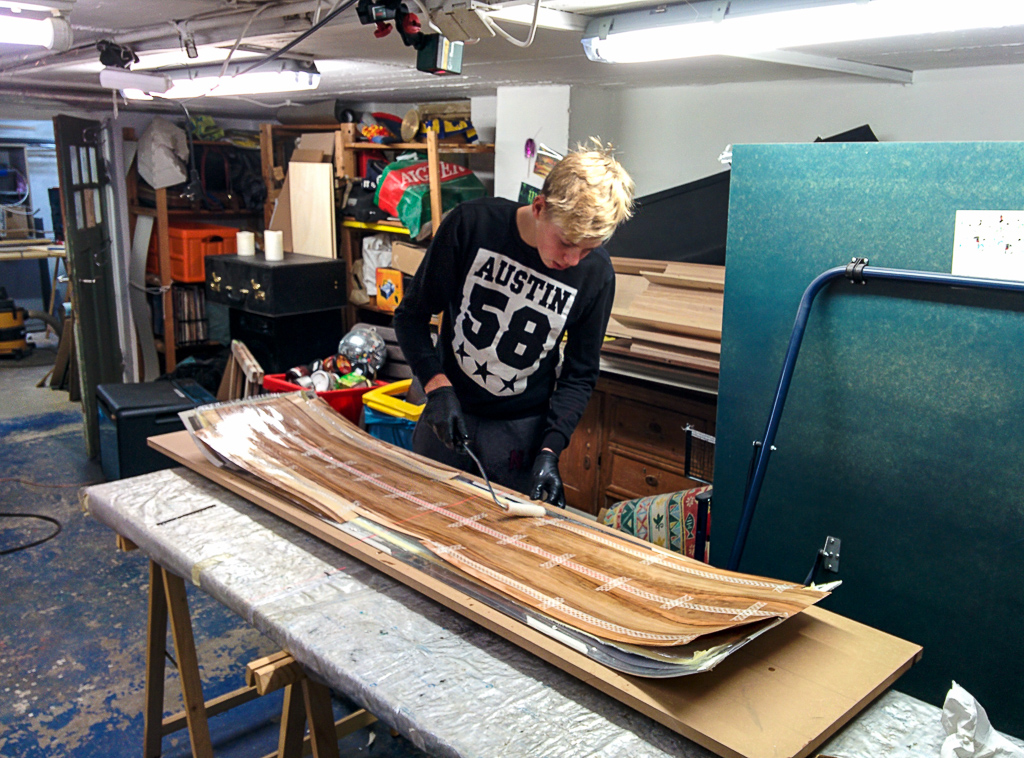
You can see the laser in the above photo.
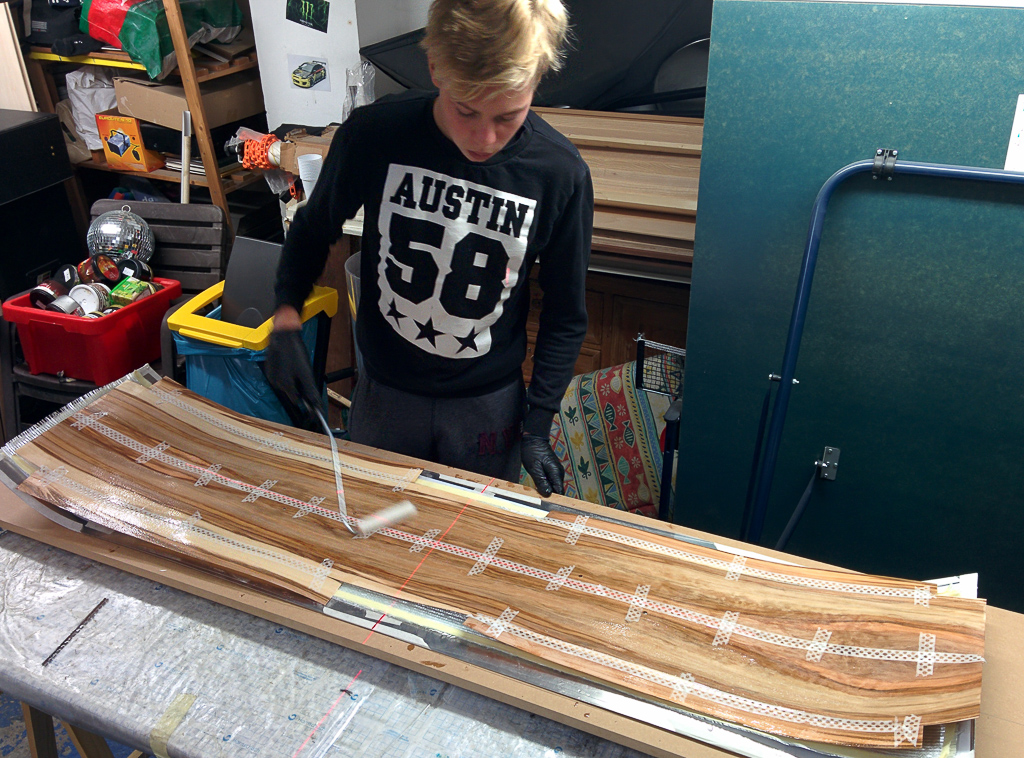
Unfortunately the veneer wasn't quite wide enough for the entire board. So I had to add some bits at the wide points of the tip and tail.
Lastly into the vacuum bag.
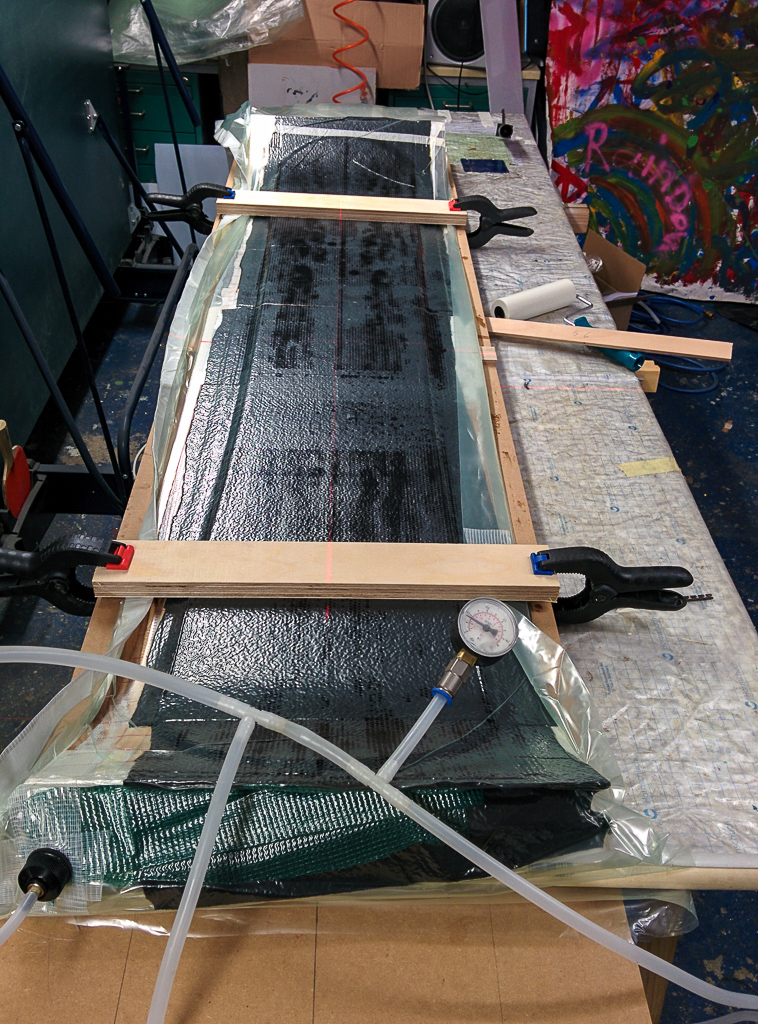
And set up the camber and rocker.

Now I have to patiently wait 2 days before I take it out to see if it worked.
Tasks completed today were finish building the layup table so I have a stable flat surface.
Strengthen the tip and tail of my press form. My form is made of 1.5mm Aluminium, and this is a bit thin to hold its form for the tip and tail of the board, so I strengthened the tip and tail with some strips of aluminium bent and stuck to the sheet aluminium.
I stuck my plan to the layup mould, and covered it with a layer of thick plastic.
Waxed the mould.

Next I stuck a vinyl sticker over the base.

Cut out all my fiberglass and things needed for the layup.

Prepared the veneer, printed graphics. lined everything up including the Laser cross to center on.
And started the layup.
That ugly one is me.

And this is my son, who the board is for. He was spreading the epoxy on the back of the veneer before flipping it, puting the graphics on, and finisheing the layup.

You can see the laser in the above photo.

Unfortunately the veneer wasn't quite wide enough for the entire board. So I had to add some bits at the wide points of the tip and tail.
Lastly into the vacuum bag.

And set up the camber and rocker.

Now I have to patiently wait 2 days before I take it out to see if it worked.
I am nobody. Nobody's perfect, so I must be perfect.
Yippee! Awesome! Geil! Choice! Success!
This morning was like Christmas. I took the board out of the vacuum and unwrapped all the layers covering it up, and am more than happy with the results.
Rocker and concave look about perfect.
Everything looks like it worked out as planned.
If anything a little stiff. But that was expected with a 3mm core.
This is a prototype and used for polishing skills.
It popped off the press easily.
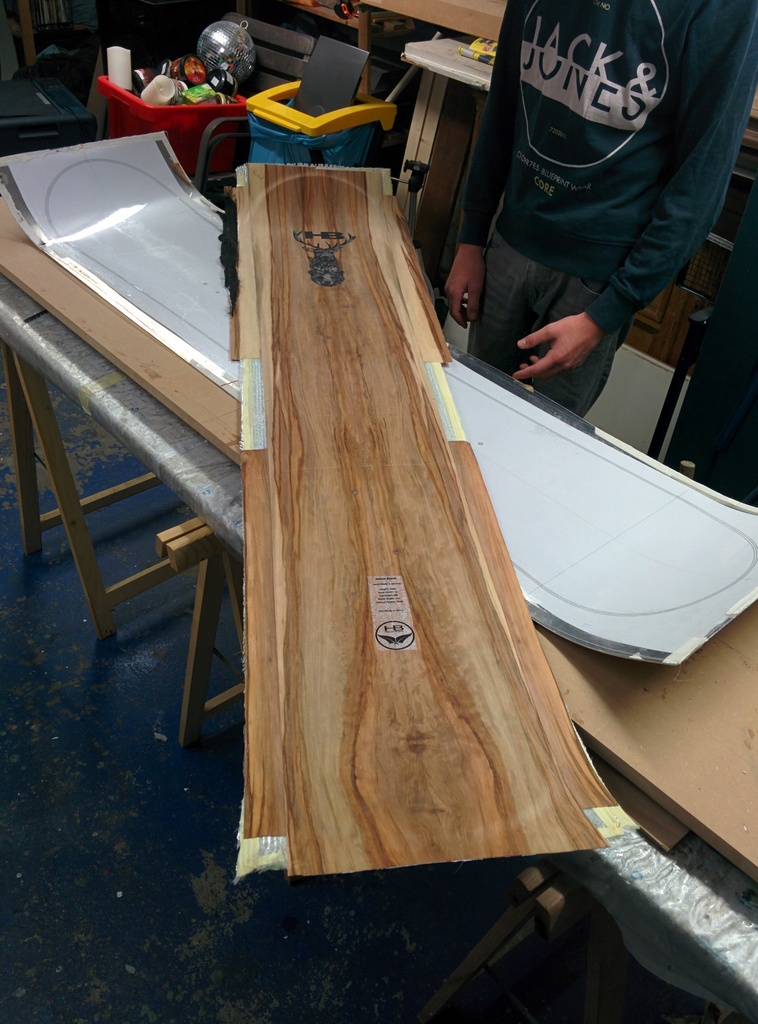
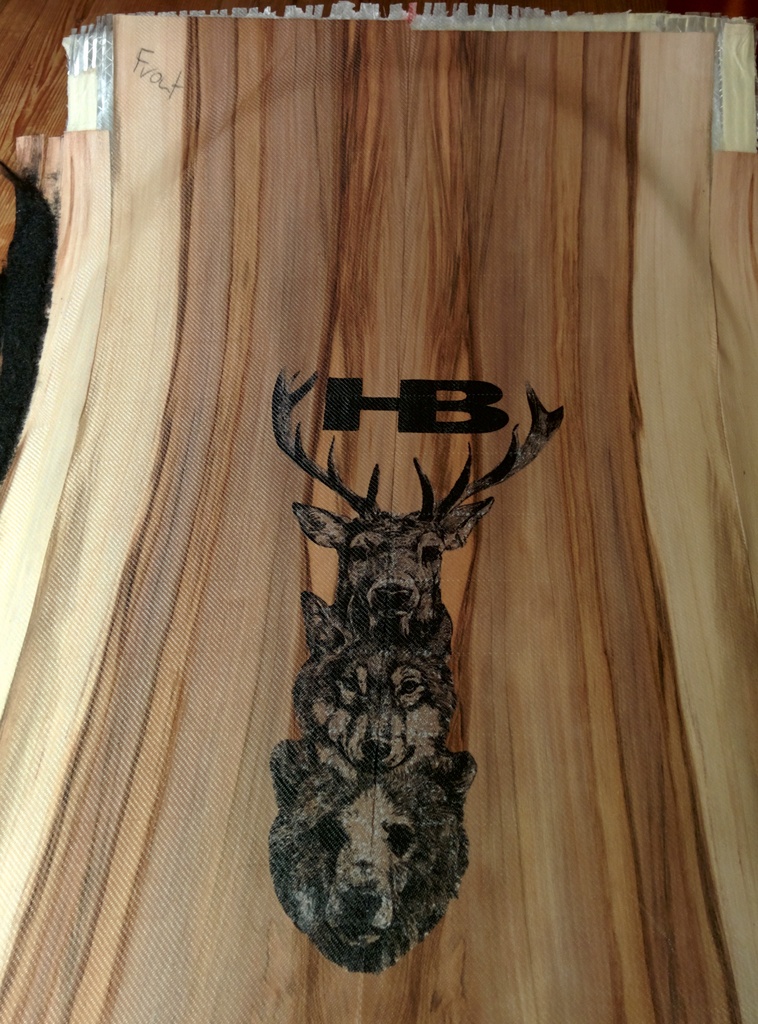
The Veneer is looking very nice.
Detail of the Graphic my son put on.
I'll cut it out tonight and see how it looks.
This morning was like Christmas. I took the board out of the vacuum and unwrapped all the layers covering it up, and am more than happy with the results.
Rocker and concave look about perfect.
Everything looks like it worked out as planned.
If anything a little stiff. But that was expected with a 3mm core.
This is a prototype and used for polishing skills.
It popped off the press easily.

The Veneer is looking very nice.

Detail of the Graphic my son put on.

I'll cut it out tonight and see how it looks.
I am nobody. Nobody's perfect, so I must be perfect.
The texture comes from the Peel Ply (Abreissgewebe)
http://shop.hp-textiles.com/shop/Sonder ... webe-1345/
It is a teflon coated cloth that you put over your top layer, the excess resin can be absorbed through this into a layer of Absorbtion mat (Polyester Saugvlies). The Teflon ensures that it peels off easily. It ensures you have the optimum amount of epoxy in the build.
The rough texture is easy to sand off.
I am nobody. Nobody's perfect, so I must be perfect.
-
twizzstyle
- Posts: 2207
- Joined: Tue Mar 07, 2006 8:25 pm
- Location: Kenmore, Wa USA
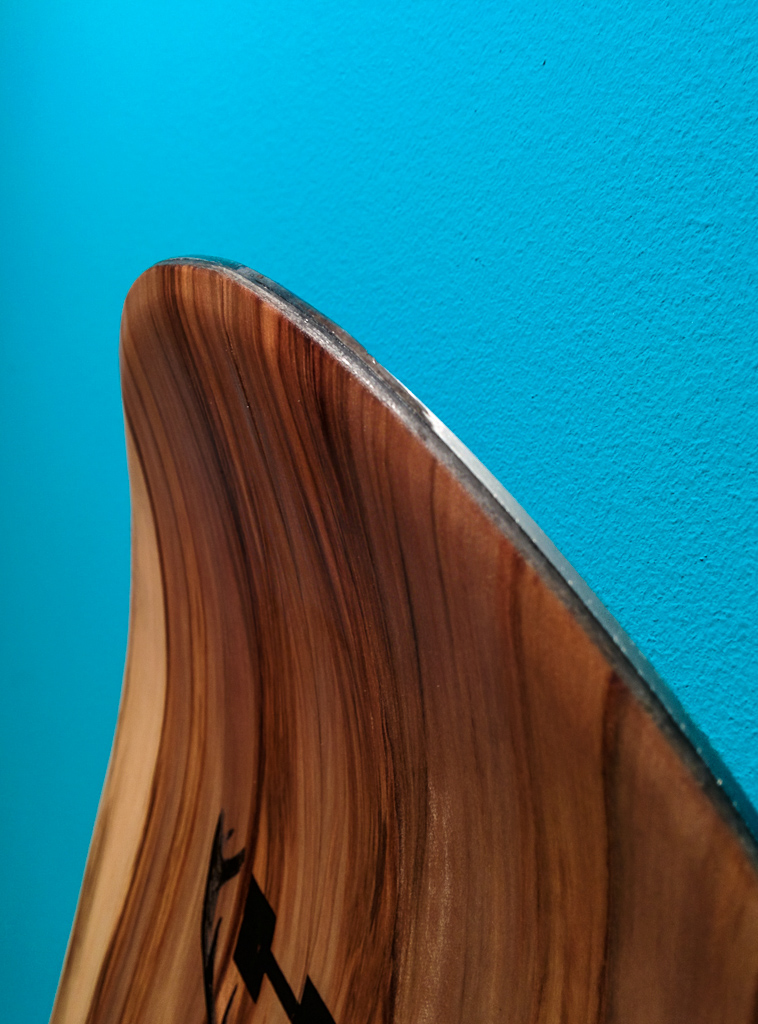
I cut out, Sanded, drilled and oiled the board and am very happy.
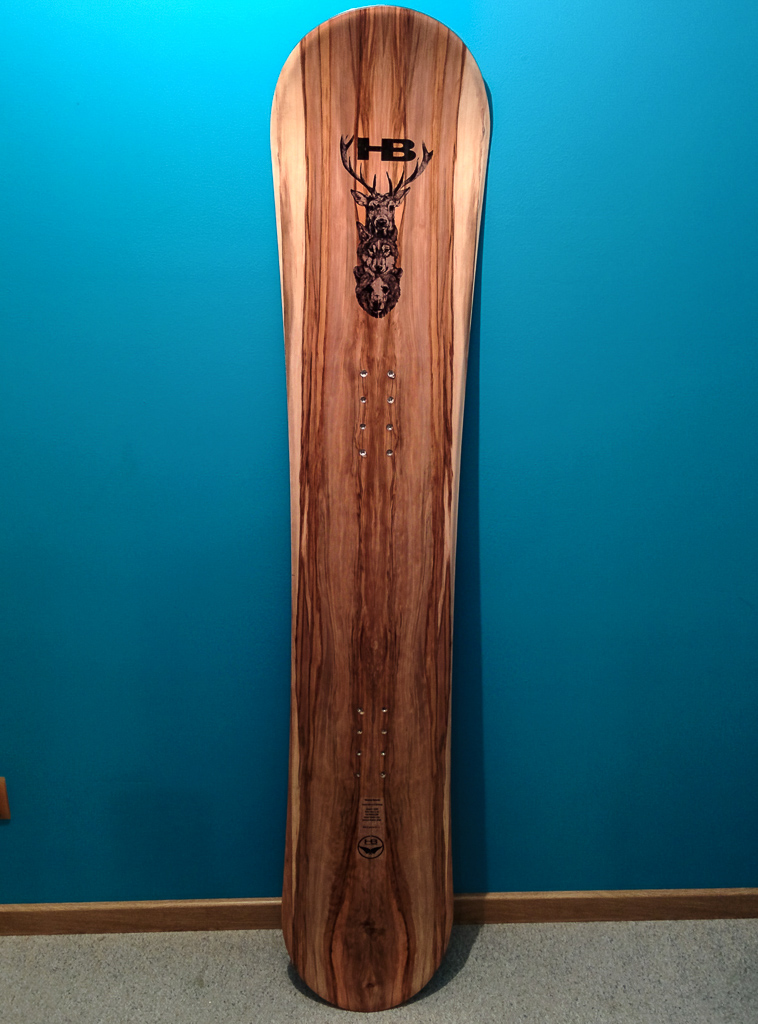
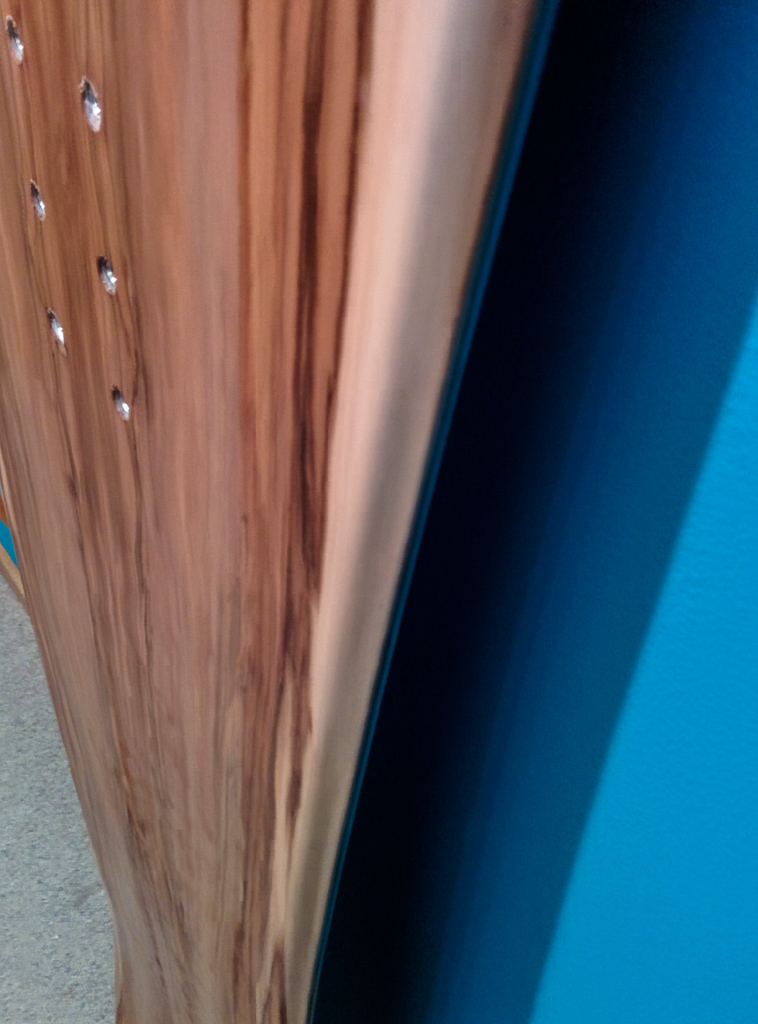
I was worried about the Veneer on the edges, but happy with the results there too.
 .
.
The base looks relatively flat, but I haven't got anything to compare it too.
In the middle the base is a little lower than the edges in some places, maximum about 0.5mm
The camber changed a little.
Rocker went from 5.3mm to 4.0mm, and the camber from 9.4 to 7.5.

I was worried about the Veneer on the edges, but happy with the results there too.

 .
.The base looks relatively flat, but I haven't got anything to compare it too.
In the middle the base is a little lower than the edges in some places, maximum about 0.5mm
The camber changed a little.
Rocker went from 5.3mm to 4.0mm, and the camber from 9.4 to 7.5.
Last edited by Akiwi on Tue Nov 10, 2015 2:39 pm, edited 1 time in total.
I am nobody. Nobody's perfect, so I must be perfect.