I started getting things rolling with my coworker and friend Three31. He took care of getting the press set up and assembled so you can check his postings for pics. We got a heat blanket and controller setup from Heatcon. We each made different molds to start out since I like skis a little shorter.
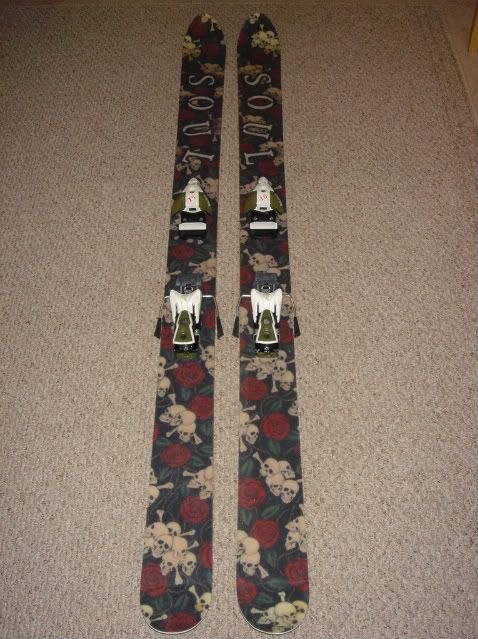
For my first pair I had the idea of a tip rocker only ski. I didn't like the wheely effect of the spatula when landing airs so I wanted zero camber for the rest of the ski. For sidecut dimensions, I wanted to combine a regular ski with a reverse sidecut ski and came up with zero sidecut from tip to heelpiece and taper in the tail. 125-125-120.
I stuck with a simple approach of aspen core with wood sidewalls, fiberglass, fabric graphics and clear top sheet.
The first ski had a bit of core shift since it was super tight fitting the mold into the press frame. Too much shoving and lack of a dry layup test run. There was a gap in the sidewall that I filled with a glue gun.
It turns out that I really didn't like the way they skied anyway so no big deal. They skied well in pure pow but felt too unbalanced with just tip rocker in the chop. I figure if I made the tail considerably narrower or put sidecut underfoot then they would be more user friendly and balanced. I even tried moving the mounting point but still wasn't too impressed.
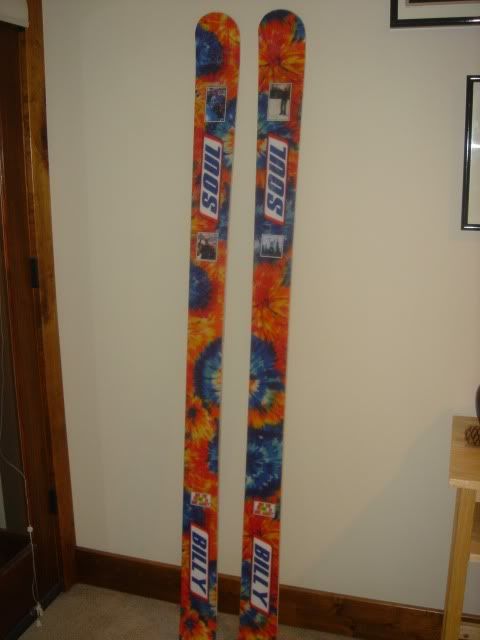
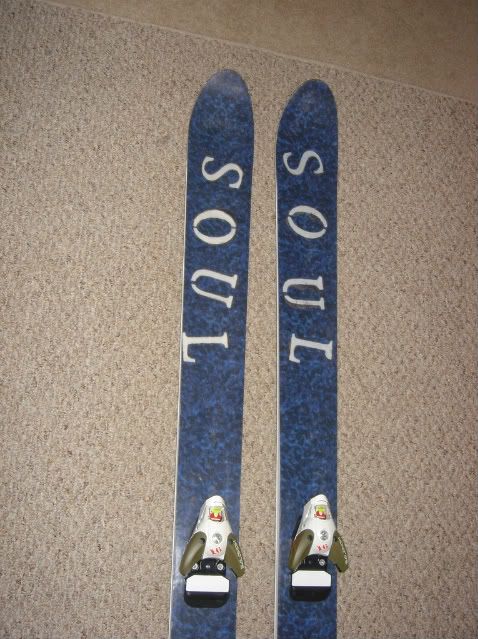
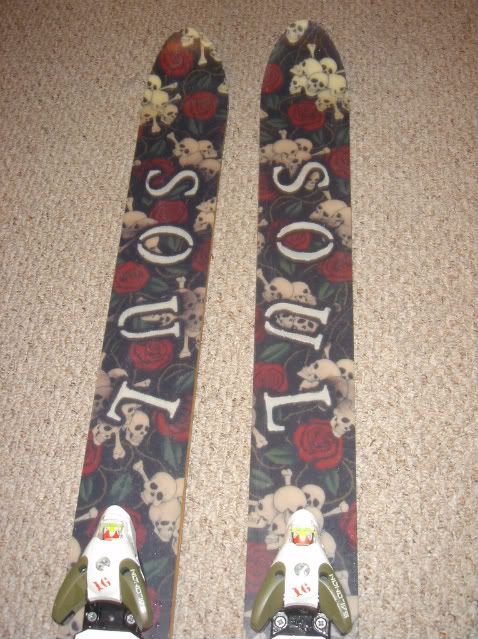
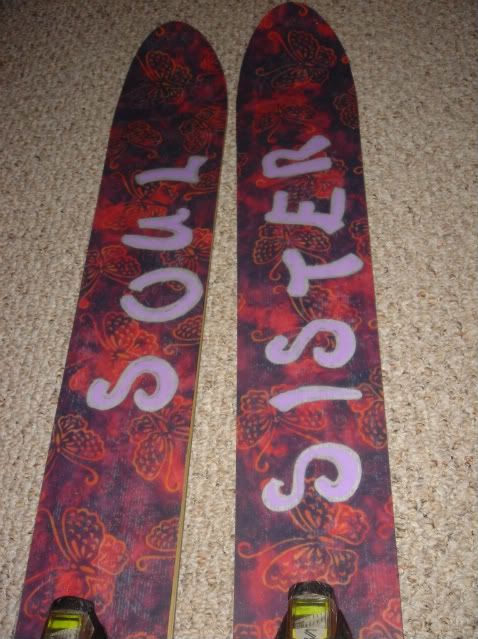
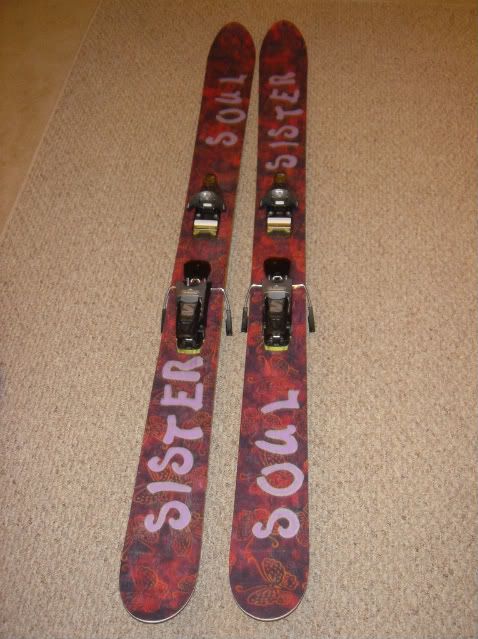
For my next pair I wanted to stick to a more traditional shape. I based my dimensions on a ski that I used to have, the Igneous Fat Fall Line. I wanted a little wider and went with 127-102-112, 185 cm. Again, I stuck with an Aspen core, fiberglass, vds, fabric graphic with a painted stencil logo and clear top sheet . This time I tried sidewall material from skibuilders. I abraded the sidewall but forgot to flame treat and once I hit a rock things went downhill from there. I really liked the way they skied but they only lasted about 20 days before they really started to delam above and below the sidewall.

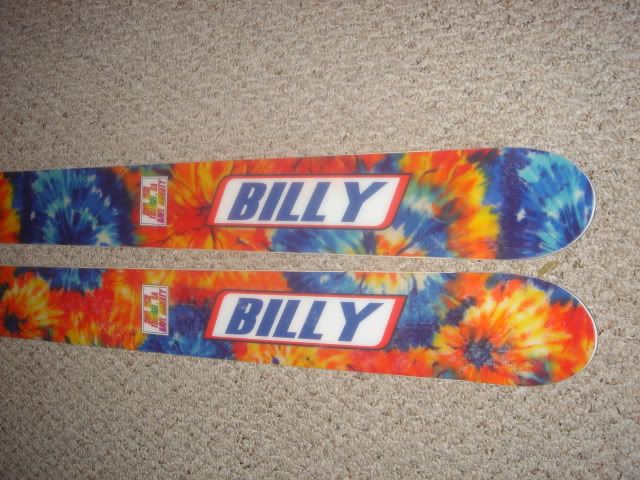
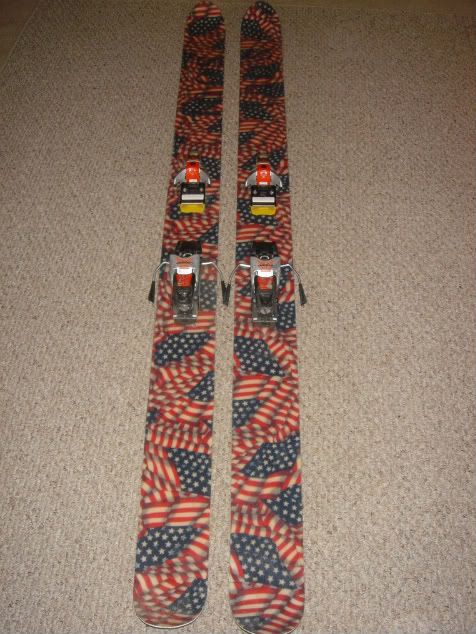
I needed to replace my Atomic Powder Plus since their days were numbered from landing on too many rocks. I loved the shape but wanted a twin tip for easier billy goating maneuvers and wanted a little rocker for slarvability. I stuck with the same dimensions of 135-115-125 for the shape. I used a zero camber mold and used top heat only to achieve a continuous tip and tail reverse camber of about one cm. I went with a vertical grain wood fir core 2-12-2 and didn't use any sidewall material. The graphics are fabric from Joann's with a clear top sheet. I love these skis. I have about 40 days on them so far and they are holding up great, even after hitting numerous rocks. Not only are they great in pow, but they blast through corn and are easily managed on groomers. I hope these last a long time. My only complaint is that they sometimes seem too light and chatter a bit on the really firm snow. I am not sure of what I would use to dampen them up so any suggestions are appreciated.
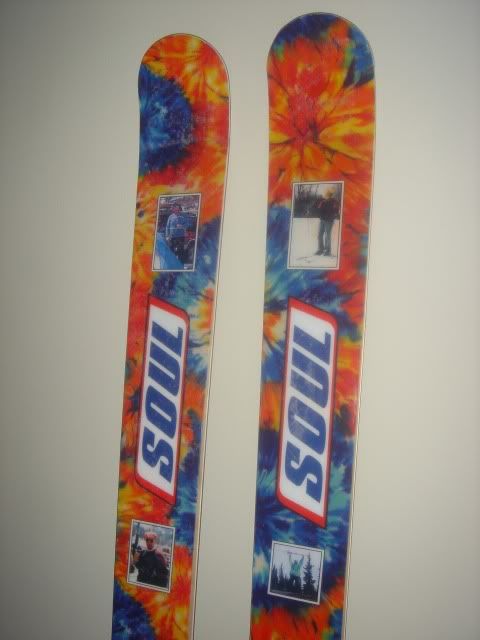
My wife saw how much fun I was having on my skis so she wanted a pair for herself. I figured something light and soft would be best for her so I went with a poplar core 2-11-2. I gave her skis more sidecut than mine since that is what she is used to. The dimensions are 140-115-128. They came out softer than I expected but she loves them. In my core profile design I had the taper start too early so that is why I think the tips and tails are so forgiving. She really isn't a high speeder or straightliner so as long as she doesn't break them they'll be fine. For this pair I decided to not do a full wrap on the edges. I never enjoyed trying to make perfect bends in the tip and tail. Other skis that I have owned without full wrap edges have always held up fine and after a dozen days so are these. I used three31's adjustable mold with zero camber and did top heat to achieve a slight reverse camber of one cm. She picked out the fabric from Joann's and she is having a blast on her skis that I gave her for Christmas.
My son is still growing so he was due a new pair of sticks. He likes the park as much as I do so I wanted to make him something that was versatile enough for all mountain skiing and park. The dimensions I decided on were 114-88-104 with a length of 163 cm. I went with a poplar core again and this time I added an extra top layer of glass to stiffen them up some more. The edges stopped 5 cm past the contact point and I am now never doing full wrap edges again. My son is a huge AC/DC fan so I came up with the idea of making AC/DSKIS. I picked up some red fabric from the store and designed the logos and got some artwork on the computer. I printed it on iron on transfer sheets and it worked great. It came out clean and is nice to have it ready to go before layup. I used black tip and tail spacer and you can see where it is darker there. Should have used white. I used three31's cat track and heated it up in the oven prior to layup. I was trying to achieve zero camber with just a bottom heat blanket and it worked well. They came out with maybe a millimeter of camber which is acceptable in my book. They came out with a concave base which I wasn't too pleased with. I am still at a loss why this happened since this is the first time this has occurred. I hand tuned them as much as I could to achieve some degree of base edge bevel and can say that I only really notice it when tracking totally flat on a groomer. I had to try them out of course since my son and I have the same boot size.

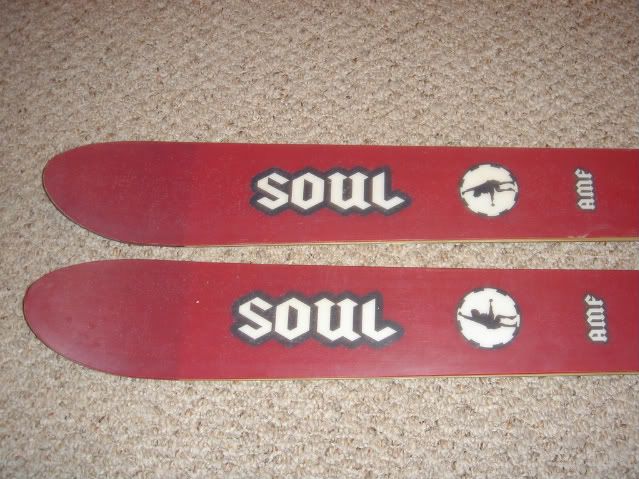
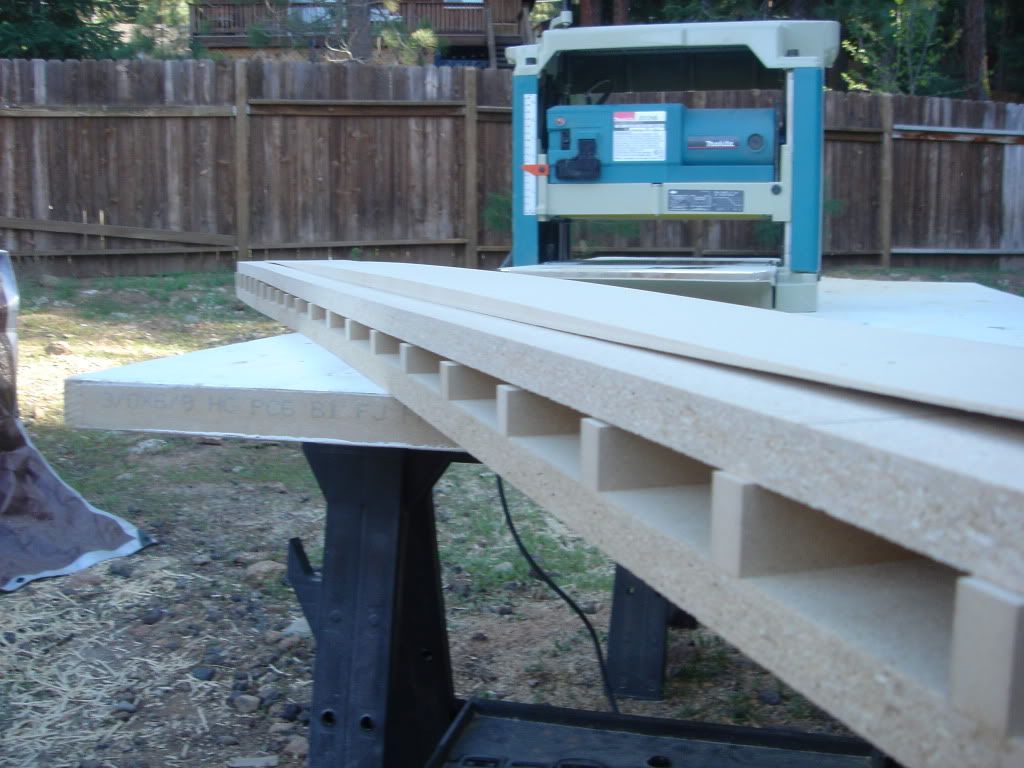
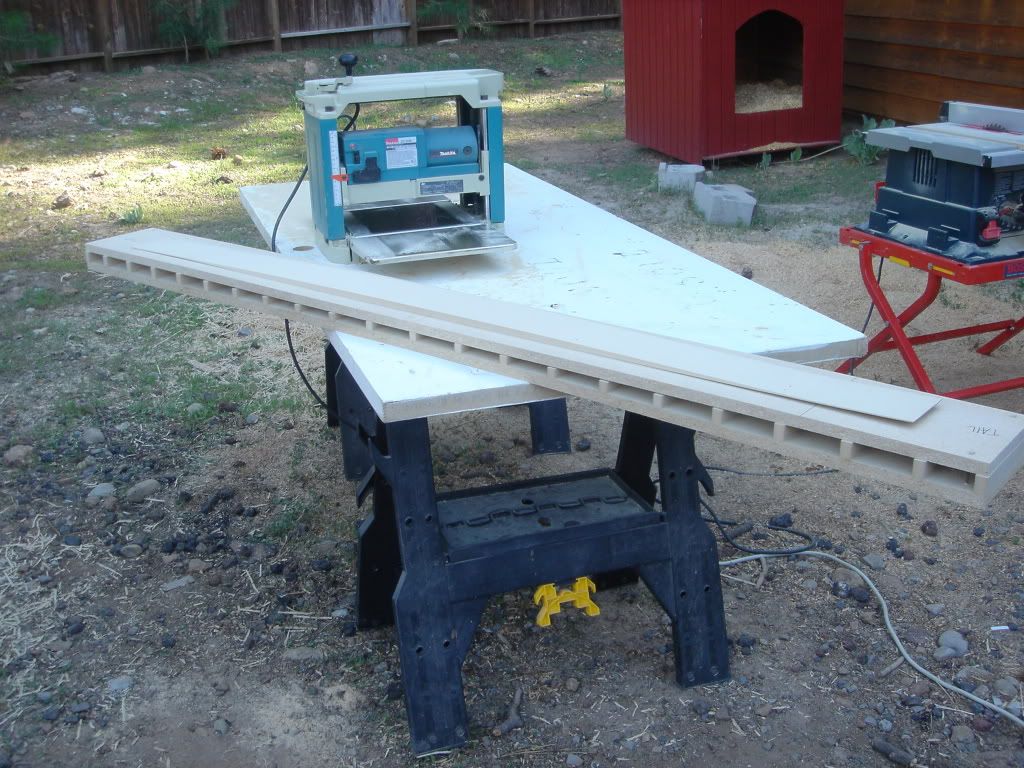
Other random bits of info that I want to pass along: I have been using QCM 49 resin and 408 hardener and it has held everything together great except for the one pair where I didn't prep the sidewalls. I usually press at 180 degrees at 50 psi. I have been cutting my tip spacer straight across at the start of the tip and tail radii. My least favorite part of ski building is profiling cores. When cutting out templates a downward cutting blade makes seeing your line much easier since the paper doesn't curl up and dust exits out the bottom. I have found the Bosch progressor for metal blades the best for cutting off flashing. An old version of Turbo cad can be found on ebay for super cheap and is easy to use for templates. Make sure you have a ton of quick clamps for edge attachment and don't pull them off one side until the other side is done or your base can banana out. Making skis perfectly factory flat has been a challenge. I prefer base high over edge high any day though. I prefer to do a vertical sidewall with a slight step above the edge using a straight router bit. Working as a ski tech for 20 years I have seen the most edge and sidewall damage with angled sidewalls. I have had good luck with Bosch tools and use their table saw, trim router, jigsaw and I also love all my Makita stuff including planer, compressor, and drills . Harbor Freight has a real nice digital caliper for about 15 bucks which is super accurate especially when profiling cores. I got my .04 aluminum for the molds from Onlinemetals.com but their prices seem to have gone up quite a bit since my last order.
Thanks to everyone who contributes here. This site is awesome and I couldn't have gotten this far without it. Time to design the next pair!