Scarface-board

Document your personal work here. Show photos, movies, and share your secrets.

Moderators: Head Monkey, kelvin, bigKam, skidesmond, chrismp

LordGlassbot
Posts: 24
Joined: Tue Feb 06, 2007 4:34 am
Location: Sweden

Scarface-board

Post by LordGlassbot »

Well, first off, I know this is a ski building site, but I hoped I could slip through with a snowboard :D

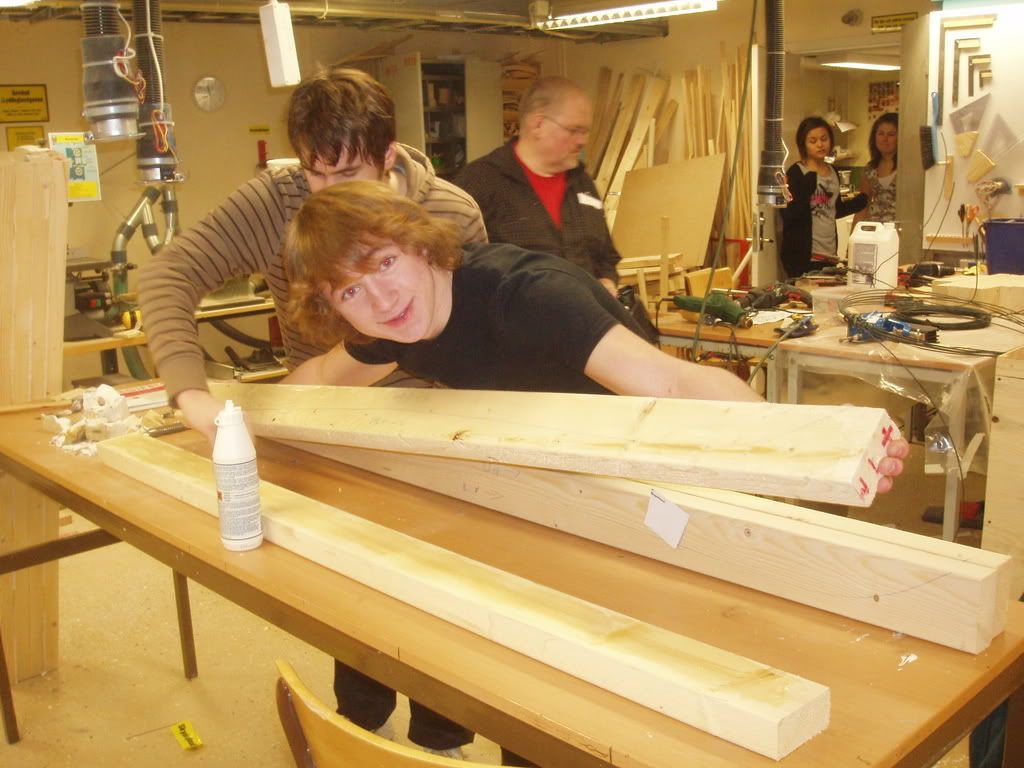
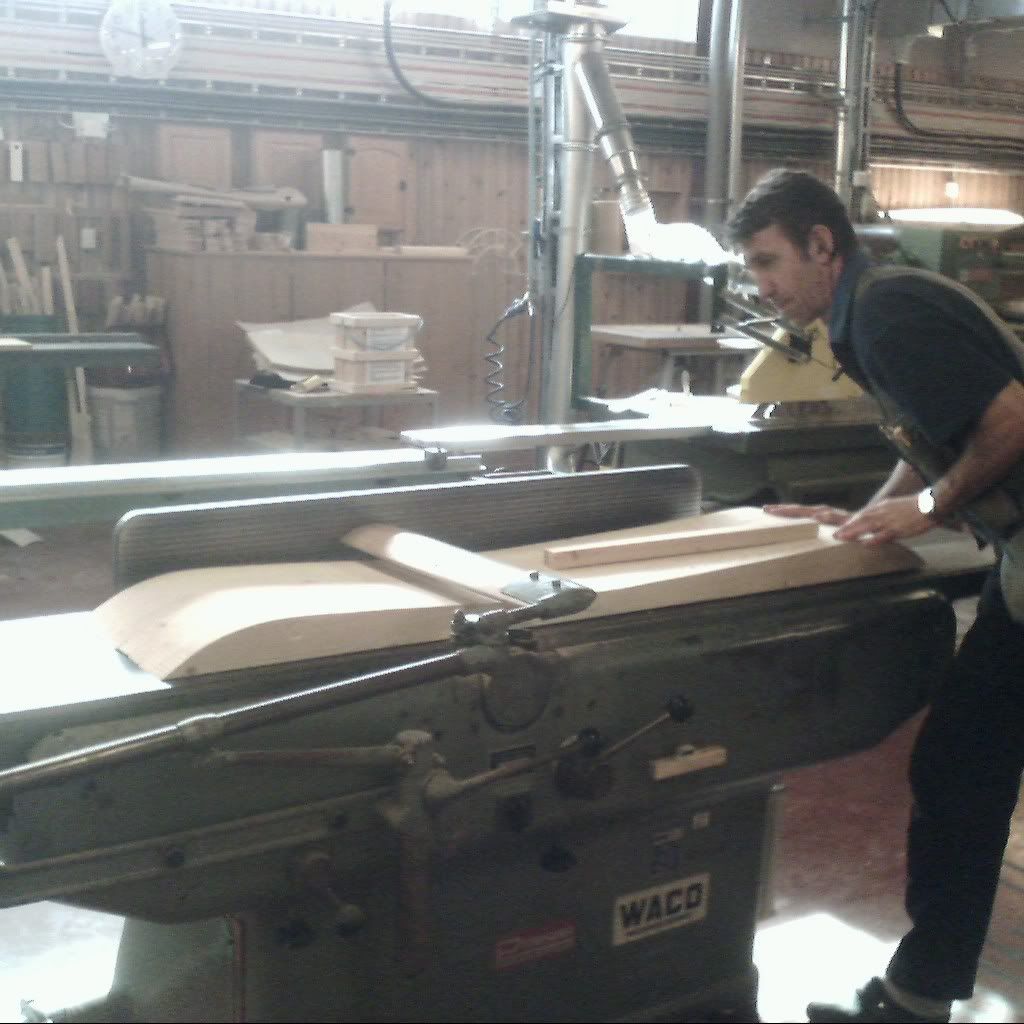
The background story is me and two friends building two (not three, since one of them do not snowboard) snowboards in school. This far all we really done is taking a look at the graphics, and mate a blueprint for the board. It gonna be 154cm long and about 30cm wide.

Soon we're gonna start off with building a mould, and after that the wooden core, hopefully we'll have it done til' may or something like that.

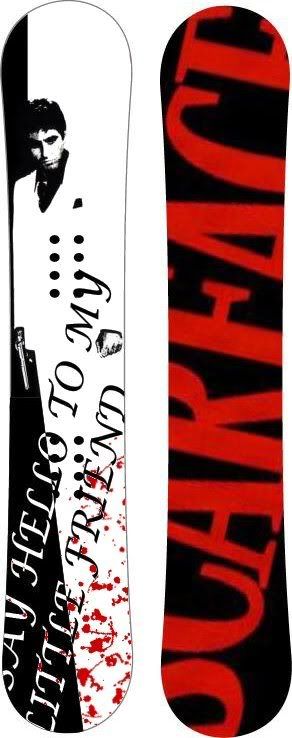
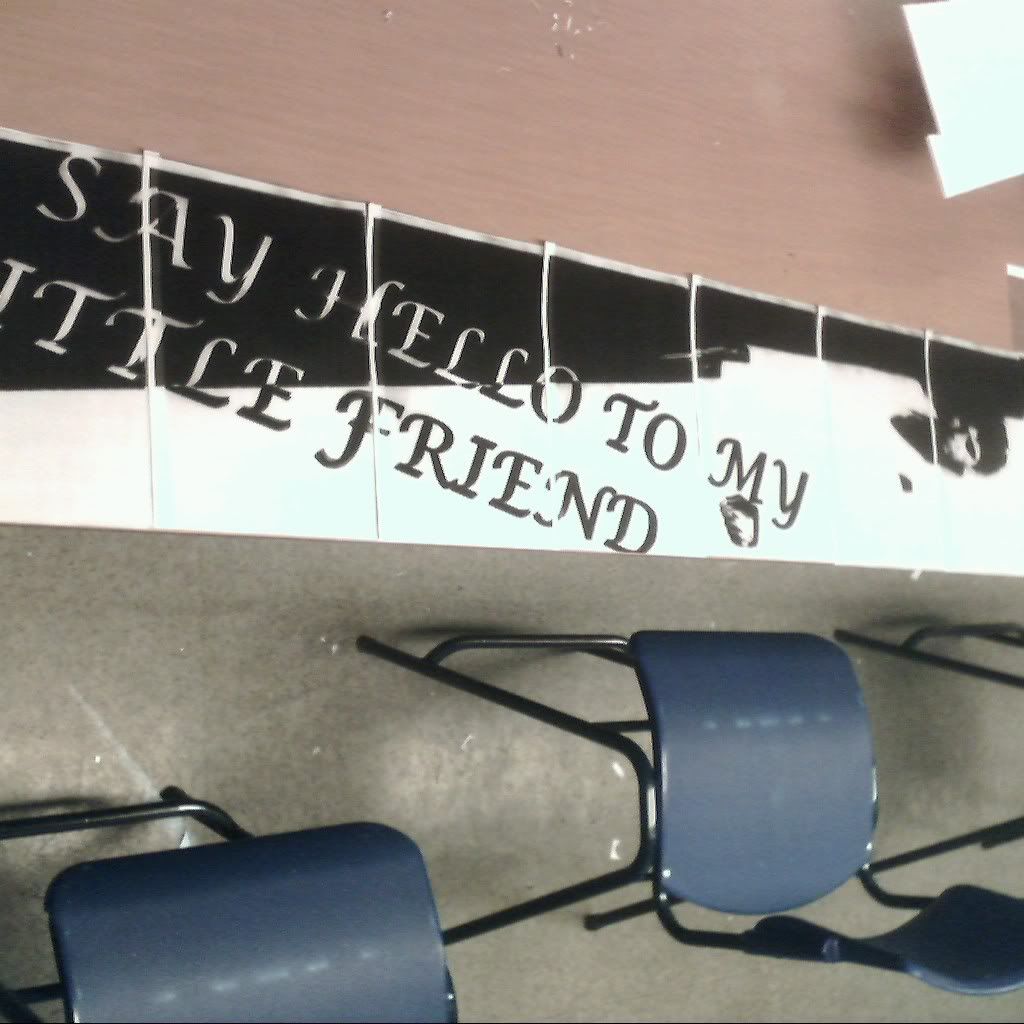
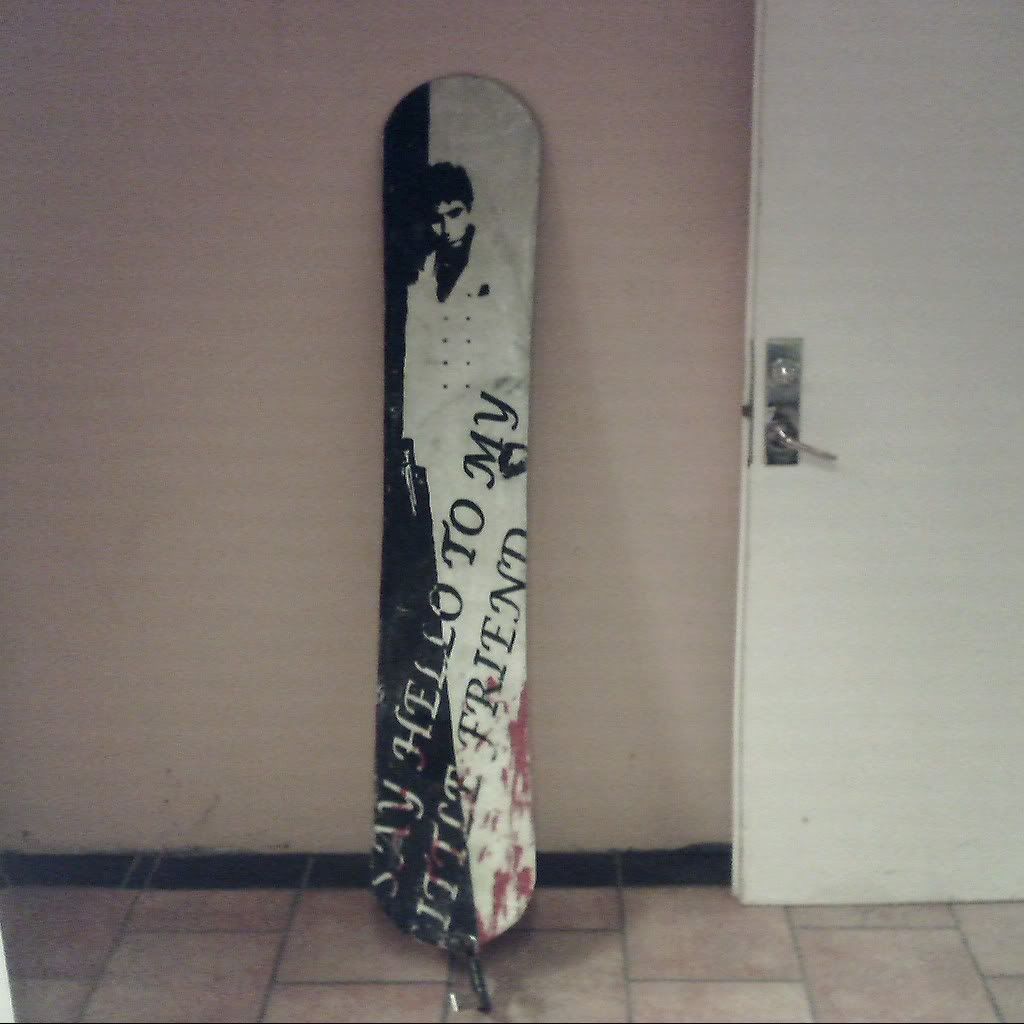
The theme I chosen for my board is scarface, and I thought I show you my sketches of what I think it will look like, any comments are welcome.
Image
Last edited by LordGlassbot on Thu Mar 29, 2007 1:28 am, edited 2 times in total.
LordGlassbot
Posts: 24
Joined: Tue Feb 06, 2007 4:34 am
Location: Sweden

Post by LordGlassbot »

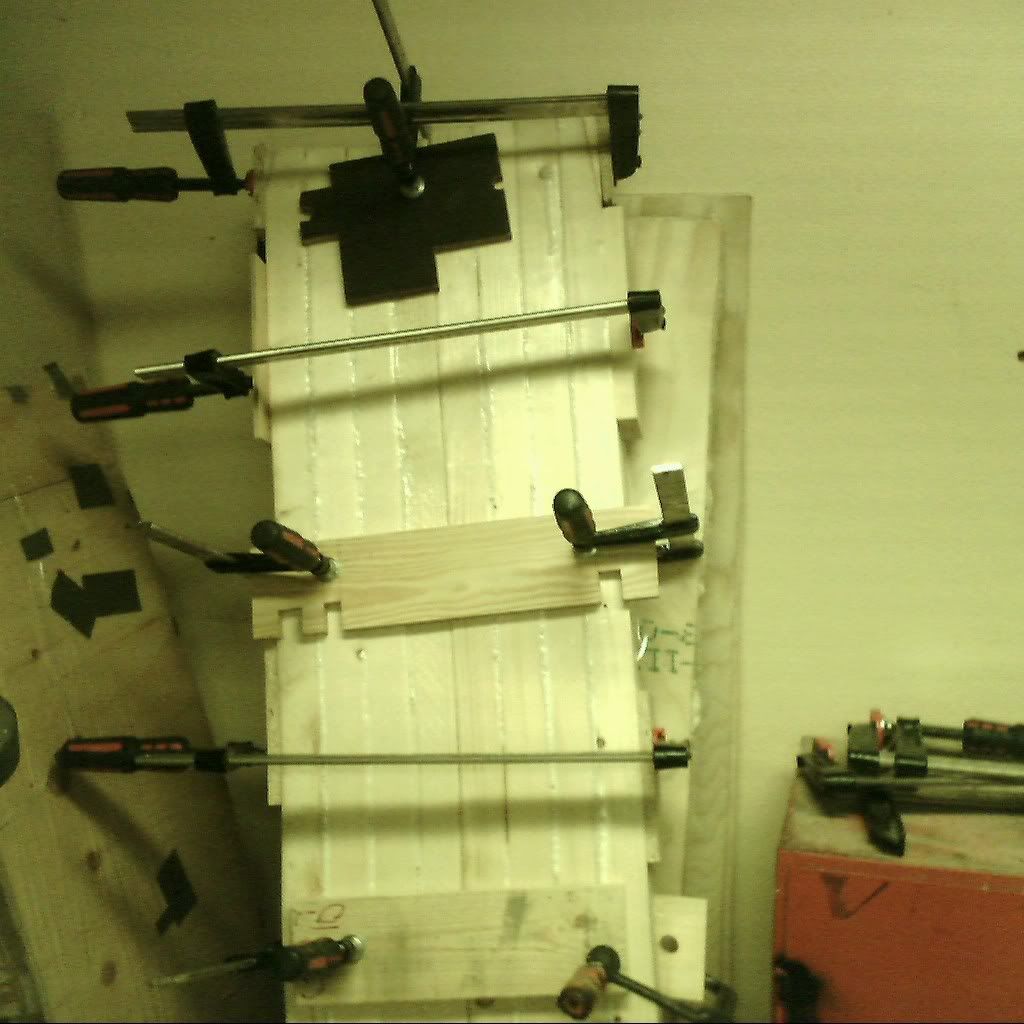
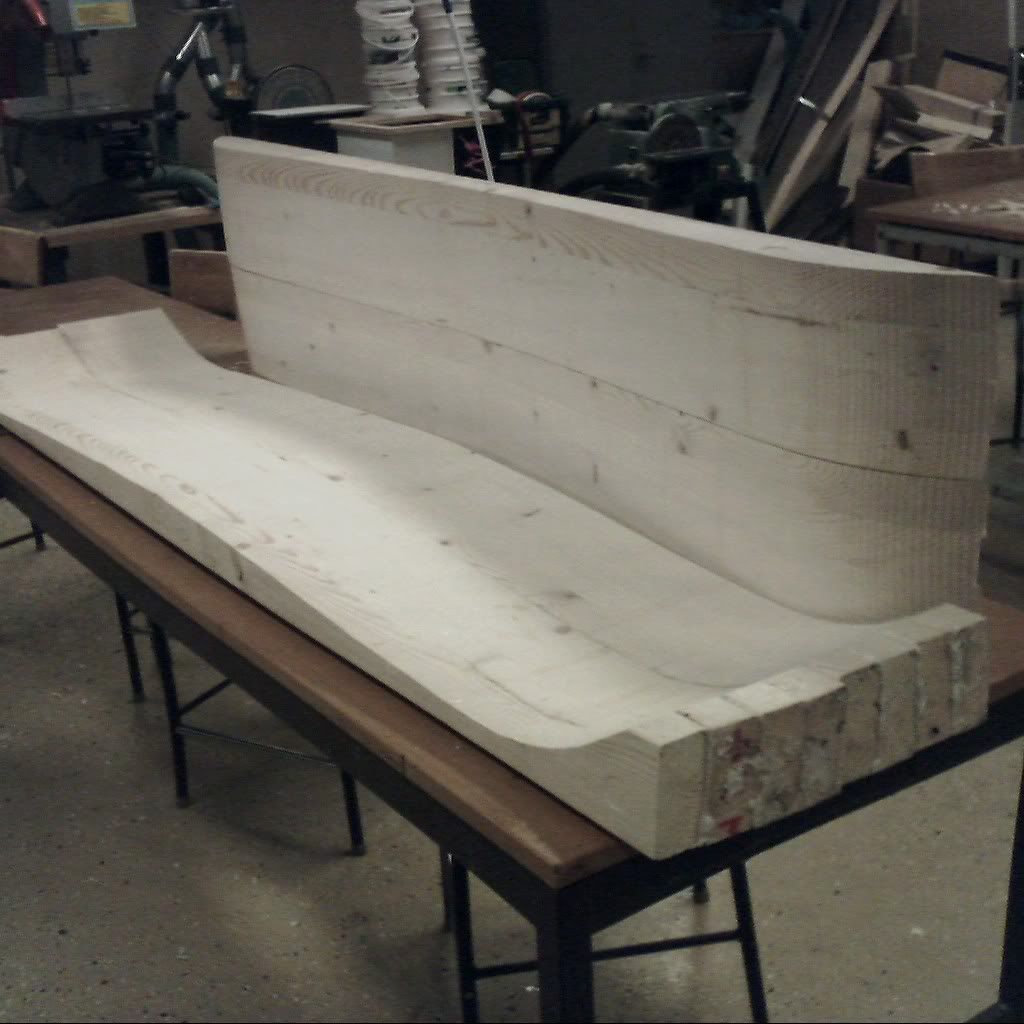
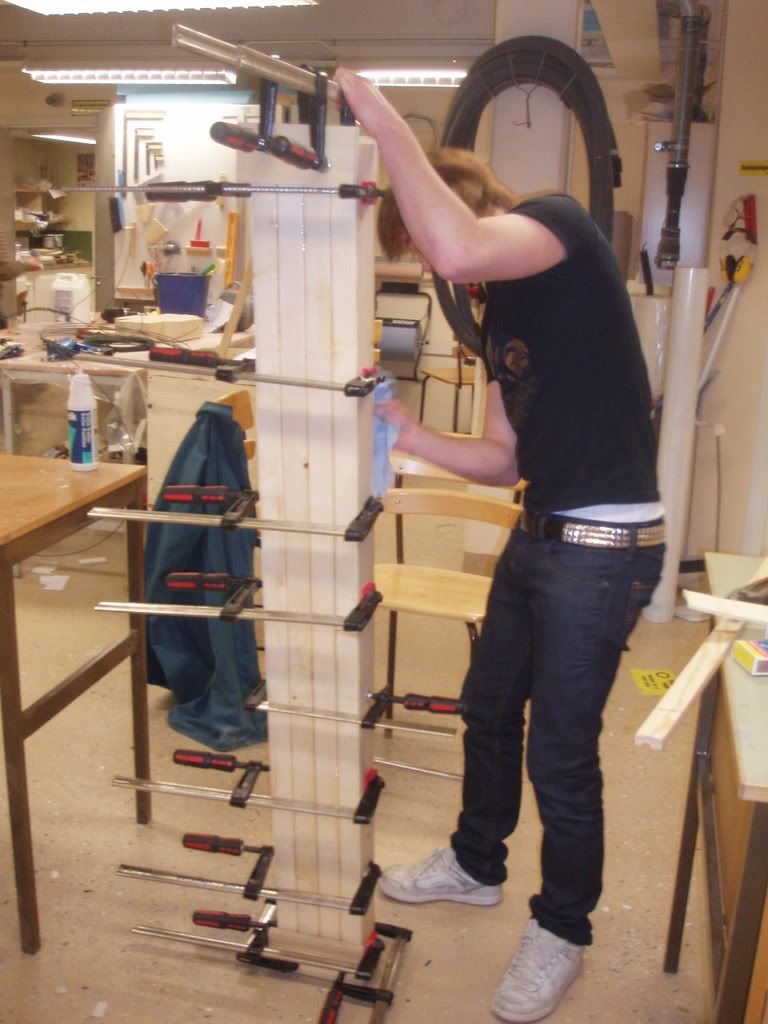
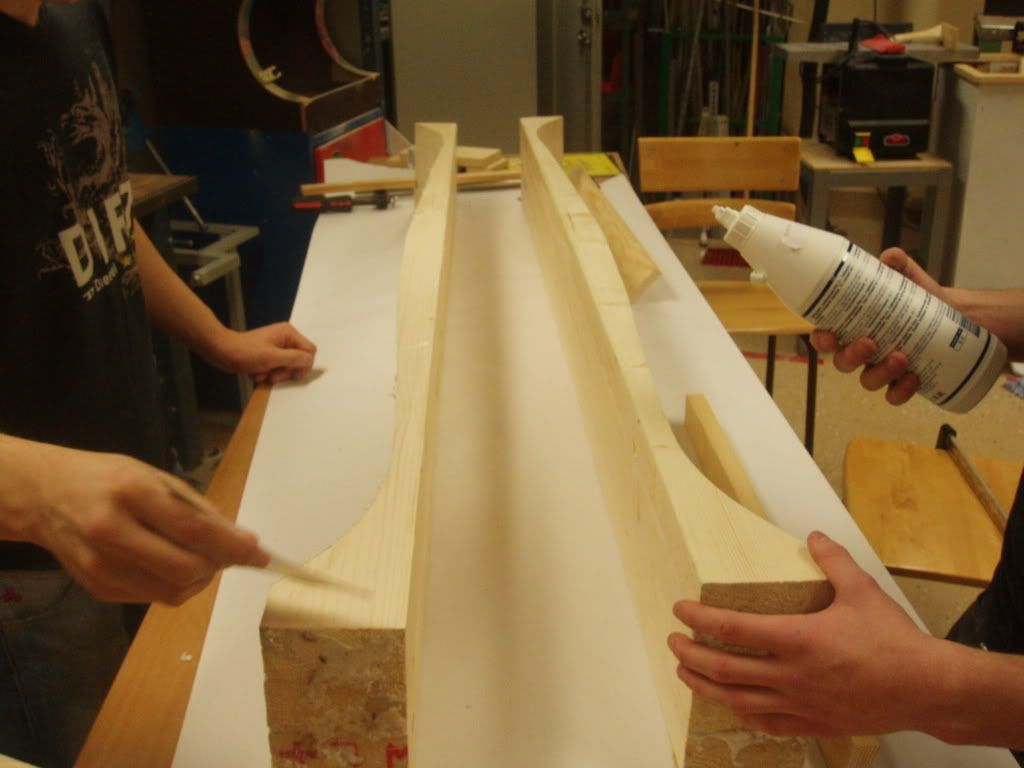
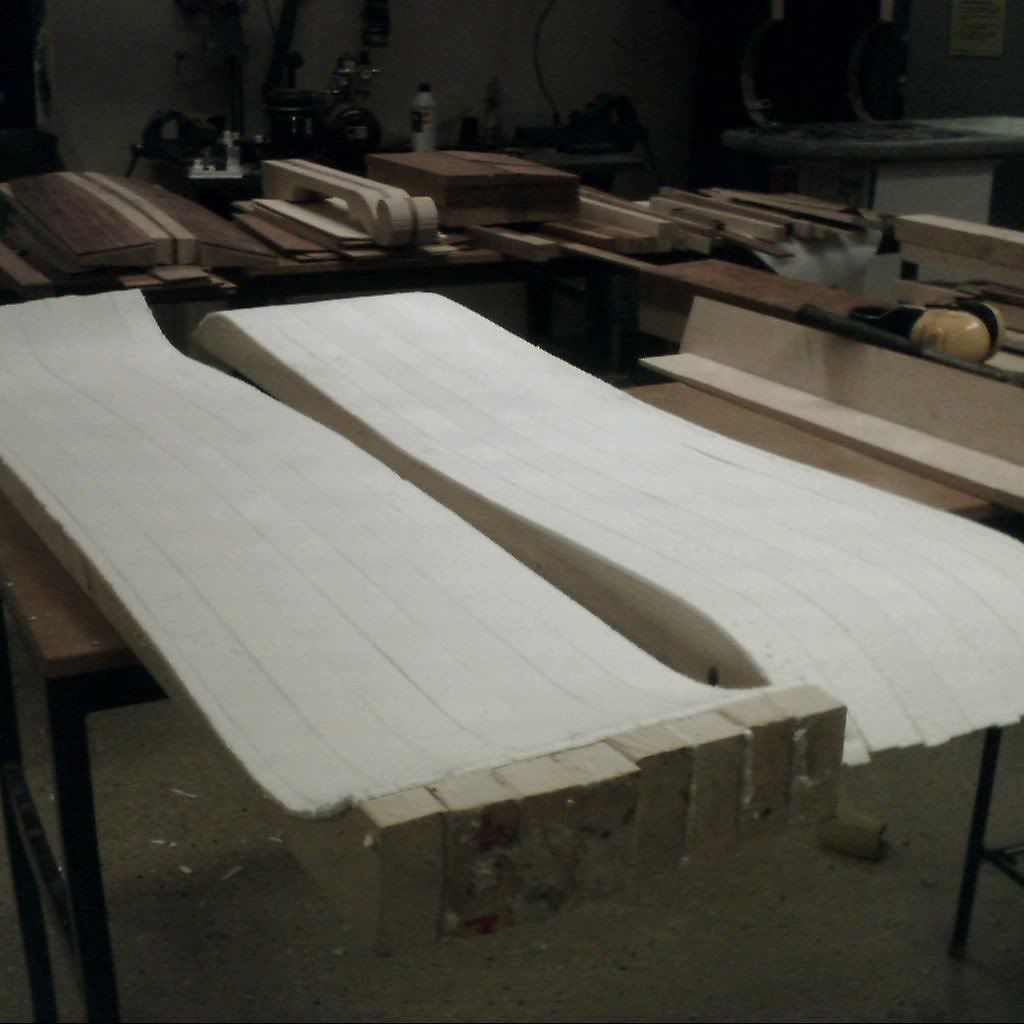
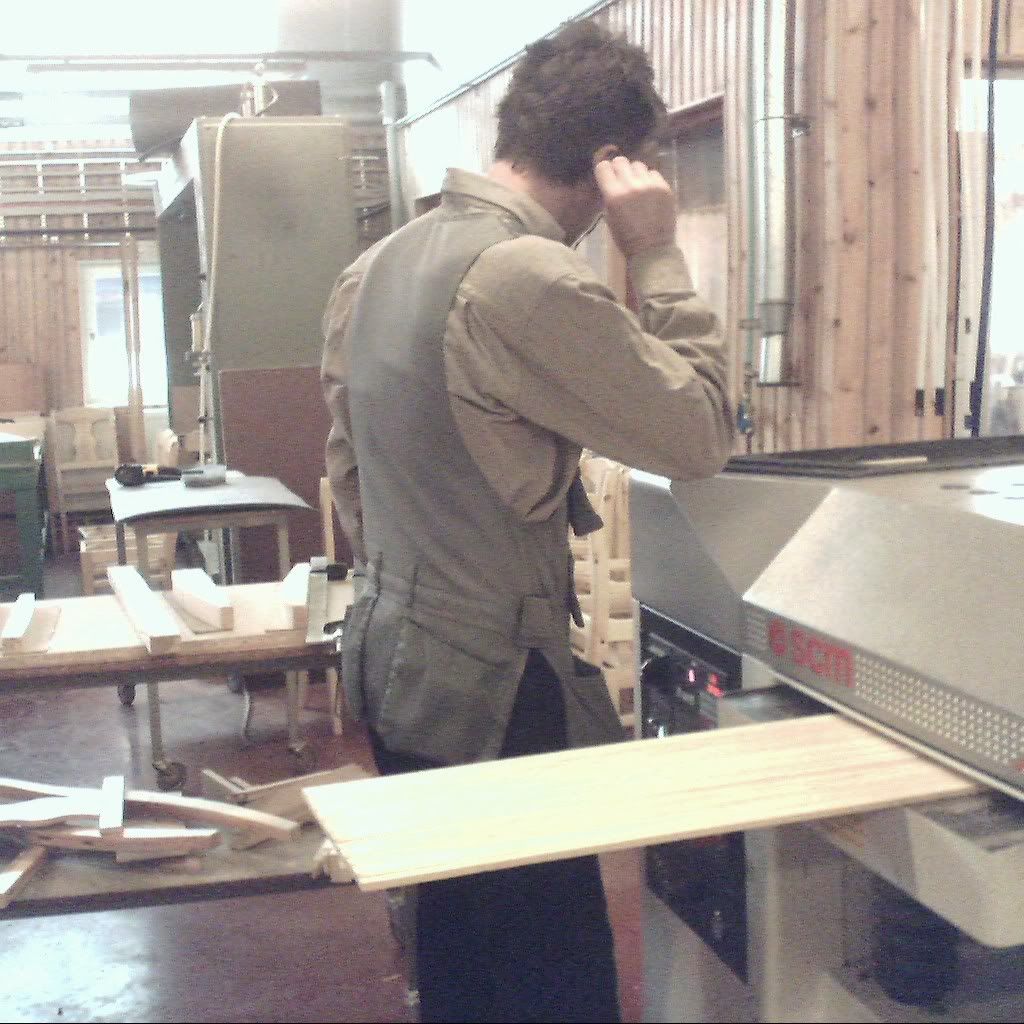
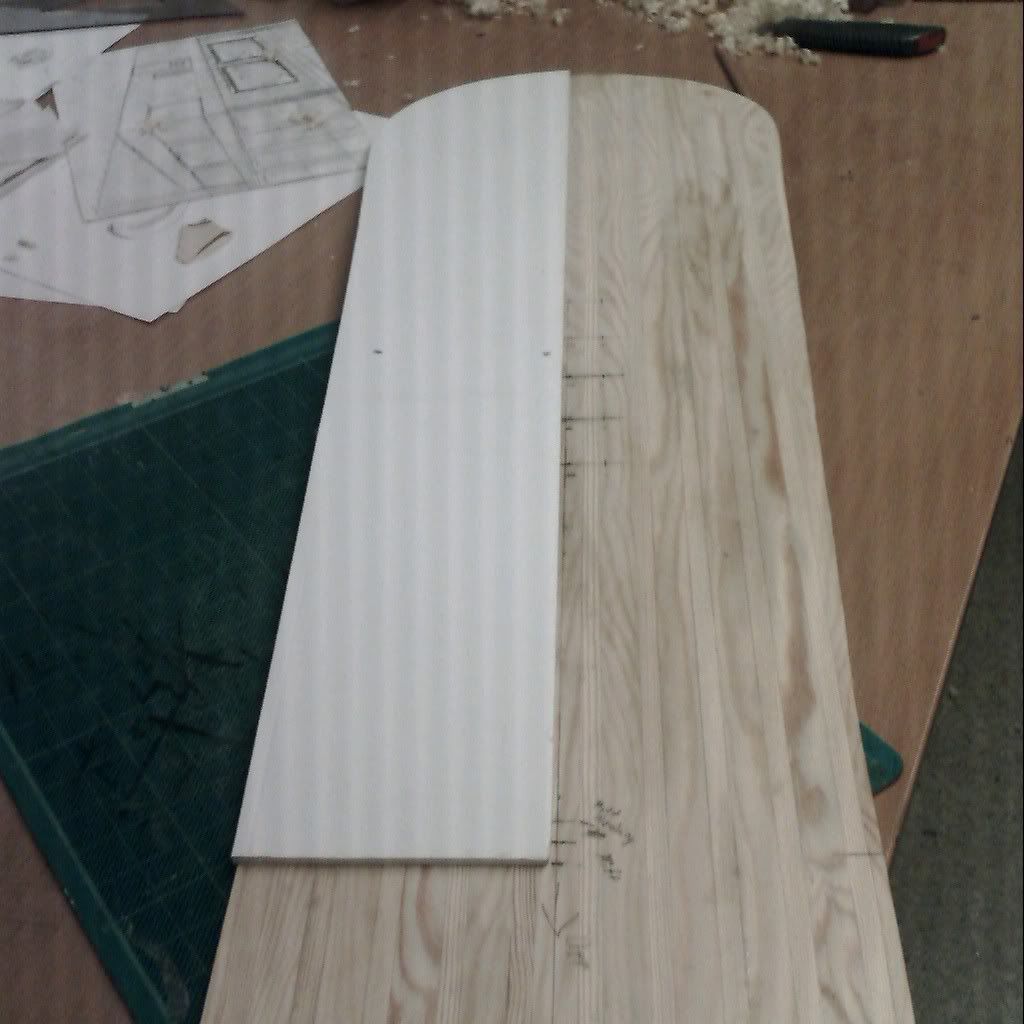
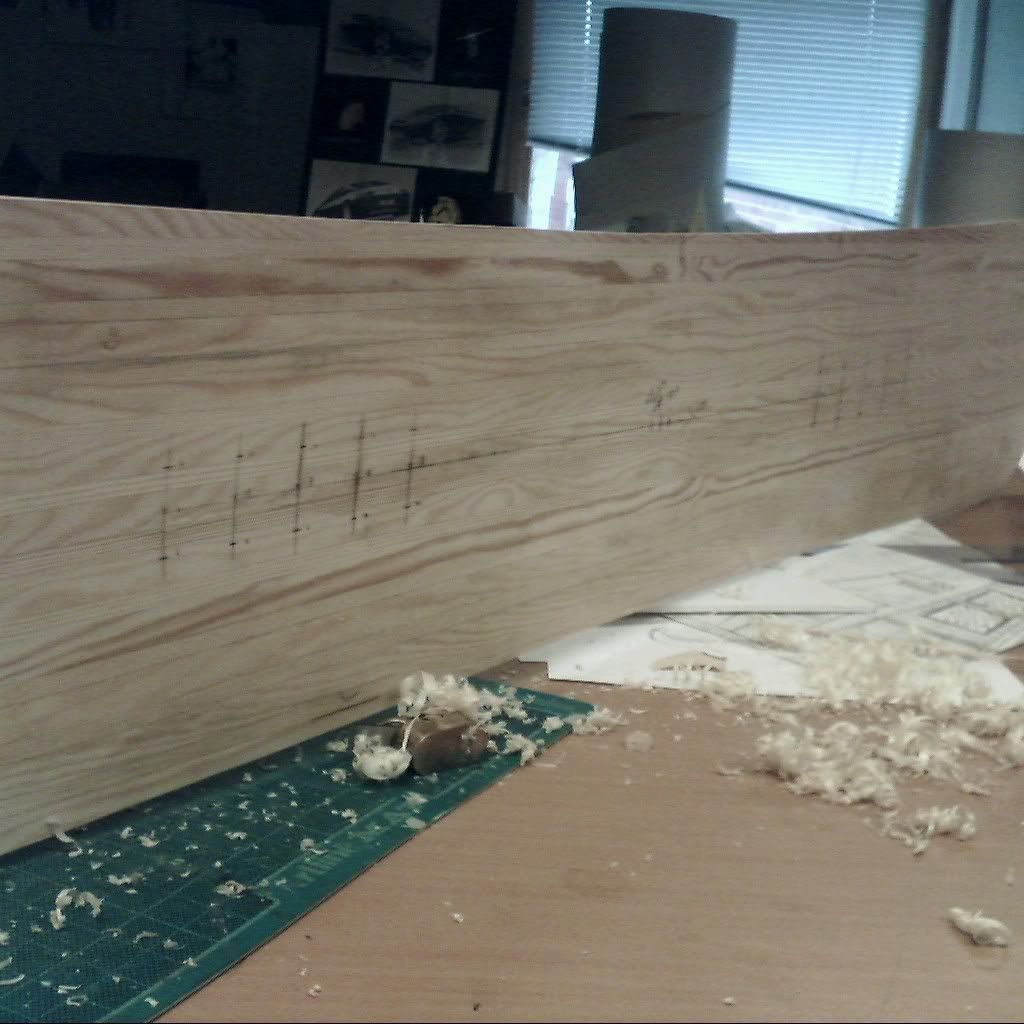
Now the mould starting to get it shape as seen on images below.

Image

Image
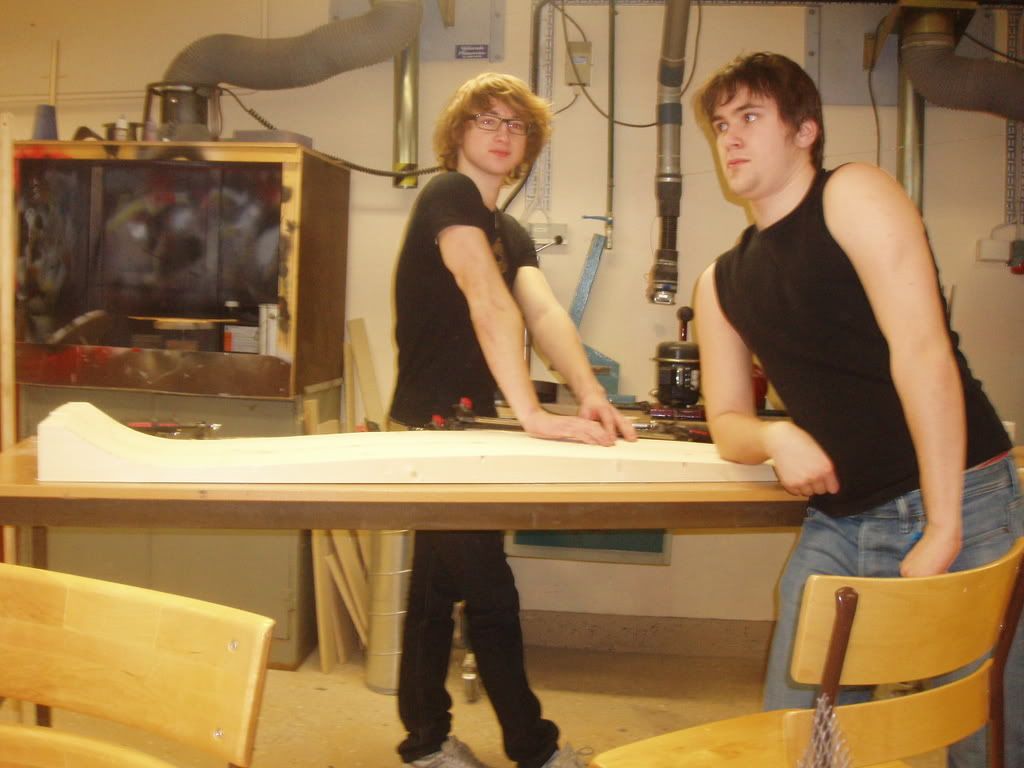
The shape of the whole thing

Image
Doing some afterwork

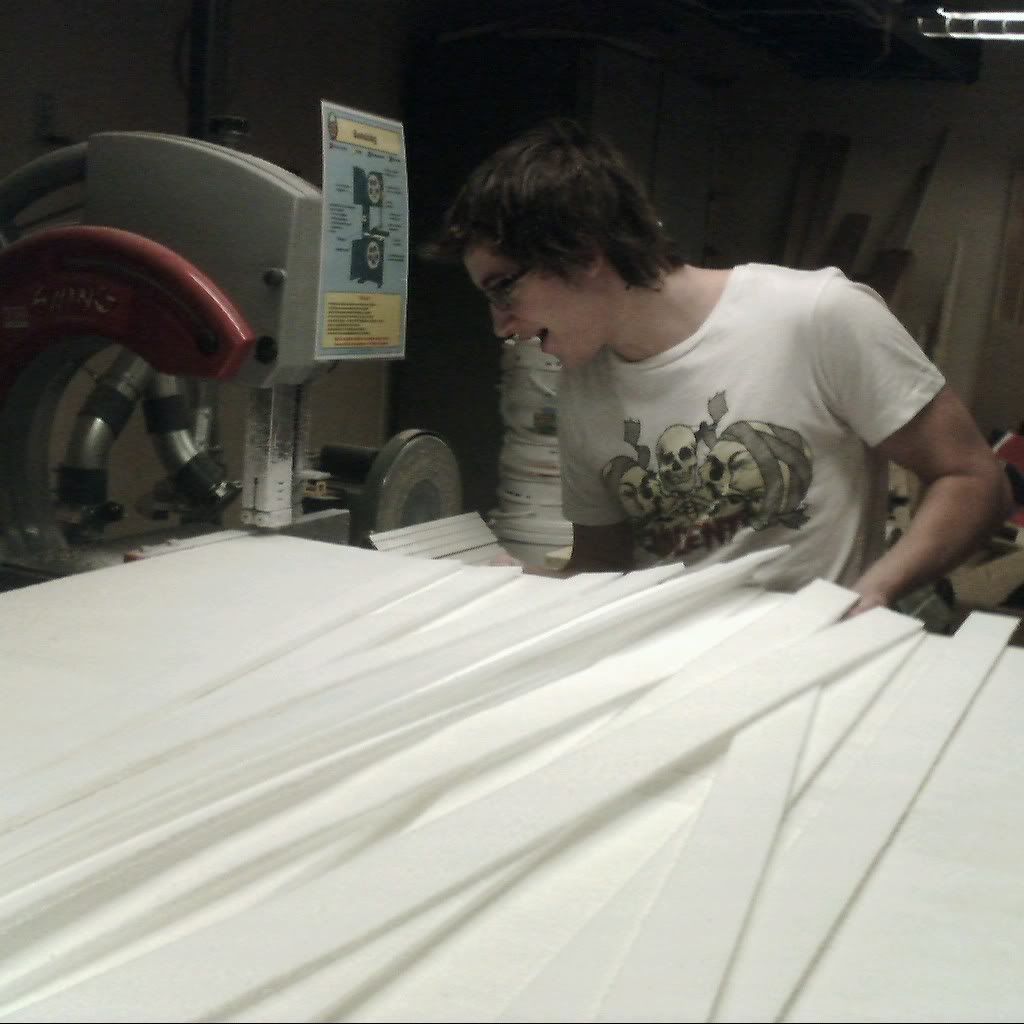
Soon after we fisnishing the afterwork on the wood we will put some polystyrene on the mould too. Just waiting to get the materials to get started with printing the graphics =)
plywood
Posts: 499
Joined: Fri Oct 13, 2006 2:13 am
Location: wilen, switzerland
Contact:

Re: Scarface-board

Post by plywood »

what are the dimensions of your board? you said something about 30cm wide. and how do you press your boards? the molds look extremely wide on the pictures, but they look promising! i`m looking forward to read about your work
plywood freeride industries - go ply, ride wood!
LordGlassbot
Posts: 24
Joined: Tue Feb 06, 2007 4:34 am
Location: Sweden

Post by LordGlassbot »

Yeah the widest part is 30cm and it's 153 long.
We do this as a project in school so we have access to a big fat press that can give us many tons of pressure =) I'll see if i can get any photos of it soon!
The mould is actually not that wide, about 35-40cm, but not that thick, so we're thinking of maybe reinforcing top and bottom a bit.
LordGlassbot
Posts: 24
Joined: Tue Feb 06, 2007 4:34 am
Location: Sweden

Post by LordGlassbot »

An photoupdate with some new and old photos

Image
The raw material of our mould

Image
We made the mould in two halves that we glued together

Image

Image

Image
Alex and Oscar showing up themselves and the shape of our mould

Image
Getting help planning the top and bottom side of our mould

Image
The press we will be using

Image
Sawing out some polystyrene to glue onto the mould

Image
The final product, looking good?
plywood
Posts: 499
Joined: Fri Oct 13, 2006 2:13 am
Location: wilen, switzerland
Contact:

Post by plywood »

nice work! so you`re pressing with a top and a down-mold?
what`s the deal with the polystyrene?
plywood freeride industries - go ply, ride wood!
LordGlassbot
Posts: 24
Joined: Tue Feb 06, 2007 4:34 am
Location: Sweden

Post by LordGlassbot »

Yep, we thought that would be the best way for us =)
The polysterene is there to even out the pressure over the whole board, if the wood isn't even enough.
LordGlassbot
Posts: 24
Joined: Tue Feb 06, 2007 4:34 am
Location: Sweden

Post by LordGlassbot »

An small update

Image
Part two of the graphics printed on 8 overhead-papers to make an big (160x50cm) screenprint, currently working on the blood, pictures comes soon

Image

Once again getting help from a teacher to plan out the wooden core to 6mm all over

Image

The wooden core roughly cut out, made a quarter piece of the shape and makes the shape after that

Image

The final shape of the core

Image

Going for a cap construction, so the cores wall got an angle (roughly 30-40degrees)Image
LordGlassbot
Posts: 24
Joined: Tue Feb 06, 2007 4:34 am
Location: Sweden

Post by LordGlassbot »

No pics this update, just a little thingie to tell how things are going.
We were going to press today, but just before starting the lay-up, a steel-edge got loose, so we have the bend it a little and glue it again. Hopefully try again on monday
LordGlassbot
Posts: 24
Joined: Tue Feb 06, 2007 4:34 am
Location: Sweden

Post by LordGlassbot »

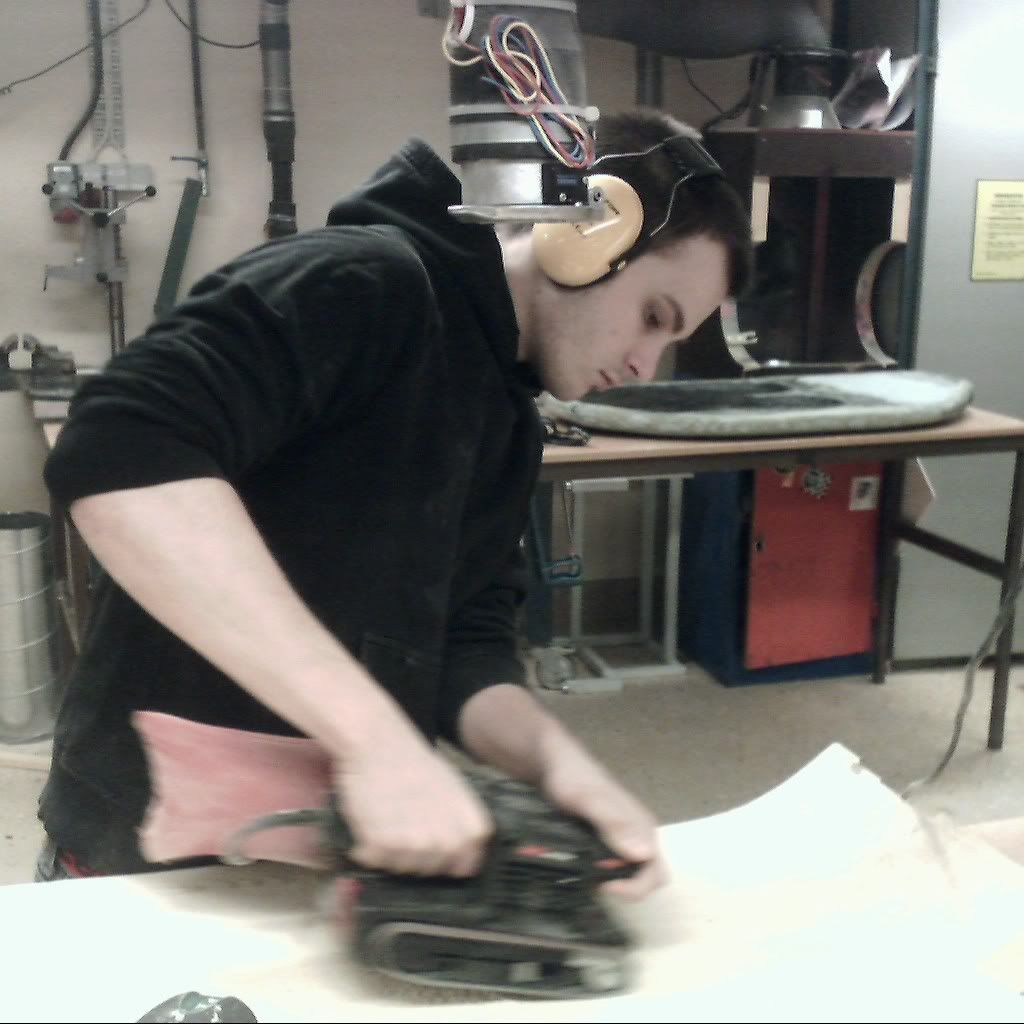
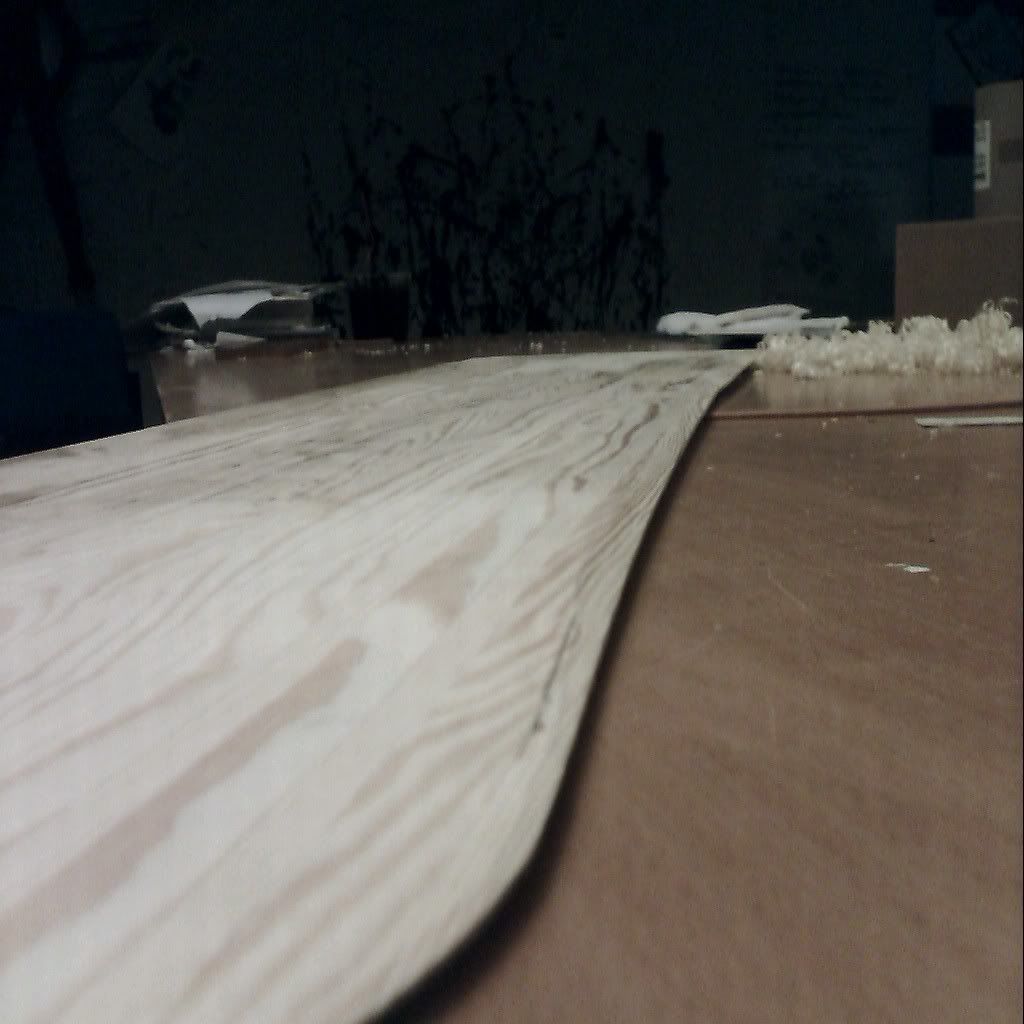
Almost done now! Im on the bord with P3000 sandpaper and polishingwax, and it takes a huge amount of time to get the real shine! But this is what it looks like for the moment =) Sorry for lack of quality, mobile phone.

Image
BigG
Posts: 74
Joined: Mon Jan 02, 2006 2:41 pm

Post by BigG »

Looks great,

Can you tell us some more about the paint/color you have been using for your silkscreen printing?

A picture of the silkscreen would be great as well.

Geoff
LordGlassbot
Posts: 24
Joined: Tue Feb 06, 2007 4:34 am
Location: Sweden

Post by LordGlassbot »

Thanks =)

The color used is a standard waterproof fabric color.

And a pic of Alex posing with the three silkscreens

Image
BigG
Posts: 74
Joined: Mon Jan 02, 2006 2:41 pm

Post by BigG »

Did you glue in the silk screen into the wooden frame to keep the tension in it or how did you do it?

Geoff
LordGlassbot
Posts: 24
Joined: Tue Feb 06, 2007 4:34 am
Location: Sweden

Post by LordGlassbot »

First we wetted out the fabric before we used tacks to fasten it to the wooden frame. When the fabric dryed it shrunk a bit and raised the tension.
hydrant71
Posts: 61
Joined: Mon Sep 04, 2006 1:30 pm
Location: portland,or.

Post by hydrant71 »

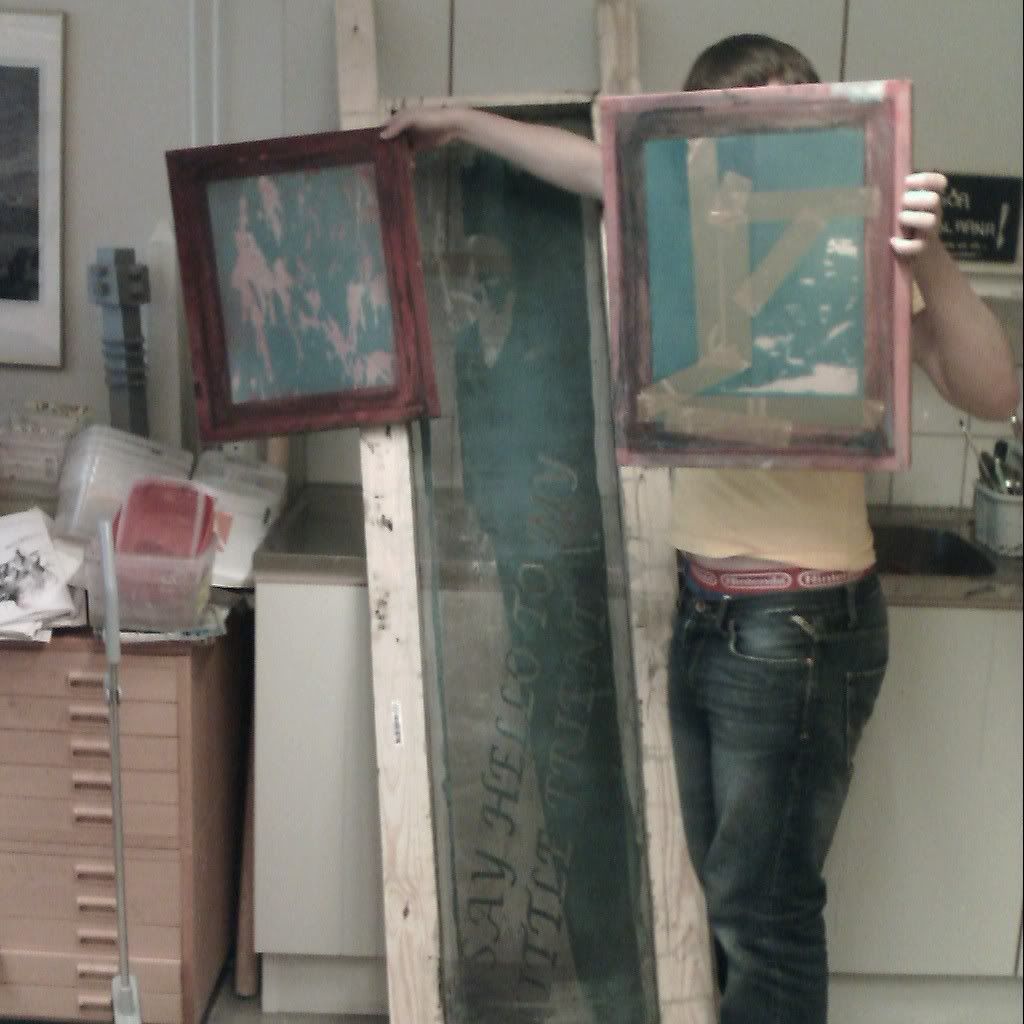
very cool. love the screenprinting, did you screen the topsheet before layup, or the finished board? how did the foam on the molds end up
working out? is the flex close to what you were shooting for? great work.
Post Reply