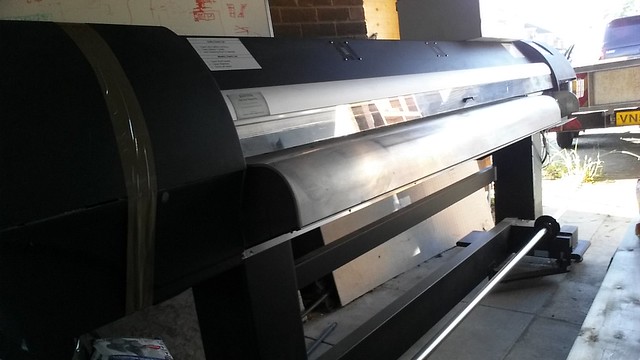
The Oven, 3kw heater element in the bottom section with a CAL9400 process controller, 80deg C cure for 8hrs
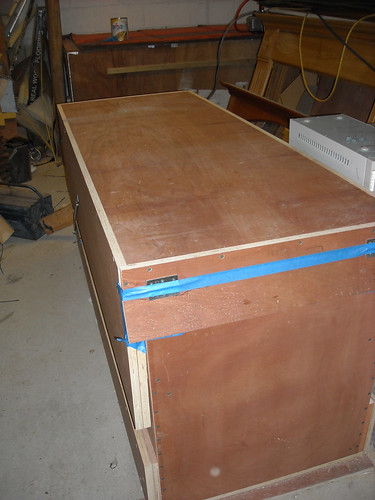
The board & cassette in the oven after cooling down

The cassette, ready top be split apart
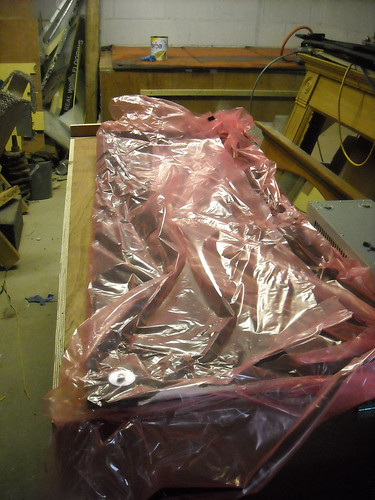
I got a little carried away and forgot to take some photos of the cassette strip down! So, this is the base, not too bad a finish on it straight out of the mould. I tried encapsulating some tissue paper under the bottom layer to test for using graphics next time.
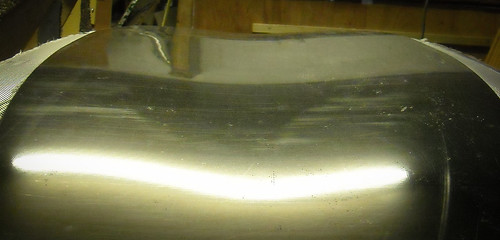
You can see the voids from where the bag lost vacuum and the top layer of the cassette came away from the board. I need to get a 90deg fitting for the vacuum connector so I can keep the pump on during the cure cycle. The lighter patches on the glass are actually resin rich areas rather than voids.
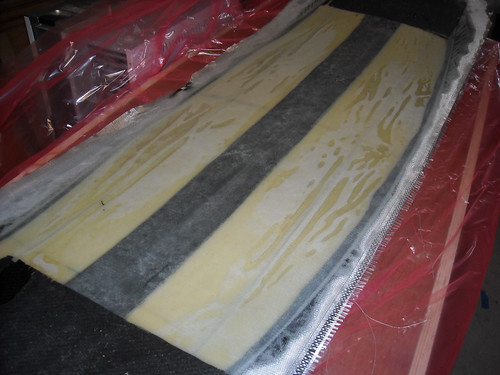
The core wraps came away from the core when I was laying up which caused some of these problems, the normal adhesive I use had ran out so I had to improvise with a different spray adhesive to get me out of a spot.
More updates soon...
 [/url]