I started building 2 years ago, and haven't kept a journal here on ski builders but I decided its about time to start one. Recently I have gotten a few friends who really wanted to make skis to join me in hope to be able to get some better equipment and make more skis under the Offset label. Ill catch you up everything I've done up until now.
Also haven't figured out how to do pictures, so can't do those yet haha
Offset Skis
Moderators: Head Monkey, kelvin, bigKam, skidesmond, chrismp
-
Danielbroski
- Posts: 46
- Joined: Tue Jan 01, 2013 4:00 pm
- Location: Boulder, CO
-
Danielbroski
- Posts: 46
- Joined: Tue Jan 01, 2013 4:00 pm
- Location: Boulder, CO
-
Danielbroski
- Posts: 46
- Joined: Tue Jan 01, 2013 4:00 pm
- Location: Boulder, CO
Finally figured out pictures, ha.
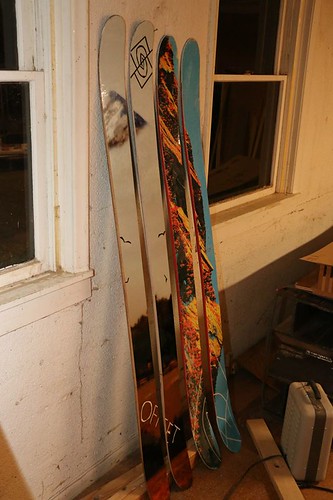
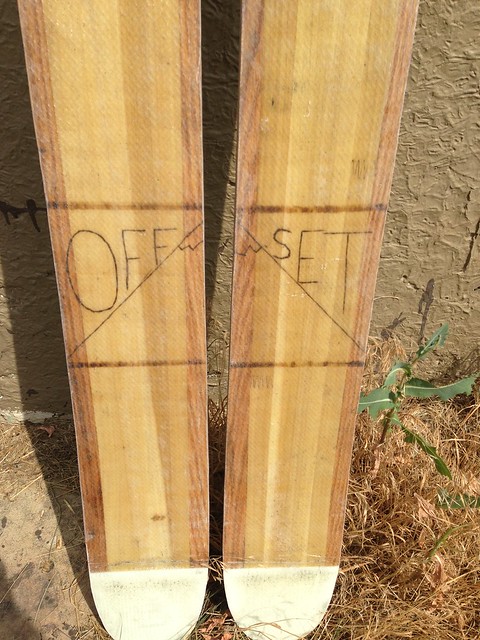
Here is the 1st ski I ever made. Make with very little research, money, and knowledge. Despite the crappy construction and use of a clamp press I was able to get a whole season out of these skis. That is until one of the sidewalls fell off.
lil edit on em

Here is the 1st ski I ever made. Make with very little research, money, and knowledge. Despite the crappy construction and use of a clamp press I was able to get a whole season out of these skis. That is until one of the sidewalls fell off.
lil edit on em
Last edited by Danielbroski on Sun Jan 11, 2015 9:58 pm, edited 1 time in total.
-
Danielbroski
- Posts: 46
- Joined: Tue Jan 01, 2013 4:00 pm
- Location: Boulder, CO
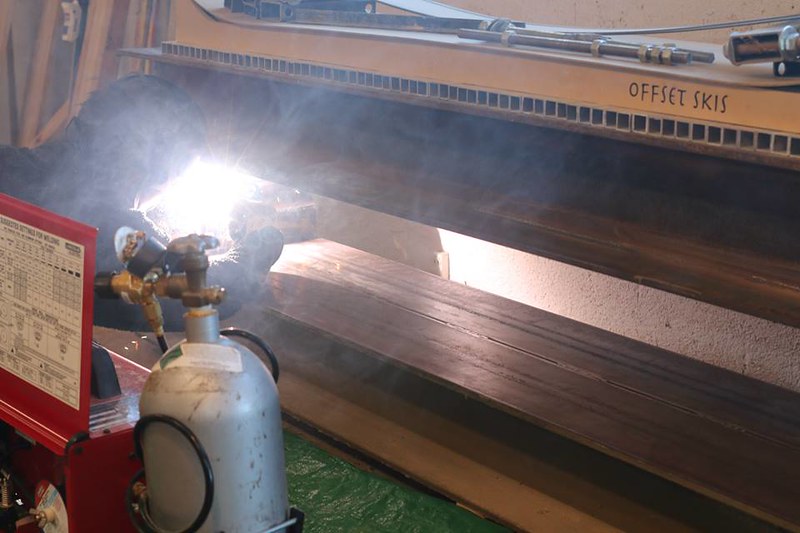
Here's the new press I had welded up a few weeks ago. Its a clam shell press, I'll get more pictures up soon.
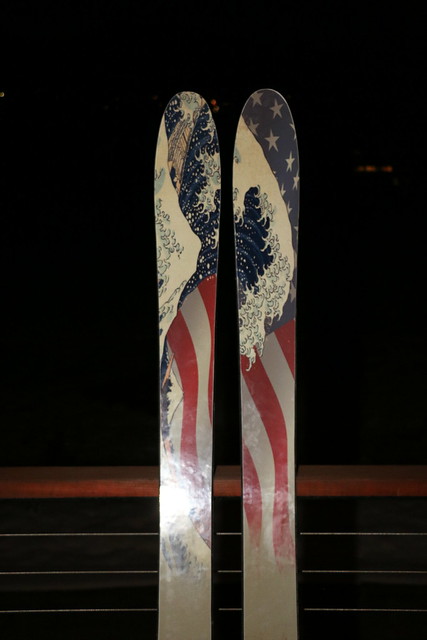
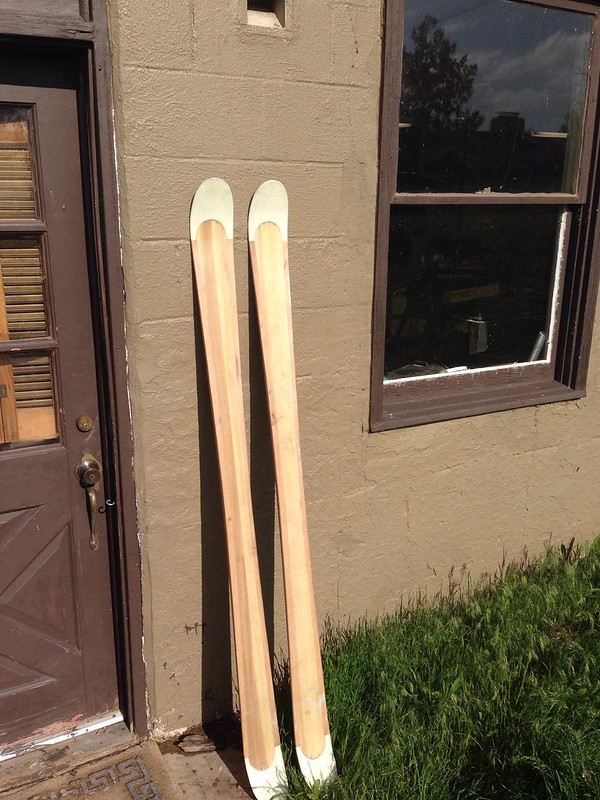
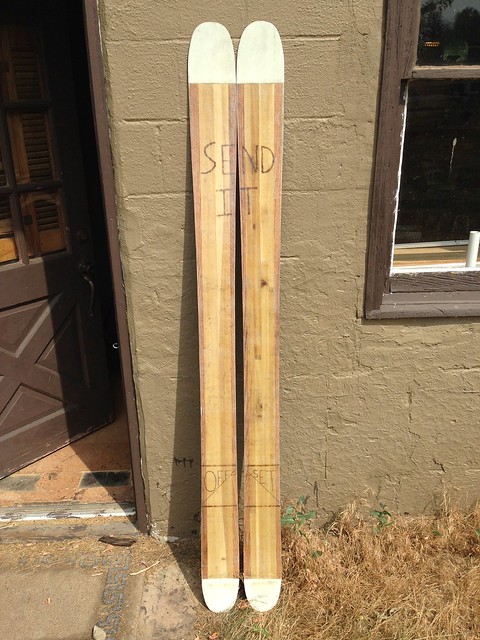
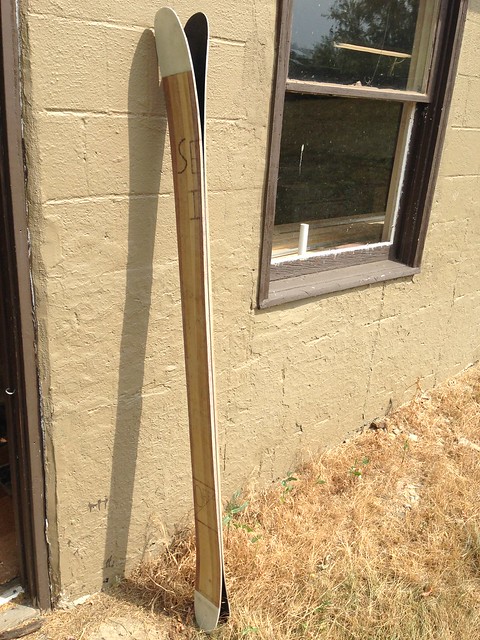
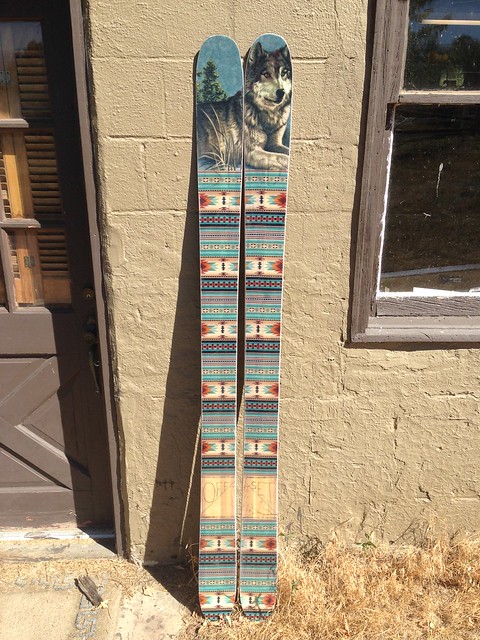
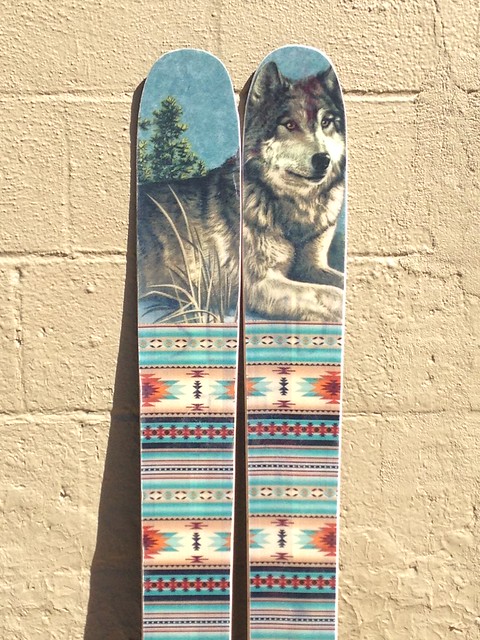
Here is my newest ski. Turned out great, except for a slight topsheet shift while pressing. It was the first ski I used a vacuum table to do the cores, and that made a world of difference. They ski great and can take quite the beating. Poplar core with maple sidewalls, bout 30% tip rocker and 20% tail rocker. Super stiff and a little chattery. Super happy with the outcome though.
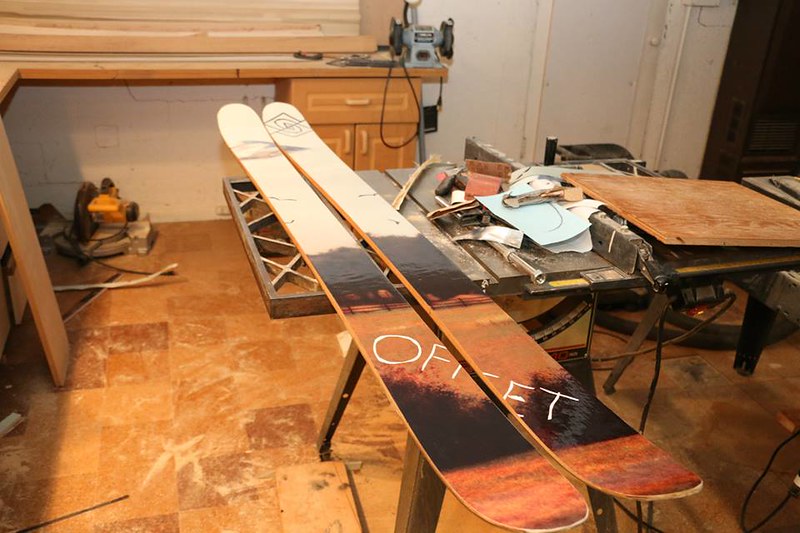
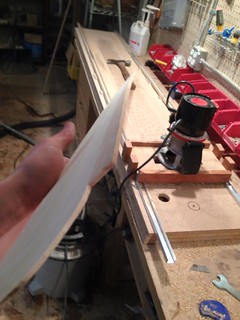
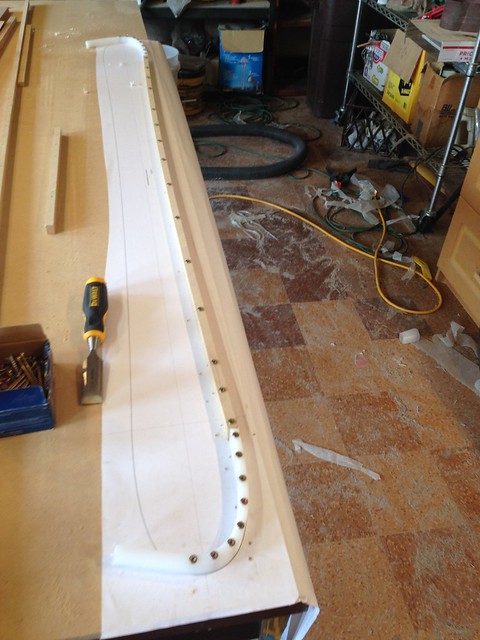
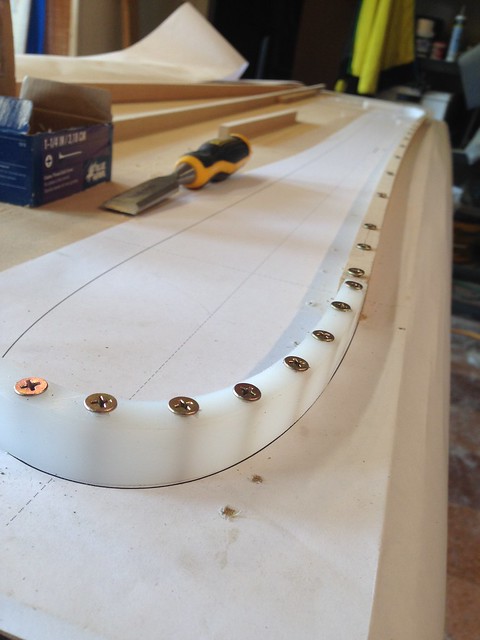
And here is the new mold, and profiled core for the park ski I am almost finished with. So far so good.
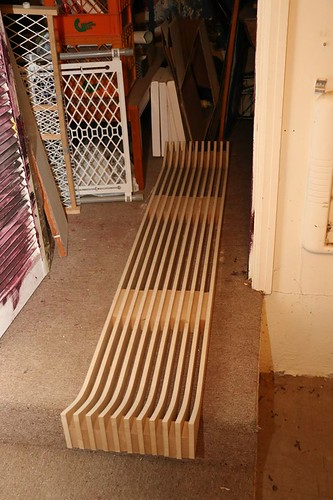
You can also see my profiling table and router in this picture.
Here is my newest ski. Turned out great, except for a slight topsheet shift while pressing. It was the first ski I used a vacuum table to do the cores, and that made a world of difference. They ski great and can take quite the beating. Poplar core with maple sidewalls, bout 30% tip rocker and 20% tail rocker. Super stiff and a little chattery. Super happy with the outcome though.
And here is the new mold, and profiled core for the park ski I am almost finished with. So far so good.
You can also see my profiling table and router in this picture.
-
Danielbroski
- Posts: 46
- Joined: Tue Jan 01, 2013 4:00 pm
- Location: Boulder, CO
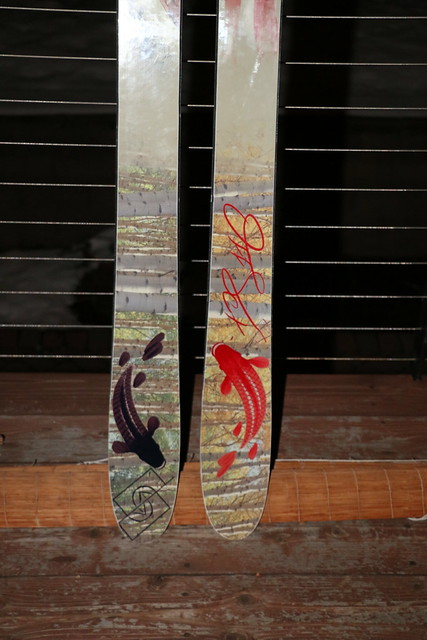
Just finished up this pair of park skis a few weeks ago. Here they are without a topsheet.
Skis have a poplar core with oak sidewalls, 181cm 88mm under foot. Painted the graphic, then coated it in a poly-urethane. Not sure how long that will hold up but after 4 hard days of grainy spring skiing, hasn't had any issues.
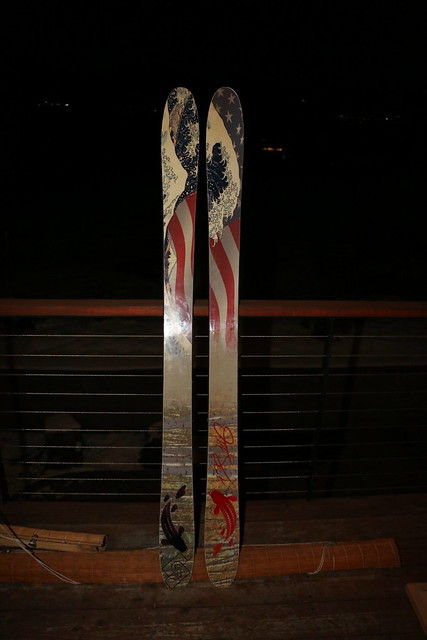
Heres a crappy picture from instagram of them with a topsheet, lost my phone with all my other pictures on it...

Definitely the most legit pair I have made, except for some base warp that they experienced. Posted about it on layup and design and from what I heard I need to let the material sit for a few days before I cut it, and cut the base as soon as possible to the layup.

Skied them though, and I was really happy that the warp didn't have as big of an effect as I though it might.

Theres a few more pictures of the actual building of the skis in the post above.
ALSO. Super stoked on the new rig to open and close the press. Before I opened it by using a sketchy little bottle jack then propping it up and raising the bottle jack. I could only raise the top beam about a foot, and it took a while to do.
The new set up has a wood structure at one end of the press and a boat winch on top, which is connected to the end of the press. Heres a demo video :
https://www.youtube.com/watch?v=PALl993Ex7o
Super easy to do and really convenient when putting the skis in, not to mention the whole press so far has cost me less than $1000. Press essentialy just has two huge hinges on each side, both with removable pins. You just pop the pin out on the side you are lifting and then put it back in when you are pressing.
Skis have a poplar core with oak sidewalls, 181cm 88mm under foot. Painted the graphic, then coated it in a poly-urethane. Not sure how long that will hold up but after 4 hard days of grainy spring skiing, hasn't had any issues.
Heres a crappy picture from instagram of them with a topsheet, lost my phone with all my other pictures on it...
Definitely the most legit pair I have made, except for some base warp that they experienced. Posted about it on layup and design and from what I heard I need to let the material sit for a few days before I cut it, and cut the base as soon as possible to the layup.
Skied them though, and I was really happy that the warp didn't have as big of an effect as I though it might.
Theres a few more pictures of the actual building of the skis in the post above.
ALSO. Super stoked on the new rig to open and close the press. Before I opened it by using a sketchy little bottle jack then propping it up and raising the bottle jack. I could only raise the top beam about a foot, and it took a while to do.
The new set up has a wood structure at one end of the press and a boat winch on top, which is connected to the end of the press. Heres a demo video :
https://www.youtube.com/watch?v=PALl993Ex7o
Super easy to do and really convenient when putting the skis in, not to mention the whole press so far has cost me less than $1000. Press essentialy just has two huge hinges on each side, both with removable pins. You just pop the pin out on the side you are lifting and then put it back in when you are pressing.
-
skidesmond
- Posts: 2337
- Joined: Tue Apr 07, 2009 3:26 pm
- Location: Western Mass, USA
- Contact:
-
Danielbroski
- Posts: 46
- Joined: Tue Jan 01, 2013 4:00 pm
- Location: Boulder, CO
Just finished a new pair on which I tried lightly burning things into the core. I really only burned the surface so that there aren't any lines in the wood that are week points. They also came out with the flattest base I have had so far. With some work on my belt sander I was able to get them pretty much completely flat throughout most of the ski.
Also got started on a new template for a ski I'm making for a buddy. 133/102/125 @ 182cm. I made a template for half the ski by printing out the ski, then bending and securing mdf and plastic along the line. Definitely the easiest most accurate method I have used to make a template.
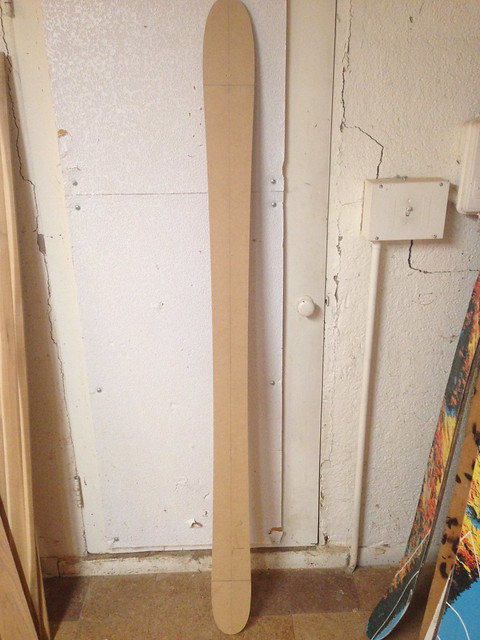
Also got started on a new template for a ski I'm making for a buddy. 133/102/125 @ 182cm. I made a template for half the ski by printing out the ski, then bending and securing mdf and plastic along the line. Definitely the easiest most accurate method I have used to make a template.
-
Danielbroski
- Posts: 46
- Joined: Tue Jan 01, 2013 4:00 pm
- Location: Boulder, CO
Yep, just trace the pieces with a router. By far the quickest most accurate way I have done. Also, I would definitely recommend getting a large print out on a single piece of paper like I have in these pictures. I have tried printing on regular pieces of paper and connecting them, but its really hard to get everything lined up. Got this printed for $4 at the FedEx store.
If you worry about symmetry (because of the paper or the half template), a simple method to assure symmetry is:
1) Create a second template using the first one -> clones
2) Put the second template upside down on the first one. Any unsymmetry is shown right away. And you can then just rout the second template using the first and vice versa. The result are 2 absolutely symmetrical templates.
(I like to have 2 templates anyway, in case you destroy one when working with it you have another ready).
-
Danielbroski
- Posts: 46
- Joined: Tue Jan 01, 2013 4:00 pm
- Location: Boulder, CO


-
Danielbroski
- Posts: 46
- Joined: Tue Jan 01, 2013 4:00 pm
- Location: Boulder, CO

-
Danielbroski
- Posts: 46
- Joined: Tue Jan 01, 2013 4:00 pm
- Location: Boulder, CO