Detailed documentation of my next build
Posted: Mon Aug 25, 2014 6:46 am
Hello,
as some of my friends frequently ask me how I build my skis, it's time to make a detailed documentation of the next build.
Building the ski template
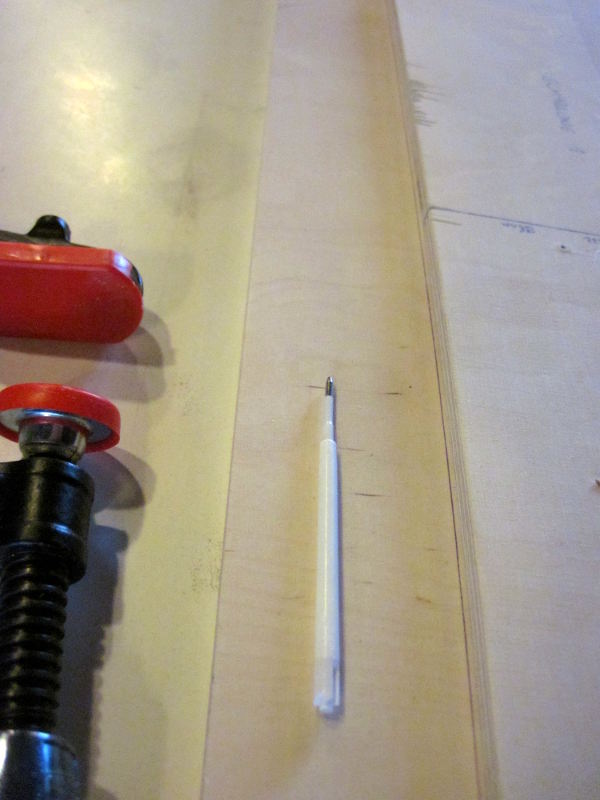
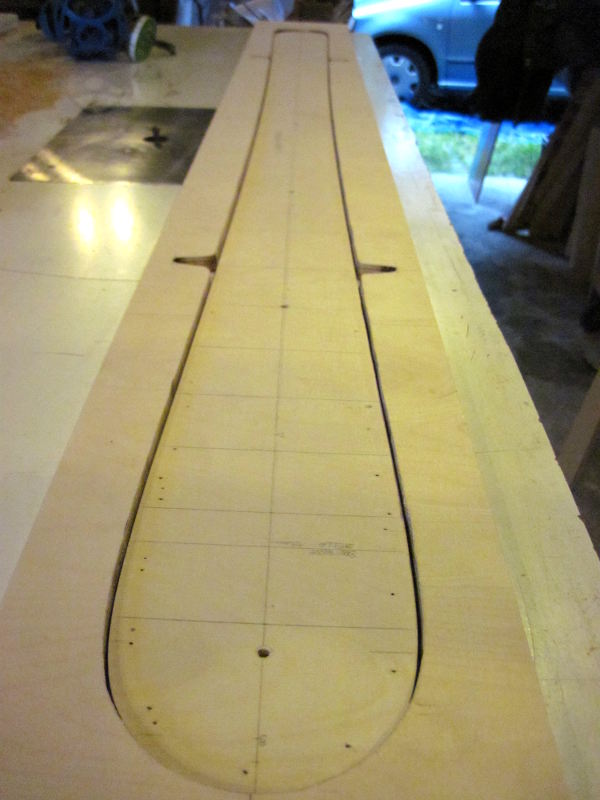
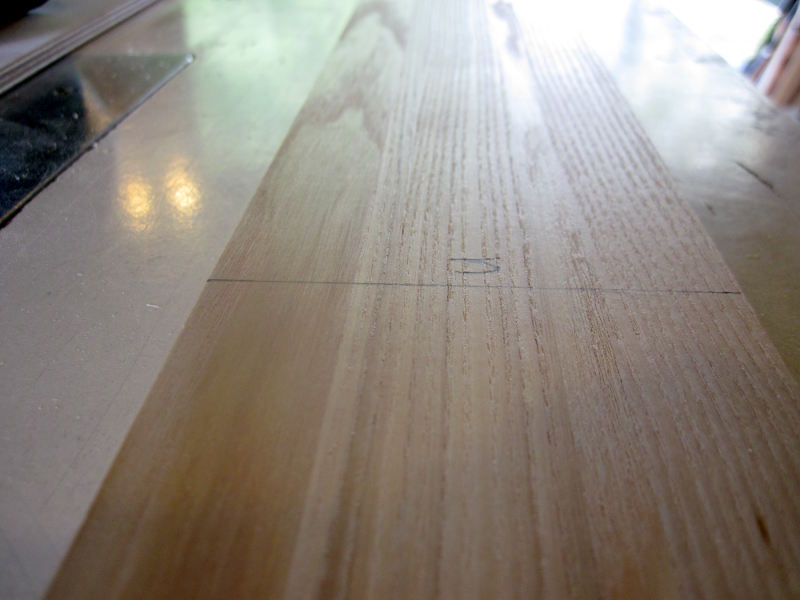
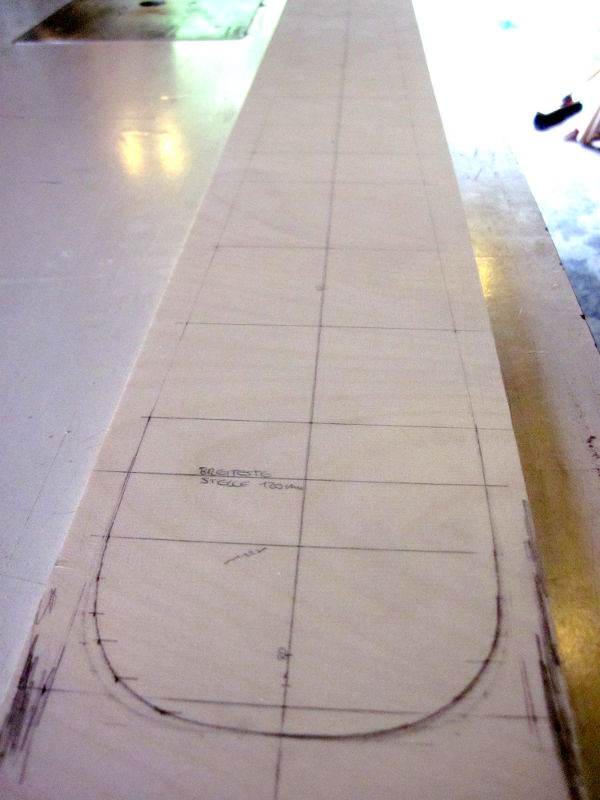
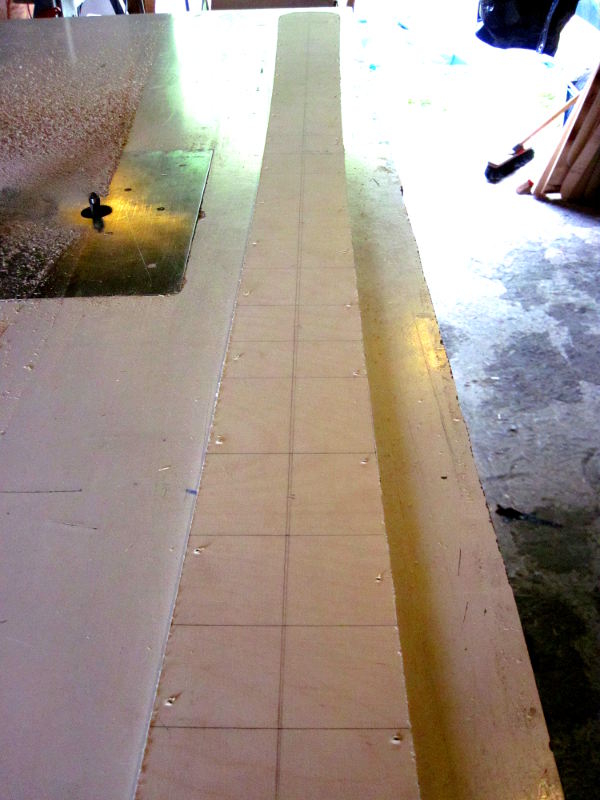
As I don't have a CNC router, I do create my ski template off the computer. Well, half way. I have written a small program that calculates the sidecut: It tells me how wide the ski is at each point. So, I use the results of the program, and draw them on the wooden template (in this case 22,222 meters radius). The tip and tail are drawn free hand:
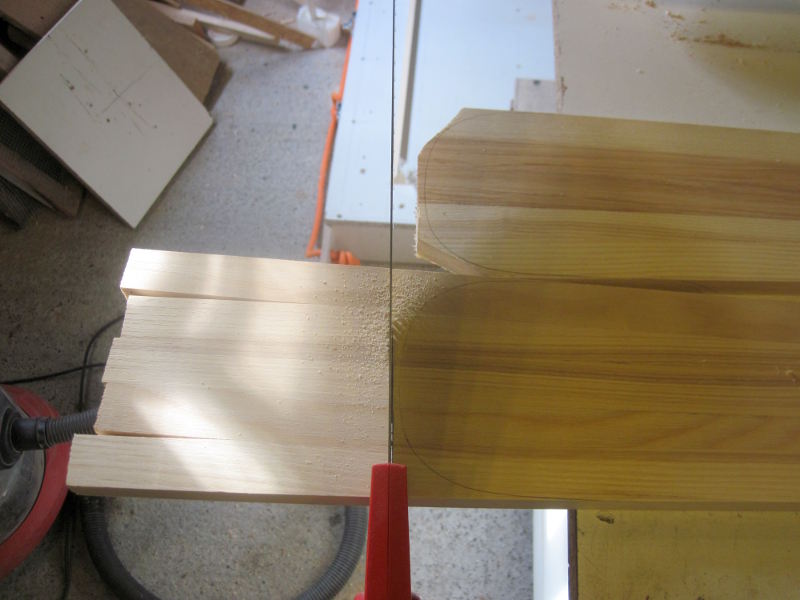
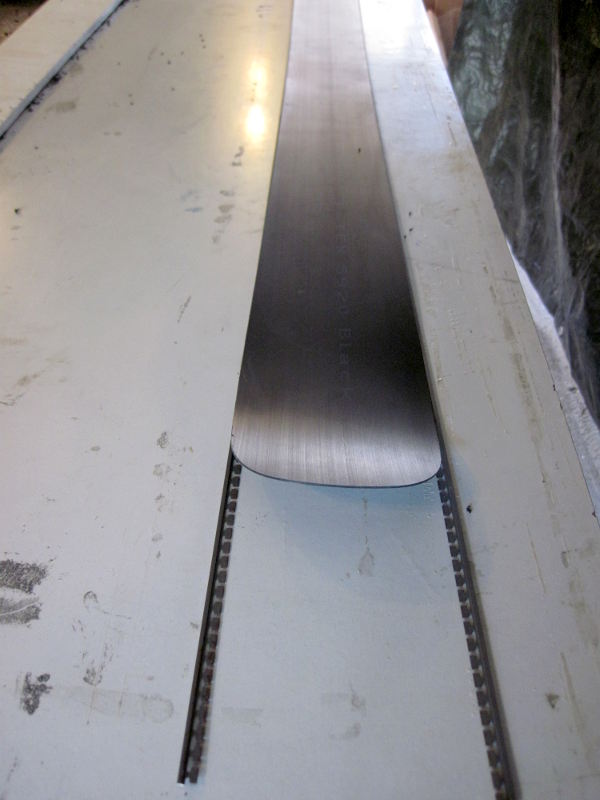
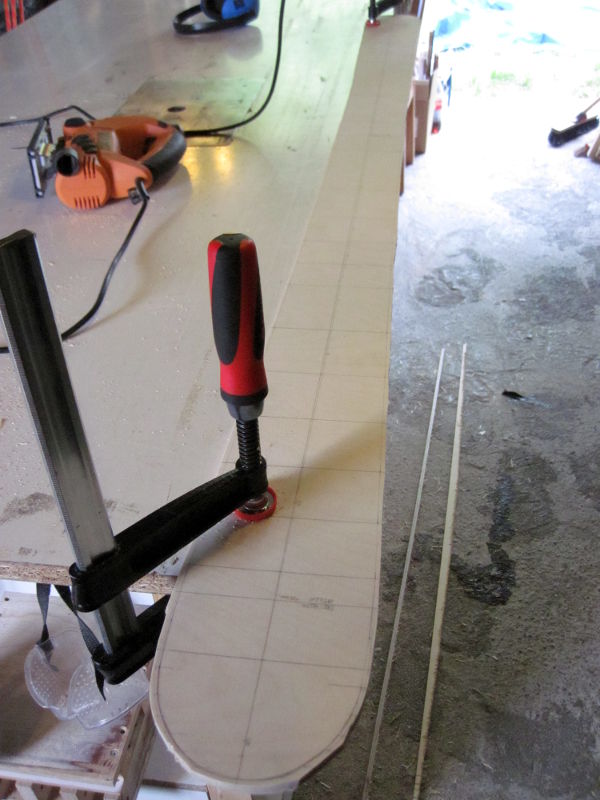
Next, I roughly cut the shape with the jigsaw:
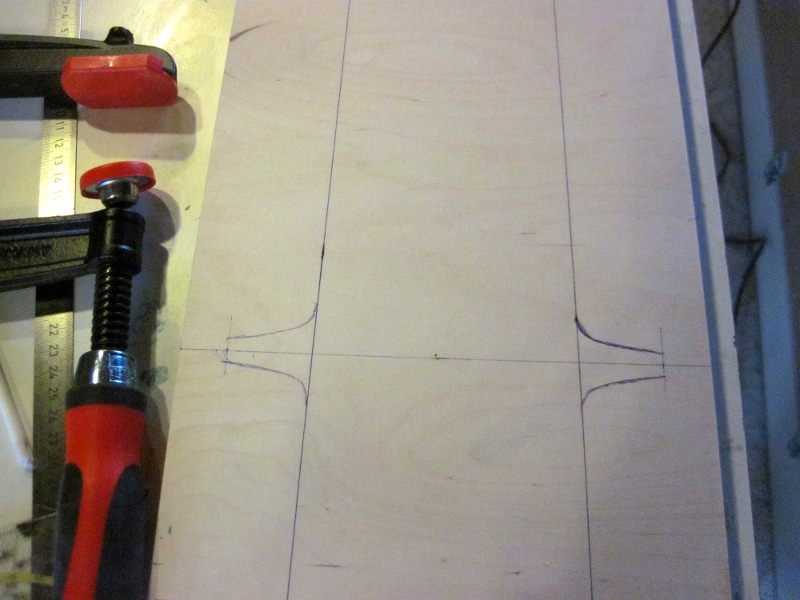
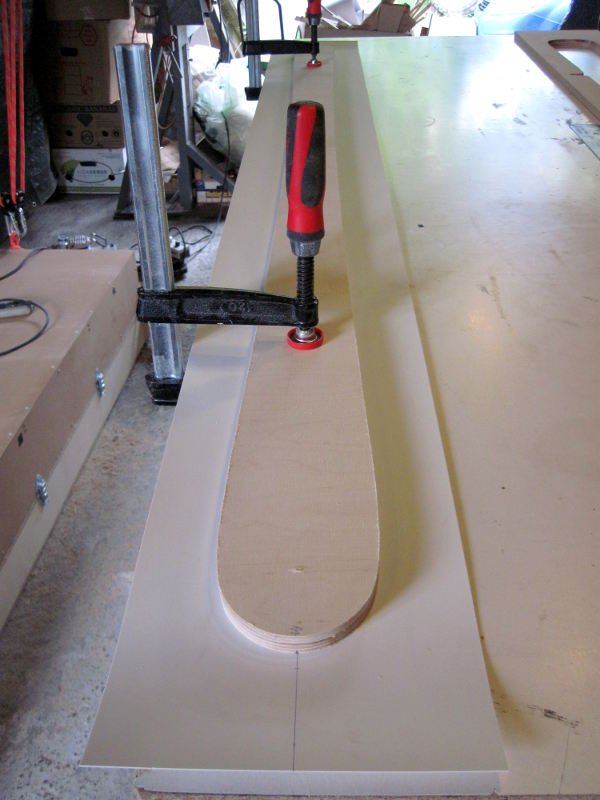
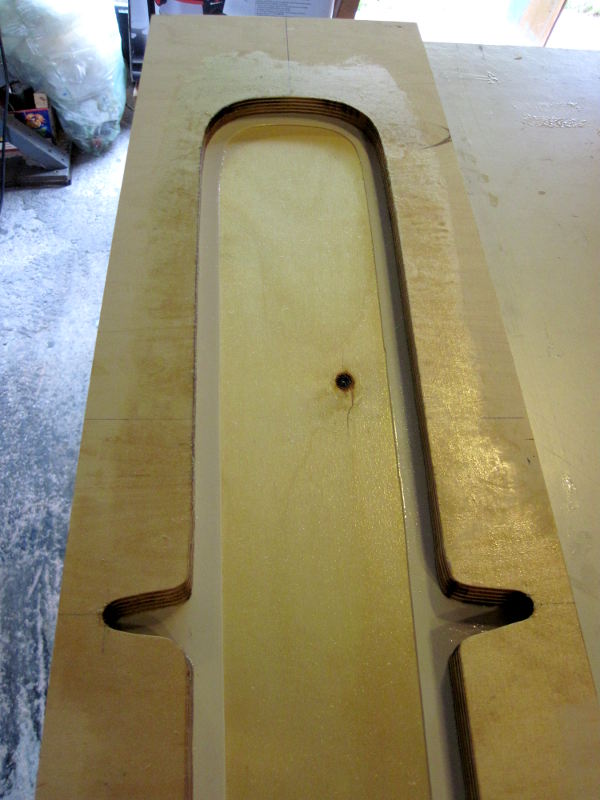
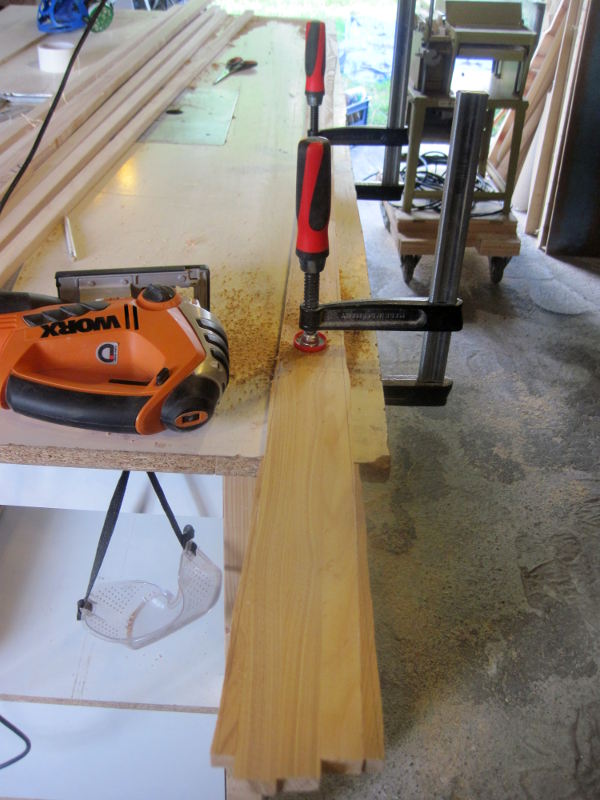
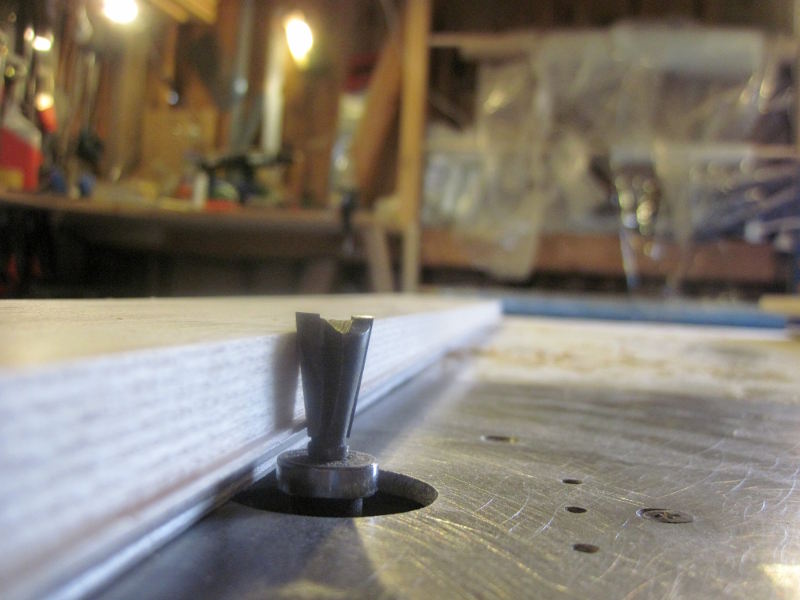
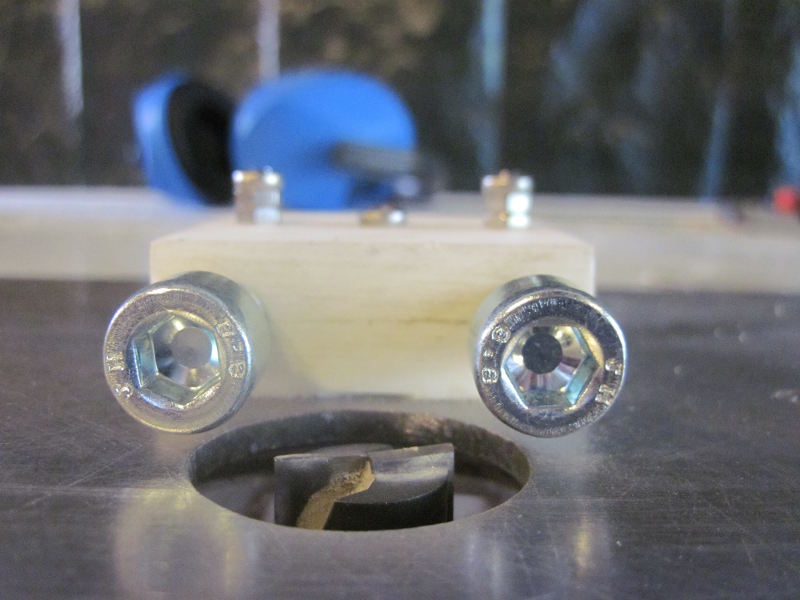
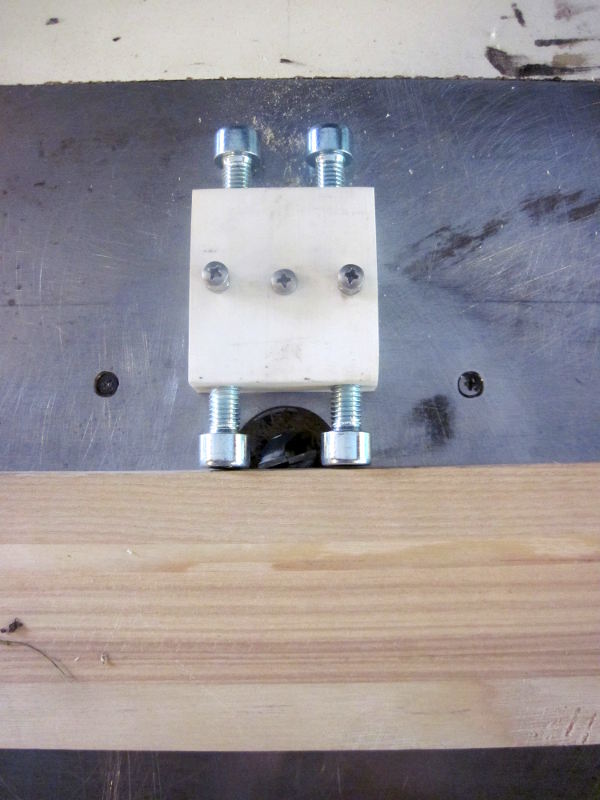
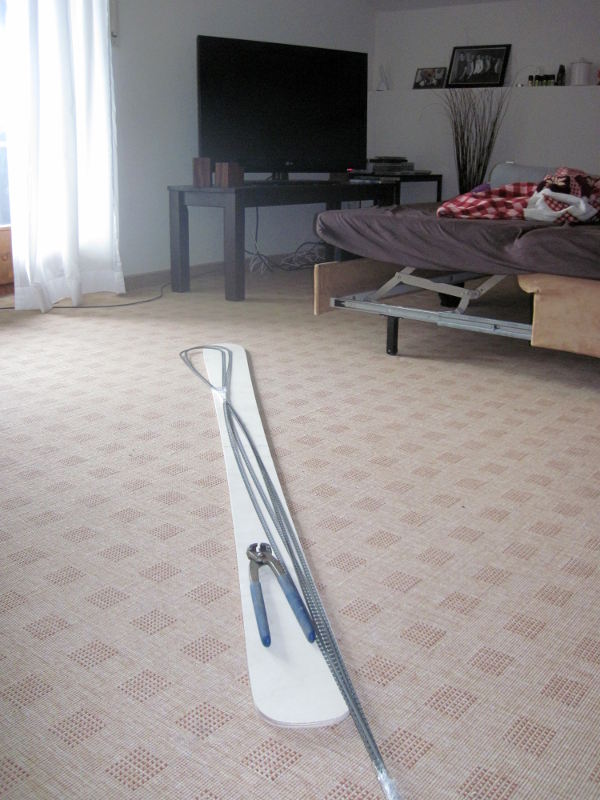
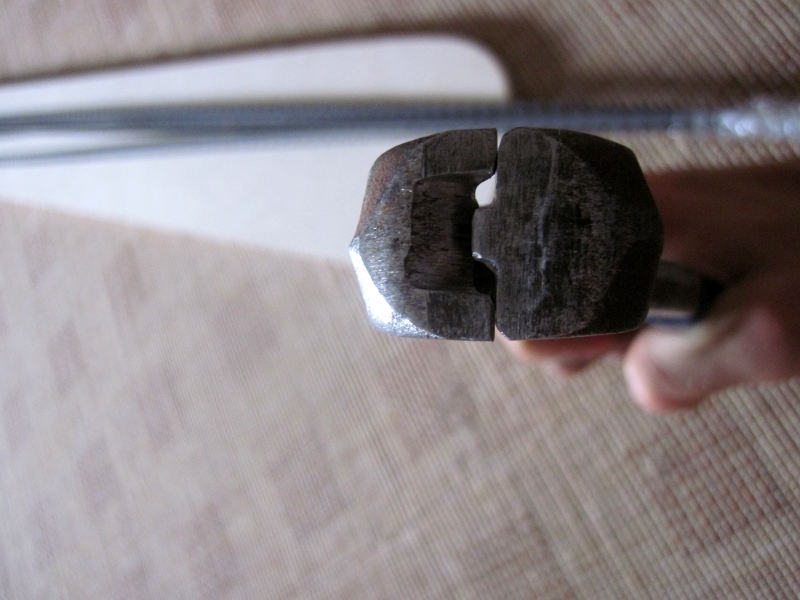
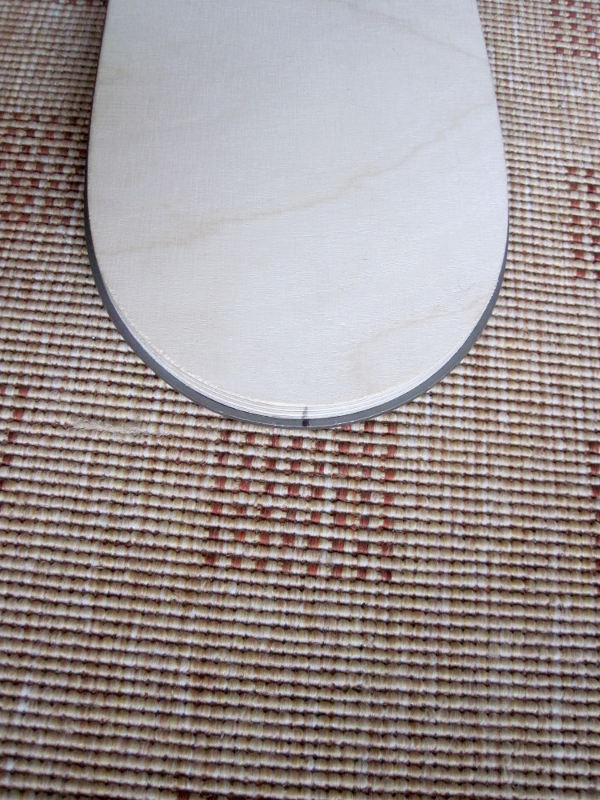
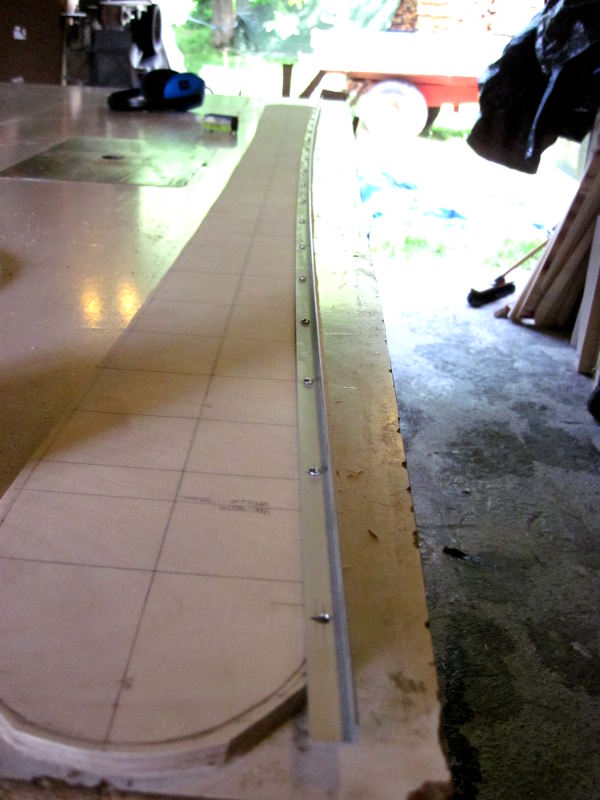
Making the sidecut nicely is the hardest part. I built a ruler for it (Some L shaped aluminium with some holes in it) - using it creates quite a nice even sidecut:
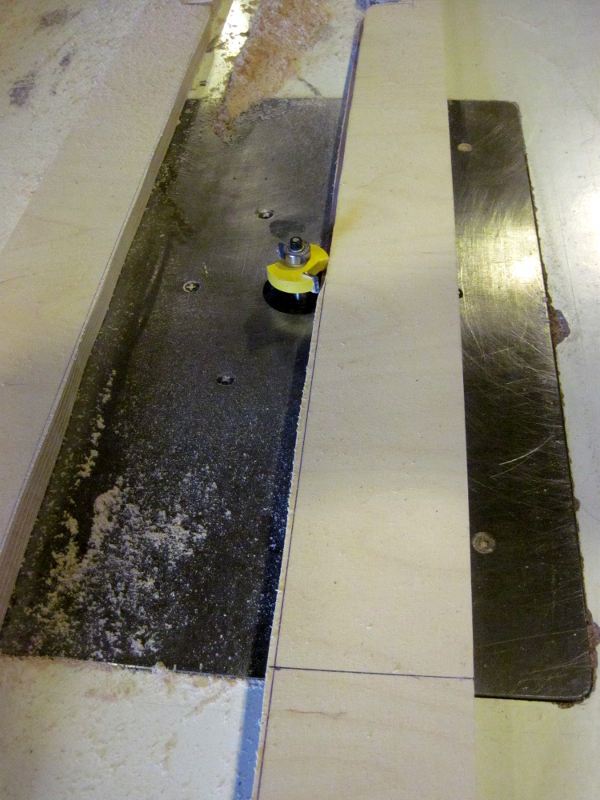
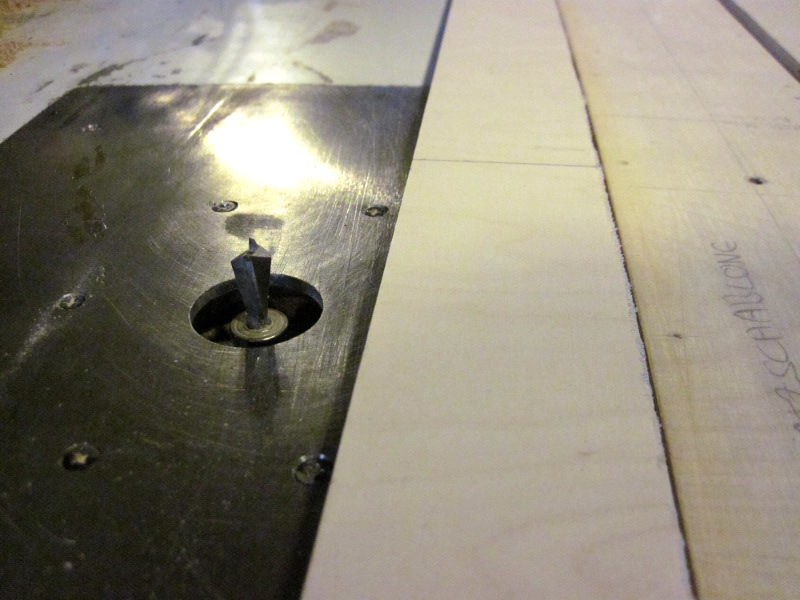
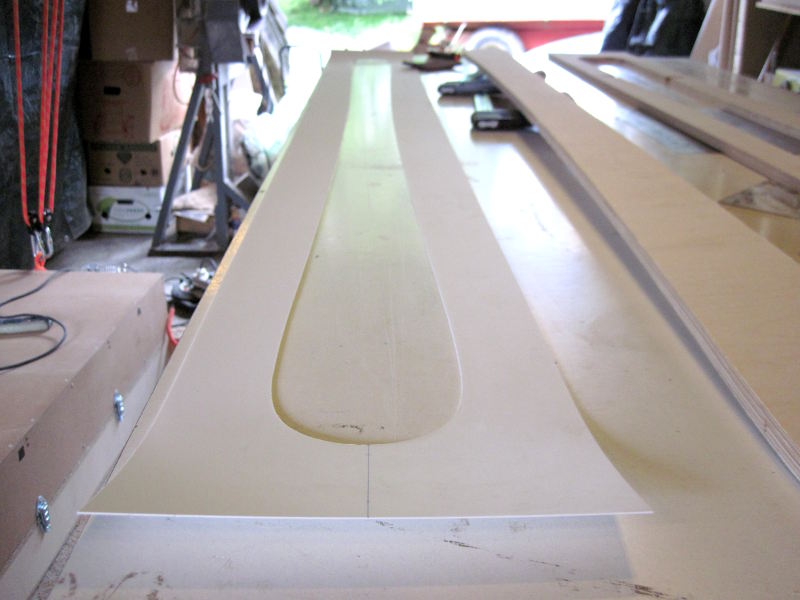
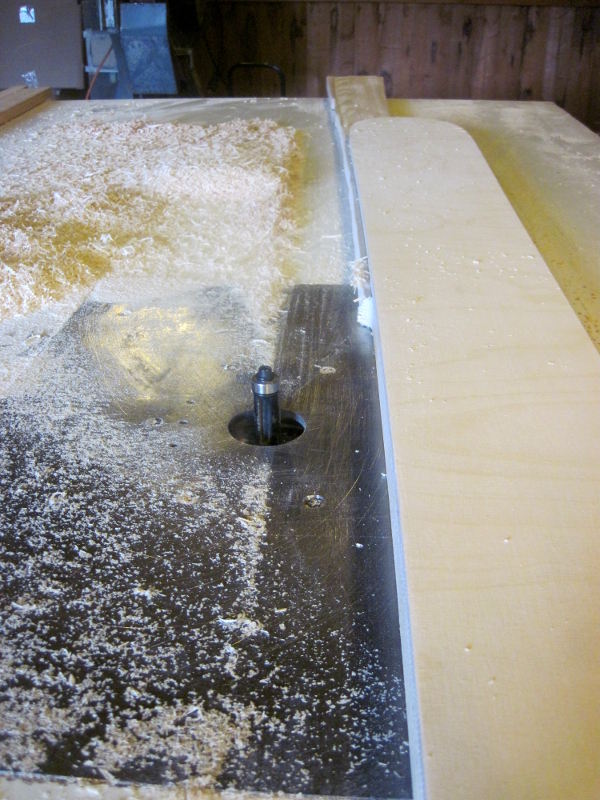
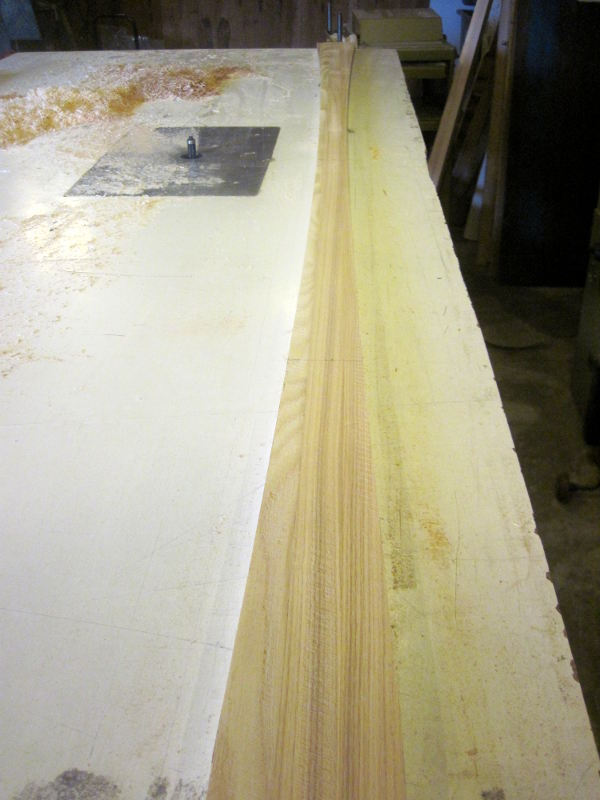
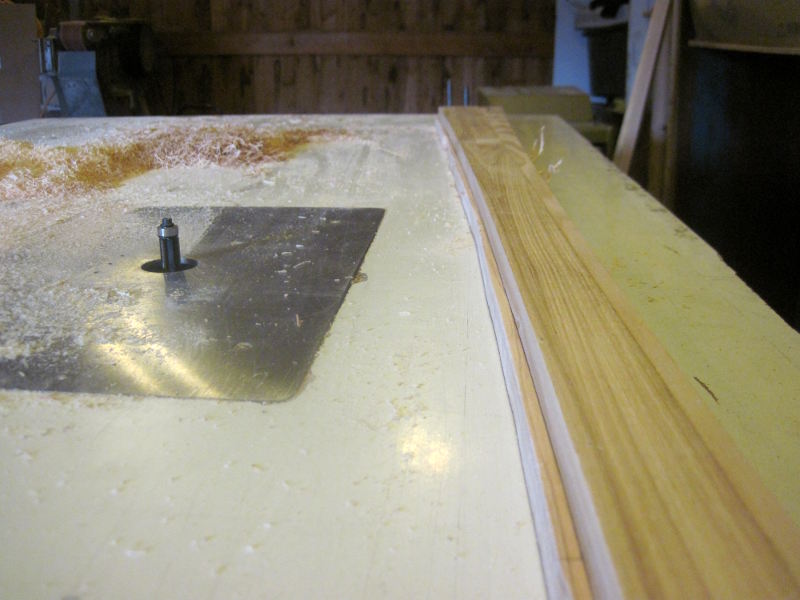
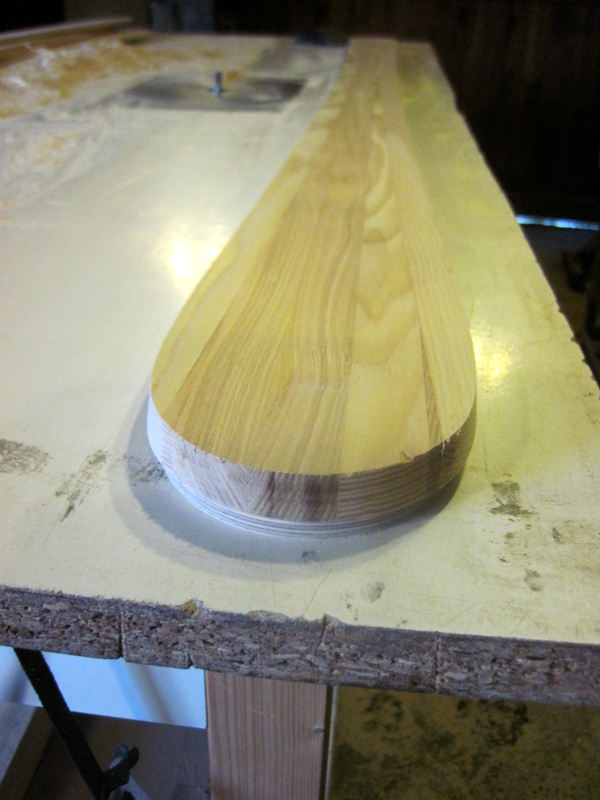
Both sides of the sidecut routed:
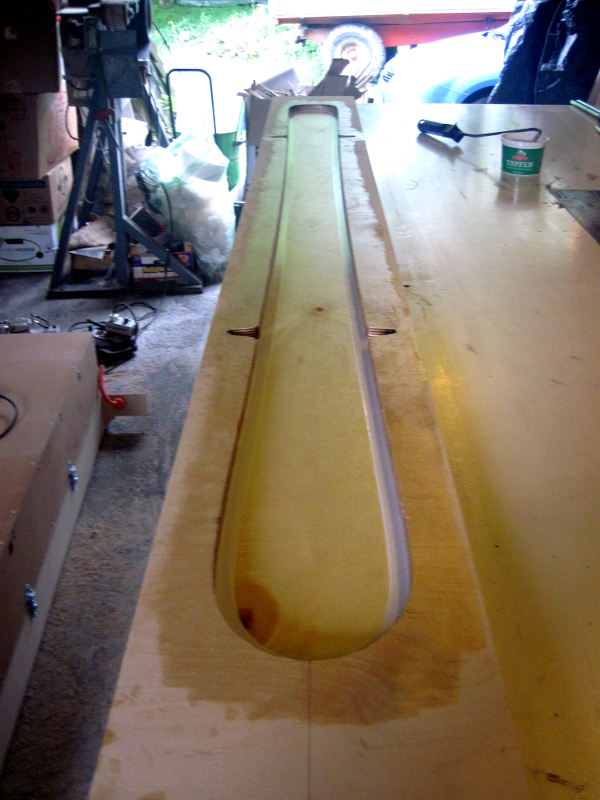
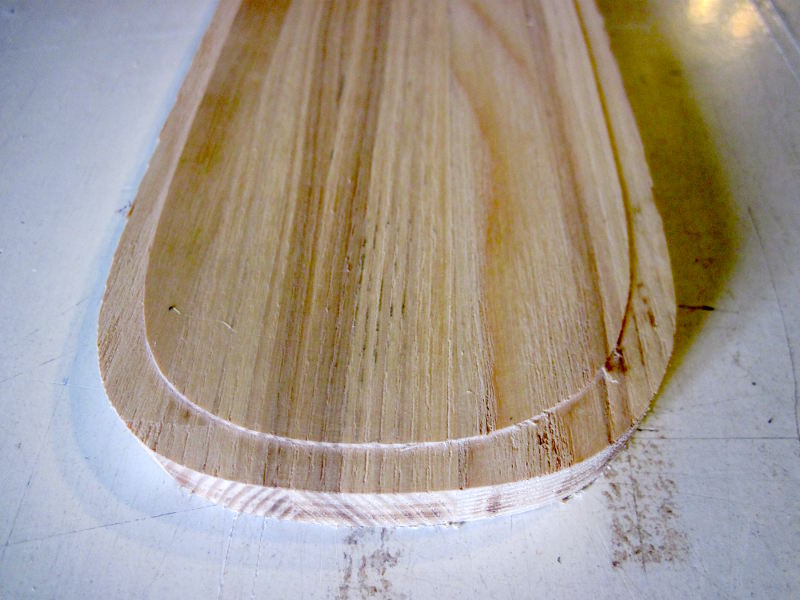
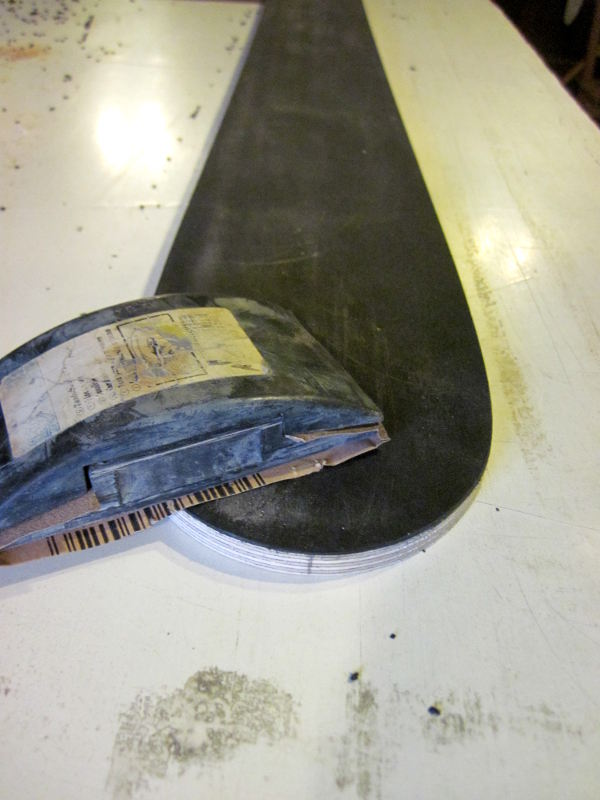
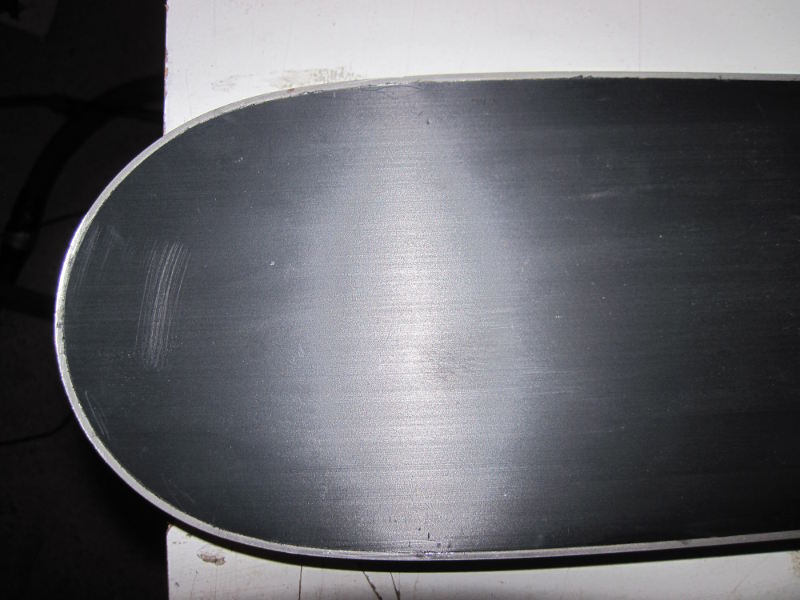
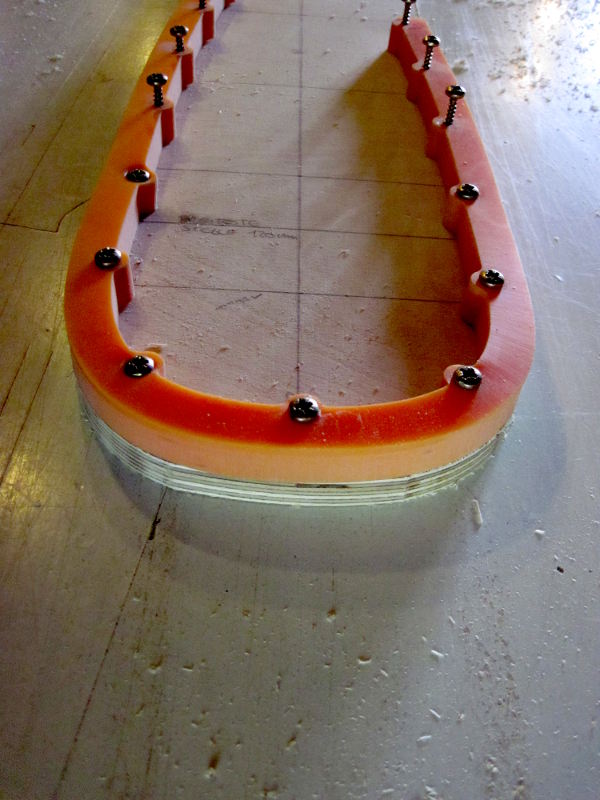
For the tip, I use another ruler which is bent:
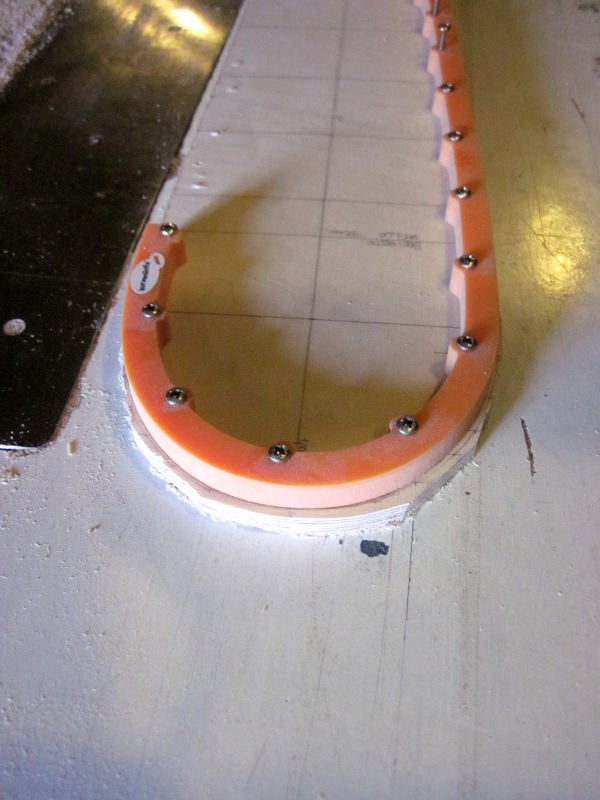
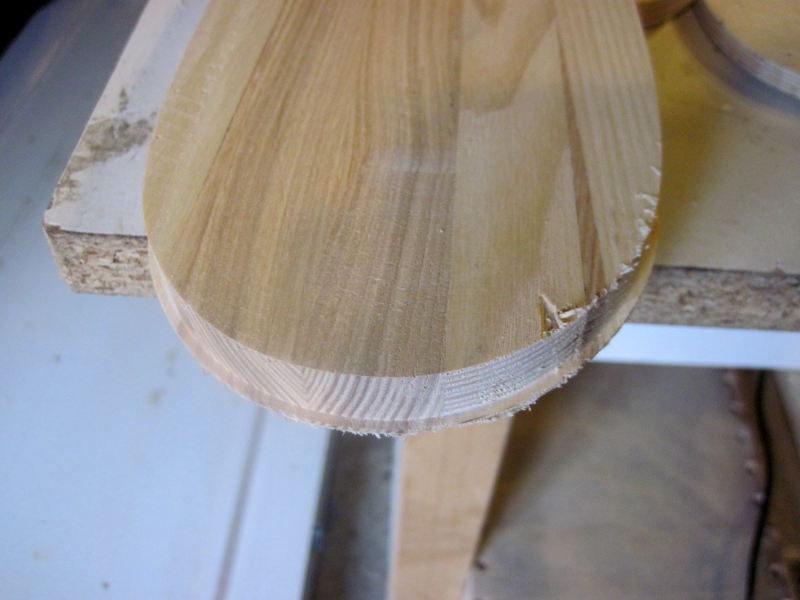
And the same for the tail:
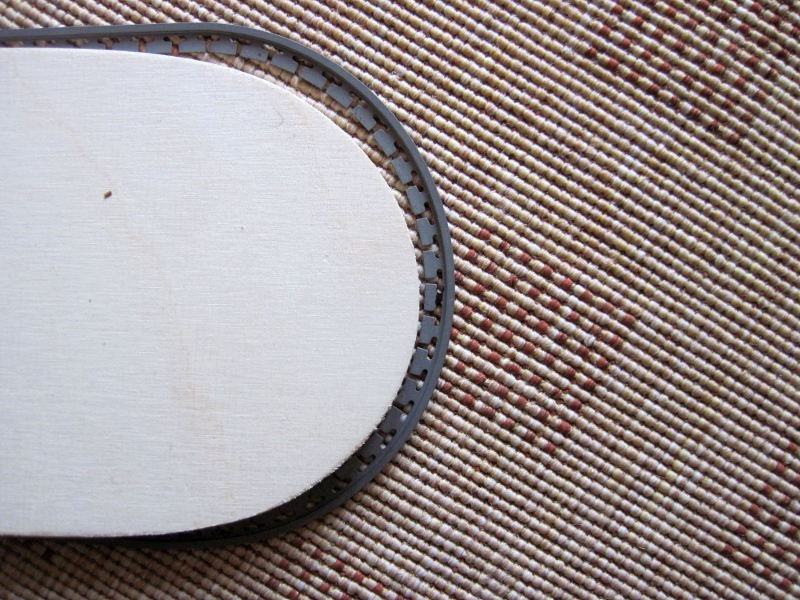
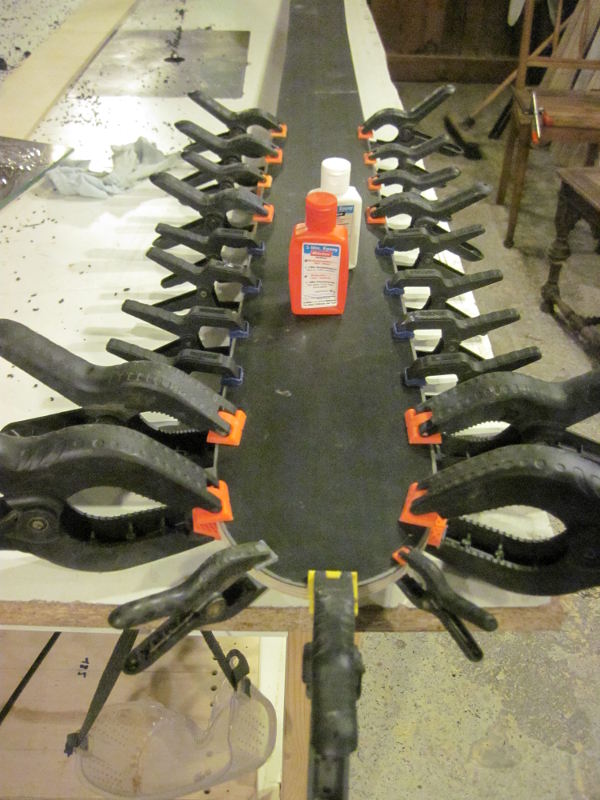
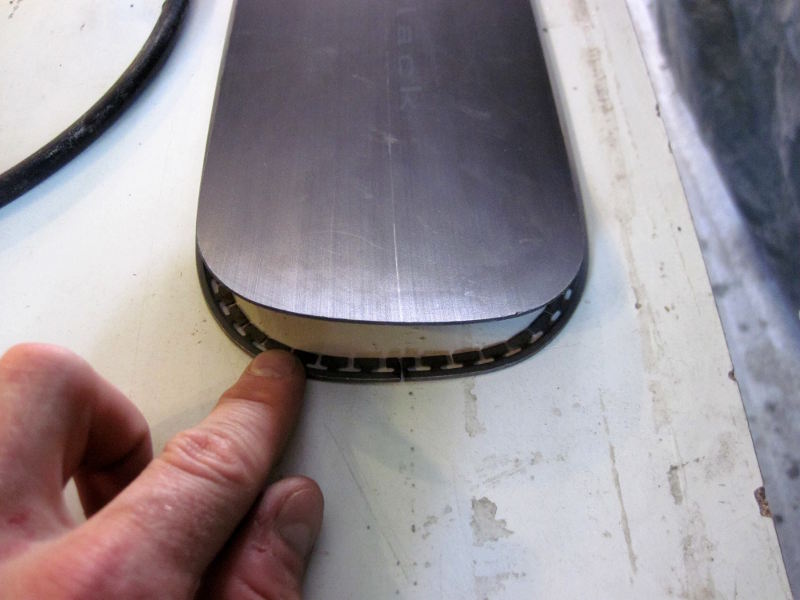
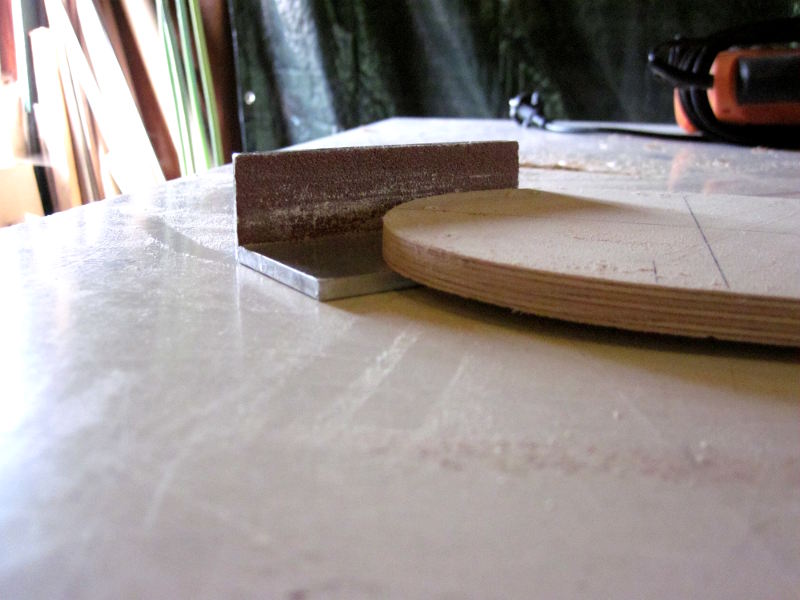
To smoothen transitions, tip and tail sections are sanded using a selfmade 90° sander:
Building the other templates
As the template will never be exactly symmetrical, it's time to create some more templates:
1) The ski template already built
2) one more having the ski shape (for making perfect symmetry and as a backup)
3) one for the base (having 2mm less on each side)
4) one for the woodcore (having 9.5mm less on each side - with the router bit I use for routing the wood core it makes the woodcore 6mm thinner on each side than the ski - leaving 6mm space for the poured sidewall).
So, how to make the template perfectly symmetric?
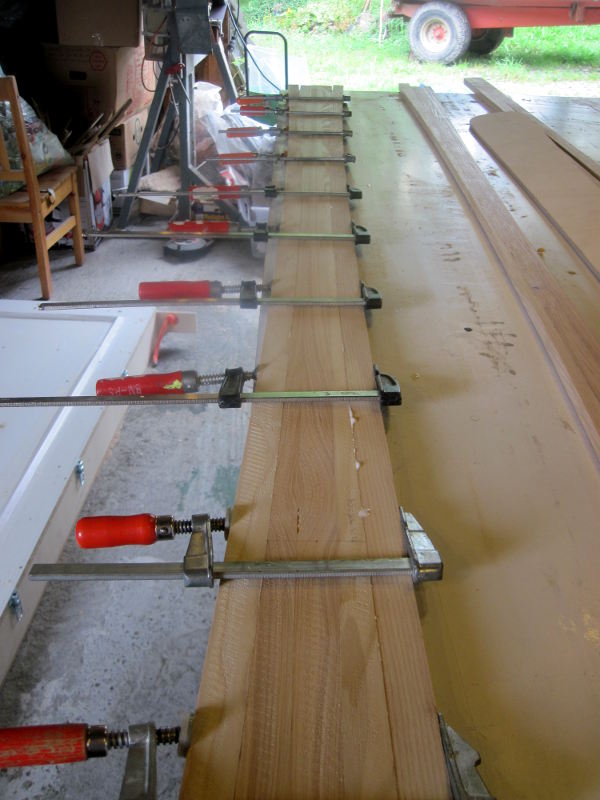
After routing template 2 using template 1, template 2 is turned around (so what was on the left before now is on the right and vice versa) and connected with template 1 again. now, template 2 is routed again using template 1, and template 1 is routed using template 2. This step only takes away very little material on some points, and the result is that both templates are symmetrical (left-right symmetry).
After having template 1 and 2 finished, routing 3 and 4 is an easy job.
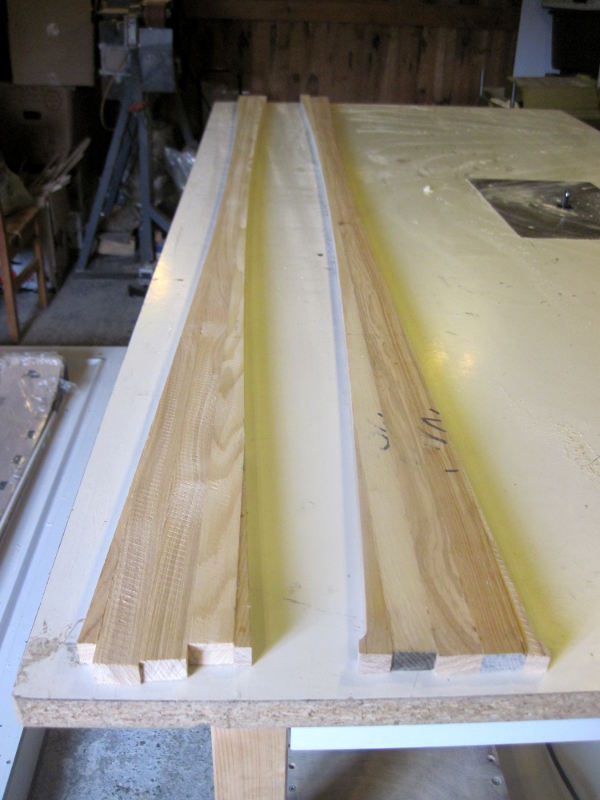
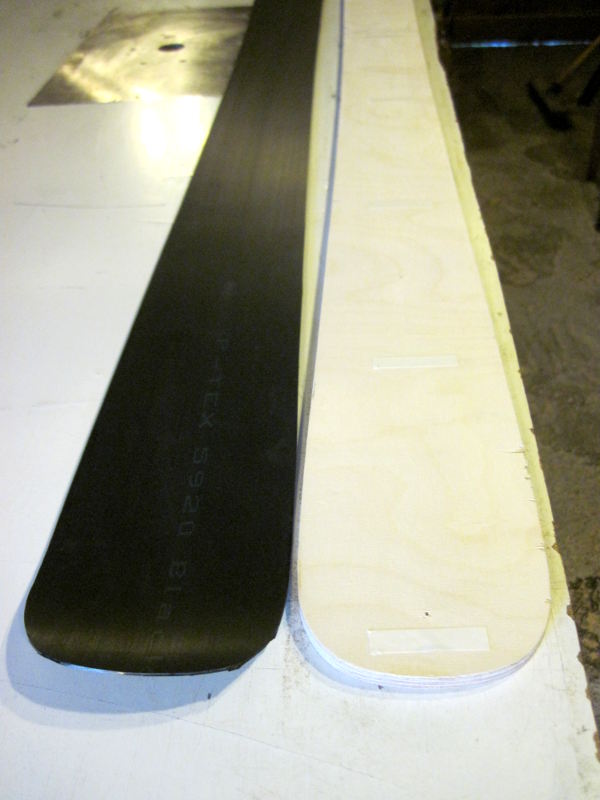
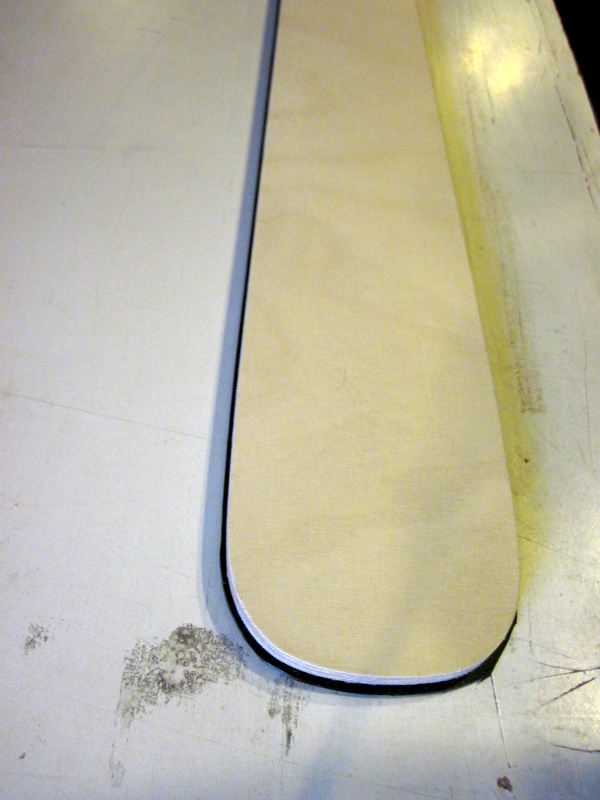
All 4 templates lined up, from left to right: 4, 3, 2, 1

as some of my friends frequently ask me how I build my skis, it's time to make a detailed documentation of the next build.
Building the ski template
As I don't have a CNC router, I do create my ski template off the computer. Well, half way. I have written a small program that calculates the sidecut: It tells me how wide the ski is at each point. So, I use the results of the program, and draw them on the wooden template (in this case 22,222 meters radius). The tip and tail are drawn free hand:
Next, I roughly cut the shape with the jigsaw:
Making the sidecut nicely is the hardest part. I built a ruler for it (Some L shaped aluminium with some holes in it) - using it creates quite a nice even sidecut:
Both sides of the sidecut routed:
For the tip, I use another ruler which is bent:
And the same for the tail:
To smoothen transitions, tip and tail sections are sanded using a selfmade 90° sander:
Building the other templates
As the template will never be exactly symmetrical, it's time to create some more templates:
1) The ski template already built
2) one more having the ski shape (for making perfect symmetry and as a backup)
3) one for the base (having 2mm less on each side)
4) one for the woodcore (having 9.5mm less on each side - with the router bit I use for routing the wood core it makes the woodcore 6mm thinner on each side than the ski - leaving 6mm space for the poured sidewall).
So, how to make the template perfectly symmetric?
After routing template 2 using template 1, template 2 is turned around (so what was on the left before now is on the right and vice versa) and connected with template 1 again. now, template 2 is routed again using template 1, and template 1 is routed using template 2. This step only takes away very little material on some points, and the result is that both templates are symmetrical (left-right symmetry).
After having template 1 and 2 finished, routing 3 and 4 is an easy job.
All 4 templates lined up, from left to right: 4, 3, 2, 1