
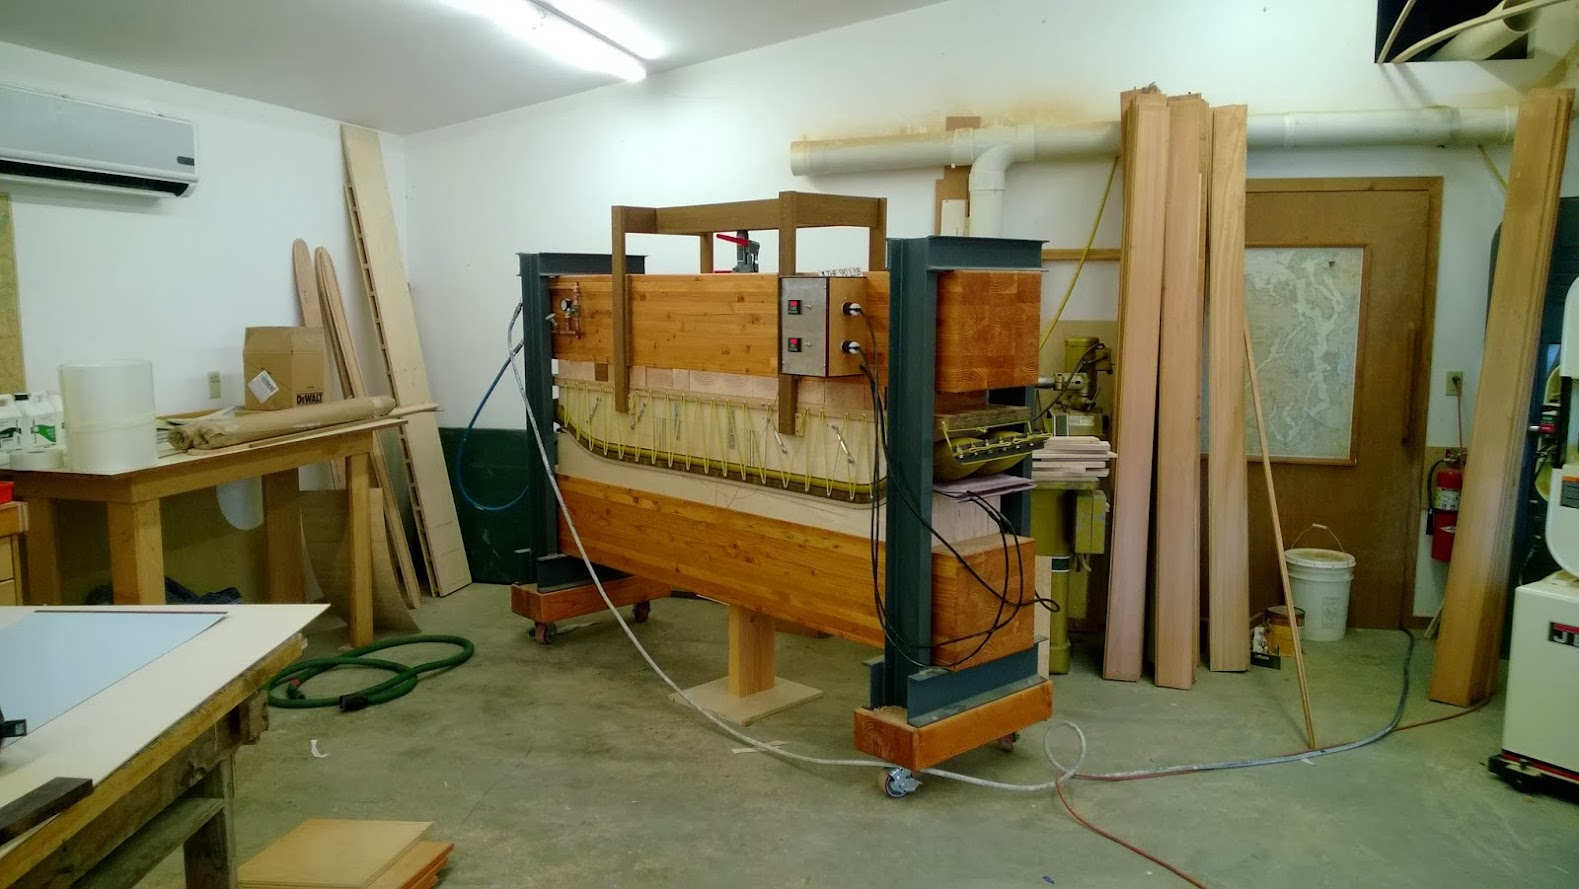
This is the adjustable height press. Our first mold iteration is similar to the PMGear Lhasa Pow. No carbon yet. We have built three pair so far using Super sap with heat top and bottom.
First pair. Red cedar and western maple core. 2-11-2 with 22 oz triax top/ bottom. Really soft!
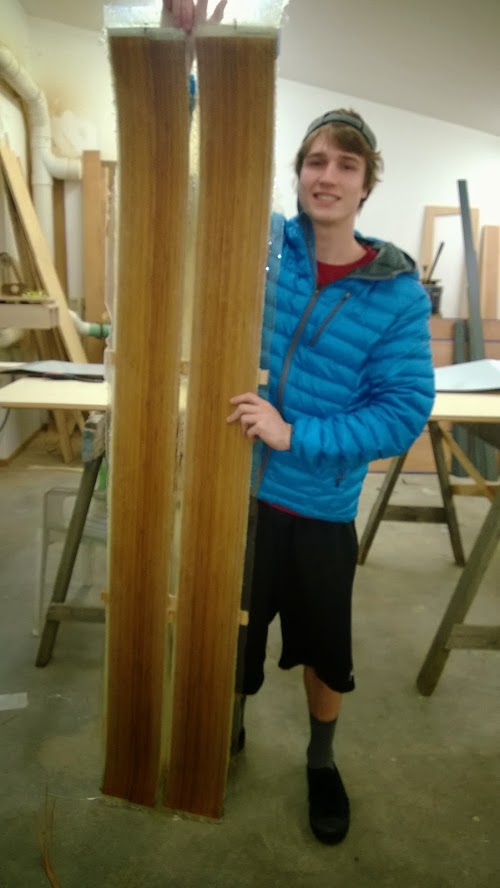
Third pair. Bamboo 3- 12- 3 with about 15 cm flat in the binding area.
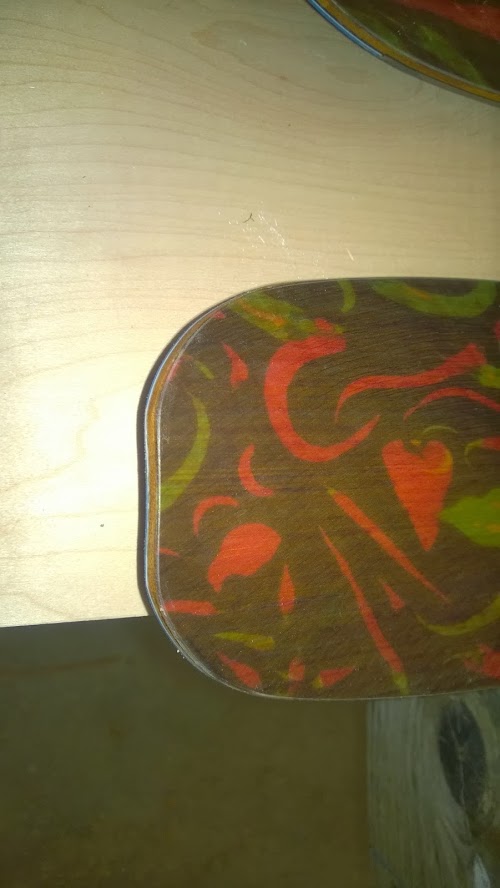
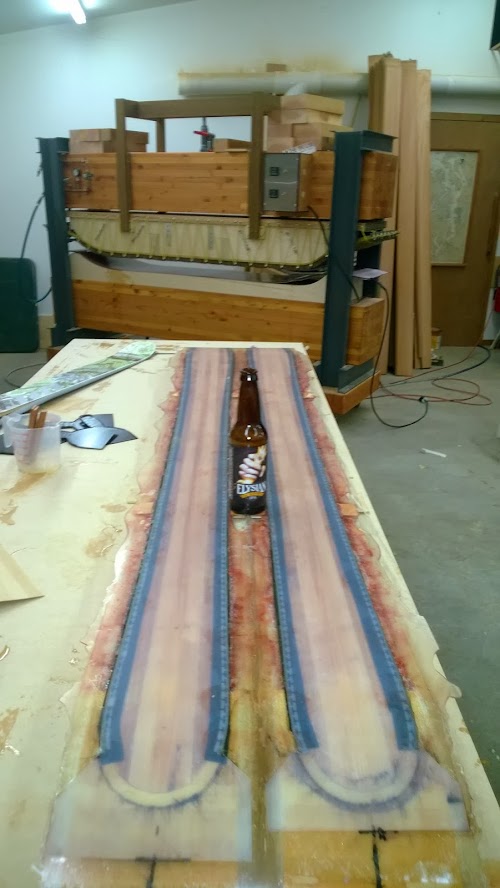
getting stiffer. Chili pepper Scarf donated by my wife, clear top sheet. I've put a couple days on these and I really like them.
The dimensions for the first three pair are 140- 112- 130.
What we have learned-
This hobby is addicting...
The bases have been fairly flat. I took the third pair to my local REI and the shop guy was very helpful and interested. Hesitant to remove much material, but it was his first pair of homemade skis... It's a new store, and the equipment is brand new.
We routed for the edge teeth, but notice the ski top is not flat. About 1" from each edge the top starts to round off? The first two we pressed at 55 psi the third at 50. Same results. Ipe cat track may not be up to the job?
On the second pair the top sheet has taken some abuse in only four days. Top sheet getting peeled back. One issue, I think, was the sidewall bevel- 7 degrees. Now doing 15 and spending more time easing the top edge.
Using Duravision 5050. Would nylon be more durable?
For now the bamboo cores/ sidewalls are a slick way to go. I got enough material from a flooring contractor to build 12 pair for $120.
We use spray adhesive to hold the bases in place along with core spacer blocks super glued to the cassette. Seems to work real well.
Cutting off the flash has worked well using the 10 TPI bosch blade designed for hard wood, (don't recall the #). 2 pair on one blade and still going.
Epoxy amounts are around 850-950g per pair.
Pressing-
Load press, pressurize, turn on heat, takes +- 20 min. to get to 180. Hold for 20 minutes, turn off heat and wait until temp. drops to 150. depressurize and remove.
Well, that's all for now. Thanks, Bill

![https://lh6.googleusercontent.com/-qVFh ... img][/img]](https://lh6.googleusercontent.com/-qVFhSeNVjdY/UwjfLw0a7tI/AAAAAAAAACw/X-GP9S4Tr1Q/w500-h888-no/WP_20140125_006.jpg%0A%0ASecond%20pair.%20%20Bamboo%202.5-11.5-2.5%20with%2022%200z%20triax%20top%20and%20bottom%20with%20clear%20top%20sheet.%20%20Still%20a%20bit%20soft,%20but%20my%20son%20really%20likes%20them%0A%0A%5Bimg%5D%5B/img%5D)
![https://lh6.googleusercontent.com/-WXBP ... img][/img]](https://lh6.googleusercontent.com/-WXBPjP94siw/UwjfVgCNYUI/AAAAAAAAADA/fjlzAGHSxIw/w500-h888-no/WP_20140126_008.jpg%0A%0A%5Bimg%5D%5B/img%5D)
![https://lh4.googleusercontent.com/-mwAB ... img][/img]](https://lh4.googleusercontent.com/-mwABr-3X9rw/Uwje3z4W7_I/AAAAAAAAACg/LoC3o8eVaB8/w500-h888-no/WP_20140214_001.jpg%0A%0A%5Bimg%5D%5B/img%5D%5Burl%5Dhttps://lh3.googleusercontent.com/-69O2LpTmvCA/UwjedTwdRNI/AAAAAAAAACA/xml7sAbvRkQ/w1579-h889-no/WP_20140214_005.jpg%0A%0A%5Bimg%5D%5B/img%5D)
![https://lh5.googleusercontent.com/-a57j ... img][/img]](https://lh5.googleusercontent.com/-a57jhskiqvA/UwjevAW2mtI/AAAAAAAAACQ/jRfuxsPdf60/w1579-h889-no/WP_20140214_003.jpg%0A%0A%5Bimg%5D%5B/img%5D)