Page 2 of 20
Posted: Fri Mar 15, 2013 5:14 pm
by gozaimaas
Skierguy wrote:How about using either an 8" or 10" dia. PVC pipe for a single ski's pressure chamber? It should give you enough more than enough space to make a small shelf within the pipe to place the core level. An 8” pipe should give you at least 7 ½” of usable width and a 10” pipe 9 ½” (Assuming 1 ½” tall working space)
One side with a glued cap and the other a threaded cap you should be able to slide the core in and thread the cap onto the pipe with plenty of time to pump the chamber up to pressure. Assuming you used schedule 40 pipe, it has a max pressure of 160 psi (water).
That would work
Posted: Fri Mar 15, 2013 5:16 pm
by gozaimaas
Richuk wrote:Would it be possible to sandwich a piece of plastic (none stick) between two cores. Place the stack in the press, pressurise and pump the urethane in under pressure?
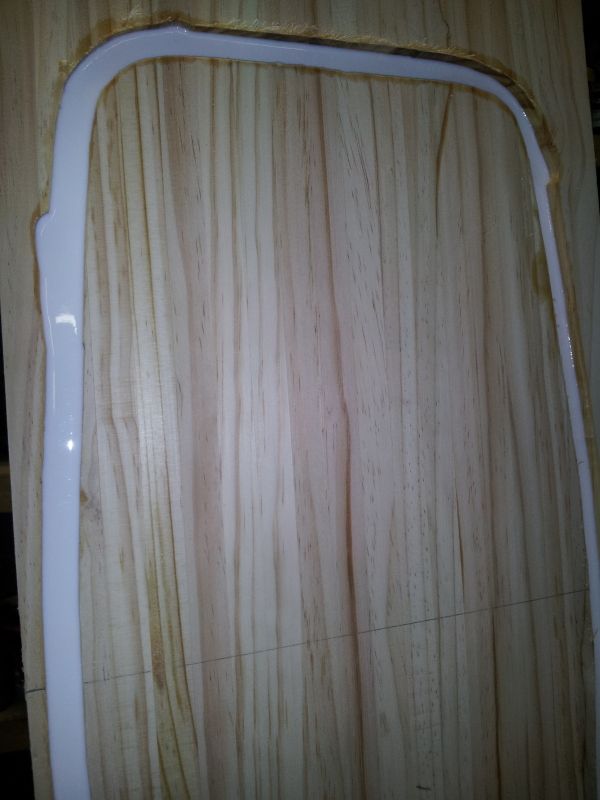
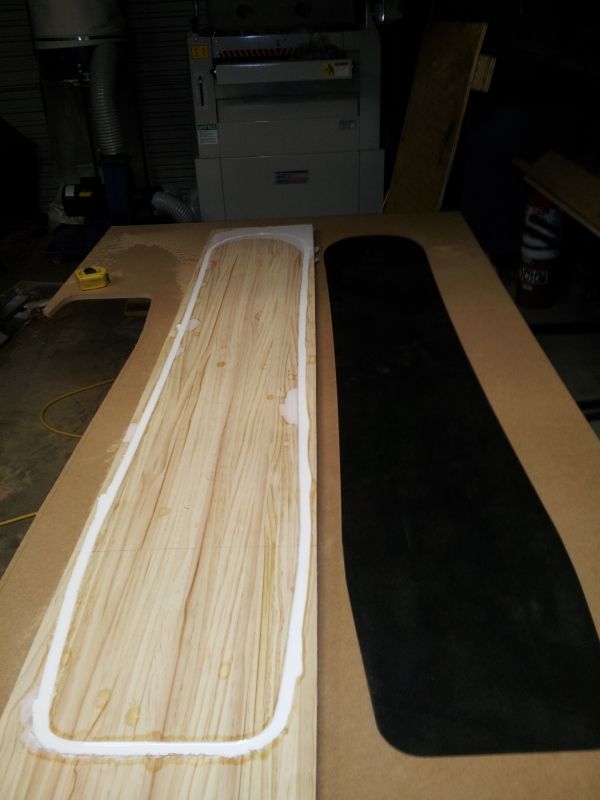
The urethane would be in a pressurised pot, open the tap and the fluid runs in. The pressured bead would flow around a circuit. The compromise would be a 2mm section - a dividing wall, so that the bead of urethane flowed from point A to point B, passes through the plastic into the top layer (second core) and exit via the bleeder hole. Both cores would have this 2mm compromise.
Thinking there would need to be a thin none stick film - polyprop, silicon paper etc, between the core and the plastic or hardboard or whatever. When it come out of the press, peel back the film
Works in theory but I think in real life it would be too complicated. All your lines/hoses would be throw aways every time too.
Posted: Mon Sep 16, 2013 5:58 am
by gozaimaas
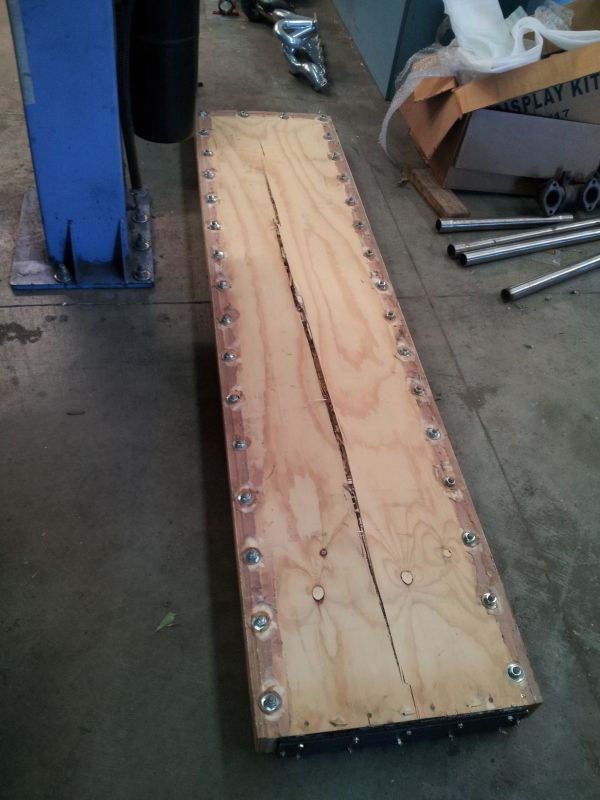
After fixing all the leaks in my plywood pressure box I pumped it up with 30 psi and it made noises like an old ship at sea, then bang. It was time to move on lol
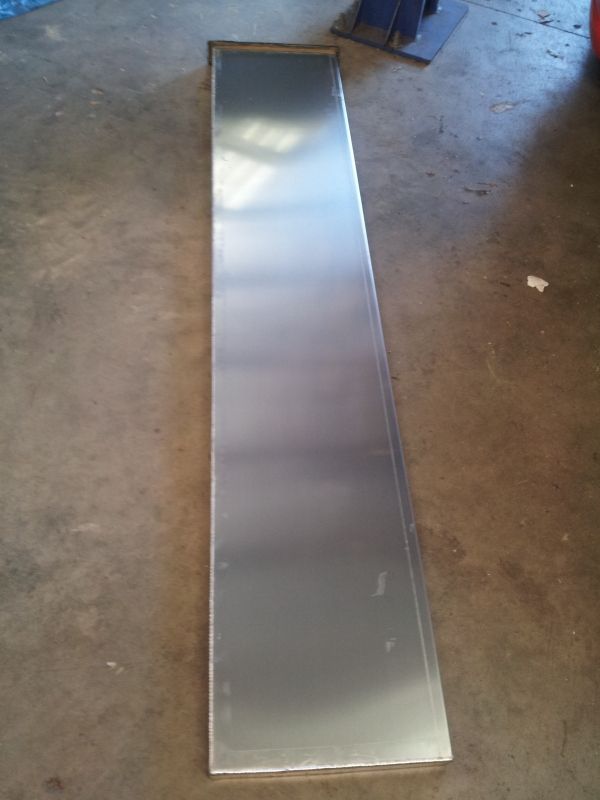
So I built this from 3.0mm aluminium sheet
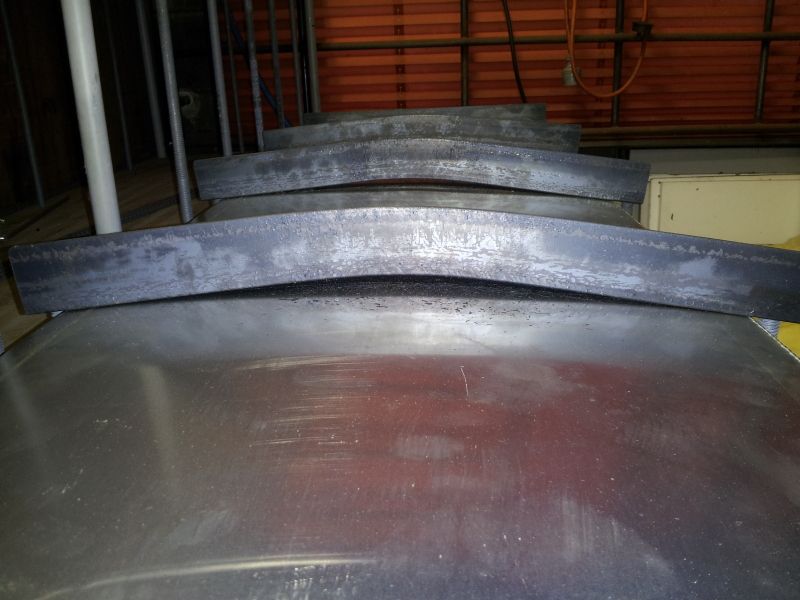
And braced it up with 50x50x2.5 steel angle to "stop" it from flexing too much. The angle failed at 40psi but the box survived
So I stepped it up with 50x25x2.5 rectangle tube
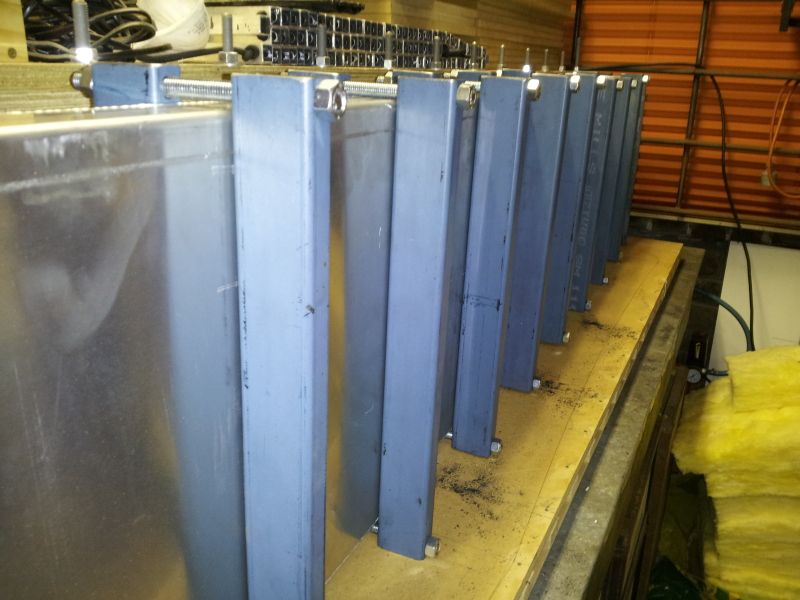
Problem solved, the results speak for themselves. No bubbles at all and a really nice finish. This is at just 35 psi.
Posted: Mon Sep 16, 2013 9:38 am
by skidesmond
Nice job. Way to stick with it. Sound of the plywood box exploding probably would have giving me enough reason to stop. Pressure is a very scary thing

Posted: Mon Sep 16, 2013 4:43 pm
by gozaimaas
I was expecting the plywood box to fail so it wasnt a huge shock to me when it did.
What I wasnt expecting was the steel angle to bend like that!
Posted: Thu Sep 19, 2013 12:25 am
by dbabicwa
305 has 30 mins pot time?
This is your enemy. Use a fast one like 325 I think.
I am using 310 atm and this is the result after degassing for 17min and than pouring ( 18-20 mins pot life):

The degassed one is on right side. In the middle is non degassed one.
On the bottom is foamed example (wet bamboo). In overall 4 experiments.
Look at here:
http://boardbuilders-forum.1077691.n5.n ... 34i20.html
Posted: Thu Sep 19, 2013 5:10 pm
by gozaimaas
305 has 7 min pot life and 30 min demold time.
310 has 20 min pot life and 2-4 hours demold time.
So the one you are using is the slow one. The results I am getting with the pressure chamber are incredible
Posted: Thu Sep 19, 2013 6:40 pm
by dbabicwa
Ah, ok than!
Did you try 305 with no pressure chamber? Do you seal your wood ?
I keep 310 in a vac pot and pour at the last minute. Some bubbles at the top surface, not many.
305 might be a go if it works well with a PU pigments.
Posted: Thu Sep 19, 2013 7:51 pm
by gozaimaas
Yeah I started with 305 pouring at atmospheric pressure. It worked ok but definately had bubbles in it, the bubbles seemed to form right at the end as it went off and the temperature increased.
I dont seal the wood, I feel its best to let the urethane bond to the wood instead of having a possible shear layer in between.
If you can do it, definately make a pressure chamber like mine, it will change your life haha
Posted: Sun Sep 22, 2013 3:59 am
by SleepingAwake
I don't have a whole lot of experience with PU, but I pour the sidewalls of my kiteboards with a epoxy/cotton mix. I made very good results this way.
But anyway. PU's are sensitive to humidity. have you ever tried to seal the channel using a fast curing clear coat?
Cheers, Reto
Posted: Sun Sep 22, 2013 8:58 am
by chrismp
@dbabicwa: thanks for sharing your findings! We always degas the resin and hardener seperately before mixing them...this also reduces the amount of bubbles. How did you seal the channels in your samples?
@gozaimaas: that aluminum box looks like a great idea! Any info on its construction would be much appreciated (especially how you load the cores into it and how it's sealed)!
Posted: Sun Sep 22, 2013 11:16 pm
by gozaimaas
the cores load into the end of the box where I have a flange and steel end cap. Ill take some pics tonight
Posted: Mon Sep 23, 2013 8:38 am
by chrismp
Thanks! Did you weld the rest of the box?
Posted: Mon Sep 23, 2013 3:55 pm
by gozaimaas
Here are some pics chris.
yes I tig welded the box from 3.0mm aluminium sheet. Dimentions are 400x50x2100mm and I have the supports spaced with gaps of 180mm
The end flange

End flange again

End plate with silicone gasket

End plate installed


[/QUOTE]
Posted: Mon Sep 23, 2013 5:50 pm
by MontuckyMadman
Why did you use al?
Weight issue?
Scrap material?
Seems like steel would be cheaper and easier.