Hey Gang, got back on the horse 7 days after surgery. and this is what I came up with...
I was happy with my first set but there was areas that I absolutely could improve on.
Pile of stuff:
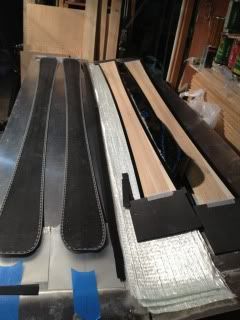
unicarbon is sexy:

my press got a little "happy" and started oozing:
So they multiplied...
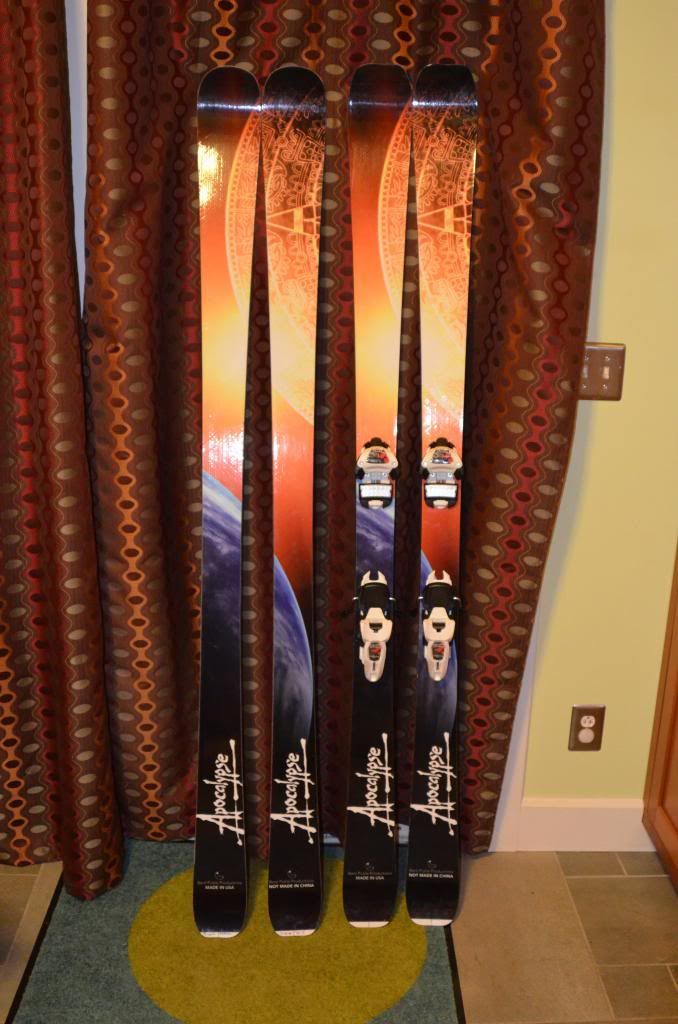
First. my original tip shape was soooo f'n hard to get the edges to shape to so I reshaped the tips to a more traditional shape. I forgot about the tails and still had a cussing fest when I did those... my next set of templates I'm not going to do full wraps, 3/4 is the way to go!
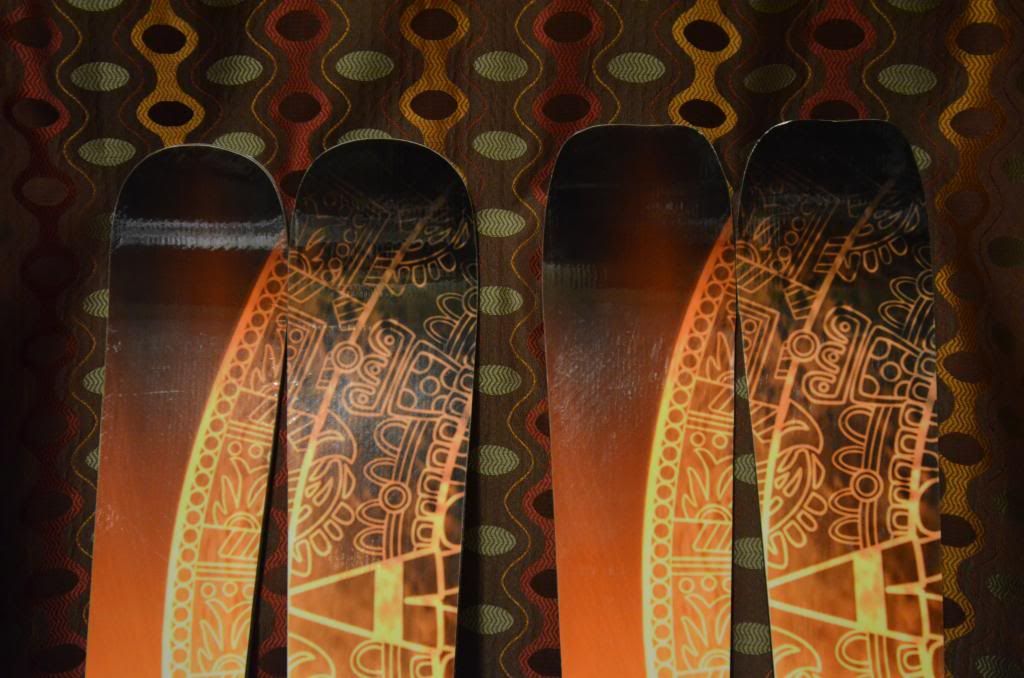
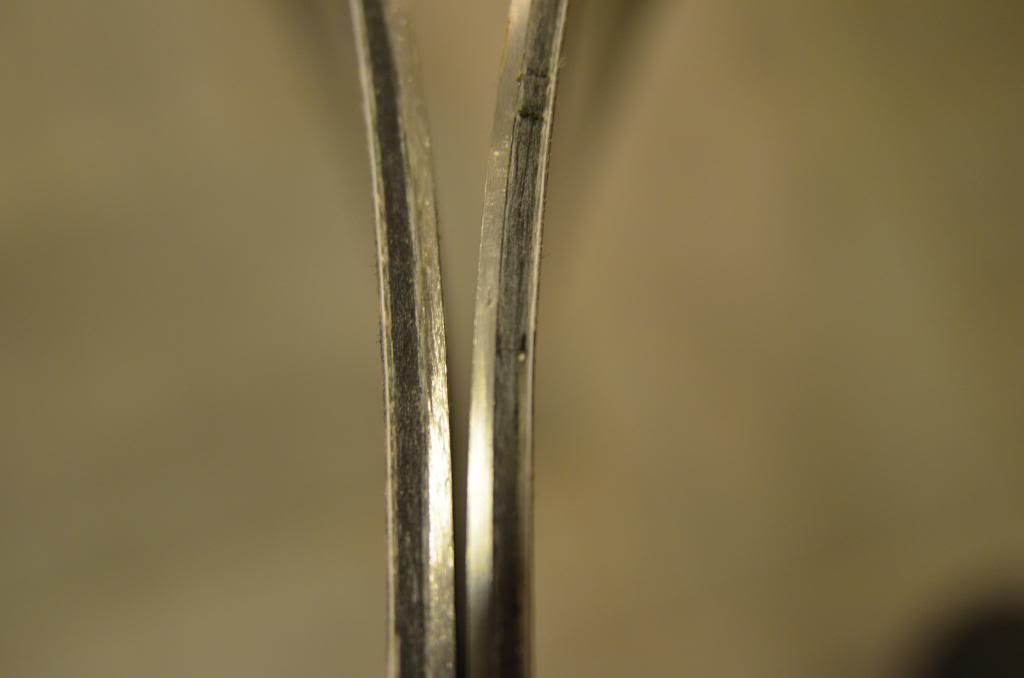
I had slight separation of the tip spacers and side wall. I have that process nailed! left ski is the new one and right is the old. its hard to see it on the old ski (middle of photo).
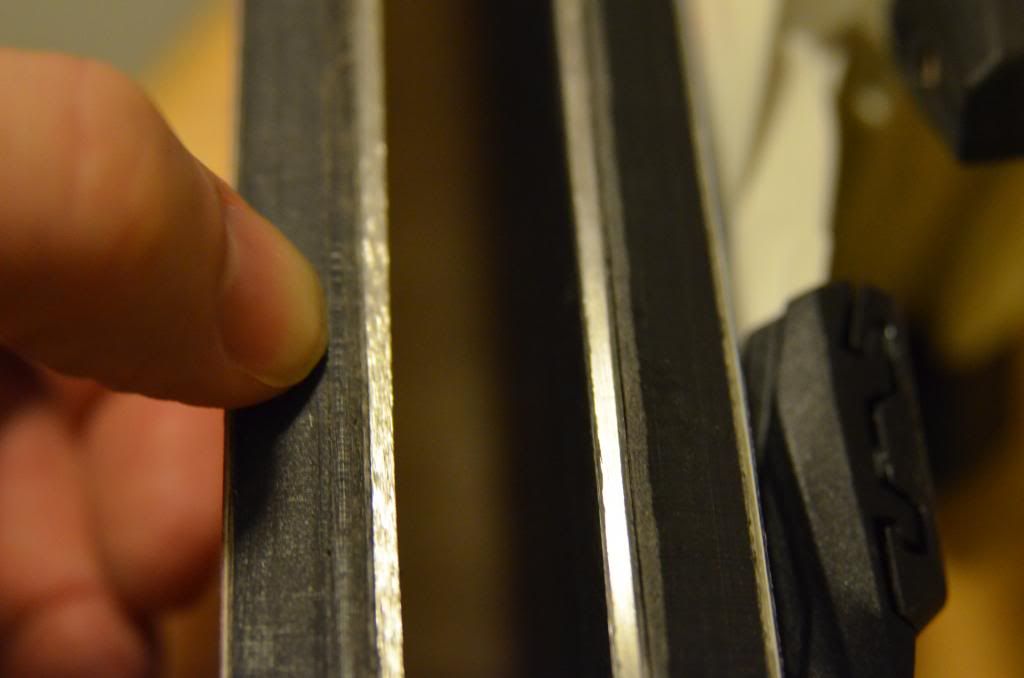
here in this photo you can see how I had some small voids in the side wall (top photo). I got rid of that problem:

I made the area above the edge slightly thicker. I like this look better.
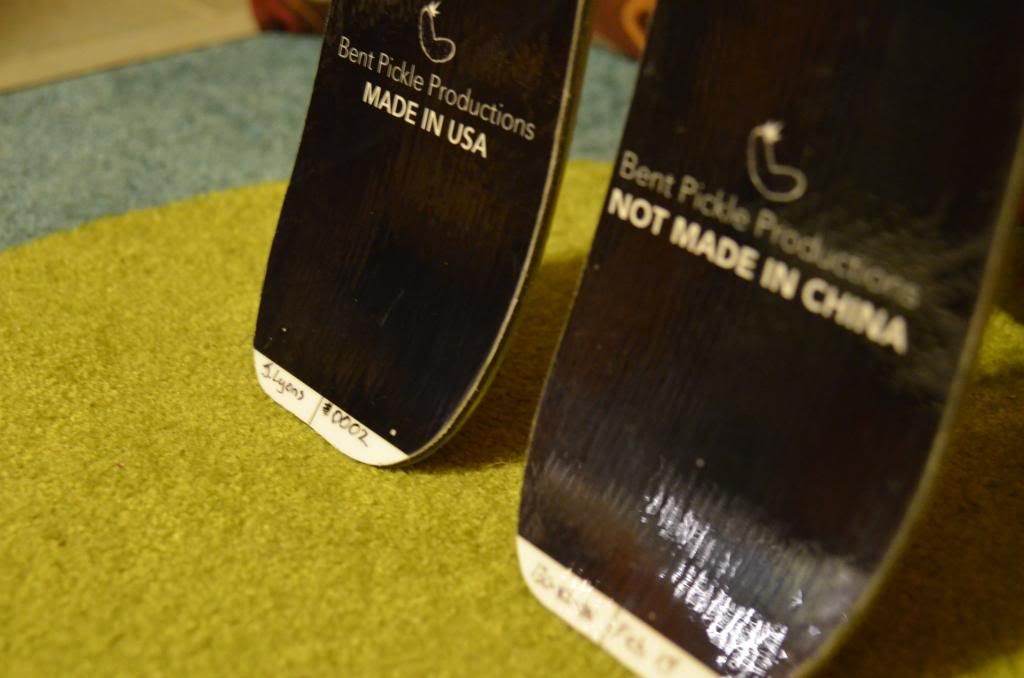
And I'm sending these off to my best bud (my ski season and maybe next is not looking so hot). He has broken every pair of skis he has ever owned... good QA? I hope so. so the only "problem" I had with this set was the right ski got shifted ever so slightly. You can see the "Not Made in China" is not centered. I have a good idea how this happened and this issue will be corrected with set number 3.
Some info on the new set:
base 4001
edges
VDS
22oz triaxel
4.1 Oz Unicarbon 2.5"
VDS
Core (ash/poplar) 2.2-12.2-2.2
VDS
4.1 Oz Unicarbon 2.5"
22oz triaxel
top sheet
They are still not as stiff as I would like them. I did a test comparing them to my first set i built. I put the skis between two saw horses and hung weights from the center of the ski. my first set sagged 25mm second set sagged 16.5mm. so the Unicarbon helped but I'm thinking about stepping up to 9 oz unicarbon for the third set and then the fourth set will be an adjustment to the core thickness.
Things I have learned (this is for you "first time builders")
1.) I don't care how bad ass, smart and the amount that you have read. Trust me I have been reading since 2008 and read everything before that.... KEEP IT SIMPLE for the first pair and take my advice:
-Don't do a crazy tip keep it "round" you'll have plenty of time to get down and crazy.
-Don't do a full edge wrap. you'll thank me later...
-Don't use a cool graphic, save your money and get a clear top/bottom sheet. That way you can see inside the ski and see where you went wrong. Trust me, something is going to go wrong.
-Make a journal. write down EVERYTHING. I have most of the info from my first build but there are some gaps that I wish I captured.
-Thank everyone that gives you guidance. (thank you all)
- When you take them in to get ground try not to have to big of a shit eating grin, trust me it's going to be AWESOME when you tell them you built the skis!
-Give the ski shop that grinds all the epoxy off your bases beer. and not PBR.
- ski the shit out of your first pair. try to break them. abuse them. this way you can find out where you can improve them.
Finally sit down and drink a beer; you seriously just made a pair of skis, no mater how crappy, they are yours and you're going to ski them and be O so proud. Awesome!