

Yes this makes sense. Maybe I'm over thinking this. But depending on the length of the ski, that 55% would vary. So as long as you mark the apex of the camber on the mold and match this with the 55% mark on your ski then you're good. No? Am I splitting hairs here or am I missing something more obvious?More wrote:Wouldn't it make more sense to machine your camber board offset for a boot centre in a traditional sort of place, ~55%? then you won't have to offset all your skis.
Ski building awesomeness 12/13
Moderators: Head Monkey, kelvin, bigKam, skidesmond, chrismp
Movement with ski building has slowed. Newborns take up a lot of your time... 
So I finally got around to making the bottom mold section. Normally my work area is not this messy, i'm just swamped with work and cleanup has been on the back burner...
So I built a jig to hold the ribs of the mold so it would be tight when I routed it to shape:
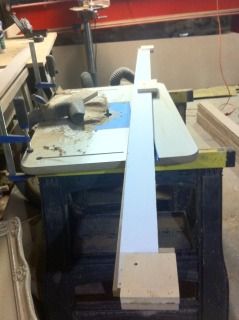
I'm pleased with it's performance, I wouldn't change much about it.
Here is the bottom mold constructed:
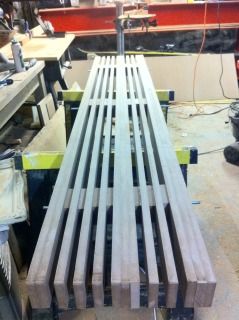
Overall, I'm very happy with how it turned out. used spacers from scraps of MDF laying around in all the saw dust. If you've never done this. you can not image the amount of dust there will be. Wear that dust mask boys and girls!
additional notes:
I know the spacing is off on the ribs. I'm trying to keep the mold and tip spacers at 15" to fit in the 16" press. This will get skinned with a 3/4 MDF sheet. Believe it or not Home Depot has run out of MDF two weeks in a row and Lowes doesn't have panel saw two make these pieces more manageable.
Next on the to do list:
Heat Blanket controller should be wired up this week.
Core Profiler. there seems to be so many verities to choose from. One that I have not seen is one that is hooked up to a shop vac to suck the core down. why not? I think this is the route that I'm going to try.
Question:
How do i get bigger photos? I'm using Photobucket and there doesn't seem to be an option.
So I finally got around to making the bottom mold section. Normally my work area is not this messy, i'm just swamped with work and cleanup has been on the back burner...
So I built a jig to hold the ribs of the mold so it would be tight when I routed it to shape:
I'm pleased with it's performance, I wouldn't change much about it.
Here is the bottom mold constructed:
Overall, I'm very happy with how it turned out. used spacers from scraps of MDF laying around in all the saw dust. If you've never done this. you can not image the amount of dust there will be. Wear that dust mask boys and girls!
additional notes:
I know the spacing is off on the ribs. I'm trying to keep the mold and tip spacers at 15" to fit in the 16" press. This will get skinned with a 3/4 MDF sheet. Believe it or not Home Depot has run out of MDF two weeks in a row and Lowes doesn't have panel saw two make these pieces more manageable.
Next on the to do list:
Heat Blanket controller should be wired up this week.
Core Profiler. there seems to be so many verities to choose from. One that I have not seen is one that is hooked up to a shop vac to suck the core down. why not? I think this is the route that I'm going to try.
Question:
How do i get bigger photos? I'm using Photobucket and there doesn't seem to be an option.
On the upload screen there is a "customize your upload options" link.
You can select the size there.
I've been going 800x600. Sometimes smaller would be better but never think to change it when I upload.
sam
You can select the size there.
I've been going 800x600. Sometimes smaller would be better but never think to change it when I upload.
sam
You don't even have a legit signature, nothing to reveal who you are and what you do...
Best of luck to you. (uneva)
Best of luck to you. (uneva)
Sammers: thanks man. didn't see the "customize your upload options" i am blind in one eye and can't see out the other...
okay so a brief update:
I put building on a hold, I had the inlaws in town and they made me drink lots of beer and liquior... (not that i was complaining)
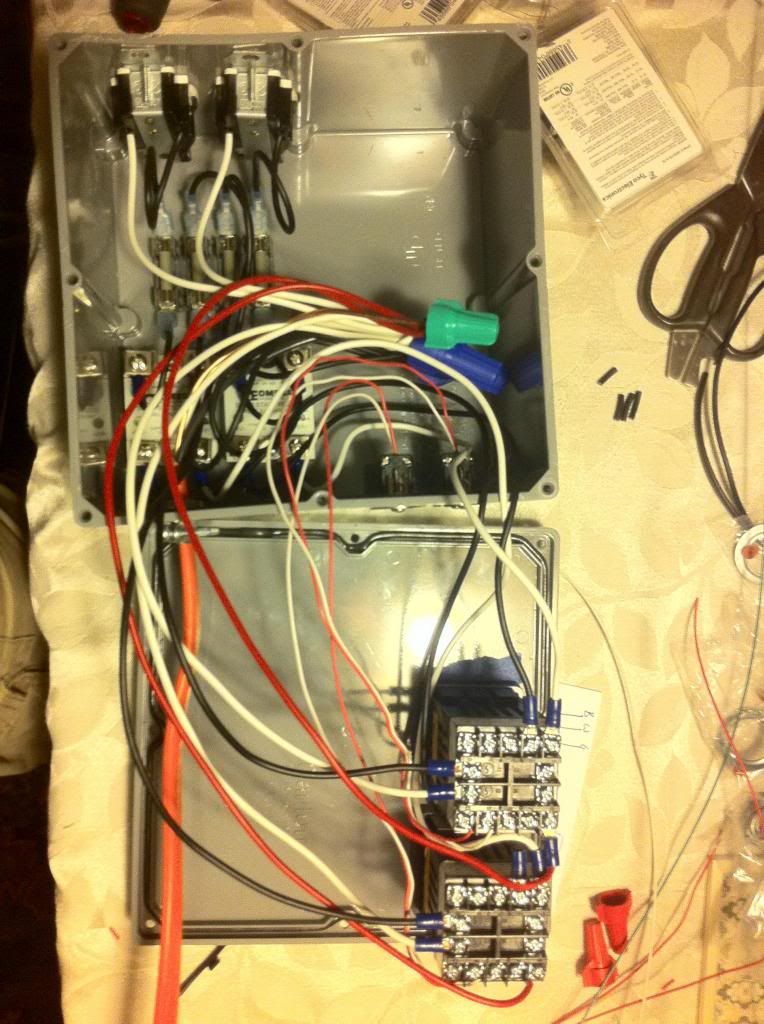
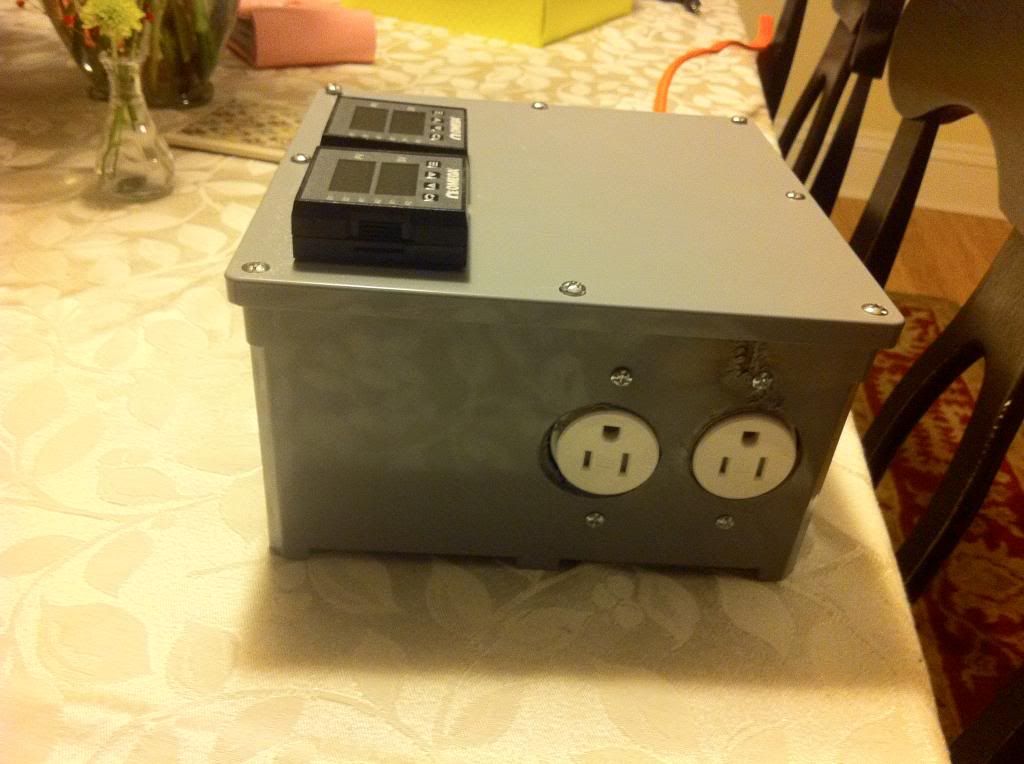
but i did manage to build the heating blanket controler, i used a 8"x8" box:
the guts:
The face

Power inlet and Thermocouple conneciton poitns:
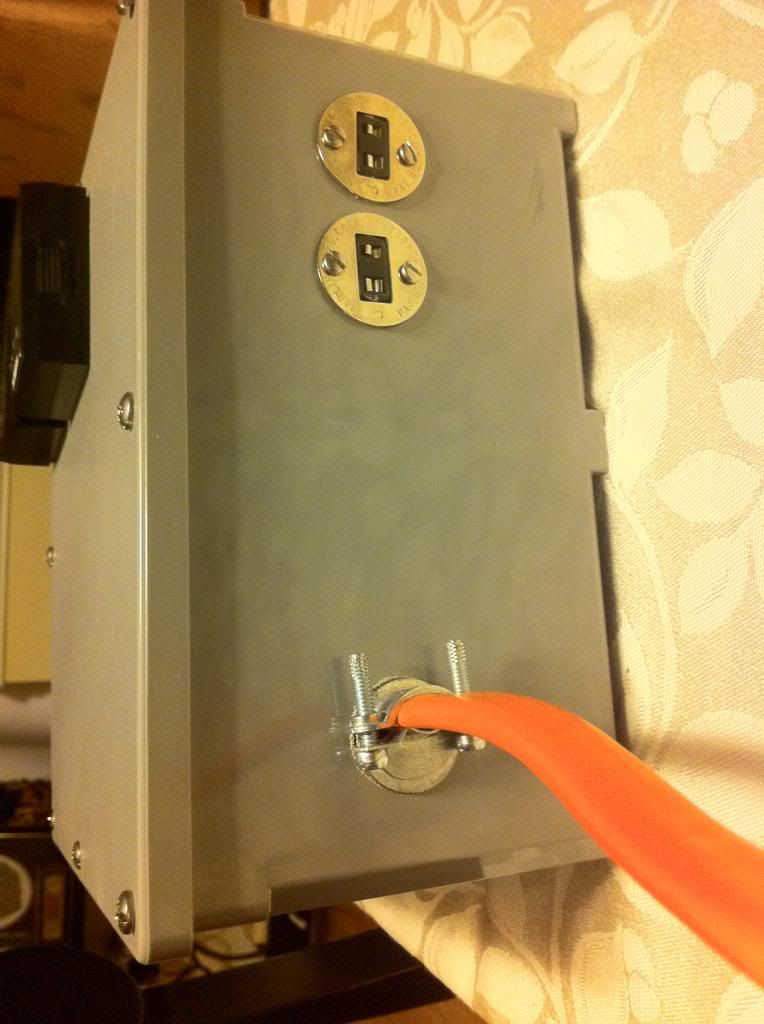
Note: Do NOT use a holesaw to try to drill a hole in the side of the container... you can see what i mean:
Okay rule number one for me "poor people spend money..."
guess which ones were made in China and which ones were made in Alaska... must follow rule number one.
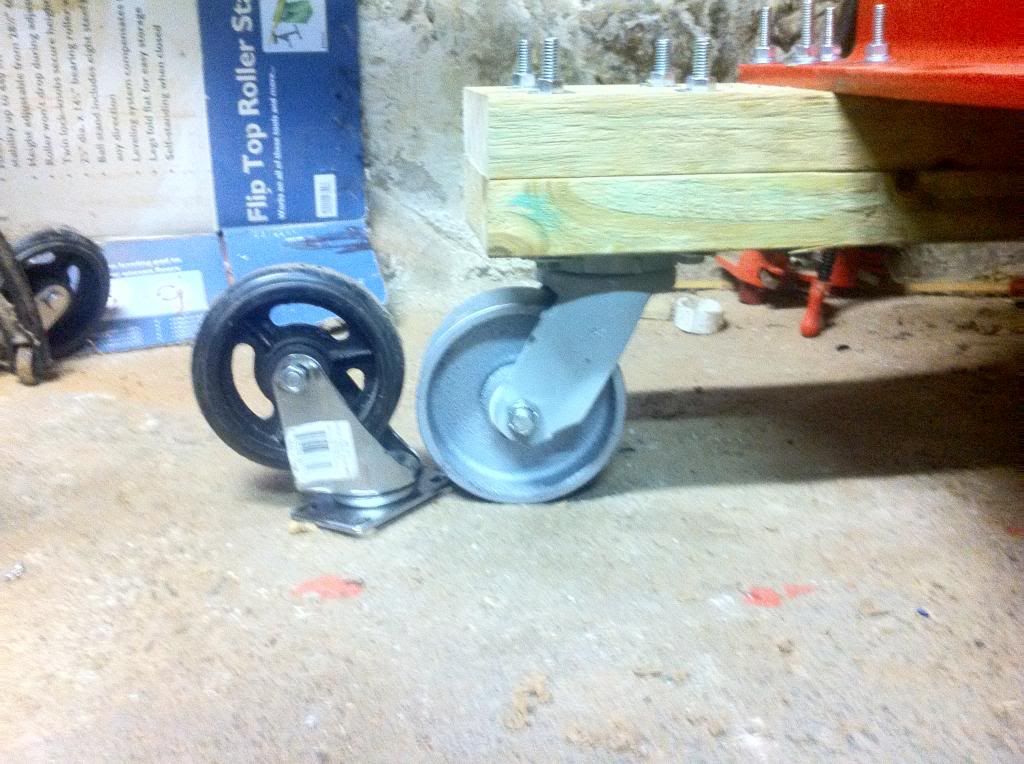
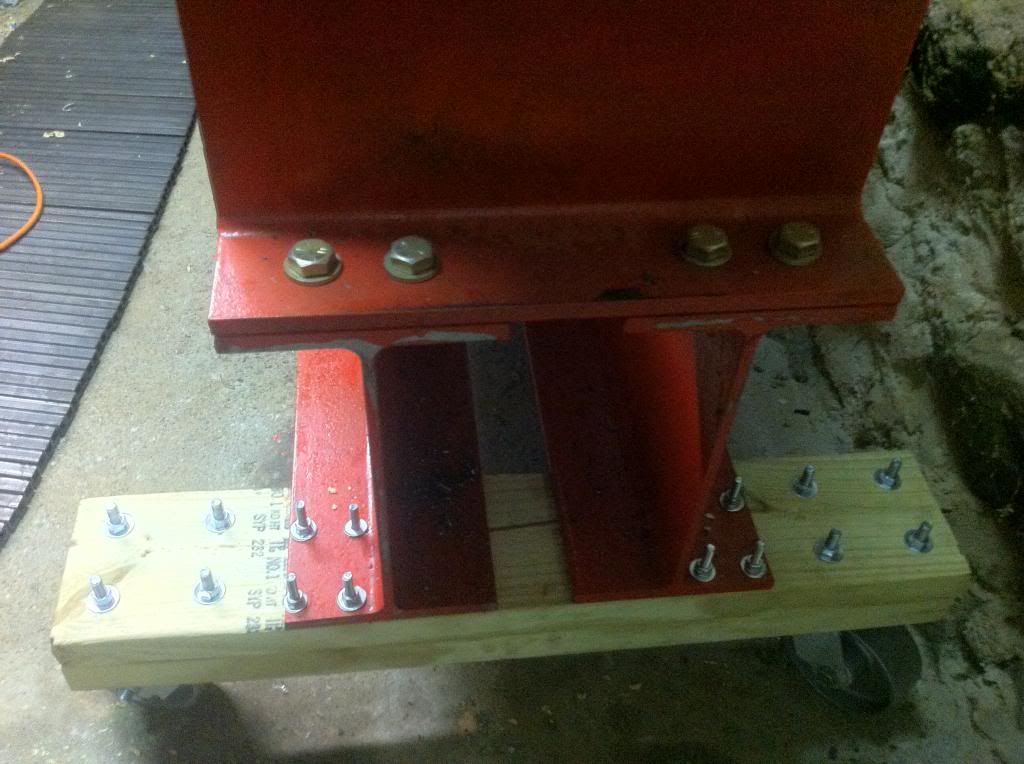
I used the old holes that held the China POS casters to hold the new support base. I really like it this way. The press roles on my completely uneven basement floor like a dream. Yaaaaa Alaska! if anyone is looking for casters, I highly suggest going with a greese fitted caster that has all metal wheels. I got these from Mcmaster, two thumbs up!
To do list:
Planner Crib
Top Mold
Material Order!!! (PM me with your favorate distributors or if you have a ton of someting you're trying to unload, I'm going to place my order this week, I'm very excited)
okay so a brief update:
I put building on a hold, I had the inlaws in town and they made me drink lots of beer and liquior... (not that i was complaining)
but i did manage to build the heating blanket controler, i used a 8"x8" box:
the guts:
The face
Power inlet and Thermocouple conneciton poitns:
Note: Do NOT use a holesaw to try to drill a hole in the side of the container... you can see what i mean:
Okay rule number one for me "poor people spend money..."
guess which ones were made in China and which ones were made in Alaska... must follow rule number one.
I used the old holes that held the China POS casters to hold the new support base. I really like it this way. The press roles on my completely uneven basement floor like a dream. Yaaaaa Alaska! if anyone is looking for casters, I highly suggest going with a greese fitted caster that has all metal wheels. I got these from Mcmaster, two thumbs up!
To do list:
Planner Crib
Top Mold
Material Order!!! (PM me with your favorate distributors or if you have a ton of someting you're trying to unload, I'm going to place my order this week, I'm very excited)
-
troublemaker
- Posts: 217
- Joined: Sun Jan 22, 2012 10:03 pm
- Location: The Dalles Oregon
-
troublemaker
- Posts: 217
- Joined: Sun Jan 22, 2012 10:03 pm
- Location: The Dalles Oregon
I have a question about bonding UHMW to the core. Do you guys flame treat the side that you are going to bond it to the core?
I found this forum:
viewtopic.php?t=464&postdays=0&postorder=asc&start=0
but it was so long ago i was wondering if anyone has had any uses with just using gorilla glue?
I know i read somewhere on here were it looked like one of the companies was just using window tape? does this sound right. Any insight would be greatly appreciated.
When I got it from the company the water lays flat on the surface, it does not bead up:
It's a pretty good practice to reflame all/any plastics before any sort of bonding.
I lay up a full stick of 10.5cm wide sidewall to some hardwood about 5mm thick using my press and my ski epoxy. I reflame the abraded side as a rule. With this method I get great sidewall bonding and I only had 1 core get damaged while profiling out of 11 pair this season. This damage was more likely due to dull planer blades instead of poor bonding
I lay up a full stick of 10.5cm wide sidewall to some hardwood about 5mm thick using my press and my ski epoxy. I reflame the abraded side as a rule. With this method I get great sidewall bonding and I only had 1 core get damaged while profiling out of 11 pair this season. This damage was more likely due to dull planer blades instead of poor bonding
Fighting gravity on a daily basis
www.Whiteroomcustomskis.com
www.Whiteroomcustomskis.com
You only want to pass the very tip of the torch over the plastics.
I copied this from west systems web site
To flame treat a plastic surface, hold a propane torch so the flame just touches the surface and move it across the surface at a rate of 12 or 16 inches per second. Keep the torch moving and overlap the previous pass slightly. When done correctly, the surface will not discolor or burn in any obvious way. This technique oxidizes the surface and improves adhesion. For best adhesion, bond to the surface within 30 minutes of treatment.
Fighting gravity on a daily basis
www.Whiteroomcustomskis.com
www.Whiteroomcustomskis.com
Update:
picked up the sidewall material. My daughter was very excited

Went and picked up my templates. Marshall did a great job!
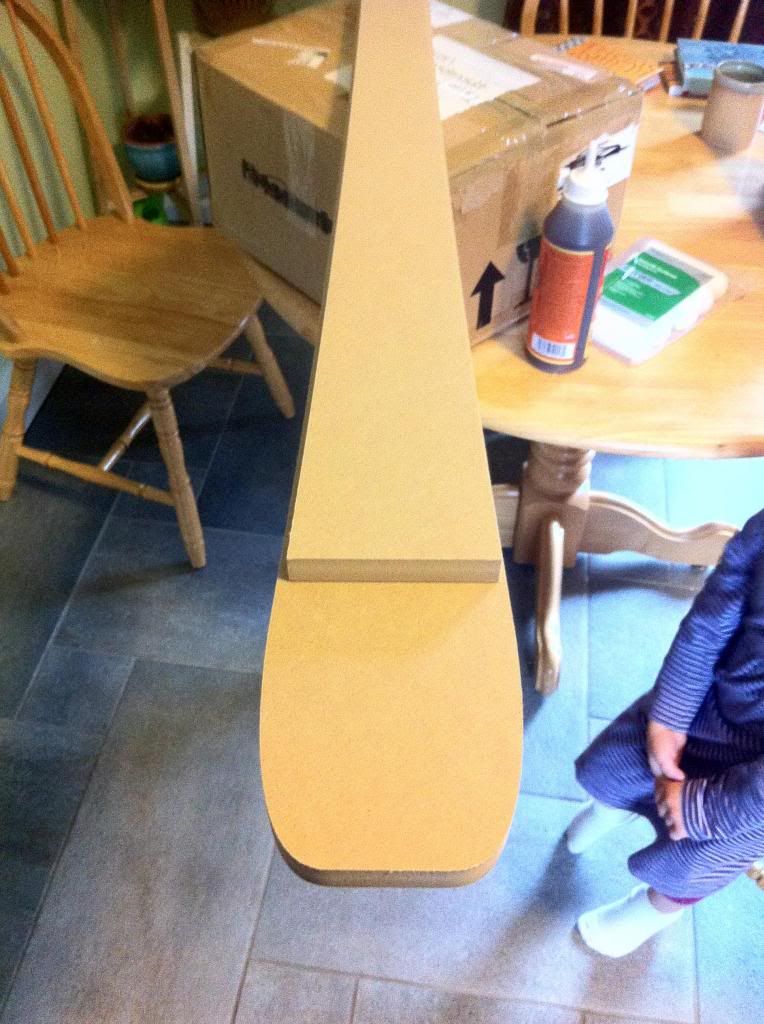
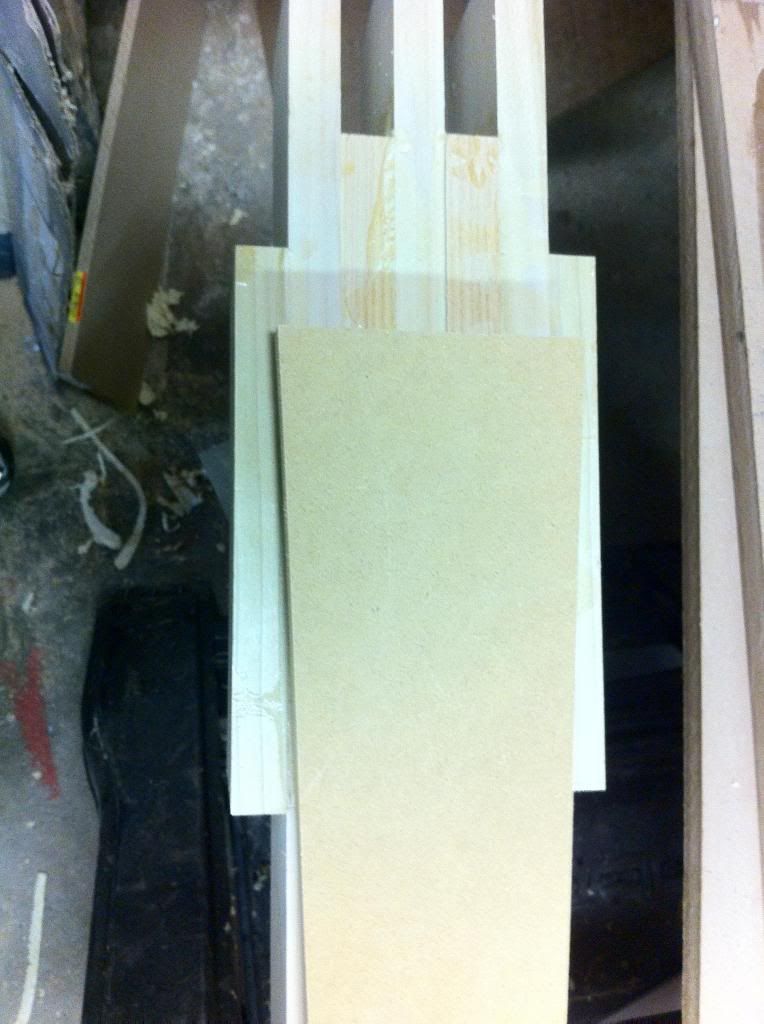
Picture of my stack. I'm not sure If I'm going to do it this way again. notice anything about it...
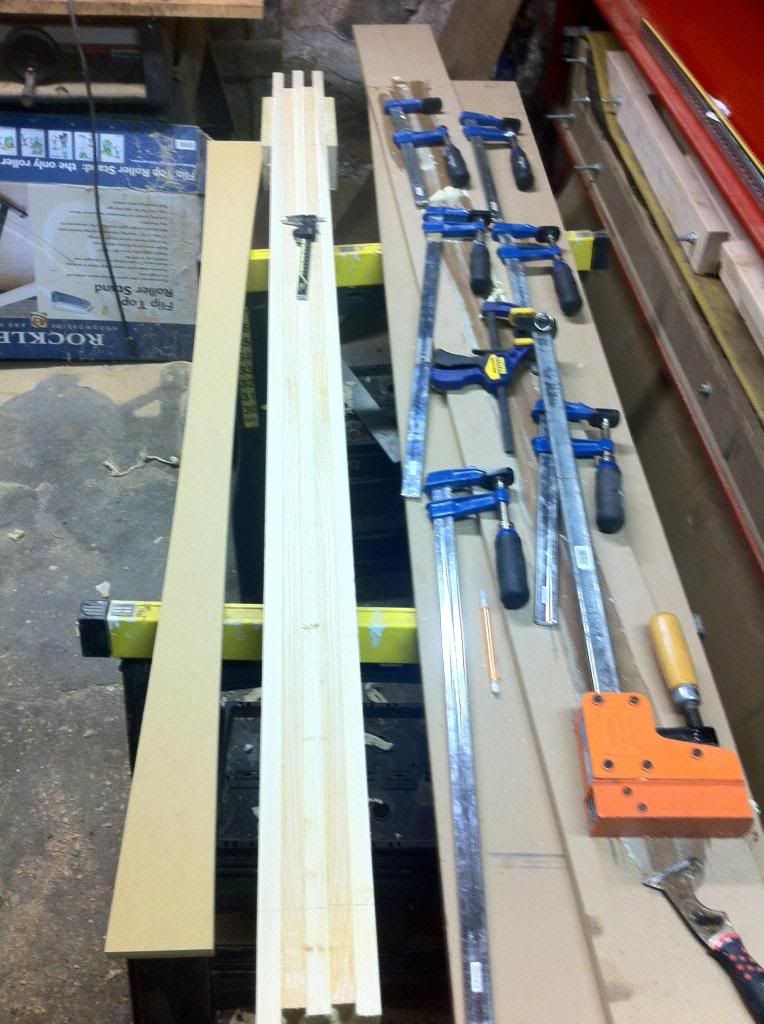
I had to add some bump-out to fit the core template... I didn't think this far down the road when I was coming up with the dimensions. This bump-out made it a mother to slice the stack.
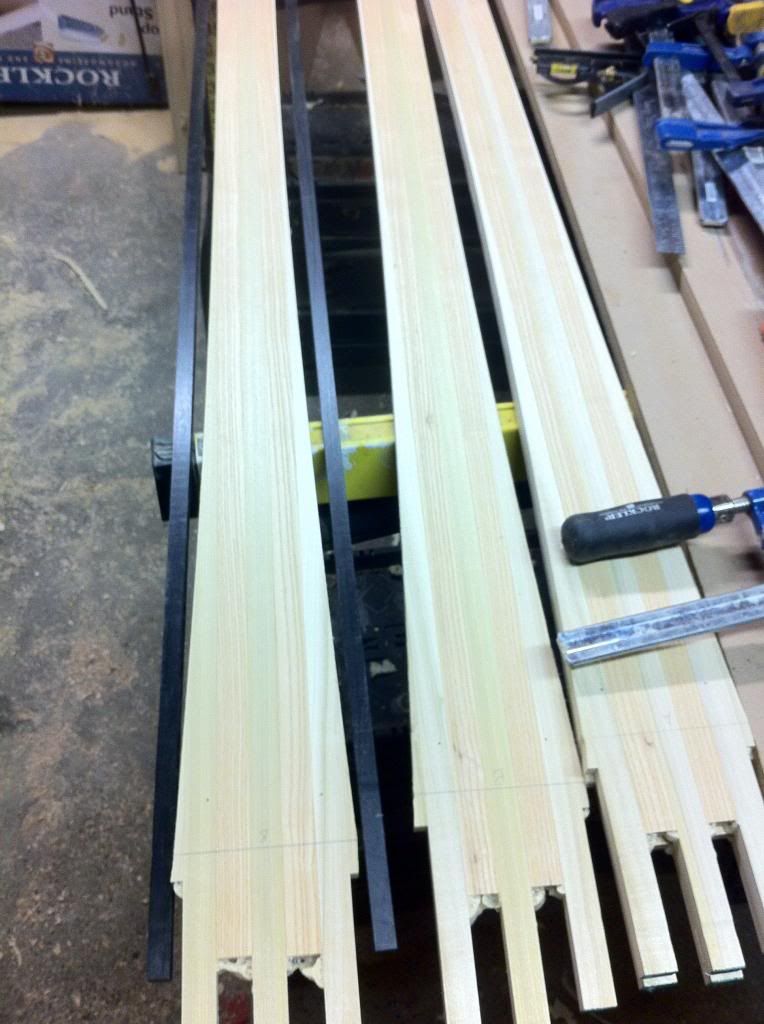
stack has been sliced:
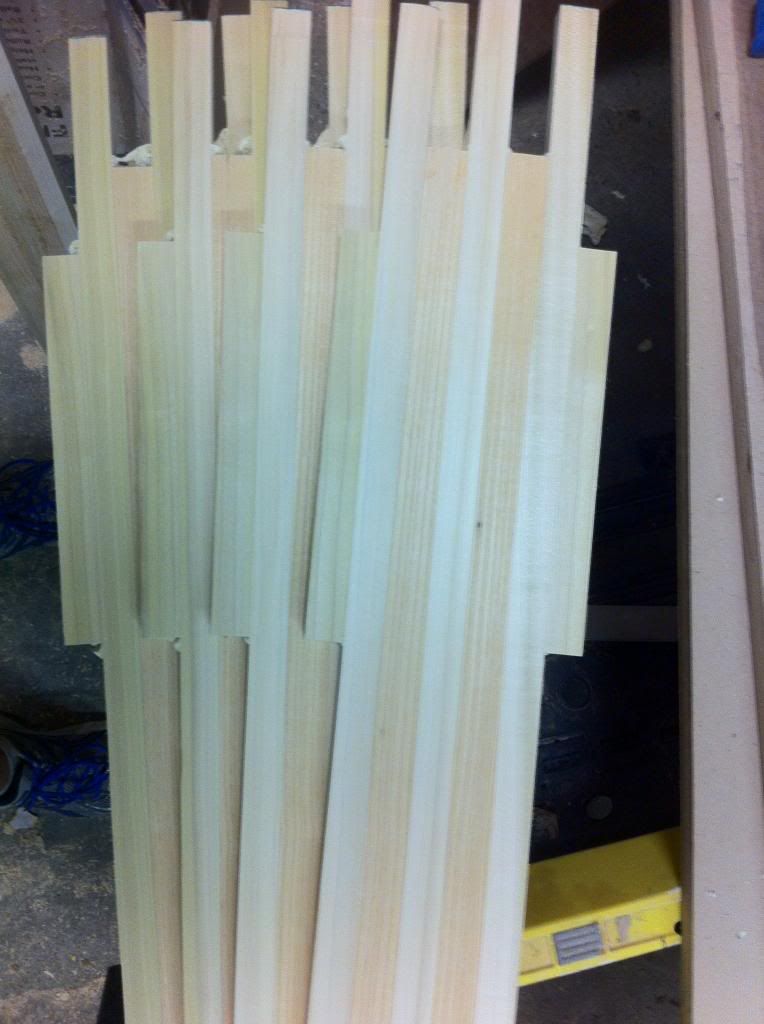
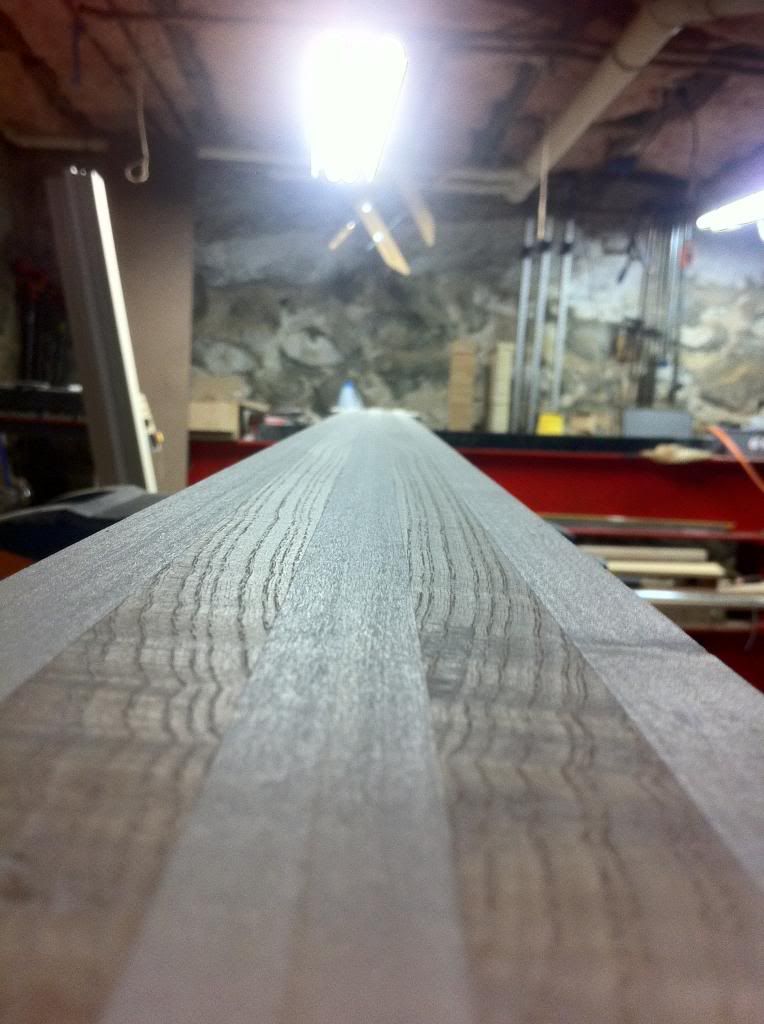
really liking the grain pattern of the core, to bad I'm going to be covering it up.
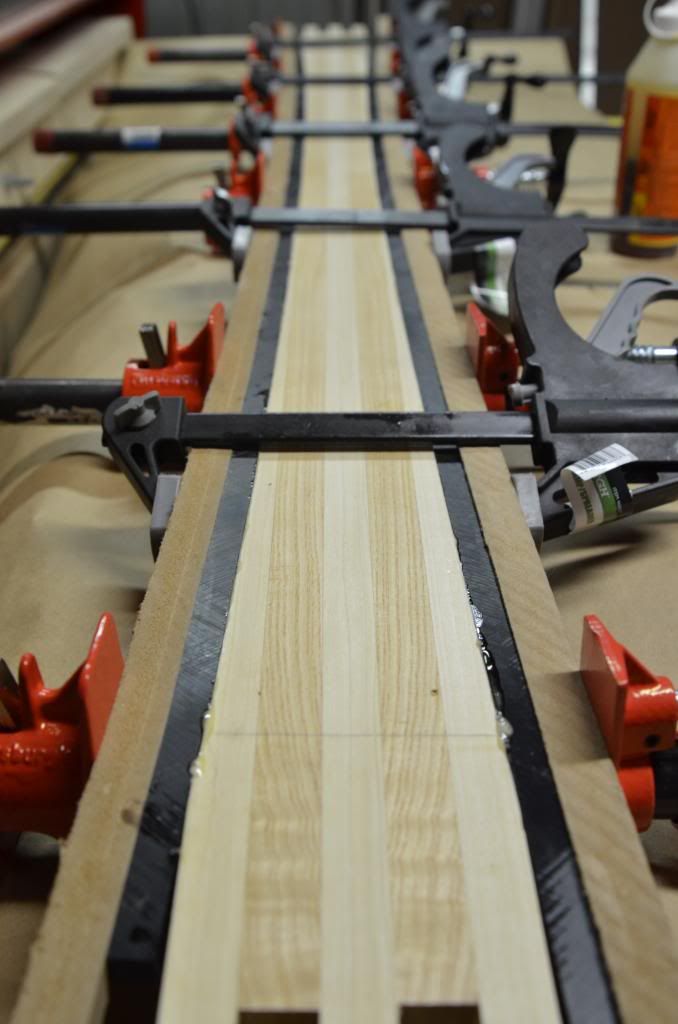
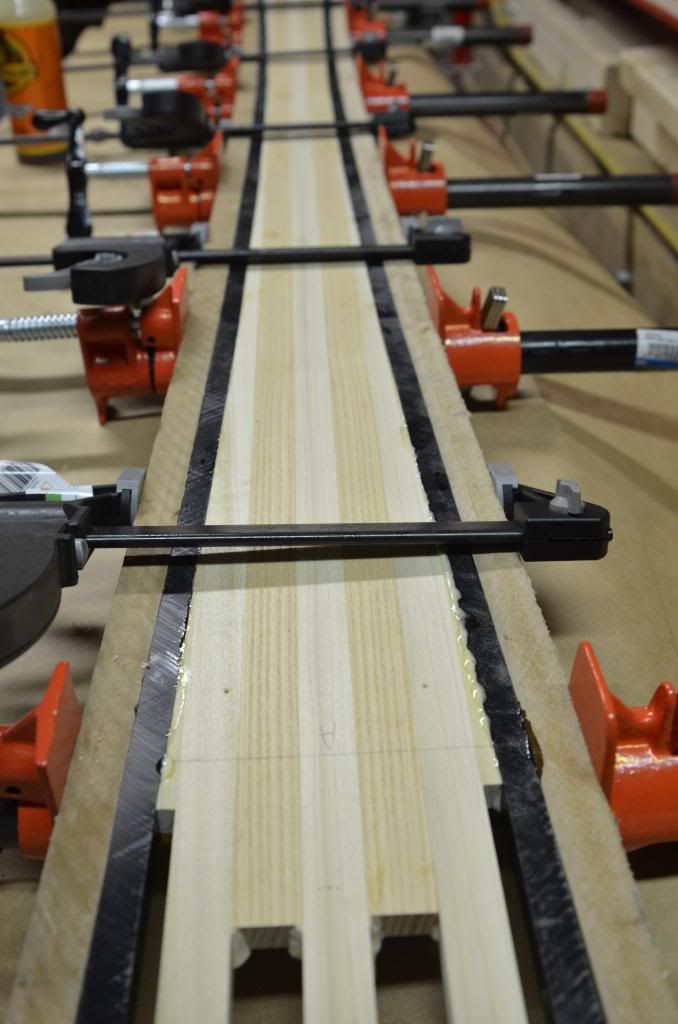
getting ready for some side walls.
switched over to my real camera... couldn't stand the Ipone photos anymore
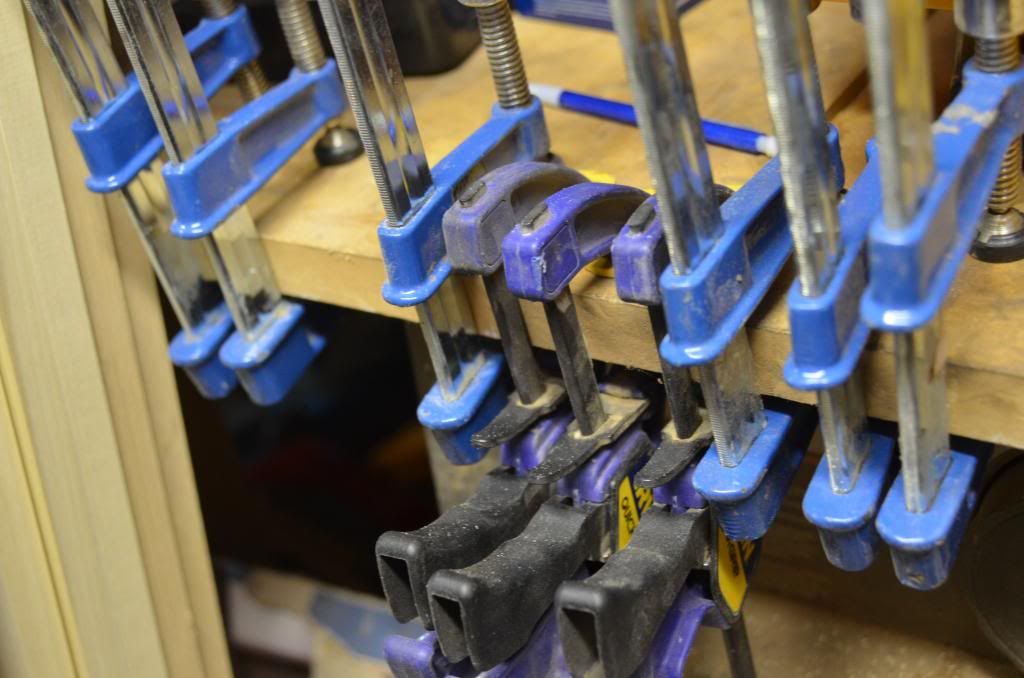
you can never have enough clamps... no really. I'm up to 33 and I'd say I might be halfway there...
Tail:
Tip:
I've got everything bought except the top sheet.
That's all i've got for now. I'm getting stupid excited now!
picked up the sidewall material. My daughter was very excited
Went and picked up my templates. Marshall did a great job!
Picture of my stack. I'm not sure If I'm going to do it this way again. notice anything about it...
I had to add some bump-out to fit the core template... I didn't think this far down the road when I was coming up with the dimensions. This bump-out made it a mother to slice the stack.
stack has been sliced:
really liking the grain pattern of the core, to bad I'm going to be covering it up.
getting ready for some side walls.
switched over to my real camera... couldn't stand the Ipone photos anymore
you can never have enough clamps... no really. I'm up to 33 and I'd say I might be halfway there...
Tail:
Tip:
I've got everything bought except the top sheet.
That's all i've got for now. I'm getting stupid excited now!
Last edited by skimann20 on Wed Dec 12, 2012 12:26 pm, edited 1 time in total.
Lookin good so far.
Glue the bumps on after you rip the stack, it's another glue step but will be easier to rip your stack without them.
Run em thru the saw at the same time so they're the same thickness.
Ive done this a couple times now, adding bits to the tip and tail saves a lot of wood.
sam
Glue the bumps on after you rip the stack, it's another glue step but will be easier to rip your stack without them.
Run em thru the saw at the same time so they're the same thickness.
Ive done this a couple times now, adding bits to the tip and tail saves a lot of wood.
sam
You don't even have a legit signature, nothing to reveal who you are and what you do...
Best of luck to you. (uneva)
Best of luck to you. (uneva)