Page 1 of 2
Three steps foreward one step back.
Posted: Tue Nov 29, 2011 5:19 pm
by Huck Pitueee
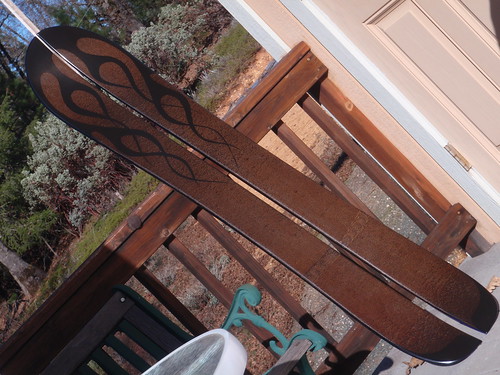
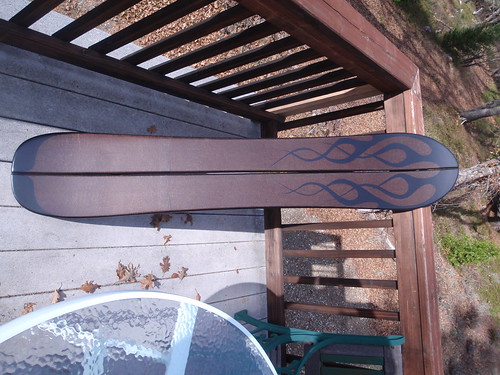
Three steps foreward one step back till it wasn't funny anymore. But it's totally worth it!
 mojomobaking042
 by
Huck Pitueee, on Flickr
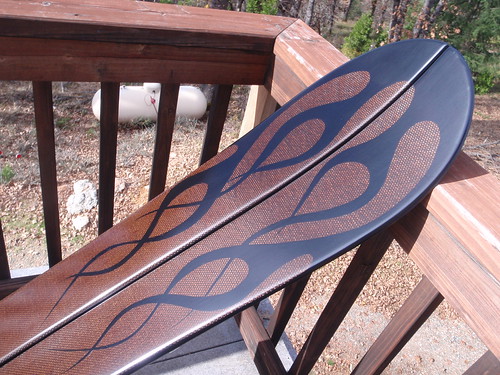
The tinted carbongraphite top sheet changes as the sunlight hits it at different angles. You can see the fade near the tail in the above pic.
 mojomobaking021
 by
 mojomo035
 by
Huck Pitueee, on Flickrople/65973917@N07/]Huck Pitueee[/url], on Flickr
Here is a pic comparing the Voile mojo rx to my new board with lots more tail rocker and a wider nose
The flames were hand masked and sprayed. I just googled "how to paint flames"
 mojomo003
 by
Huck Pitueee, on Flickr
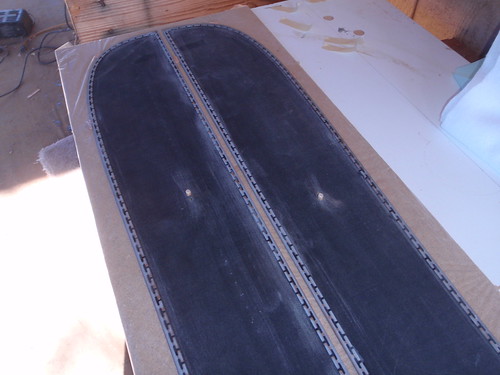
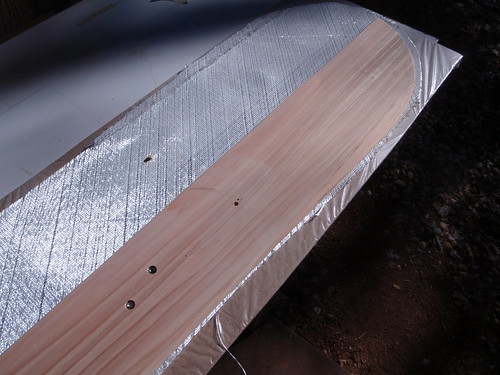
I tried using dowels to align all the layers. Worked perfect. The dowels are glued into a masonite base sheet.
 mojomobaking006
 by
Huck Pitueee, on Flickr
My finish room, My hush puppys.

Posted: Tue Nov 29, 2011 5:49 pm
by vinman
Sweetness. I love the flames and the carbon top. Where do you get your carbon fiber?
Posted: Tue Nov 29, 2011 6:08 pm
by Huck Pitueee
Fiberglass hawaii in california. They have a huge selection. I used tinted resin to get the bronze color.
Posted: Wed Nov 30, 2011 1:45 pm
by Richuk
Three steps forward, one step back - many great strides!
I'm so glad you're not in the UK!!! lol
Posted: Wed Nov 30, 2011 5:52 pm
by knightsofnii
so rad tinted carbonfiber, and the flames, awesome.
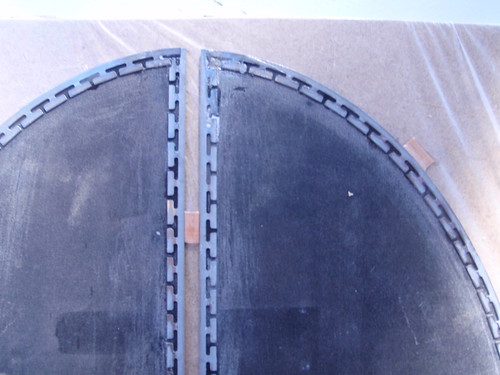
can you show closeups of the corners of the inside edges? Just wanted to see how you addressed that. If you dont mind, that is

Posted: Wed Nov 30, 2011 9:59 pm
by WhitePine
Perfect blend of form, fit and function.

Posted: Thu Dec 01, 2011 5:13 am
by knightsofnii
so the dowels went right thru your base?
Posted: Thu Dec 01, 2011 7:56 am
by Huck Pitueee
The dowels go through the base. They get drilled and plugged soon. Heres that shot. Normally I make the outer edge go to the center line of the board but this was a base I was repurposing.
 mojomo007
 by
Huck Pitueee, on Flickr
mojomo007 by
Huck Pitueee, on Flickr
 mojomobaking013
 by
Huck Pitueee, on Flickr
 mojomo031
 by
Huck Pitueee, on Flickr
Posted: Thu Dec 01, 2011 8:03 am
by Huck Pitueee
Doohhh!! Sent the same pic twice. Heres the one.
 mojomo002
 by
Huck Pitueee, on Flickr
Posted: Thu Dec 01, 2011 10:13 am
by knightsofnii
the things you've come up with to press your decks are quite impressive.
What kinda temps can you hit with that "heat system?"
Pretty neat combining vac bagging and pressing, pretty awesome.
Posted: Thu Dec 01, 2011 11:07 am
by Huck Pitueee
Ha! The hair dryer one and the tent get up to 95 deg. I just have to keep a close eye on them.
Posted: Thu Dec 01, 2011 3:07 pm
by Huck Pitueee
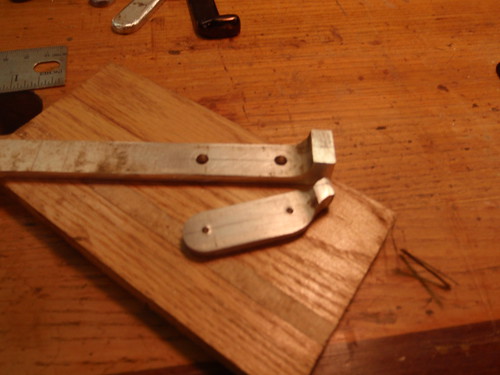
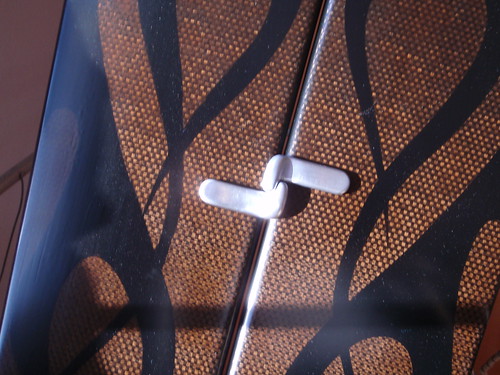
Making hardware to hold the splitboard together. All the nice comments got me stoked to go the extra mile. Thanks.
 ling009
 by
Huck Pitueee, on Flickr
Those chinese hooks ended up looking like two slugs getting busy.
 ling015
 by
Huck Pitueee, on Flickr
The tip & tail clips are way more burly than the store bought ones
 ling017
 by
Huck Pitueee, on Flickr
Posted: Thu Dec 01, 2011 3:22 pm
by WhitePine
That is so cool you are making your own hardware. Aluminum? Now I wanna see homemade skins made from your own yak.
I don't see any inserts. Have they just not been drilled yet?
Posted: Thu Dec 01, 2011 6:55 pm
by Dr. Delam
Nice work on the hooks. I agree that the kit ones are somewhat weak.
That board is stunning!
Posted: Thu Dec 01, 2011 7:22 pm
by Huck Pitueee
Yea it's aluminum. I'm debating if I should paint them black. All that bling isn't working with the low key look. The inserts are waiting for the top to get buffed out. The kit hardware works allright but I couldn't bear to use it on this board.