
Balsa core carbon fiber powder board
Moderators: Head Monkey, kelvin, bigKam, skidesmond, chrismp
Balsa core carbon fiber powder board
Here we go. Going to try to get photos into this thing. Do I use the "img" button or the URL. Well lets see.... Hmmm. I dont have a clue how to hotlink photos on photobucket. Gotta go pick up kids. Try again later...

machining the core
Lets try this again...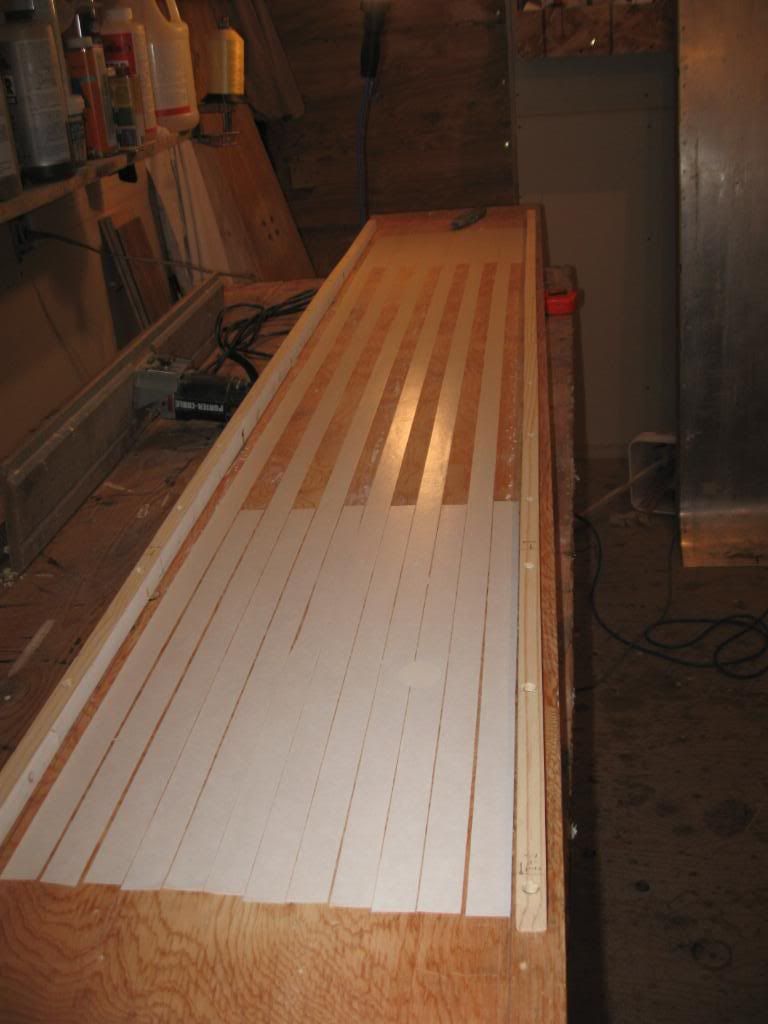 . this is a photo of the router bridge with tape in place . lets see if this works...
Cool. Thanks for the how-to. Would have taken a while otherwise....
Checking thickness at the thinnest point:
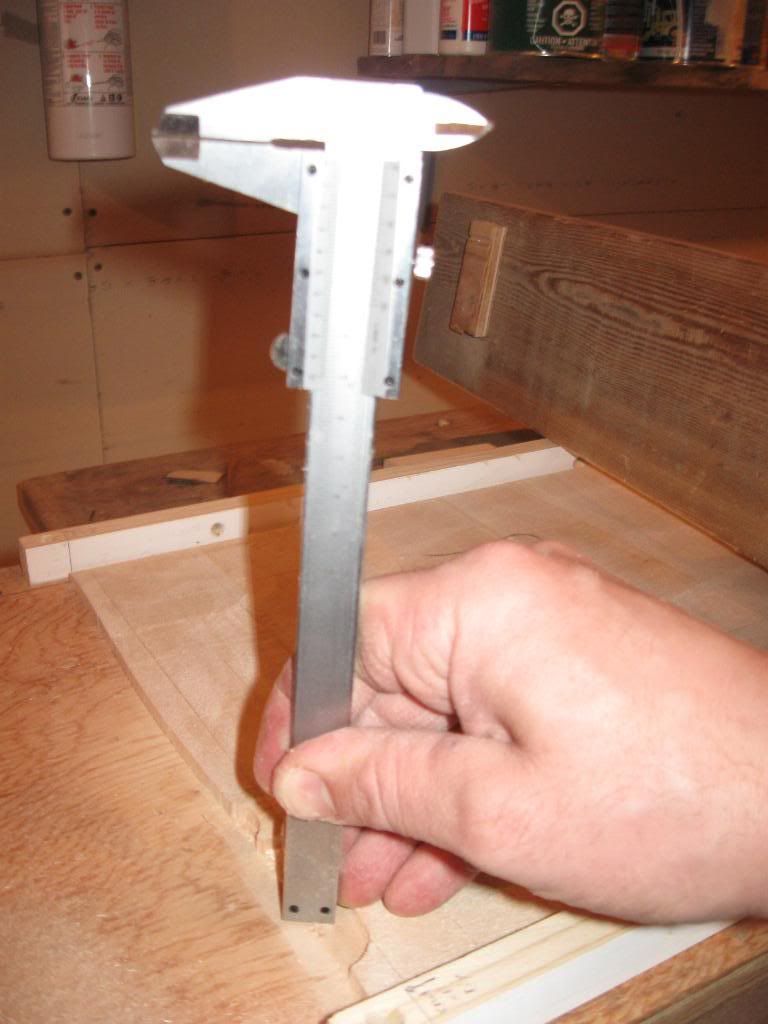
a couple of passes in:
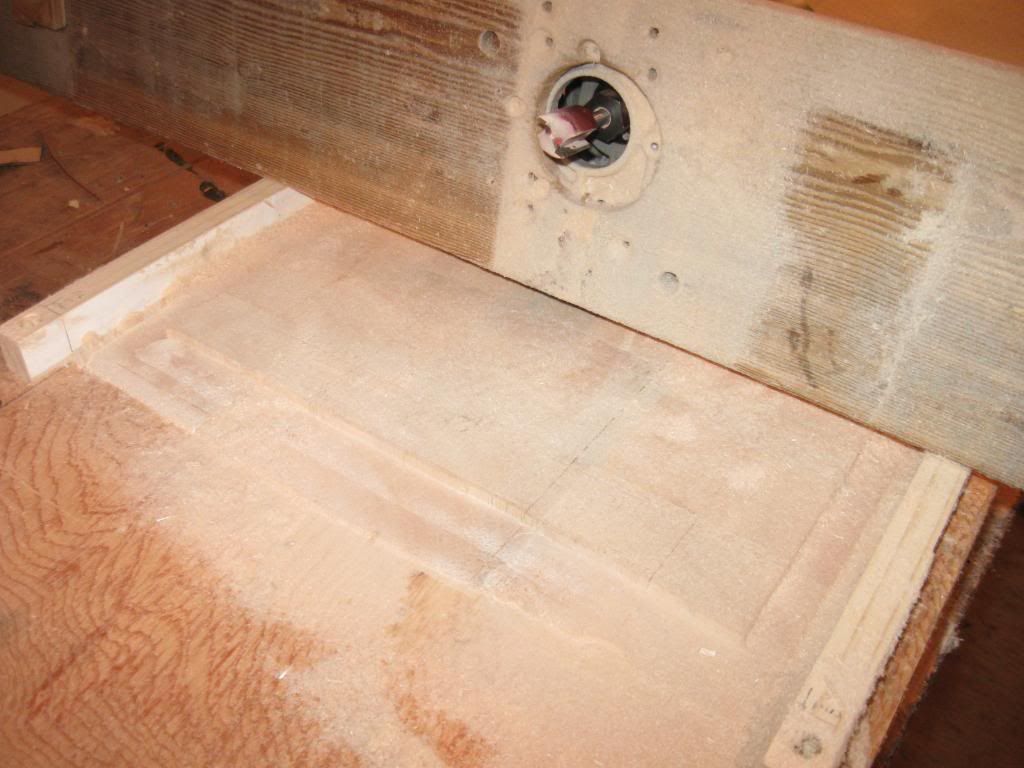
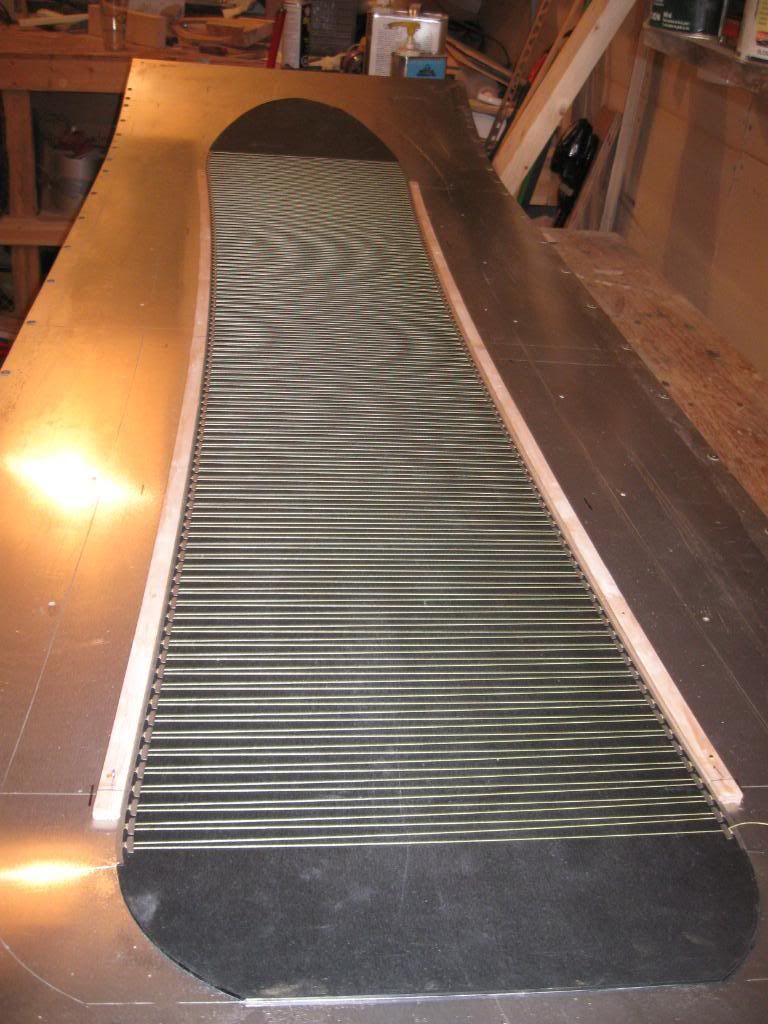
profiled balsa core:
profiled ply binding rienforcement section:
Basically these photos show the sticking down of the core and routering the pieces to thickness...
Bedtime, will post the rest of the stuff soon now that I know how.
. this is a photo of the router bridge with tape in place . lets see if this works...Cool. Thanks for the how-to. Would have taken a while otherwise....
Checking thickness at the thinnest point:
a couple of passes in:
profiled balsa core:
profiled ply binding rienforcement section:
Basically these photos show the sticking down of the core and routering the pieces to thickness...
Bedtime, will post the rest of the stuff soon now that I know how.
Next....
Okay.
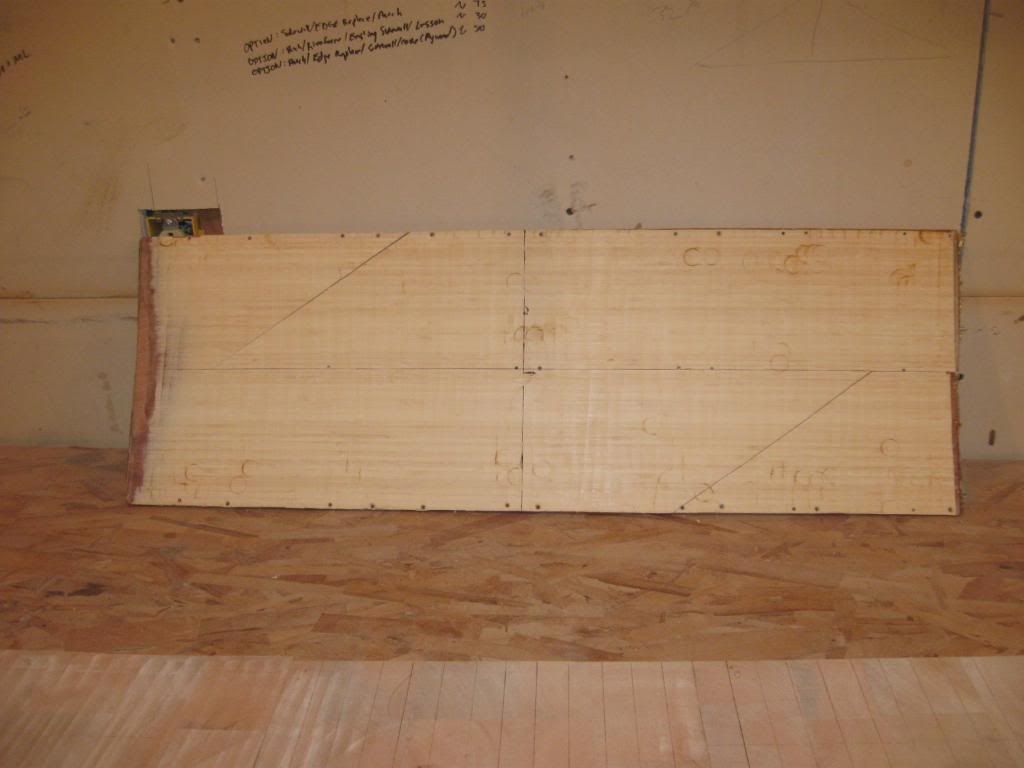
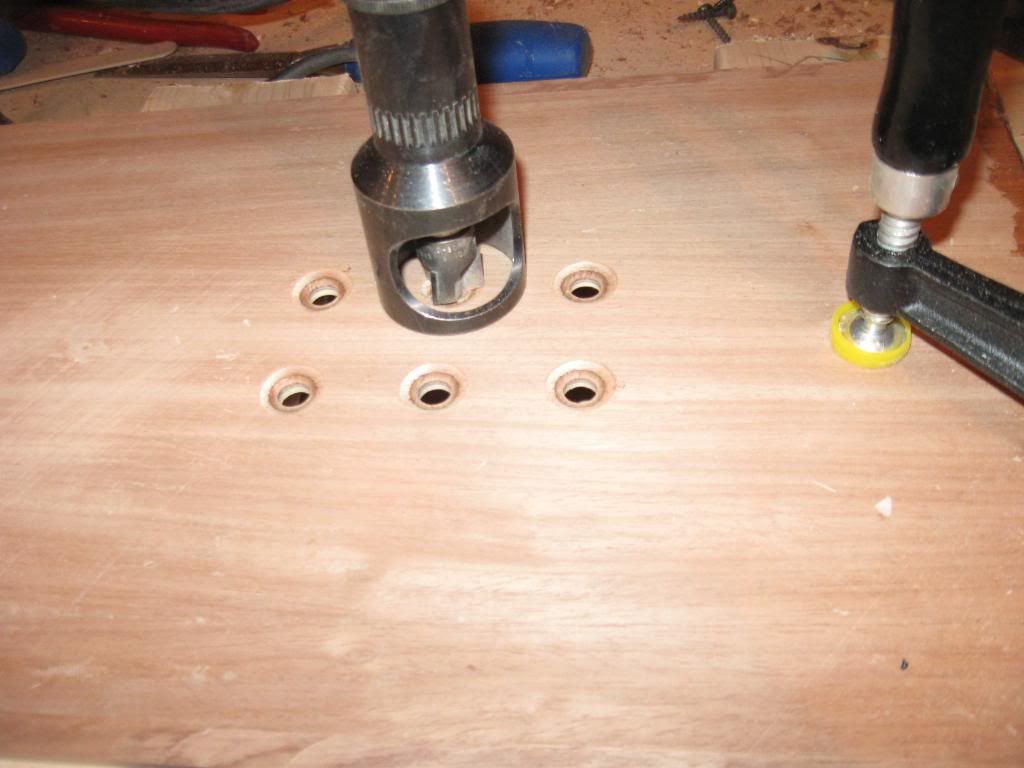
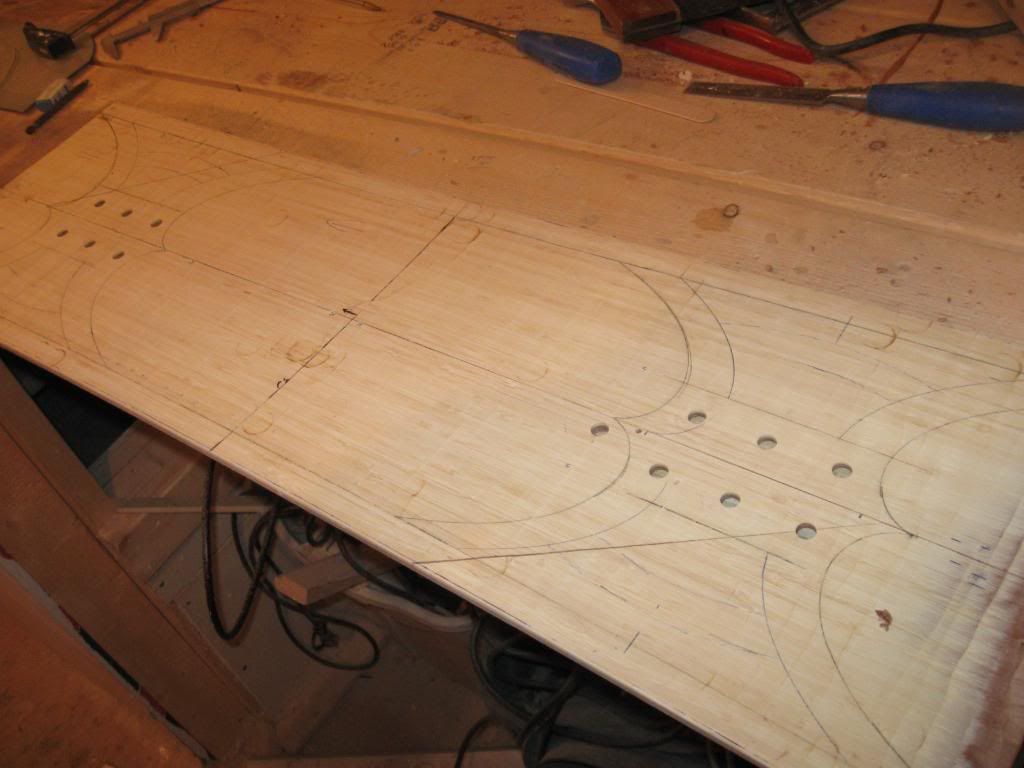
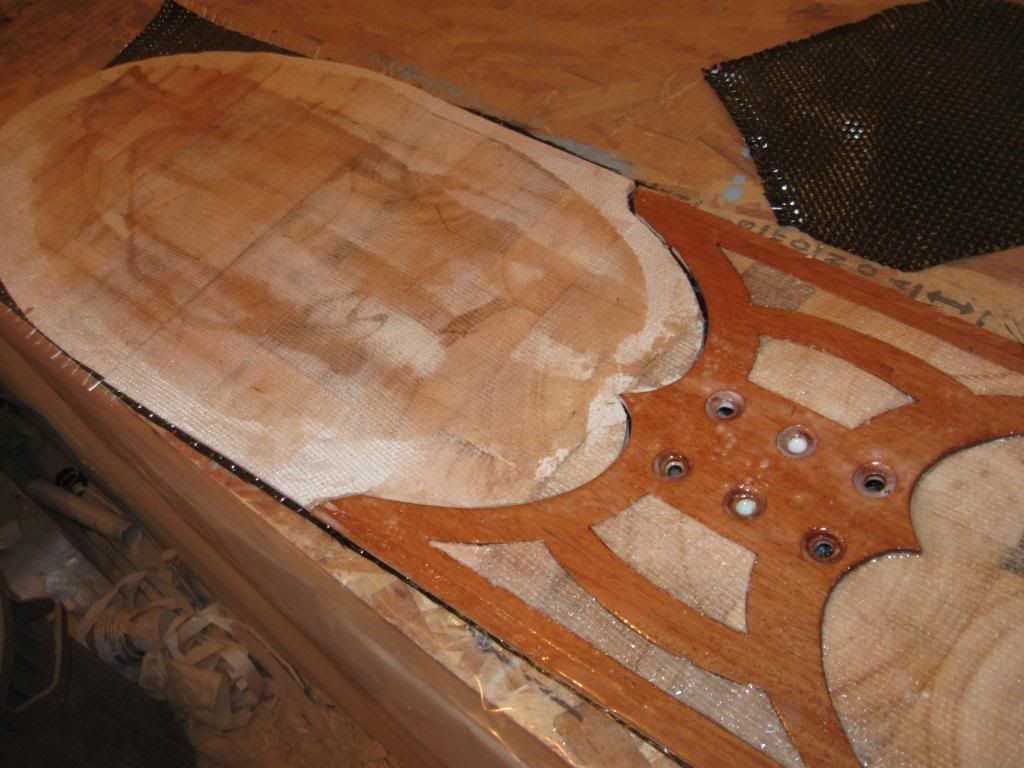
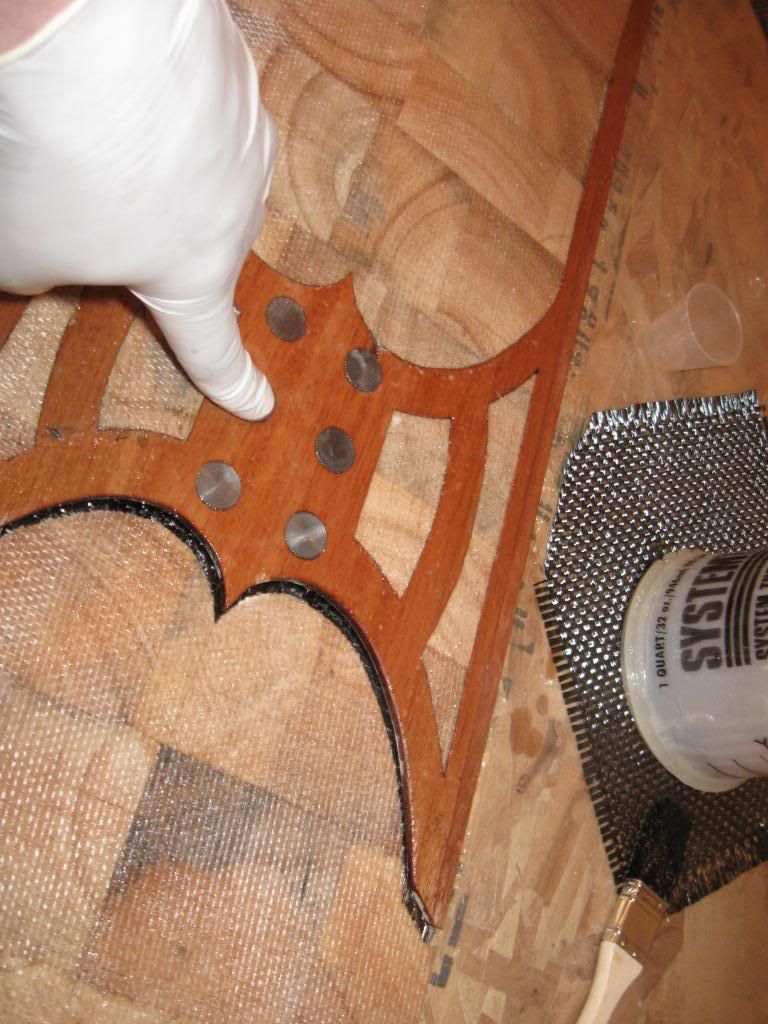
After routering core and hardpoints I use a template to trace out the shape of the core onto the hardpoints and drill out the holes for inserts and rabbet for edges. At this stage I allow myself some latitude to get creative and try to reduce weight. Basically i will cut away anything I figure I dont need, and fill it in with balsa. Once cut i overlay the hardpoints onto the balsa core and trace, then cut with a razor knife. Some pics:
drilling/countersinking holes for inserts
Fancy pattern:
Hardpoint cut out:
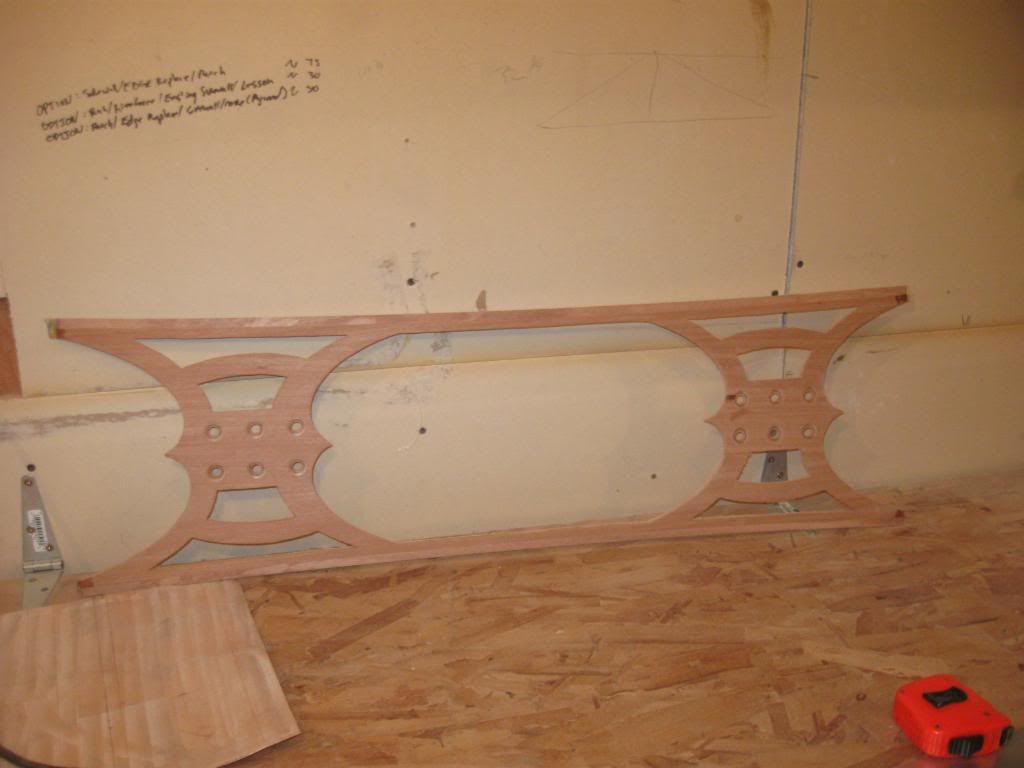
balsa cut out and placed into hardpoints:

After routering core and hardpoints I use a template to trace out the shape of the core onto the hardpoints and drill out the holes for inserts and rabbet for edges. At this stage I allow myself some latitude to get creative and try to reduce weight. Basically i will cut away anything I figure I dont need, and fill it in with balsa. Once cut i overlay the hardpoints onto the balsa core and trace, then cut with a razor knife. Some pics:
drilling/countersinking holes for inserts
Fancy pattern:
Hardpoint cut out:
balsa cut out and placed into hardpoints:
Base and edges
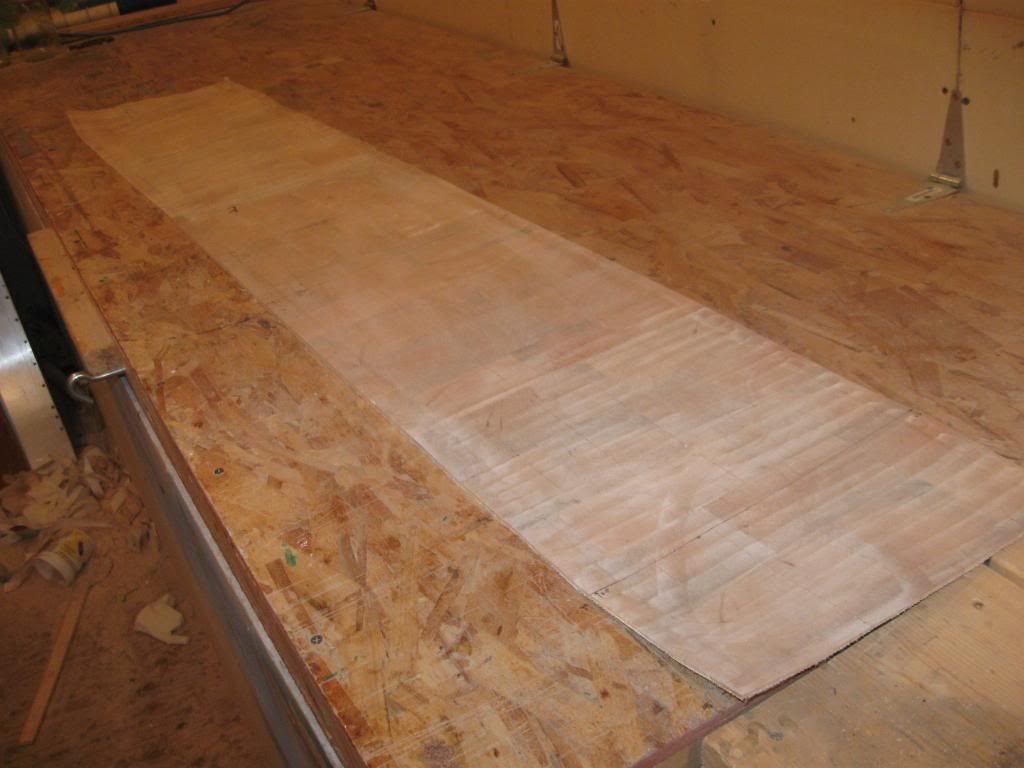
Once the core is done i glue the base to the press with some contact spray adhesive. Then I cut out the base with a razor knife from the template. I am currently using half templates and flipping them. The main reason for this is that the tip curves will at least be symmetrical, and it is easier to add/subtract to do custom widths. Once the base is cut out (this one is a prototype so I cut the edges off just outside the edge contact points). Once the base is cut out, and the extra removed (save extra from tip and tail) I will bend edges, including the tip and tail rocker curves. Once this is done I apply the sidewall dams and lace up the edges with kevlar. pics:
Template on, cutting.
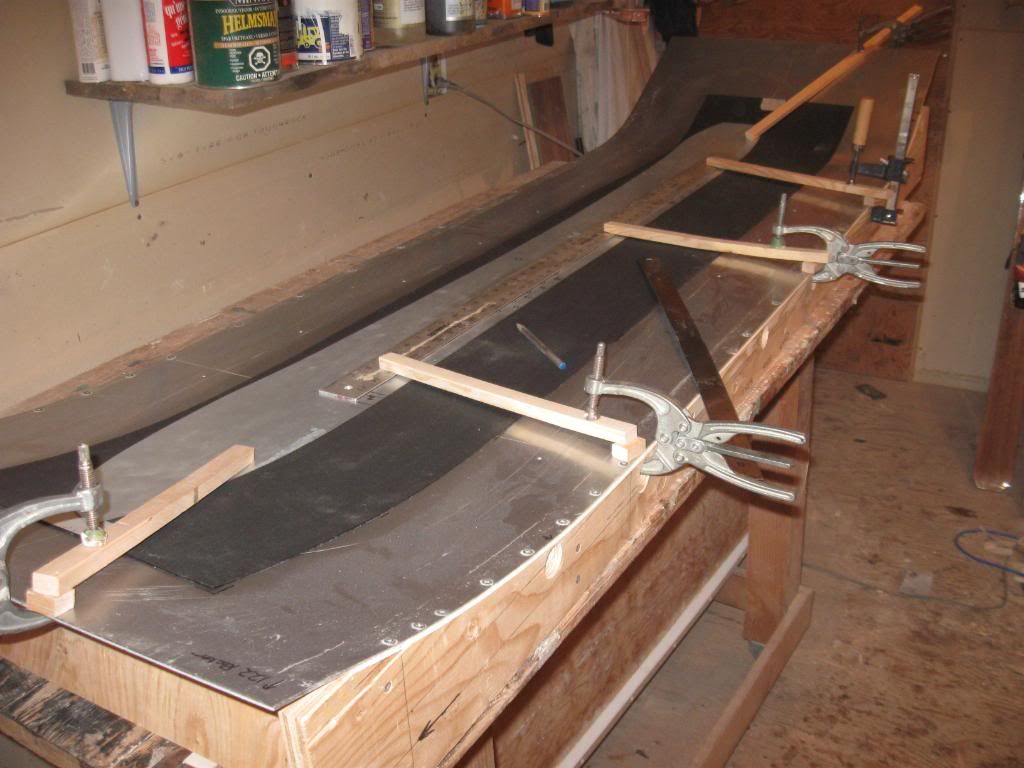
putting on a sidewall dam,over the edge
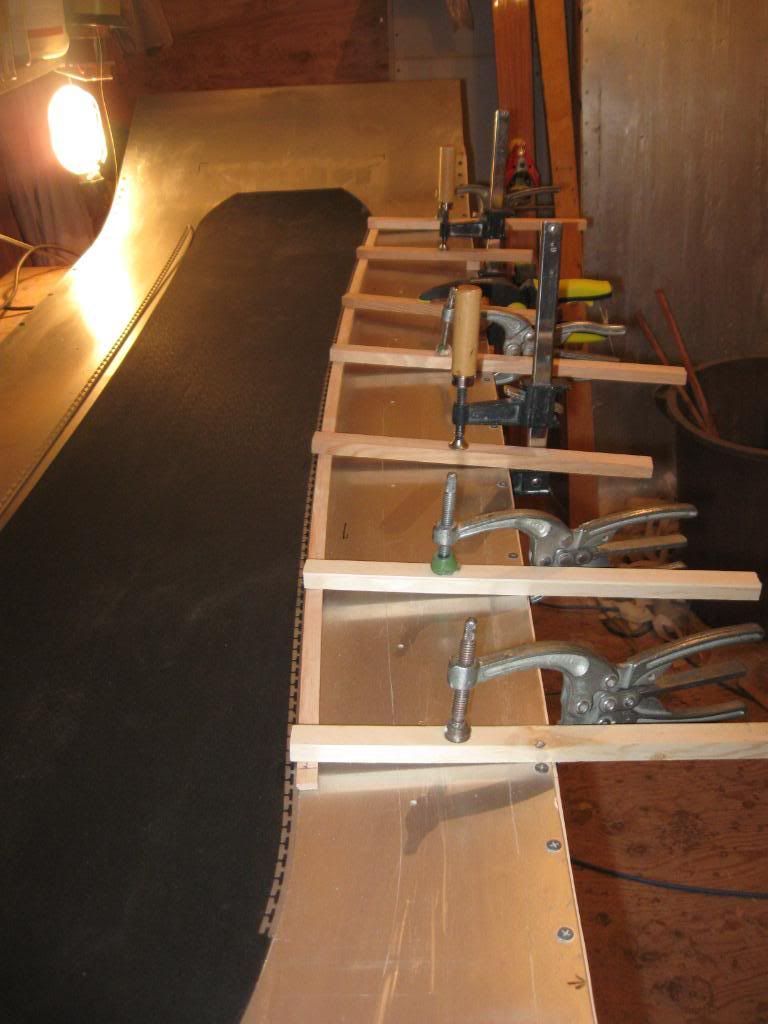
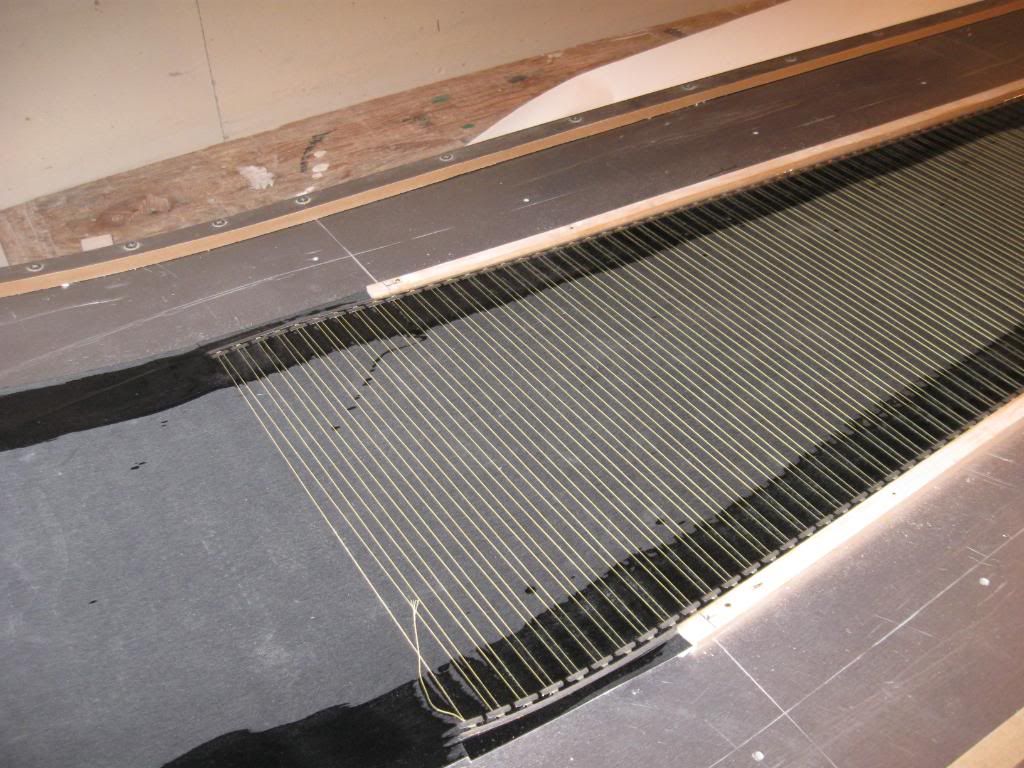
Lacing with kevlar:
Done lacing. Looking foreward:
After this is all done, I stick down the flash from the tip/tail p-tex so that the flash from the tip/tail wrap doesn't have to bend down too much and induce air bubbles.
Template on, cutting.
putting on a sidewall dam,over the edge
Lacing with kevlar:
Done lacing. Looking foreward:
After this is all done, I stick down the flash from the tip/tail p-tex so that the flash from the tip/tail wrap doesn't have to bend down too much and induce air bubbles.
-
knightsofnii
- Posts: 1148
- Joined: Tue Jan 08, 2008 6:02 am
- Location: NJ USA
- Contact:

-
MontuckyMadman

- Posts: 2395
- Joined: Fri Jun 20, 2008 9:41 pm
-
skidesmond
- Posts: 2337
- Joined: Tue Apr 07, 2009 3:26 pm
- Location: Western Mass, USA
- Contact:
Answering questions
I'll try to answer questions asked.
The clamps i got from Boeing's surplus store years ago. Whenever I would head down the I-5 I would leave at least 4 hours to do a walkabout there. Too bad i never had enough cash on hand. Seriously awesome place. I also got the insert countersink device from there. $5. Oh and a case of beer to the machine shop that reground the carbide tip to match the insert profile.
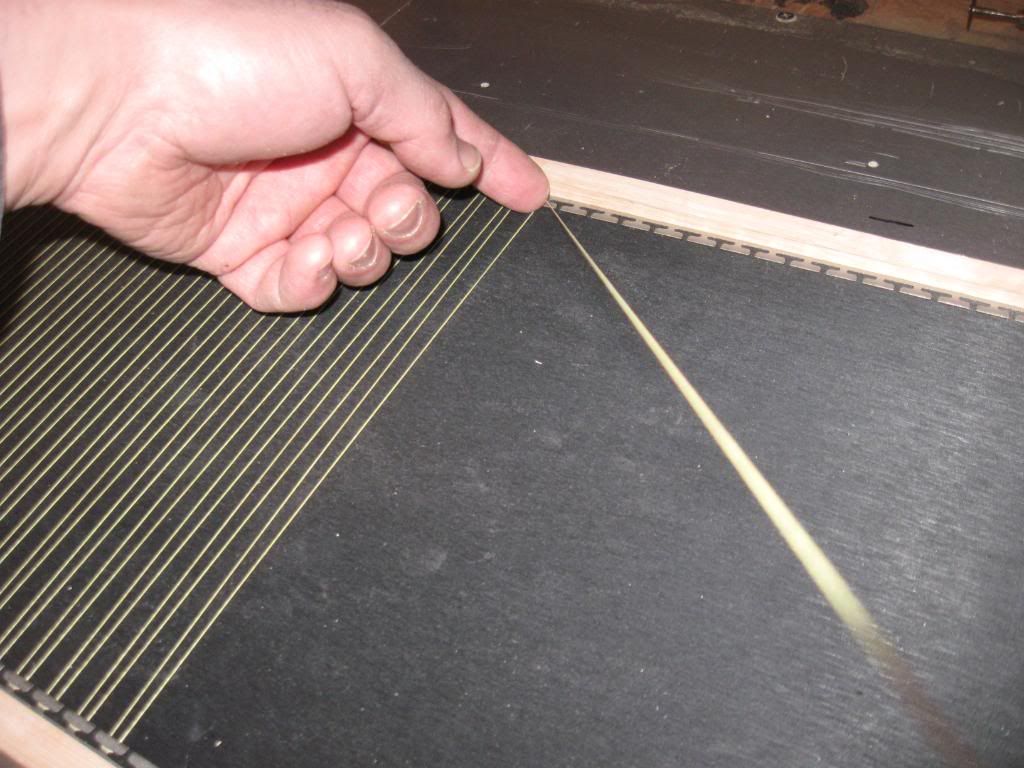
The Kevlar lacing is there for a couple of reasons. Firstly, and by far the most importantly is it really holds onto the edges when you hit rocks. It is nearly impossible to "zipper" an edge with this in there. It also allows you to get a really good fit of edge to p-tex because of the tension which pulls the edge onto the base. The sidewall dams have a little kerf cut into them which holds the edges down. This is basically a super adjustable, throw away cassette.
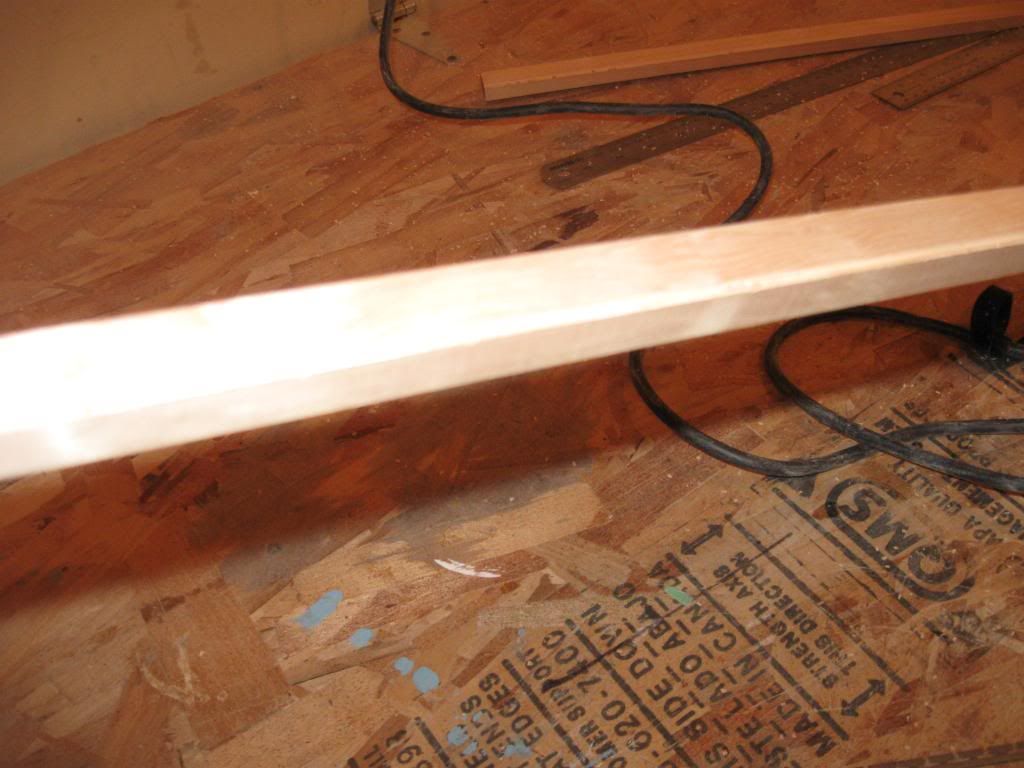
I think you can see the kerf here. This is the dam before it is thickness profiled (core + 3 mm)
The edges are held down by the sidewall dam. I only use super-glue past the edge contact points and there only against the press surface. I really try to get the edges to hold on with the epoxy, not super-glue.
I don't think the kevlar adds any torsional stiffness. To get that you need +/- 45 degree fibers and the kevlar runs transversely. There is not much there really. I have toyed with lacing in a +/- 45 degree pattern but it starts to get "thick" as the fibers criss-cross over each other and it starts to make layup messy. I guess if you went really nuts you could put enough in there to almost make up a layer, but as the thickness built up it would start to lift the edge off the base and make the board/ski base high. This is not a problem with only one hitch under each "t". Just gets squashed. i think you could use kevlar like this with a standard super-glue edge to p-tex metohd. Start by gluing edges on as per usual at the tip and go about halfway down to the edge contacts. Lacing above a certain point is difficult because the angle of the "t's" are too shallow to get the kevlar to "hook". Start lacing after applying a clamp to each edge. Lace as many t's as you dare and glue and clamp. continue to lace. Can't see any real problems. It goes pretty fast actually. About 1/2 hour per board/ski. Once you're practiced up a bit.
I basically ended up doing this sidewall dam thing for a few reasons. Firstly,I had issues with the p-tex doing the banana thing gluing to the press first fixes this, the sidewall dam is insurance, and it holds down the edges as a bonus. The sidewall dam allows me to wrap the core in a torsion box, in a precise location, and not have to worry about sidewalls in the traditional context. This came about as a way to get away from the main problem with typical cap constructions ie. the delamination issue. When the fibers from the base wrap around the sides of the board and over onto the top of the deck, it becomes impossible to delam the ski/board. You can break it, but it doesn't do the delam/split propagation thing. Finally the dams allow for easy registration of the core. I allow about 1 mm of space between the core and the dam. There isn't play from side to side, and the tip to tail play can be dealt with by using index marks on the core and dam and simply lining them up during layup.
The clamps i got from Boeing's surplus store years ago. Whenever I would head down the I-5 I would leave at least 4 hours to do a walkabout there. Too bad i never had enough cash on hand. Seriously awesome place. I also got the insert countersink device from there. $5. Oh and a case of beer to the machine shop that reground the carbide tip to match the insert profile.
The Kevlar lacing is there for a couple of reasons. Firstly, and by far the most importantly is it really holds onto the edges when you hit rocks. It is nearly impossible to "zipper" an edge with this in there. It also allows you to get a really good fit of edge to p-tex because of the tension which pulls the edge onto the base. The sidewall dams have a little kerf cut into them which holds the edges down. This is basically a super adjustable, throw away cassette.
I think you can see the kerf here. This is the dam before it is thickness profiled (core + 3 mm)
The edges are held down by the sidewall dam. I only use super-glue past the edge contact points and there only against the press surface. I really try to get the edges to hold on with the epoxy, not super-glue.
I don't think the kevlar adds any torsional stiffness. To get that you need +/- 45 degree fibers and the kevlar runs transversely. There is not much there really. I have toyed with lacing in a +/- 45 degree pattern but it starts to get "thick" as the fibers criss-cross over each other and it starts to make layup messy. I guess if you went really nuts you could put enough in there to almost make up a layer, but as the thickness built up it would start to lift the edge off the base and make the board/ski base high. This is not a problem with only one hitch under each "t". Just gets squashed. i think you could use kevlar like this with a standard super-glue edge to p-tex metohd. Start by gluing edges on as per usual at the tip and go about halfway down to the edge contacts. Lacing above a certain point is difficult because the angle of the "t's" are too shallow to get the kevlar to "hook". Start lacing after applying a clamp to each edge. Lace as many t's as you dare and glue and clamp. continue to lace. Can't see any real problems. It goes pretty fast actually. About 1/2 hour per board/ski. Once you're practiced up a bit.
I basically ended up doing this sidewall dam thing for a few reasons. Firstly,I had issues with the p-tex doing the banana thing gluing to the press first fixes this, the sidewall dam is insurance, and it holds down the edges as a bonus. The sidewall dam allows me to wrap the core in a torsion box, in a precise location, and not have to worry about sidewalls in the traditional context. This came about as a way to get away from the main problem with typical cap constructions ie. the delamination issue. When the fibers from the base wrap around the sides of the board and over onto the top of the deck, it becomes impossible to delam the ski/board. You can break it, but it doesn't do the delam/split propagation thing. Finally the dams allow for easy registration of the core. I allow about 1 mm of space between the core and the dam. There isn't play from side to side, and the tip to tail play can be dealt with by using index marks on the core and dam and simply lining them up during layup.
Layup
Here's the layup post. If I am being too specific/boring please let me know, I am new to posting stuff and don't really know the ethics/stye of this stuff.
Layup sequence for this board (bottom to top) is as follows:
p-tex/edges. Kevlar lacing on edges.
VDS over edges.
12 oz/sq yd biax carbon. 2 times widest point, plus 2 inches wide
9 oz/sq yd uni carbon. full length.
core. no tip tail spacers as this is a prototype. just closing out with fabric
9 oz/sq yd uni carbon. Full length.
Wrap over the 12 oz carbon like a burrito. Overlap will vary depending on sidecut. About 1 inch at the shovel, more at the waist.
no topsheet.
peel ply.
Bleed ply.
Barrier ply.
Breathe ply.
Vacuum bag.
Will flow coat and sand and varnish for a topsheet later.
Here are some pictures:
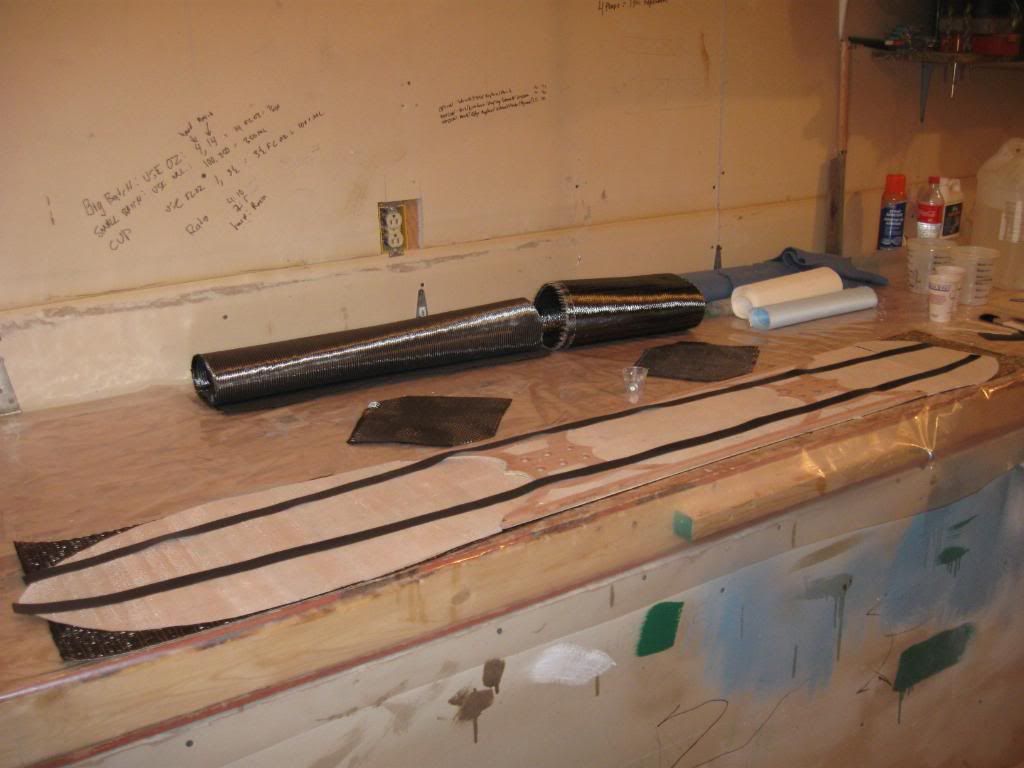
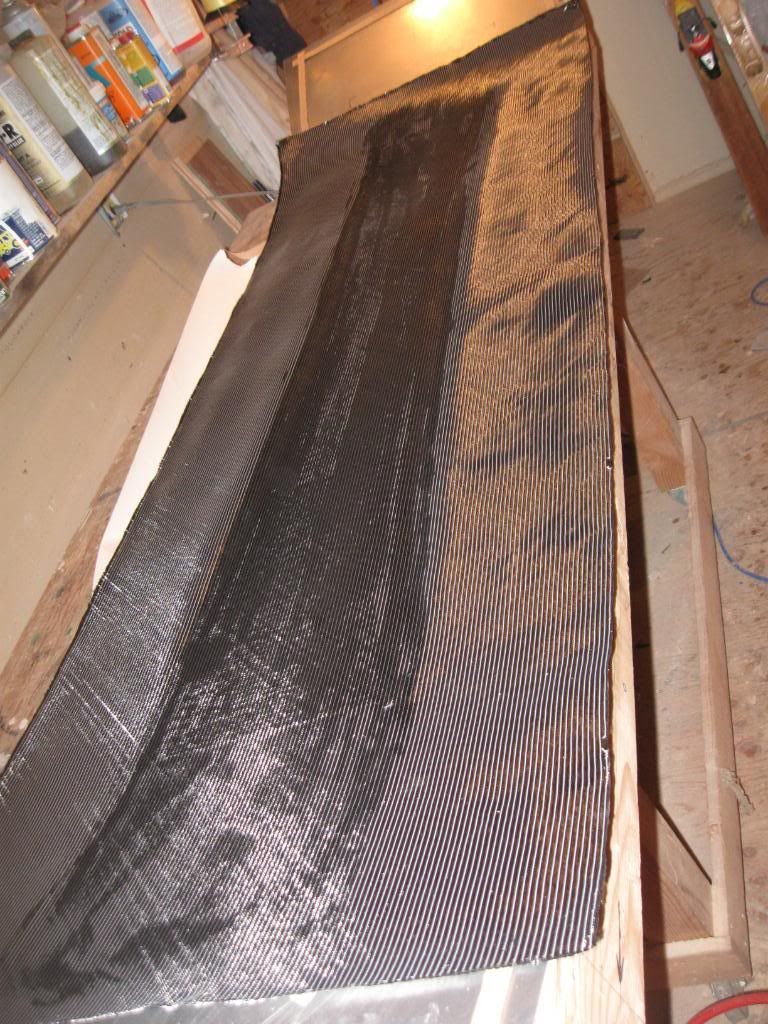
This is the "layup table" The whole board is here, minus the resin and base/edge layer which is on the table across the room. I've got a system where i always have rolled things rolled with the tail inside. all flat stuff has the tip to the left. It doesn't matter what you use for a system, just make it consistent. Don't ask me how I know. Table is covered in a piece of poly film.
Resin on ready for VDS:
VDS on, resin on ready for carbon (+/- 45):
Carbon biax on and soaking up resin. while this happens i start to wet out core then finish wetting out biax and apply bottom uni:
Wetting out core. Not wet enough here:
insert inserted:
uni carbon wet out:

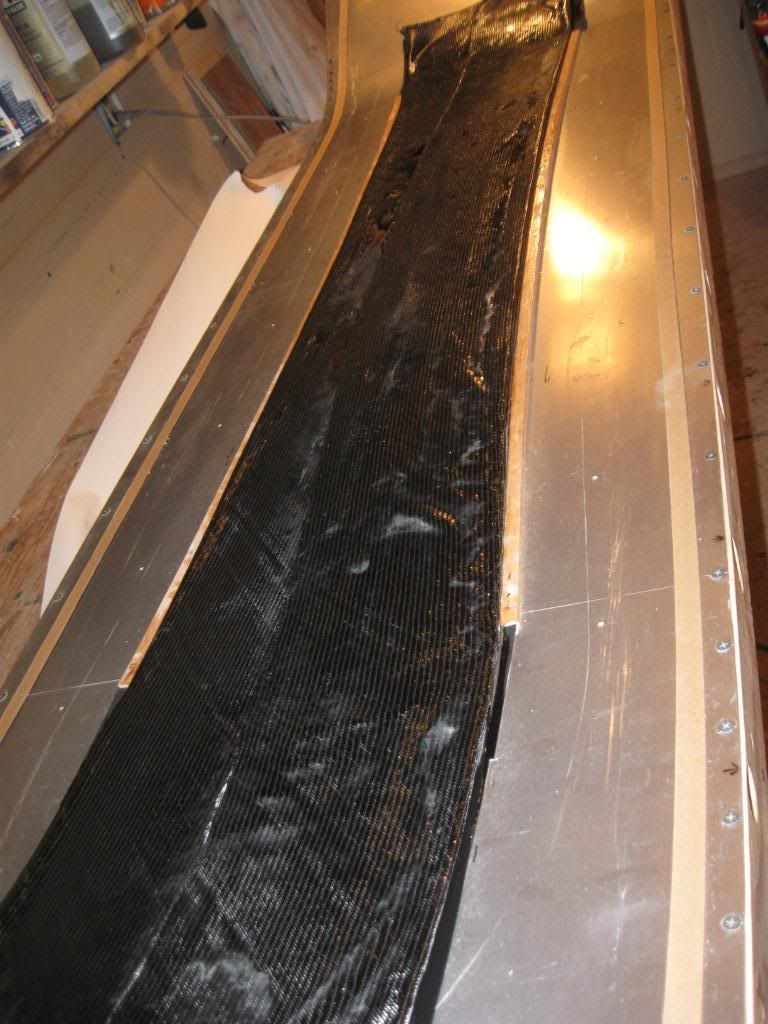
Skipped a couple of bits with the camera. By myself you know ha ha. Core is in place, top carbon uni applied and first fold over is happenin':
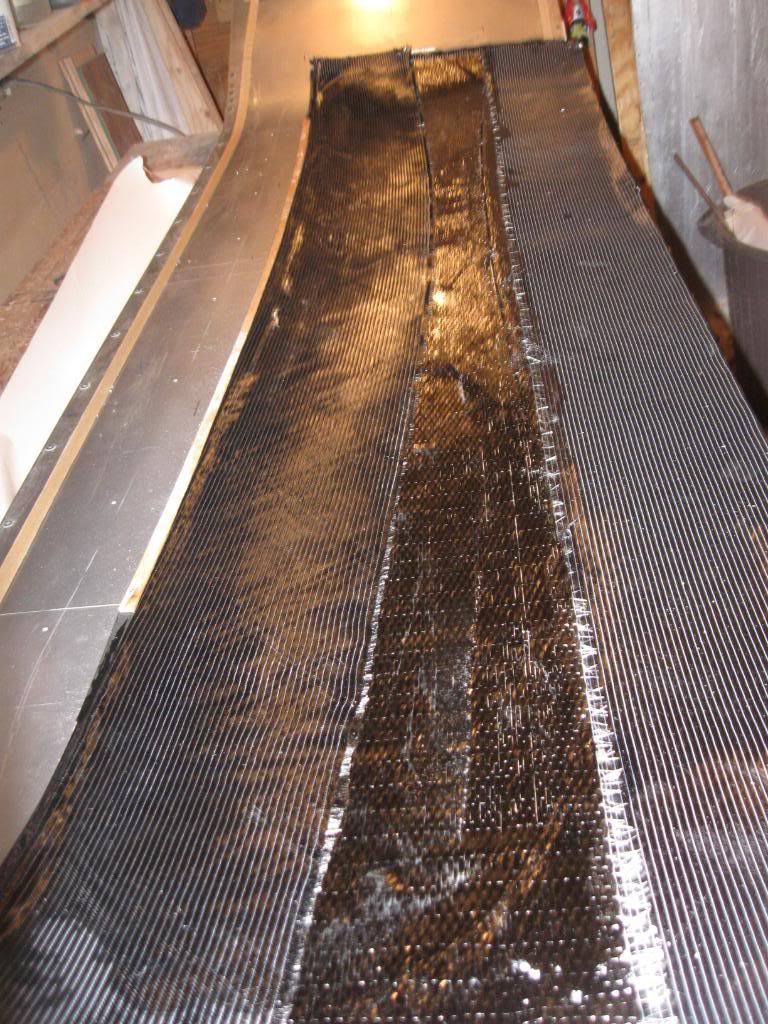
Second fold. Voila burrito!:
Peel ply:
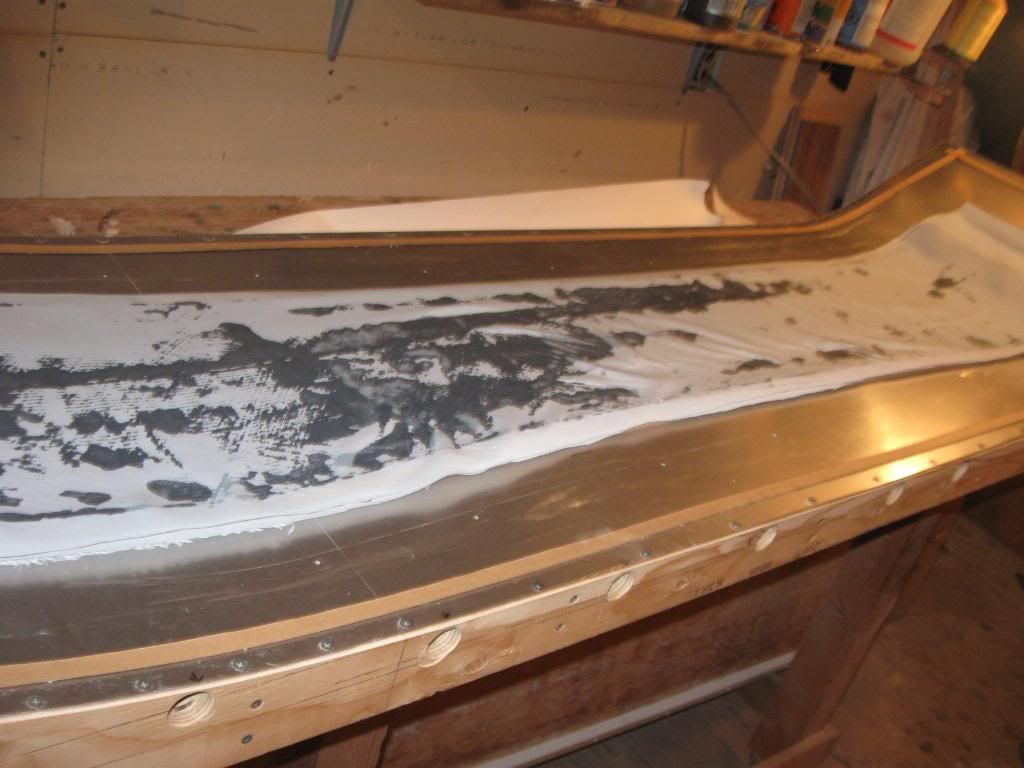
Bleeder ply. I layer of high tech super-absorbent paper towel:
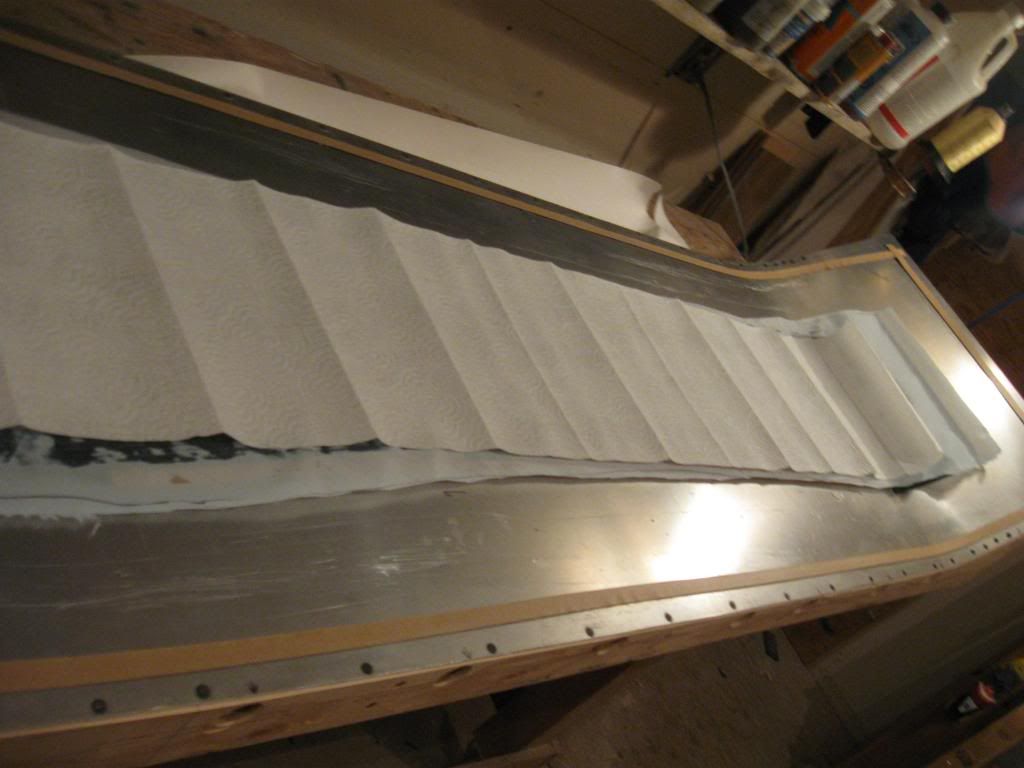
Barrier ply. poly sheet:
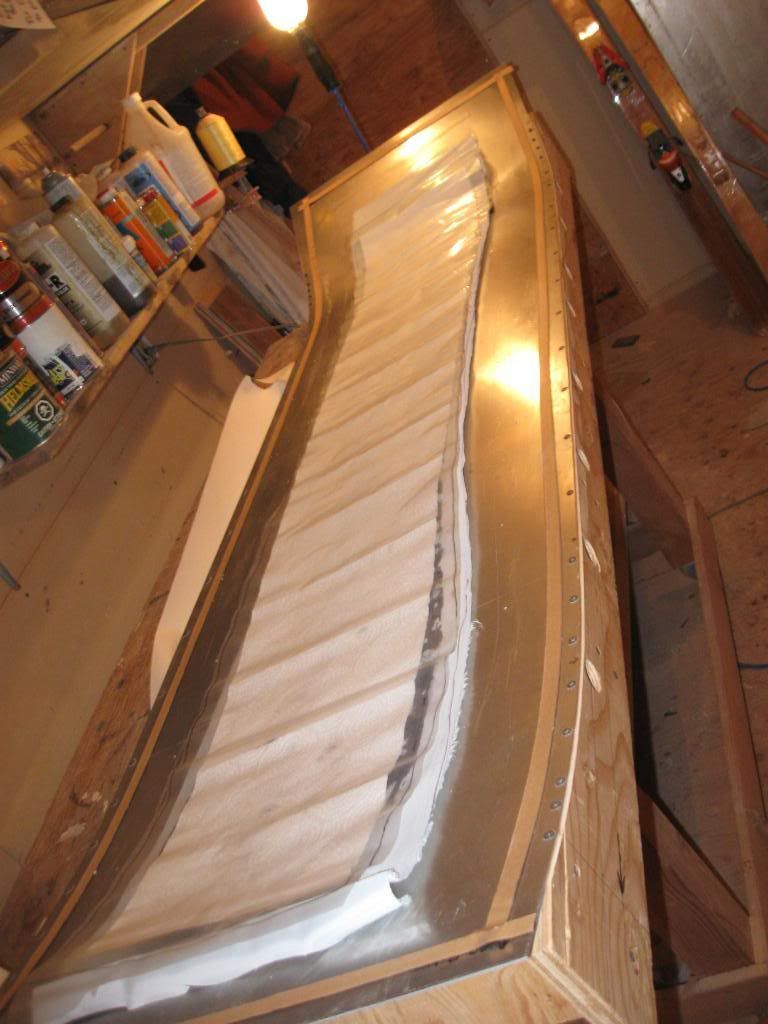
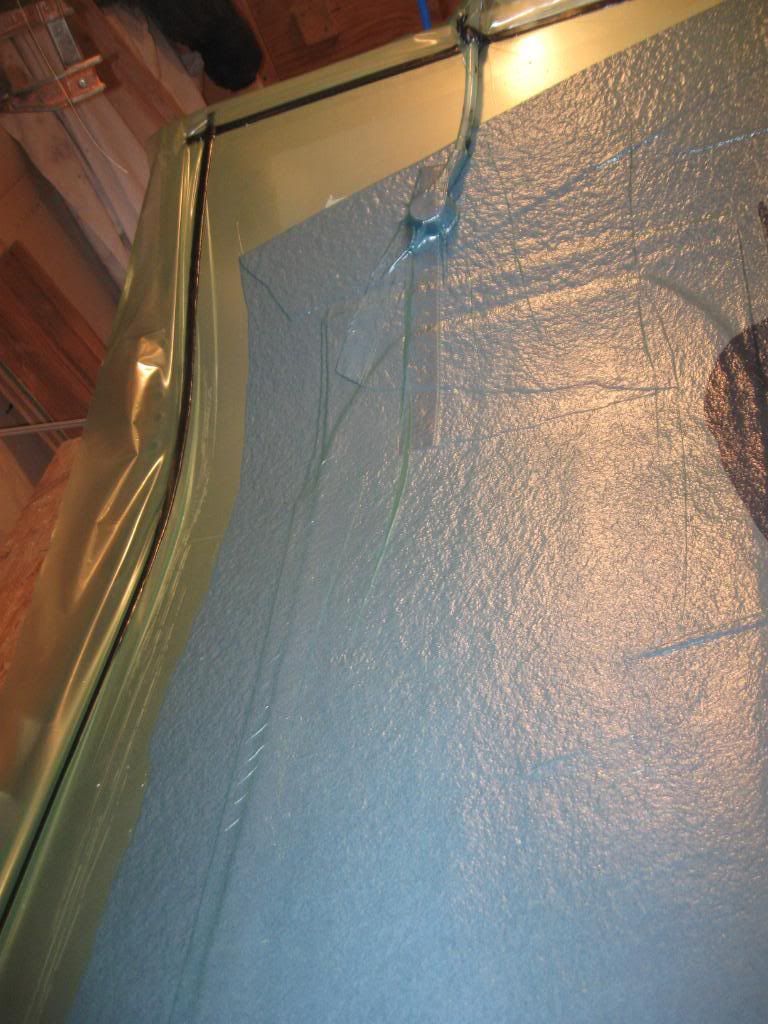
Vacuum on, excess bleed visible in breather ply on right hand bottom of photo. Dark blue. I try to cut the barrier ply to stop resin transfer into the breathe ply but never get it perfect. Sigh. Things are usually fine:
Layup done. put press in hot-box and go to bed and don't sleep well for 6 to 8 hours. Or until kid wakes up screaming. ha ha.
Layup sequence for this board (bottom to top) is as follows:
p-tex/edges. Kevlar lacing on edges.
VDS over edges.
12 oz/sq yd biax carbon. 2 times widest point, plus 2 inches wide
9 oz/sq yd uni carbon. full length.
core. no tip tail spacers as this is a prototype. just closing out with fabric
9 oz/sq yd uni carbon. Full length.
Wrap over the 12 oz carbon like a burrito. Overlap will vary depending on sidecut. About 1 inch at the shovel, more at the waist.
no topsheet.
peel ply.
Bleed ply.
Barrier ply.
Breathe ply.
Vacuum bag.
Will flow coat and sand and varnish for a topsheet later.
Here are some pictures:
This is the "layup table" The whole board is here, minus the resin and base/edge layer which is on the table across the room. I've got a system where i always have rolled things rolled with the tail inside. all flat stuff has the tip to the left. It doesn't matter what you use for a system, just make it consistent. Don't ask me how I know. Table is covered in a piece of poly film.
Resin on ready for VDS:
VDS on, resin on ready for carbon (+/- 45):
Carbon biax on and soaking up resin. while this happens i start to wet out core then finish wetting out biax and apply bottom uni:
Wetting out core. Not wet enough here:
insert inserted:
uni carbon wet out:
Skipped a couple of bits with the camera. By myself you know ha ha. Core is in place, top carbon uni applied and first fold over is happenin':
Second fold. Voila burrito!:
Peel ply:
Bleeder ply. I layer of high tech super-absorbent paper towel:
Barrier ply. poly sheet:
Vacuum on, excess bleed visible in breather ply on right hand bottom of photo. Dark blue. I try to cut the barrier ply to stop resin transfer into the breathe ply but never get it perfect. Sigh. Things are usually fine:
Layup done. put press in hot-box and go to bed and don't sleep well for 6 to 8 hours. Or until kid wakes up screaming. ha ha.