Section8 Cheetahs-Dachshunds

Document your personal work here. Show photos, movies, and share your secrets.

Moderators: Head Monkey, kelvin, bigKam, skidesmond, chrismp

skidesmond
Posts: 2337
Joined: Tue Apr 07, 2009 3:26 pm
Location: Western Mass, USA
Contact:

Section8 Cheetahs-Dachshunds

Post by skidesmond »

Starting a new build today. Making skis for my daughters for Christmas. The skis will be 152cm length 117-70-104 turning radius of 11m. So they are short and I want to make them on the soft side. These s/b a lot of fun. I might as well make a pair for the wife, although she didn't ski once last year, maybe this will help get her out on the slopes.

I'm using douglas fir and ash. I bought a 4x4x96inch Douglas Fir post. The grain is very straight. I cut off the width I needed and put the rest in the rack for more skis later. I was tempted make the entire core from fir and use ash for the side wall to make a light ski but decided to use ash under the boot/binding area. The fir will be in the middle of the ski, in front and behind the binding area.

Trying a couple new things this time around. I'll be making the cores w/o using a planer crib or router bridge. I'm going to use my jointer. I'll plane the entire core down to 10mm, then use the jointer to make the taper, going from 10mm to 2.5-3mm. The binding area will remain at 10mm. I realize this will make the transition at the start of the taper rather sharp but I'll smooth it out w/ the belt sander.

I'll be using tip fill. Haven't decided if I'll try to use a solid piece of ash thinned to about 2.5 - 3mm or use some left over black p-tex.

Some pics from today:

Below are the pieces that will make of the center of the core for 1 set of the skis.

Image

Getting ready for the glue up:
Image


Dry fit:
Image

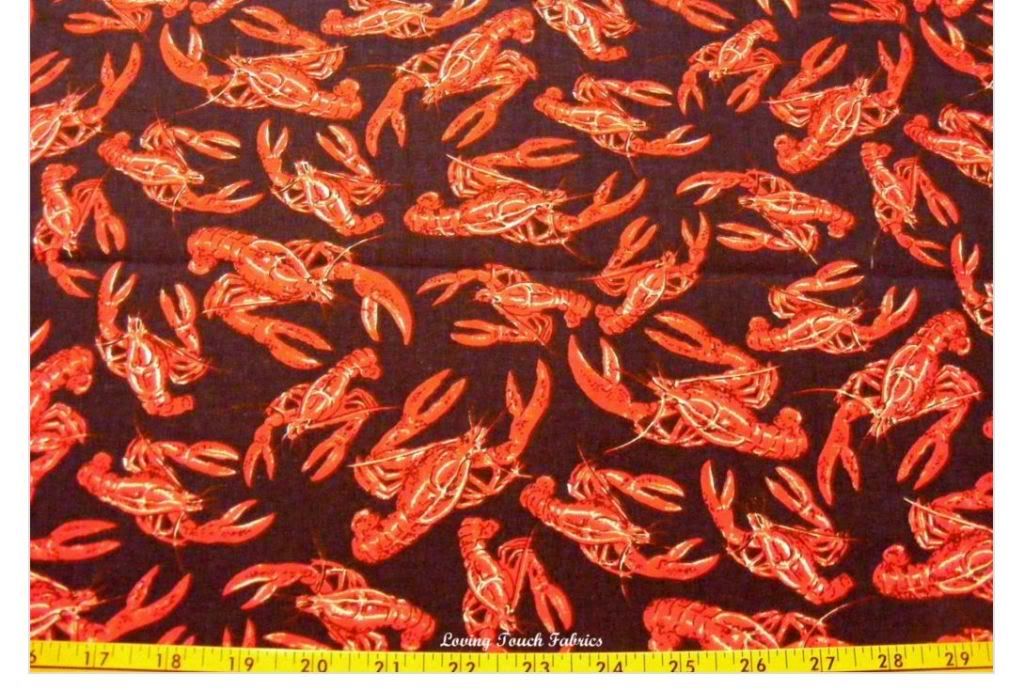
I got the material at Joannes:
Cheetah:
Image

Dachshunds:
Image
Richuk
Posts: 1146
Joined: Sun Jan 31, 2010 9:53 am
Location: The Duchy of Grand Fenwick

Post by Richuk »

Loving this ... will stay tuned :D
OAC
Posts: 961
Joined: Thu Jul 23, 2009 9:34 am
Location: Sweden
Contact:

Post by OAC »

I guess the "cheetas" is for your wife? I get it! "Me Tarzan, you Jane" :D
skidesmond
Posts: 2337
Joined: Tue Apr 07, 2009 3:26 pm
Location: Western Mass, USA
Contact:

Post by skidesmond »

OAC - Actually she is a big Boston Red Sox fan, so I'll probably go with that theme.
User avatar
MontuckyMadman
Posts: 2395
Joined: Fri Jun 20, 2008 9:41 pm

Post by MontuckyMadman »

skidesmond
Posts: 2337
Joined: Tue Apr 07, 2009 3:26 pm
Location: Western Mass, USA
Contact:

Post by skidesmond »

That's pretty cool! I'll have to see what else they have.
skidesmond
Posts: 2337
Joined: Tue Apr 07, 2009 3:26 pm
Location: Western Mass, USA
Contact:

Post by skidesmond »

The only thing that went right tonight was planing the core to 10mm. Then everything spiraled downward.

I started profiling the cores on the joiner. I kept count on the number of passes while doing the tips, 6. Got the other core made 6 passes. Looked fine. Spun the core around to do the tails and WTF! I had a nice taper from the toe area to the tip. When I looked at the end of the tip I has a taper going across the core. One side measure 3mm, the other 7mm.

Needless to say my joiner needed a serious tune up. Spent the last 2 hrs screwing around with it, resetting the blades, adjusted front and rear tables. The main culprit was the front table. I had to shim 1 side of it with some thin sheet metal. What a PITA.

I did some searching on the internet to find the problem. Apparently a joiner will taper the length of the board and that's "normal". Not really sure why. I've made tapered table legs on the joiner but never really as to why it works. I have to read up on it. Usually you're only take 1 or 2 light passes so it's not noticeable. But it's not normal to taper across a board.

I was able to fix it by taking very light passes. Haven't done the other core yet.

On the other project (Formica) I was hoping to be re-pressing a ski with the Formica while I made new cores but forgot my cat track isn't done. That was strike 2. Calling it quits tonight before strike 3 comes.... like some random flying metal object ..... :)

I'll pick it back up tomorrow night. I'll run some test pieces on the joiner to make sure the taper still works for the length. If this joiner experiment works out it won't be necessary make multiple planer cribs for different length skis, assuming you always want a consistent taper.
OAC
Posts: 961
Joined: Thu Jul 23, 2009 9:34 am
Location: Sweden
Contact:

Post by OAC »

skidesmond wrote:.. I had a nice taper from the toe area to the tip. When I looked at the end of the tip I has a taper going across the core. One side measure 3mm, the other 7mm.
...
Surprise! :)
Been there, done that. :)
Very frustrating when one's theory doesn't match the practical outcome. I'm still in the "learning zone" with the joiner (read: almost never use it).
leboeuf
Posts: 76
Joined: Tue Jun 08, 2010 2:32 pm
Location: New Mexico, US

Post by leboeuf »

I suppose I still don't see how a jointer could profile a core?
There's no way to guarantee that one side of the core is parallel to the other.
I think it could work if you attached the core to something square that could ride against the fence?

Every time I try to use my jointer for something other than surfacing and squaring, I end up with oddities...
skidesmond
Posts: 2337
Joined: Tue Apr 07, 2009 3:26 pm
Location: Western Mass, USA
Contact:

Post by skidesmond »

As you make multiple passes, the right side of the core begins to taper because the left table is a bit higher than the right table. You have to maintain pressure on the right side. I know this works, I've made many shaker style table legs this way on 2 sides and 4 sides (pencil style).

So my theory is you should be able to taper a core. Make your markings where the binding area will be. The binding area does not get joined. Then start making passes till the tip gets to the desired thickness, then do the tail.

BUT, seems like my joiner is still out of alignment. It's still creating a taper across the core. This is bad. The left side of the right table is taking more off than the right side of the right table. It's not noticeable until you make 3 or more passes. I reset the blades. There's no adjustment screws to raise/lower either side of the either table. The last thing I may try is to shim the right side of the cutter head. No idea if it's possible until I take the joiner apart.

It was supposed to be a decent joiner, 6inch Grizzly model 1182. I've had it for awhile so I doubt they'll do anything about it.

Theory met Reality and Theory lost.... for now. Let you know how it turns out but not looking good at this point. I was really hoping this worked out so I wouldn't need a planer crib.

I may be back to designing an adjustable planer crib. :?
leboeuf
Posts: 76
Joined: Tue Jun 08, 2010 2:32 pm
Location: New Mexico, US

Post by leboeuf »

Ahh ok, I get it. So your angle of plane is set by placing your reference line on the cut line.

It does make sense that any error in setup would get amplified by each pass...

I wonder if you could somehow reference the fence to keep the side of the core square to the bottom?

I think I might have to mess around in the shop tonight :)
skidesmond
Posts: 2337
Joined: Tue Apr 07, 2009 3:26 pm
Location: Western Mass, USA
Contact:

Post by skidesmond »

I didn't use the fence because I thought I was going to get a flat/square tapered surface. Try it if you get a chance. Here's a couple of pics.

This pic shows the markup of the core. I also have corresponding marks on the sides. Then I lay the core on the joiner table. The line on the right is the reference mark to start joining at that point (or close too it). Then the same for the tail.

Image

Here's what the result of the of the taper going across the core after 6 passes or so. ugh! :( I was able to fix the other core. As you can see I haven't fixed this one.

Image

Let me know how it works for you. Try a scrap piece of wood....
OAC
Posts: 961
Joined: Thu Jul 23, 2009 9:34 am
Location: Sweden
Contact:

Post by OAC »

Jeez! Are you sure the blades in the cutter are mounted correctly?
skidesmond
Posts: 2337
Joined: Tue Apr 07, 2009 3:26 pm
Location: Western Mass, USA
Contact:

Post by skidesmond »

Yes... I know pretty bad. But the I set the blades (all 3) according to the manual. I'm pretty sure it's the left side of the right table that is lower. When I use a metal straight edge the right will just barely touch the blade, on the left side it catches on the blade, maybe 1/2mm. Take 6 passes and that's 3mm difference, which is about how far off it is.

Frustrating...
OAC
Posts: 961
Joined: Thu Jul 23, 2009 9:34 am
Location: Sweden
Contact:

Post by OAC »

Post Reply