Page 1 of 1
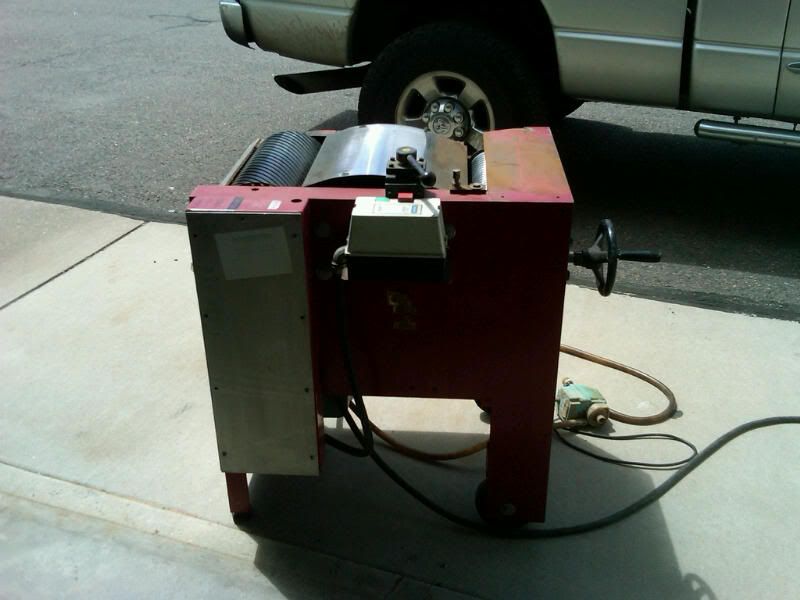
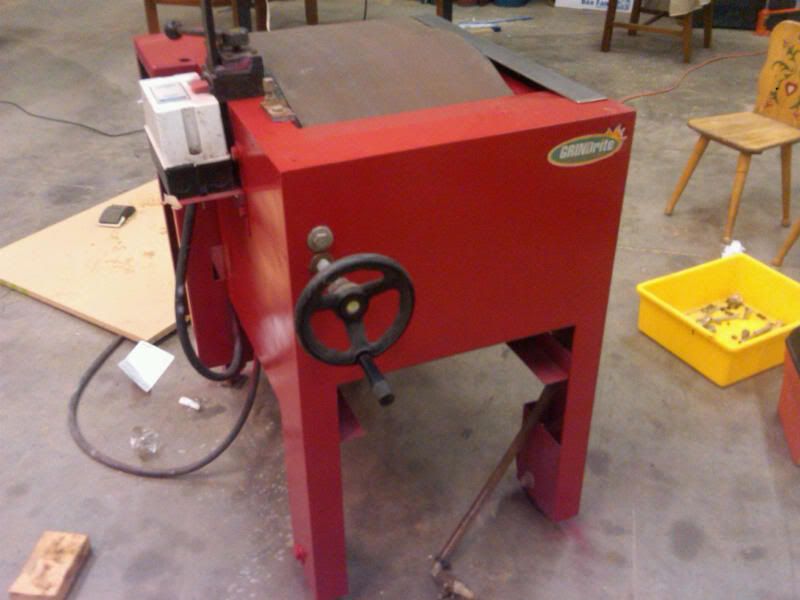
Inspired grinder restoration
Posted: Mon Aug 09, 2010 4:48 pm
by COsurfer
Posted: Mon Aug 09, 2010 5:39 pm
by twizzstyle
Woah, that's way nicer than mine! I'll trade you!

It's certainly a much smaller footprint than mine, mine is huge

That looks like the exact same water pump that my machine has.
For cheap belts go here:
http://www.econaway.com/
Good luck on the cleanup, that looks like a great find!
Posted: Fri Aug 13, 2010 5:01 pm
by redbull
nice find! is the motor plate still on the motor? what's the horsepower of the motor? thanks
Posted: Sat Aug 14, 2010 5:37 am
by COsurfer
Hey Redbull, The specs are 3HP, 220VAC, single phase 1725 RPM. the pump motor is a 115 VAC, 300 GPH submersible pump. I noticed in another post you are trying to build your own. If you need any other specs or measurements let me know. These things are expensive so if you can figure out how to build one that would be helpful to all! I can tell you these machines are built like a tank.
Posted: Mon Aug 16, 2010 1:46 am
by redbull
Thanks COsurfer. Any progress? It would be great to see more of the internals... like how the tensioning/tracking system works? Similar to twizzstyle's grinder?
Posted: Tue Aug 17, 2010 7:12 am
by COsurfer
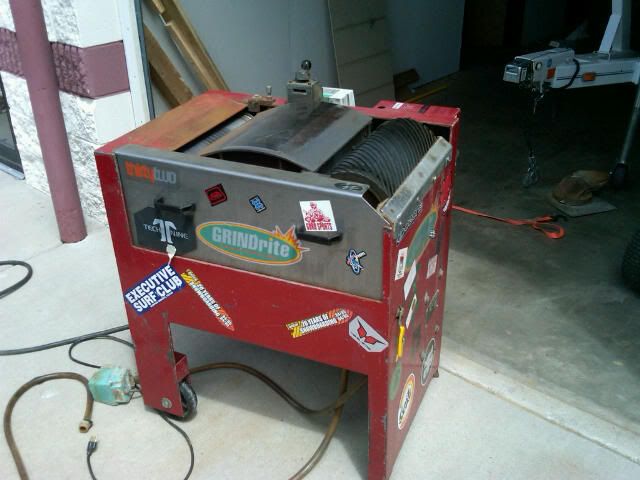
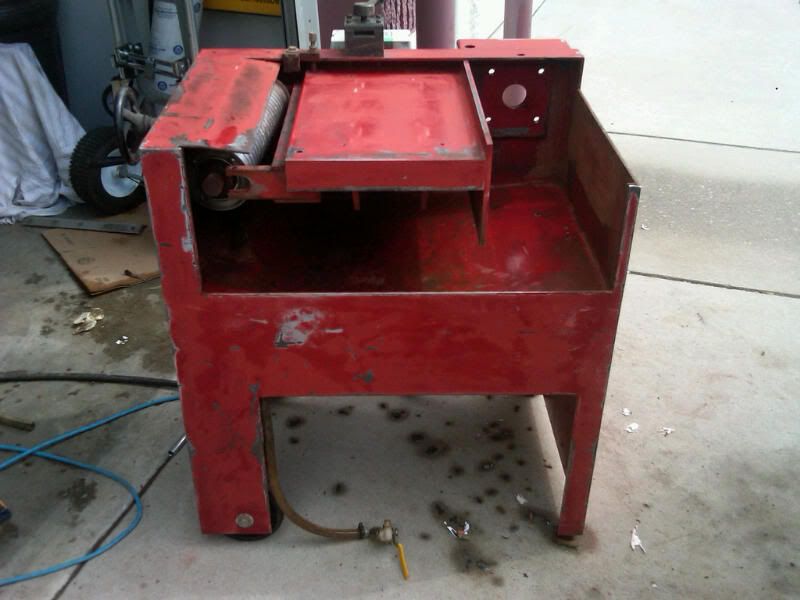
Here is the machine stripped and ready for primer:
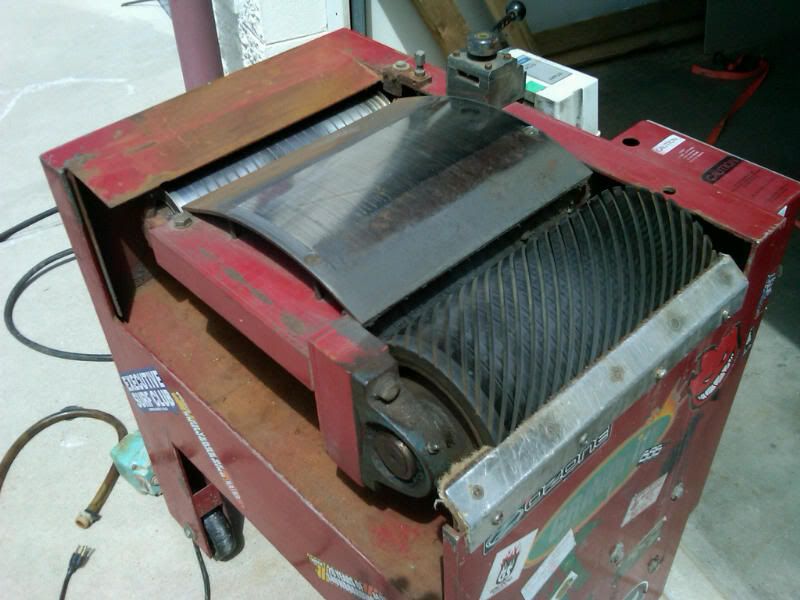
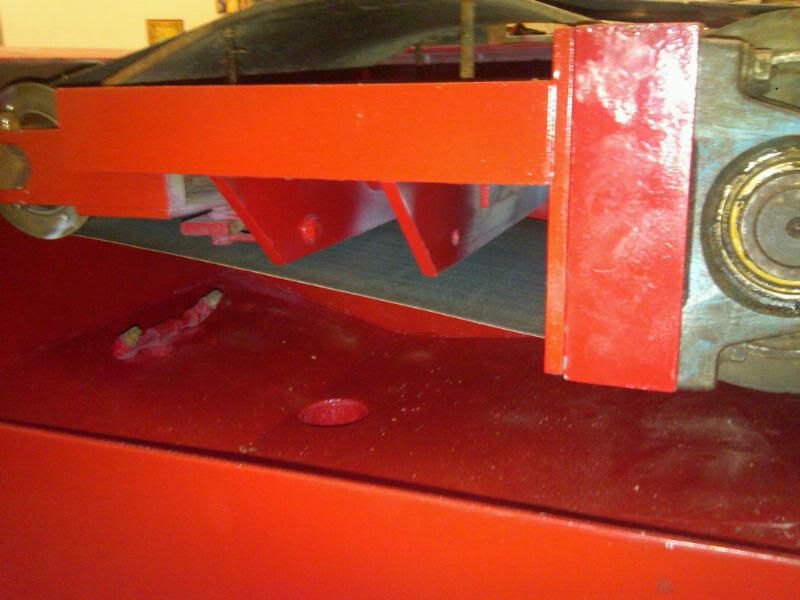
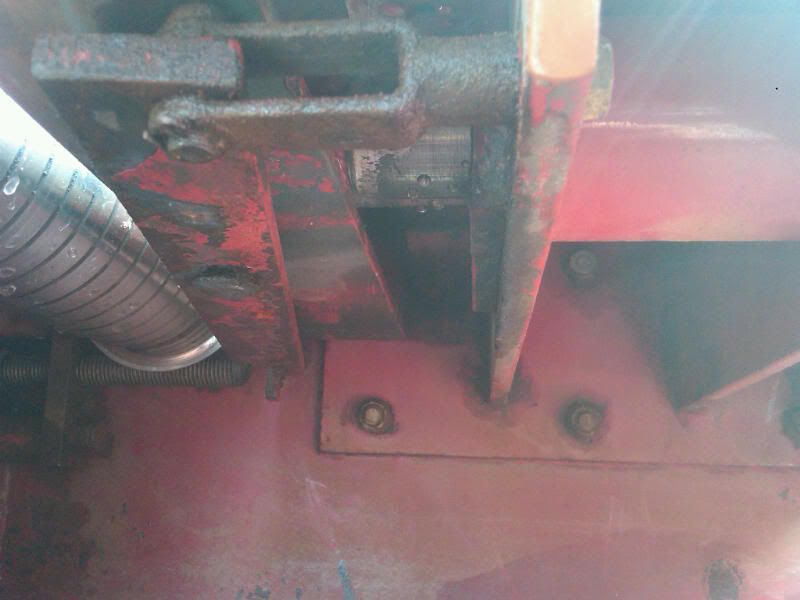
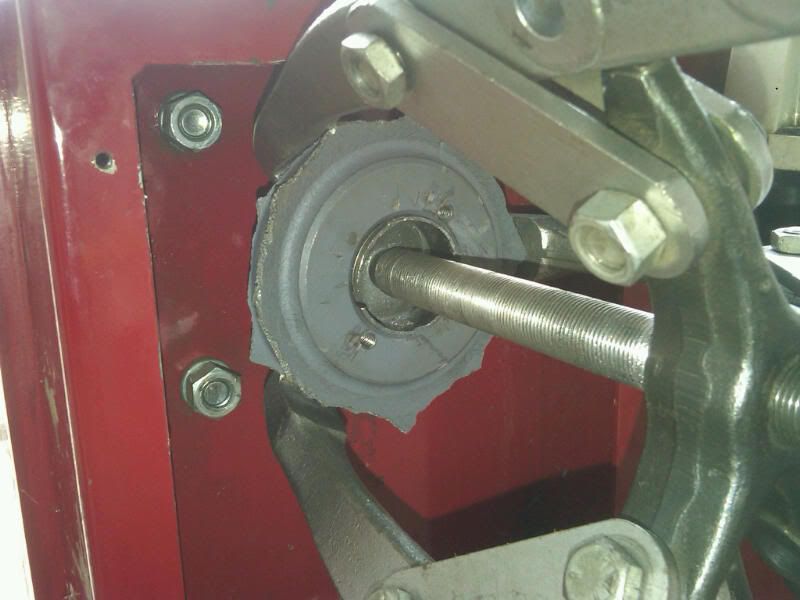
The sanding drums are controlled by a screw and piston looking assembly. On the outside I have a wheel that turns and pulls the steel drum you see in the above picture back to tension the sanding belt. Here is a few pictures of the tensioning system:
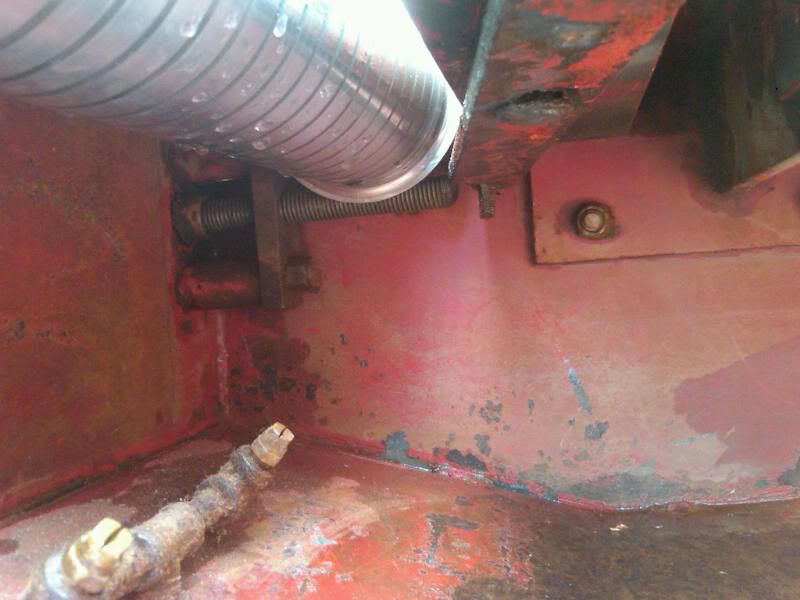
In this picture you can see the piston and cross bracing that move as I crank on the screw drive.
Hopefully these pics help give you an idea of the tensioning system. If not let me know what other pics would be helpful.
Posted: Tue Aug 17, 2010 4:35 pm
by twizzstyle
Very cool! Surprisingly similar to mine, just a bit wider. The sprayer underneath should keep it a little cleaner, mine sprays on the side of the roller, and tends to make a mess (overspray) if I have the sprayer turned up too high without the belt running.
What are you painting it with?
Posted: Tue Aug 17, 2010 7:05 pm
by COsurfer
I just used the rustoleum primer and I plan on using the rustoluem red. Twizzstyle, what did you use?
Posted: Wed Aug 18, 2010 3:50 pm
by twizzstyle
I went all out and stripped the entire thing to bare metal, prepped it with phosphoric acid (POR-15 metal ready), did a heavy base coat of POR-15, primed with their primer, and did a POR-15 urethane top coat.
I think I paid like $200 for all of the paint, which was a lot... but it should be bulletproof forever. Mine was also in much worse shape, quite a bit of rust.
Posted: Wed Aug 18, 2010 6:20 pm
by COsurfer
Wow, you put a top notch paint job on yours! Most of my rust is pretty minor and I am too cheap to spend any more money on this restoration. I like your idea of adding a urethane top coat.
As I was removing the drum I noticed the split taper bushing had sheared off. I spent days trying to get the sheave off the drum shaft. I ended up breaking the sheave with a gear puller and had to order another. So I am ready to get this restoration behind me and start grinding!
Posted: Sat Aug 21, 2010 11:24 am
by twizzstyle
D'oh! Did you heat it up at all when trying to pull it off? I had to get things REALLY hot in order to take off my drive drum, and the pulley on the back side. The fit is real snug on there.
Posted: Fri Aug 27, 2010 4:52 pm
by COsurfer
Posted: Sun Aug 29, 2010 1:35 pm
by rockaukum
Looks purdy! Put it to work now.
ra