OH NO!
Posted: Fri Aug 28, 2009 10:54 am
A while back I went an took a router to the base of some skis. Well I went to do it again and after about 5" of routering, I removed the ski from the clamp to take a look. What I found is that I was putting the pattern in the base backwards! I promptly put the skis in the corner and thought "there is a wasted set of skis" (well something along those lines).
Anyway, I came to the realization that I could fix the bases. So here is the process I went by. Please give any pointers you may have outside of the obvious....
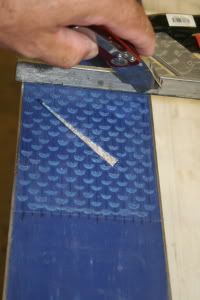
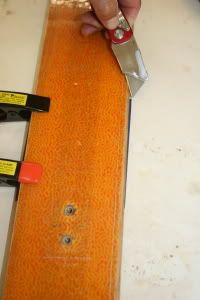
First I cut across the base of the ski with a knife on eaither side of the area to be removed.
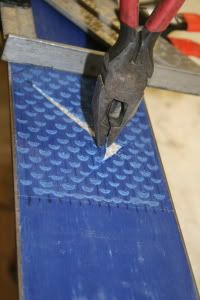
Then using pliers, chisel or what ever else would work, I removed the mistake. The base was difficult to remove and the glass remained in tact.
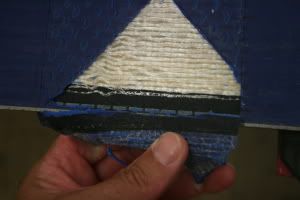
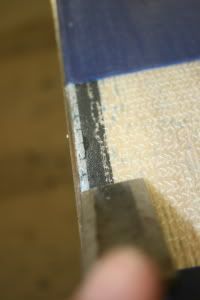
Using the chisel, I cleaned up the edge material.
Using some scrap material, I cut it to fit the void in the ski base. First cuts were to match the cuts I made in the base, Next were the cuts to fit to the edge. I slid the new base past the edge and used the ski edge as a guide.
Then slid the base over the other side enough to account for the edge and cut again.
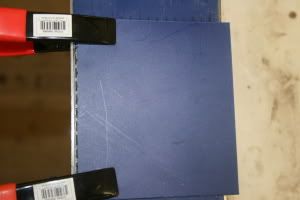
Checking the fit of the new material.
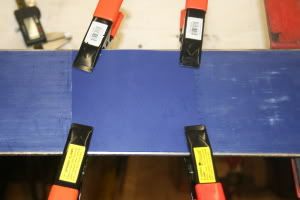
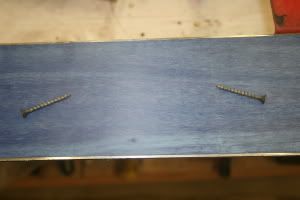
epoxy in place, clamp, and cure.
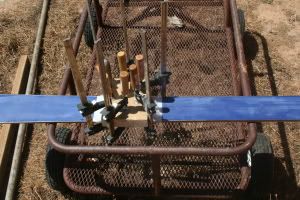
here is the ski out of the clamp.
Sanding the base to match the existing base.
Cleaning the edges while at it.

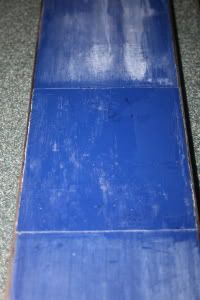
Finally, here is the base repair completed, less the wax.
All in all, the repair took about an hour to do the prep work and maybe a half hour to do the sanding and edge job.
Seeing how this went okay, we may try to add some contrasting base material to some new layups.
Again, any input would be great!
ra
Anyway, I came to the realization that I could fix the bases. So here is the process I went by. Please give any pointers you may have outside of the obvious....
First I cut across the base of the ski with a knife on eaither side of the area to be removed.
Then using pliers, chisel or what ever else would work, I removed the mistake. The base was difficult to remove and the glass remained in tact.
Using the chisel, I cleaned up the edge material.
Using some scrap material, I cut it to fit the void in the ski base. First cuts were to match the cuts I made in the base, Next were the cuts to fit to the edge. I slid the new base past the edge and used the ski edge as a guide.
Then slid the base over the other side enough to account for the edge and cut again.
Checking the fit of the new material.
epoxy in place, clamp, and cure.
here is the ski out of the clamp.
Sanding the base to match the existing base.
Cleaning the edges while at it.
Finally, here is the base repair completed, less the wax.
All in all, the repair took about an hour to do the prep work and maybe a half hour to do the sanding and edge job.
Seeing how this went okay, we may try to add some contrasting base material to some new layups.
Again, any input would be great!
ra