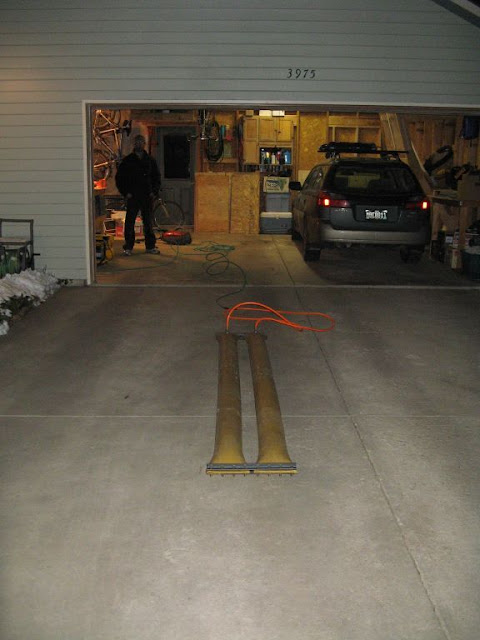
My brother and I started in late February getting the fire hose air bladders sealed. Thanks to some great information on Headmonkey’s website we knew exactly what to buy from McMaster-Carr and we were able to build a fire hose air bladder that does not leak.
There are two things we would try if we were to build another set of air bladders in the future.
1. Buy wider angle iron. Maybe use angle iron that is 1.5”x1.5”. We used 1”x1” and it works … but let’s just say it was less fun than 1.5” angle iron would have been.
2. Try and buy angle iron that already has some holes drilled in the material. I think at McMaster this was an option and it would have saved a lot of time hovering over the drill (my brother wanted to get this and I said no, now I wish we would have).
Next, we sketched the tip and tail mold pieces up by hand. We are using a small tail that rises around 25-30mm in 150mm of length. Our tip mold has some tip rocker. After looking at my original drawing it looks like it has 20cm of rocker length rising 13mm before the regular tip starts. The regular tip has a radius of 15cm. We were hoping to create a tip that was going to be roughly 60mm off the snow.
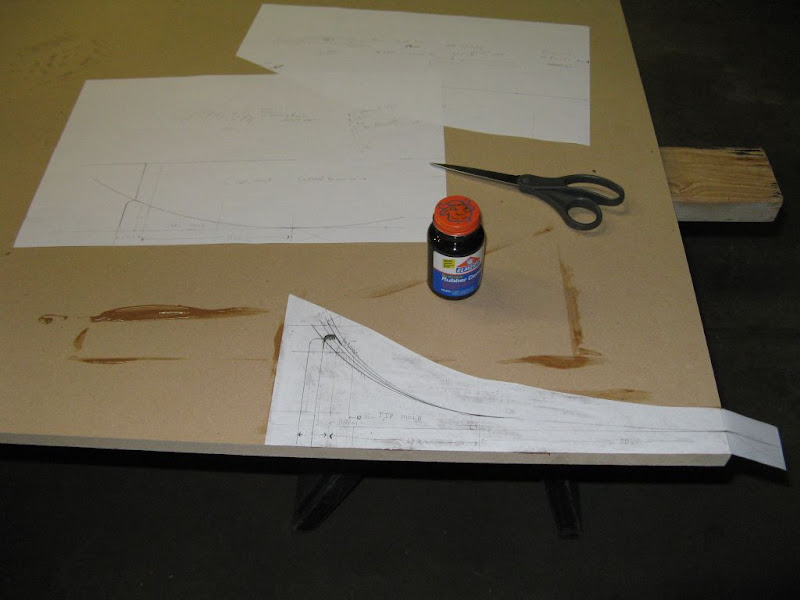
We made copies and cut them out. After gluing them to some ¾” MDF we cut them out to the best of our ability with a shaky hand and a jig saw. They came out pretty good and after a little light sanding them were deemed fit to copy with a router and a pattern bit.
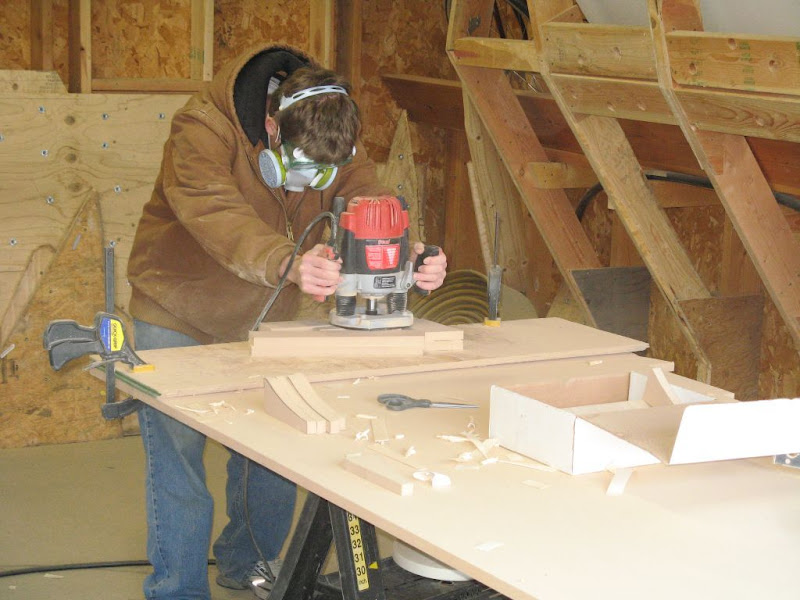
First we rough cut the approximate shape with a jig saw.
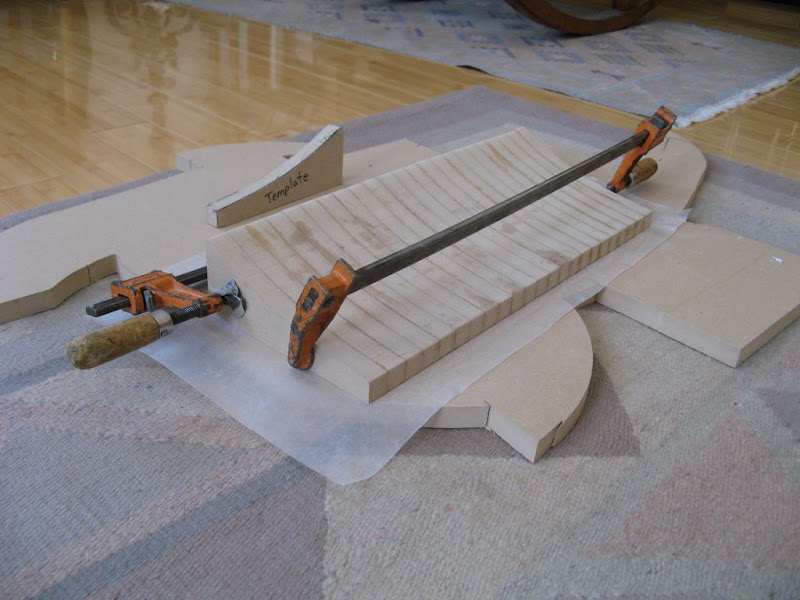
Then we attached the rough cut piece with double sided sticky tape to the template in a small nest we built that had some rails for the router base to rest on. This made life so much easier when cutting out the small pieces.
Here is the nest we built for the tip mold.

My brother routing out a tail piece.
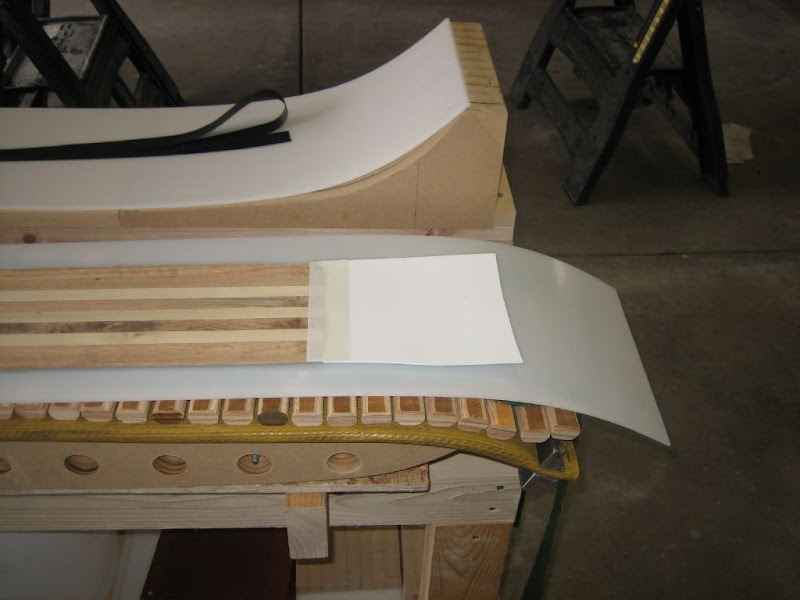
The finished tail mold and tip mold.
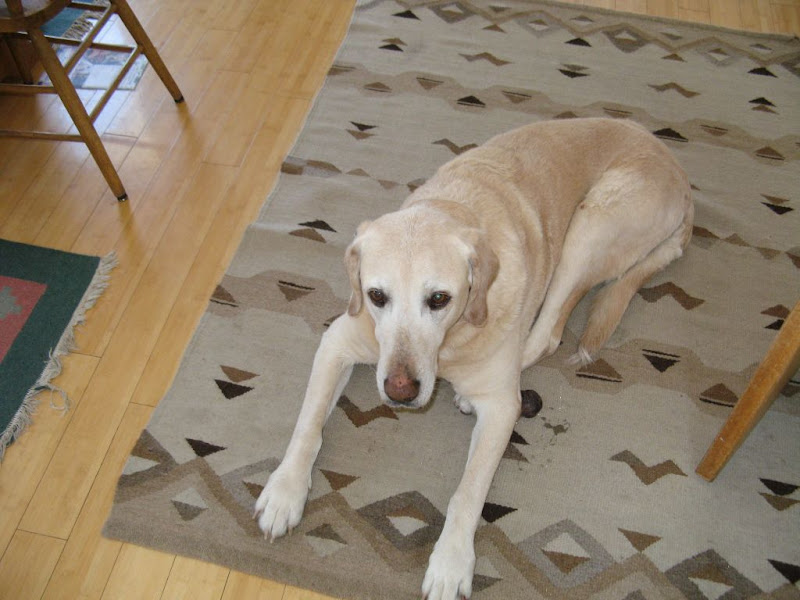
Tajma approves.
The rest of the bottom mold is made up of 3 inch thick MDF that is flat. For our first pair of skis we wanted to do a flat or zero camber mold with some tip rocker and just see what we came away with. This was also the easiest mold to build. The top mold is MDF as well and can be adjusted in 8cm increments. I screwed up the length of the top mold template so now the shortest skis or boards we can build are 183cm. Oops. Measure once … cut twice … can’t fool me again … or something like that.
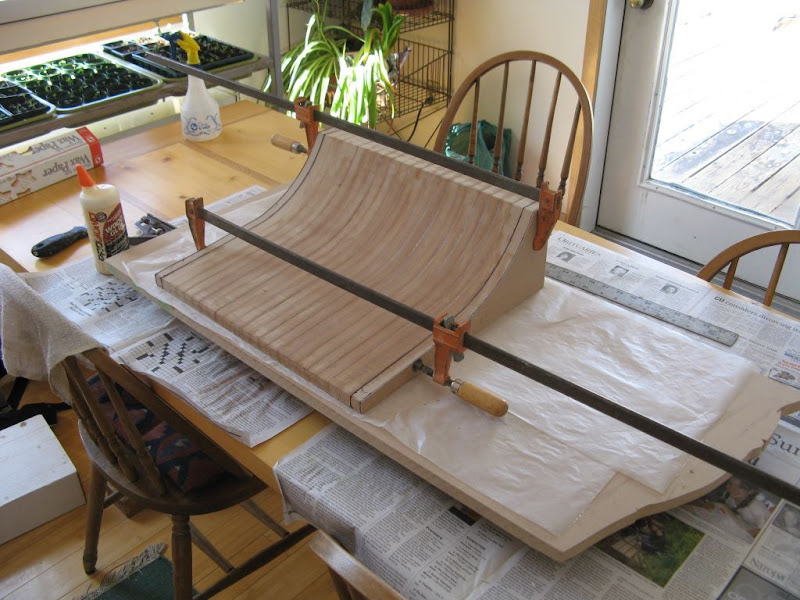
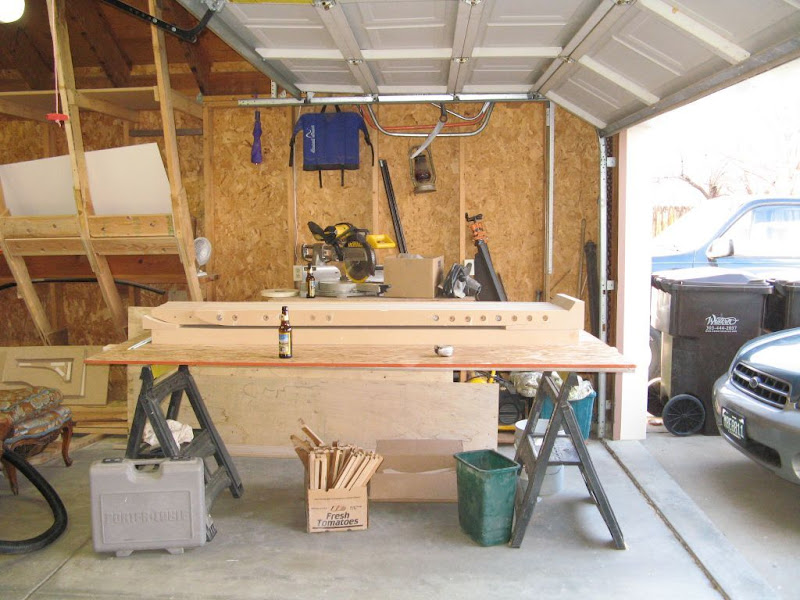
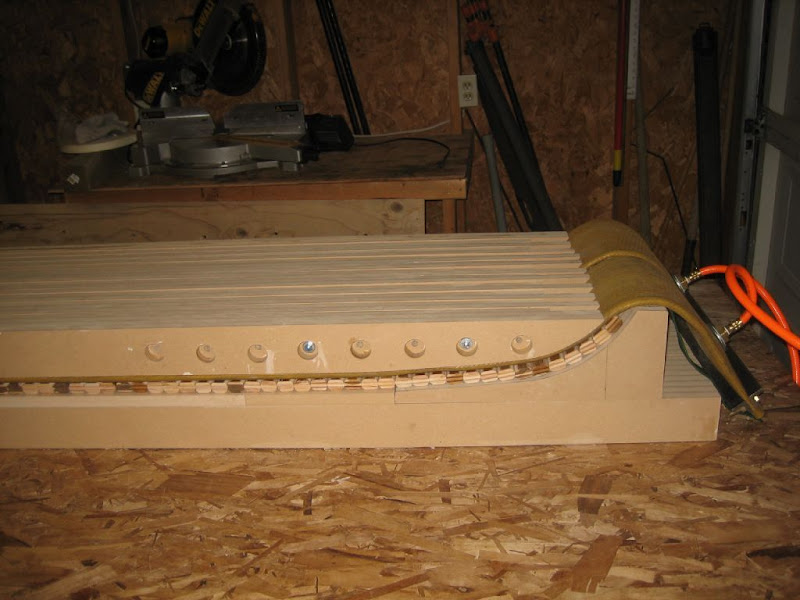
The press is starting to come together (missing the ¾ inch MDF middle section that can adjust the bottom mold length very easily while making the tip and tail molds intersections with the flat camber mold less sharp). The press cavity is 17 inches wide and can make skis 215cm long if we really wanted to.
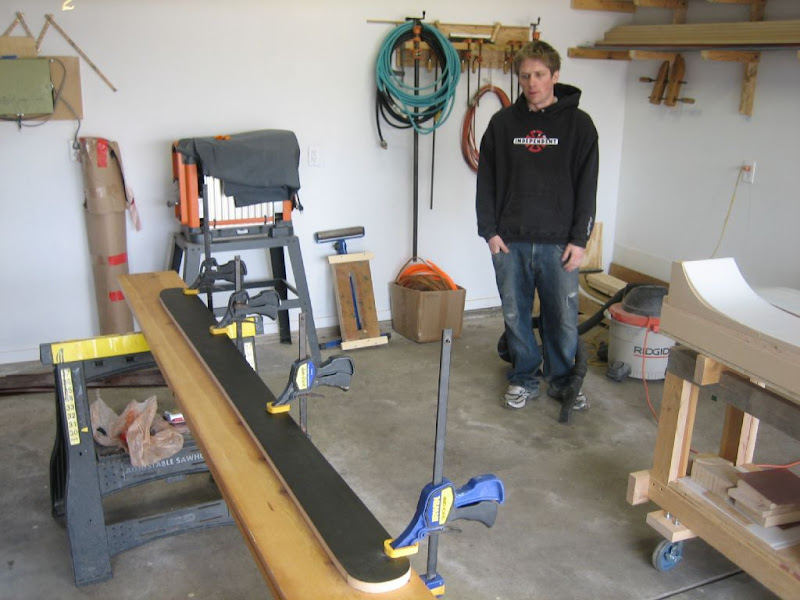
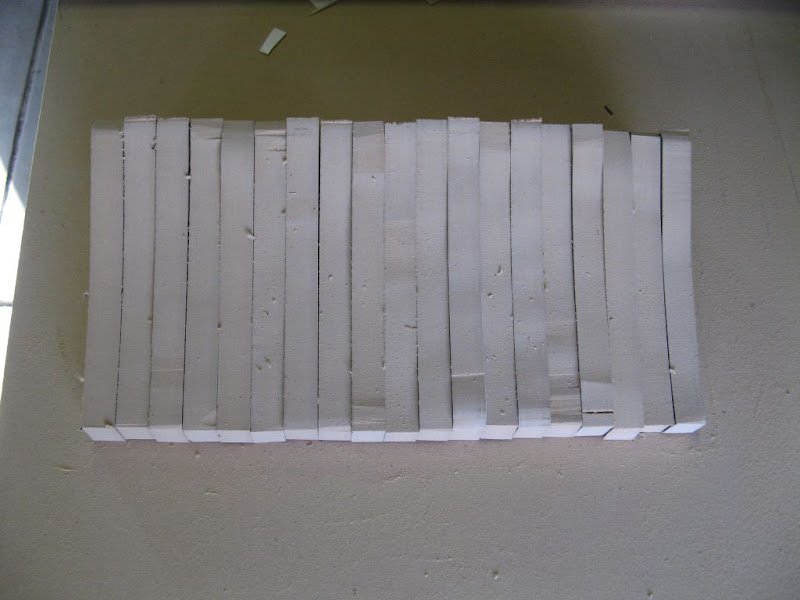
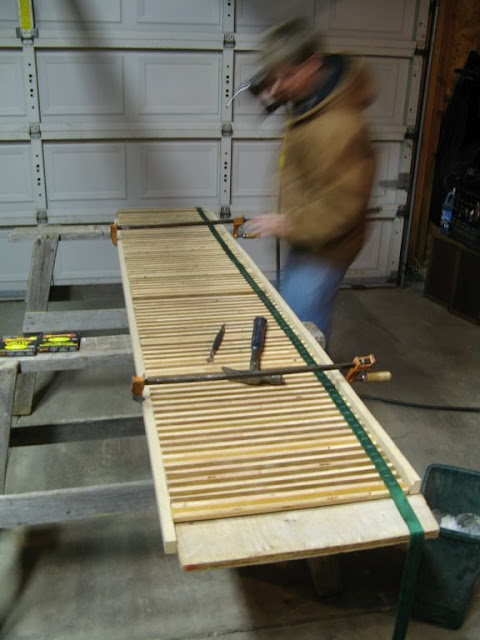
Now we needed a cattrack. We did some searching on skibuilders to see what people we using and after scratching our heads and emailing Plywood a couple times we went with a wooden cattrack. It was very easy to build and cost us nothing because we got the wood for free. We used a really nice router table with a round-over bit to clean up all four edges of the 1in by ¾ inch pieces. Then we decided to hold it all together with some climbing webbing we had from our old slack line. We ended up using the biggest staples we could find to make sure the webbing would stay. We spaced out the wood pieces near the tips and tails so that it would be able to conform to the tight radius in these areas. I think this worked out pretty swell.
Action skibuilding photography.
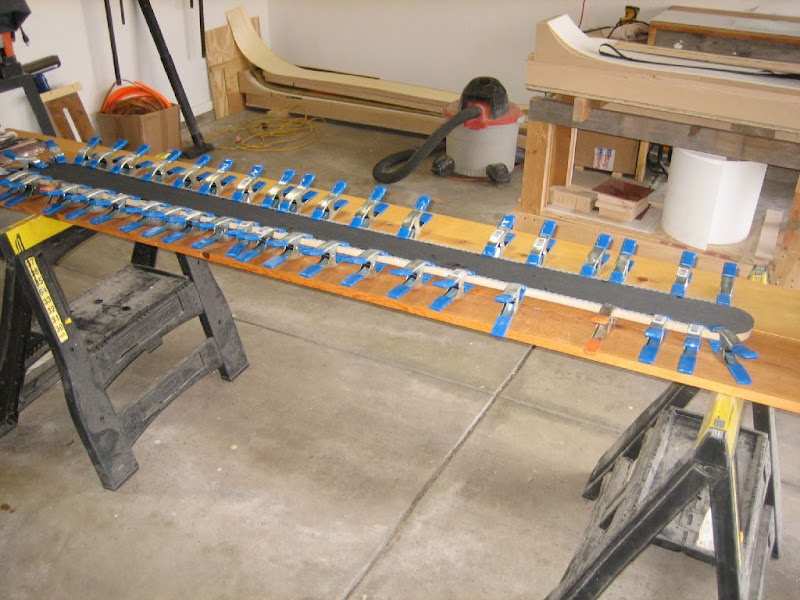
Putting the pieces together.
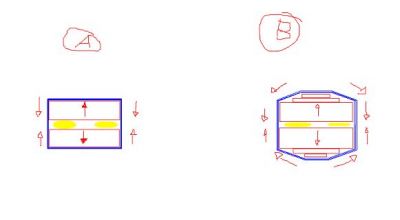
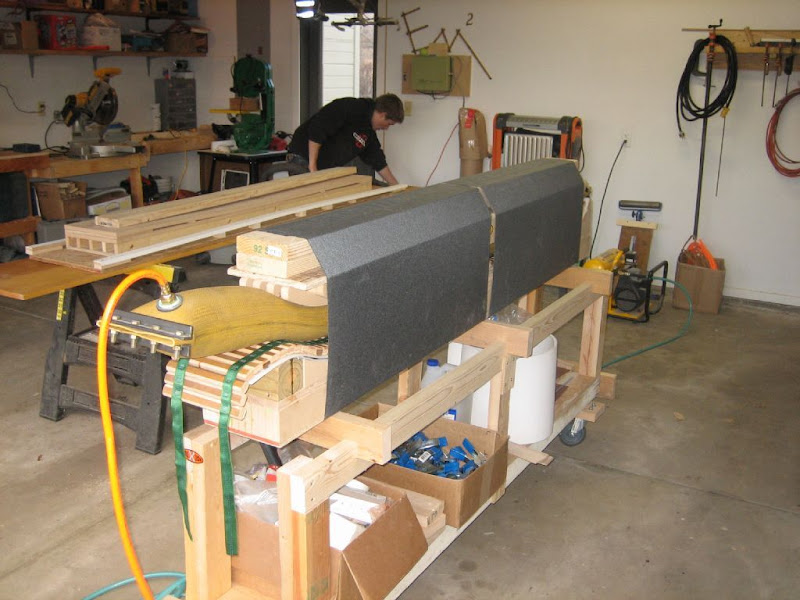
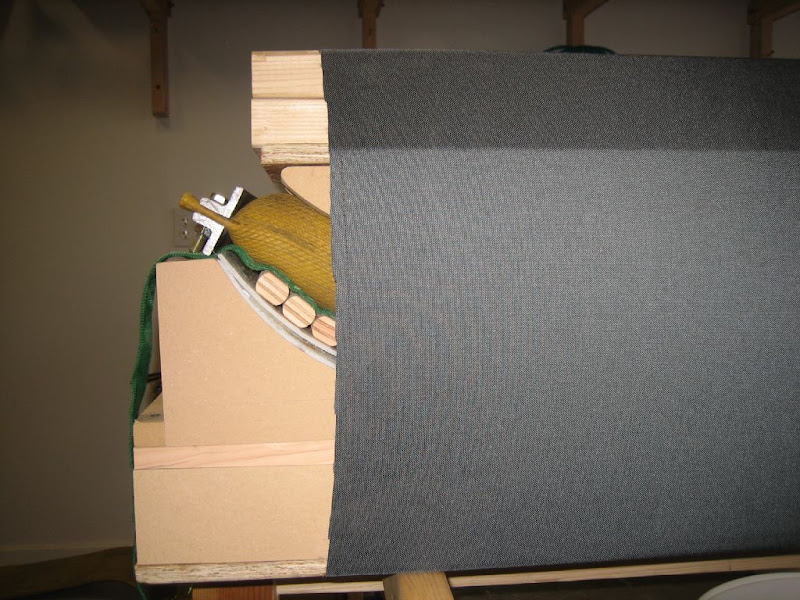
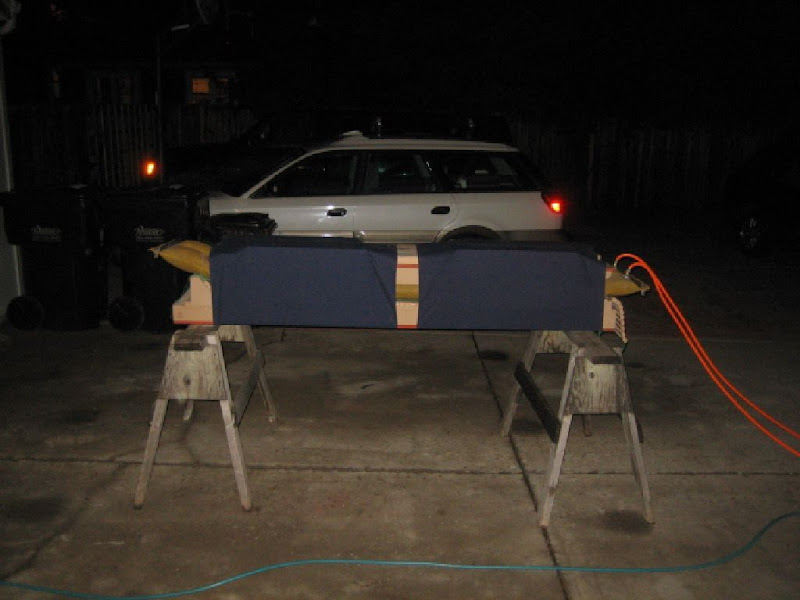
Now comes the fun part. We have looked high and low for some cheap I beams without any real luck. After scouring the forums for alternate press frame ideas we decided to go with the cloth bag style press “frame” like Plywood has used. He has been building some very nice skis so we figured we should give it a try. We went to the local fabric store and bought $30 worth of duck cloth. I think we needed 4-5 yards at 50 inches wide. Neither my brother nor I know how to sew or have access to a sewing machine so we took the fabric to a seamstress here in town who was very eager to help us out. He made us two bags or tubes of the same size for just under $50. For Around $80 total we had our press frame. We brought it home in a backpack on our bikes (not many press frames that can be transported in a backpack). The duck cloth is sort of like the material they make Carhartt jackets and pants with. It was the best cloth we could find but I think other fabrics would have worked as well. We have filled our press to just over 40psi without any problems.
We have since built a rolling cart for the press molds to sit on which makes life so much easier. The entire press lives in the corner of the garage now totally out of the way. We just wheel it out when we are building skis so can work/lay-up skis from both sides of the press.
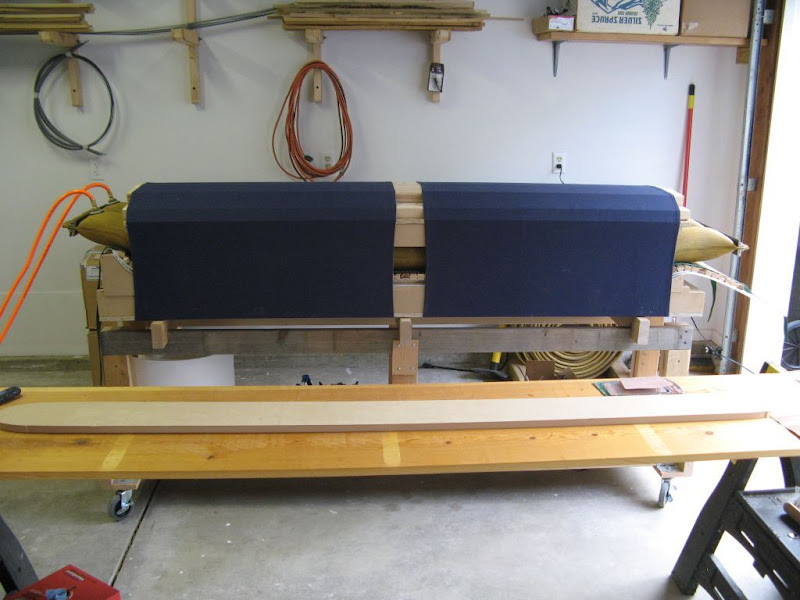
I think we had the cloth tubes sewn a little too large because we have to add a lot of 2x6’s above the top mold. Overall, we are very happy with the press. We do have a couple problems but we are sorting those out. The tips didn’t get pressed all that well on our first build and I am thinking that we needed to add even more wood above the top mold so the distance between the top and bottom mold is decreased. I think there have been some posts about this already but any insight would be helpful.
That’s all for now as it is approaching midnight … I will continue with more photos and the build log from our first pair of skis.