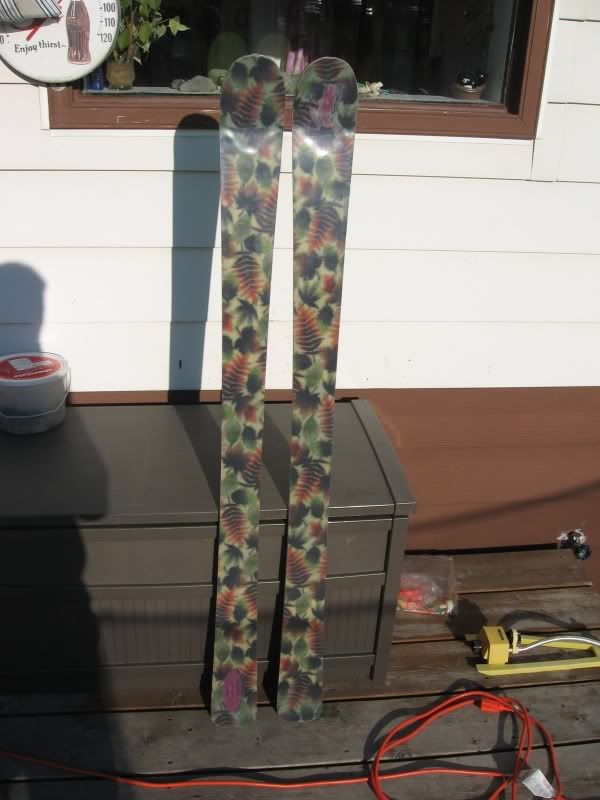
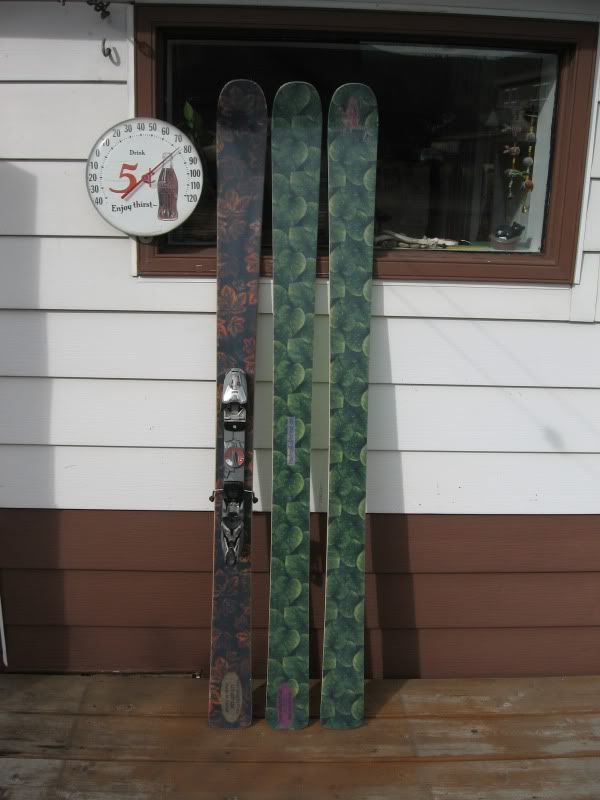
Time for more pictures.
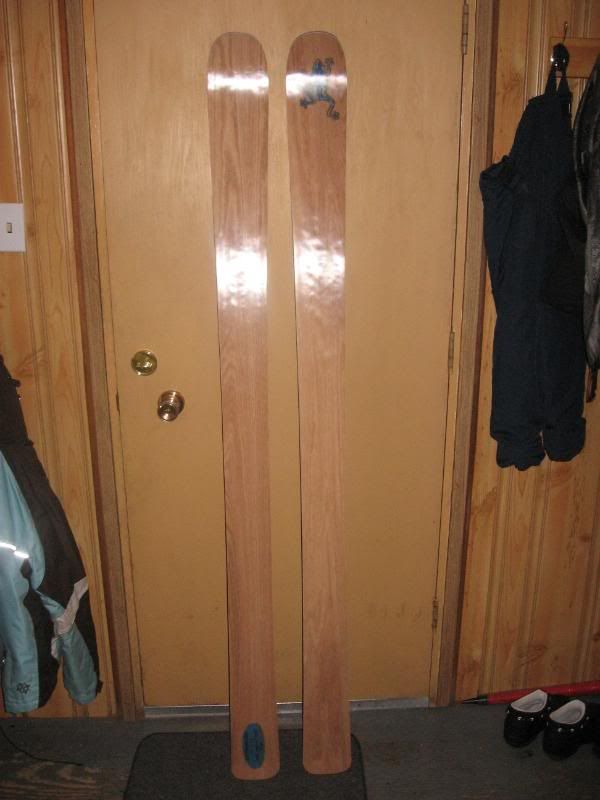
This pair I built for a friend.
He still hasn't seen them yet, his eyes are gonna pop out of his head when he does

Same dimms as everydayfatties red oak veneer with clear uhmw topsheet (yes, skibuilders)
One extra layer of triax for binding retention.
they have a few strange bumps but...
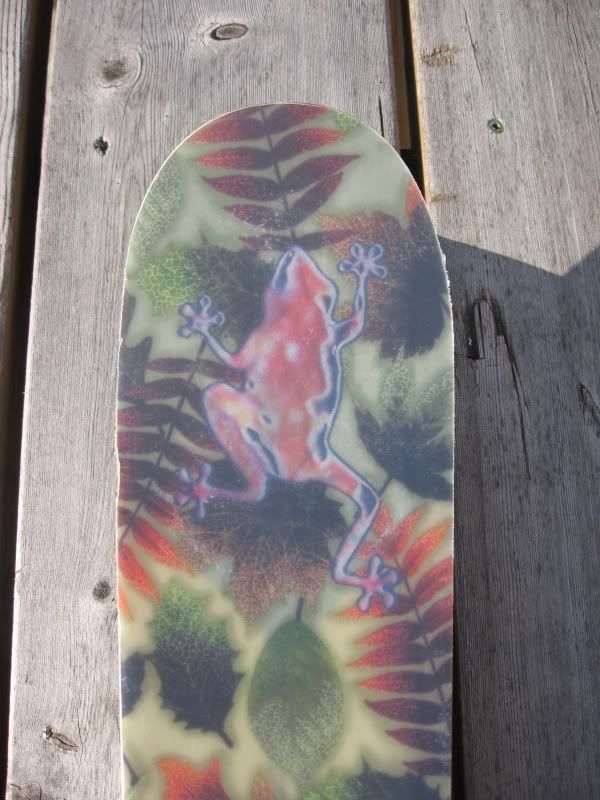
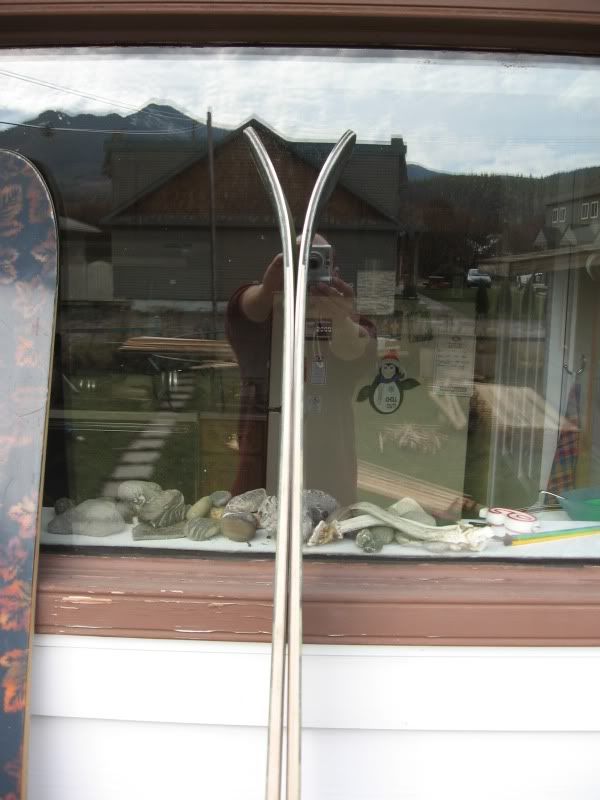
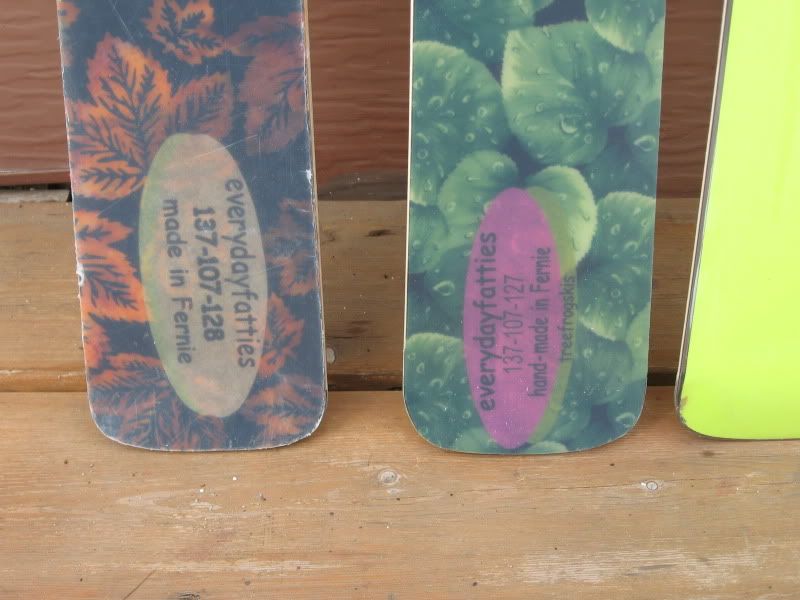
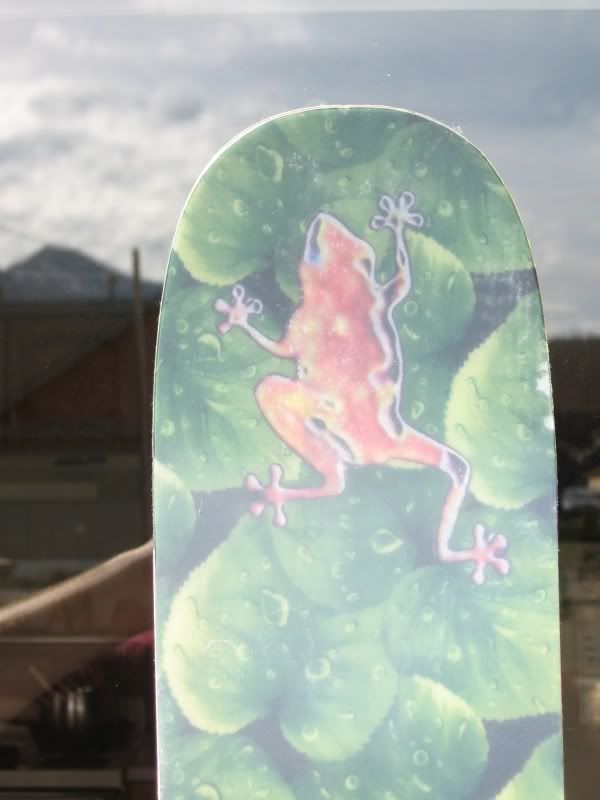
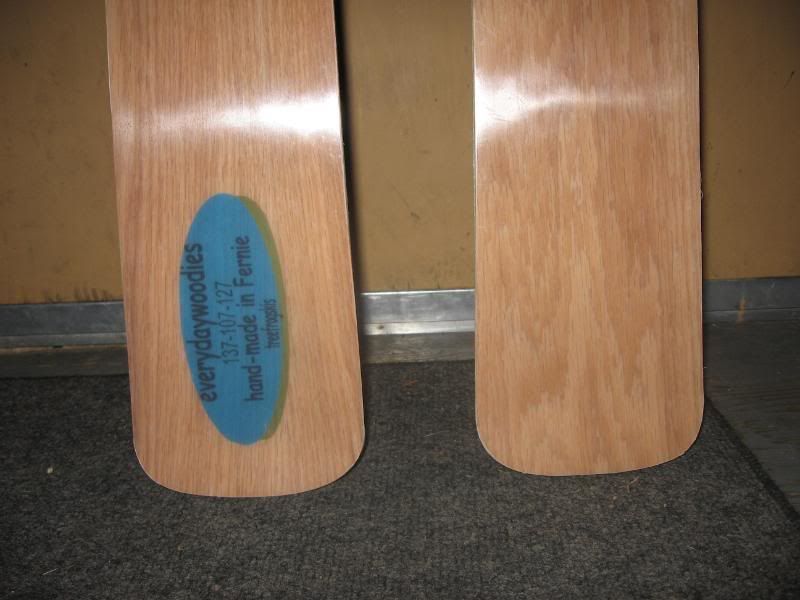
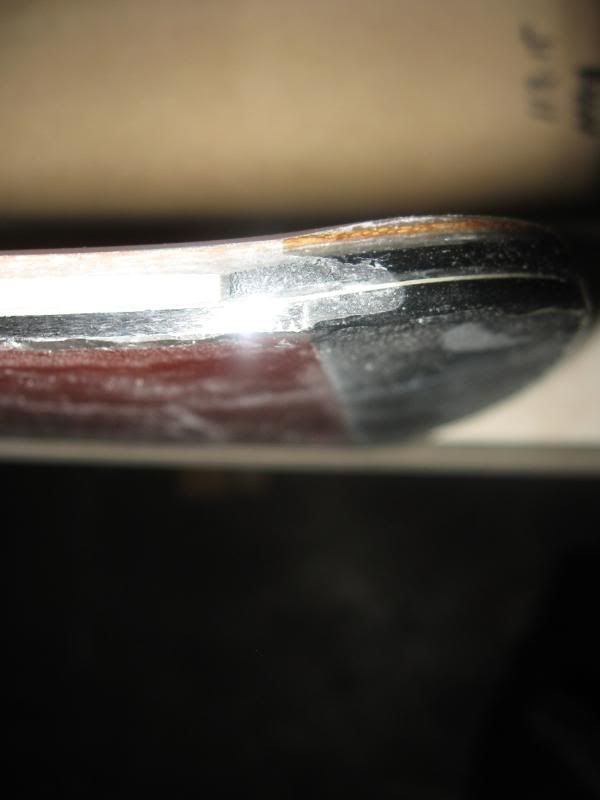
close up of tip
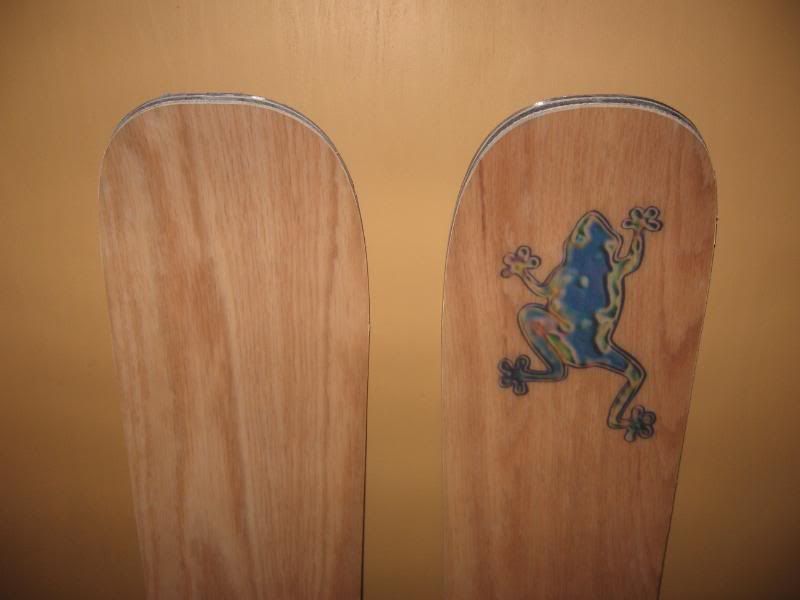
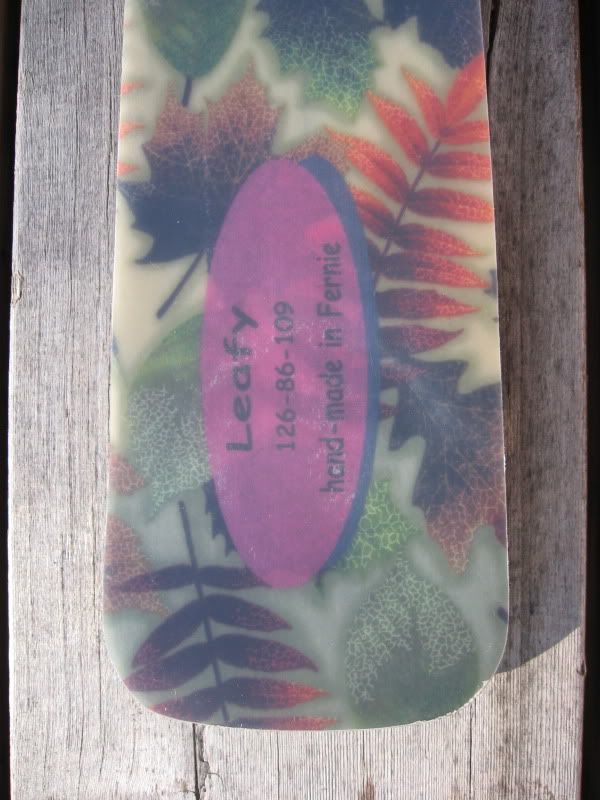
and tail
now the issues
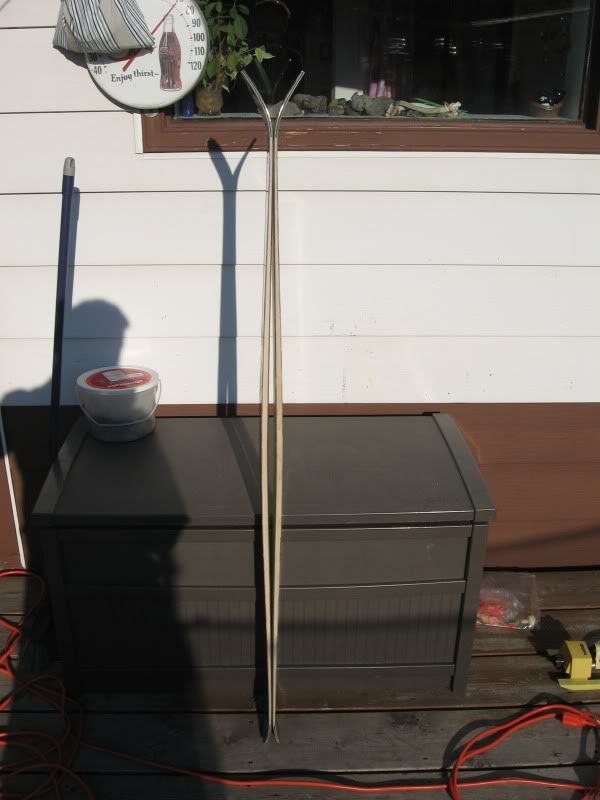
I annealed the edges at the tail and ended up breaking one just past the running length.
In a moment of panic i cut them all off (at the end of the running length).
I cut my base off straight across at the end of the edges and replaced it with a piece of tip spacer.
It actually looks really good. (although it looks crap in the pics)
Will look even better once the bases and edges are ground.
The spacer is the same height as the edge. We'll see how long it holds up.
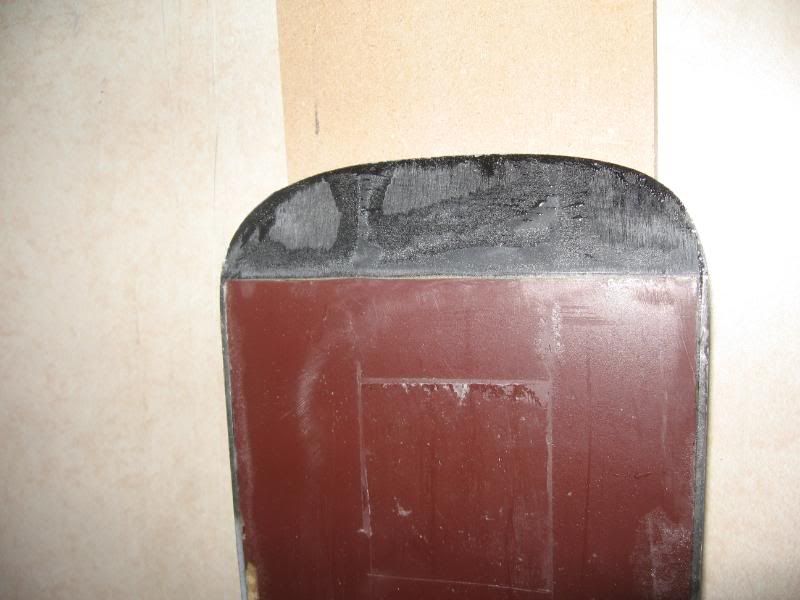
this one you can kinda see it
The only other issue is all the epoxy leaking down onto my mold has finally taken its toll.
after 13 skis the MDF broke up pretty good when trying to remove it from the table.
On the positive side I managed to reuse most of it to build a mold for the next pair (157's for the wifey)
And now I have an excuse to build a new mold and start building a pair at a time.

sam
You don't even have a legit signature, nothing to reveal who you are and what you do...
Best of luck to you. (uneva)