Page 1 of 1
Simple profile jig
Posted: Tue Apr 08, 2008 9:03 pm
by sammer
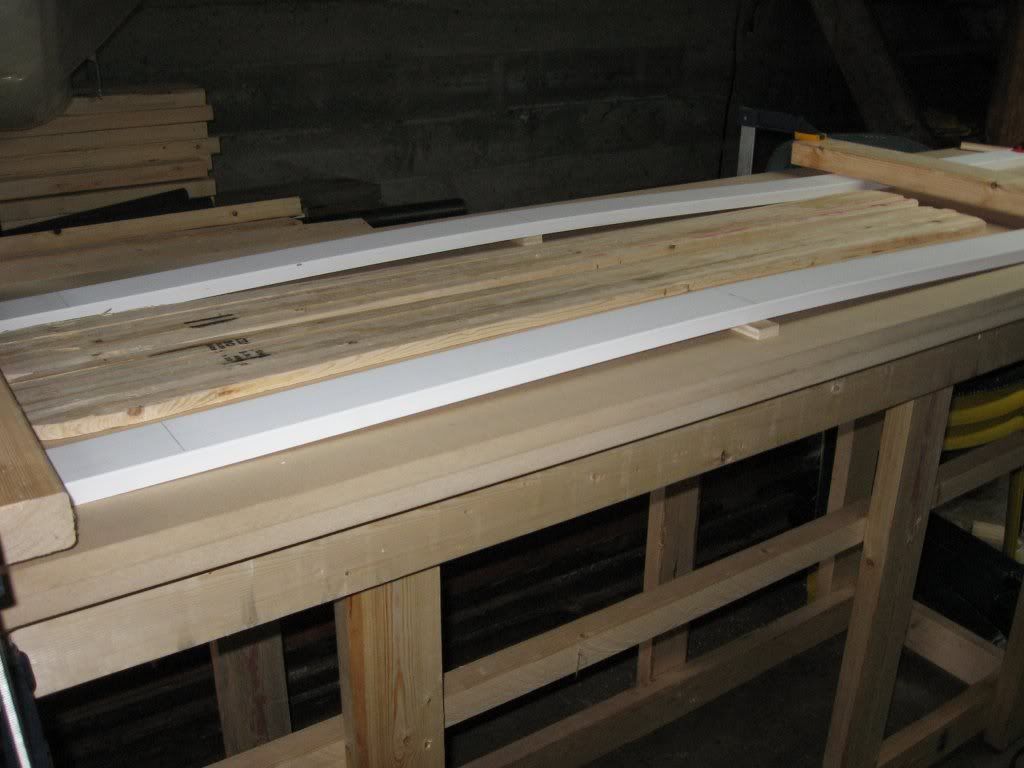
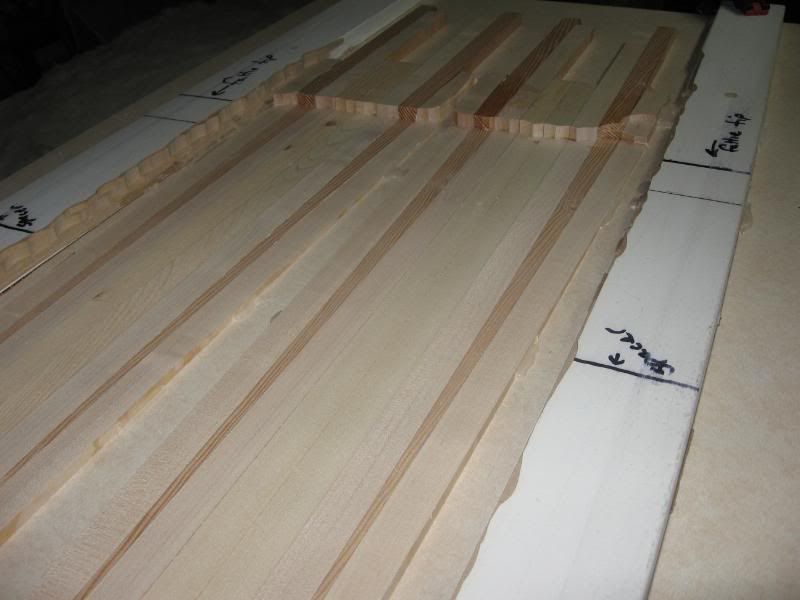
heres my simple solution. keep in mind these were very short skis 127cm
but with a few increasingly thinner shims would work for use with a router bridge on longer boards.
sam
Posted: Wed Apr 09, 2008 7:52 am
by G-man
Very clever. Now, put a vacuum box under that set-up, and you've got it made.
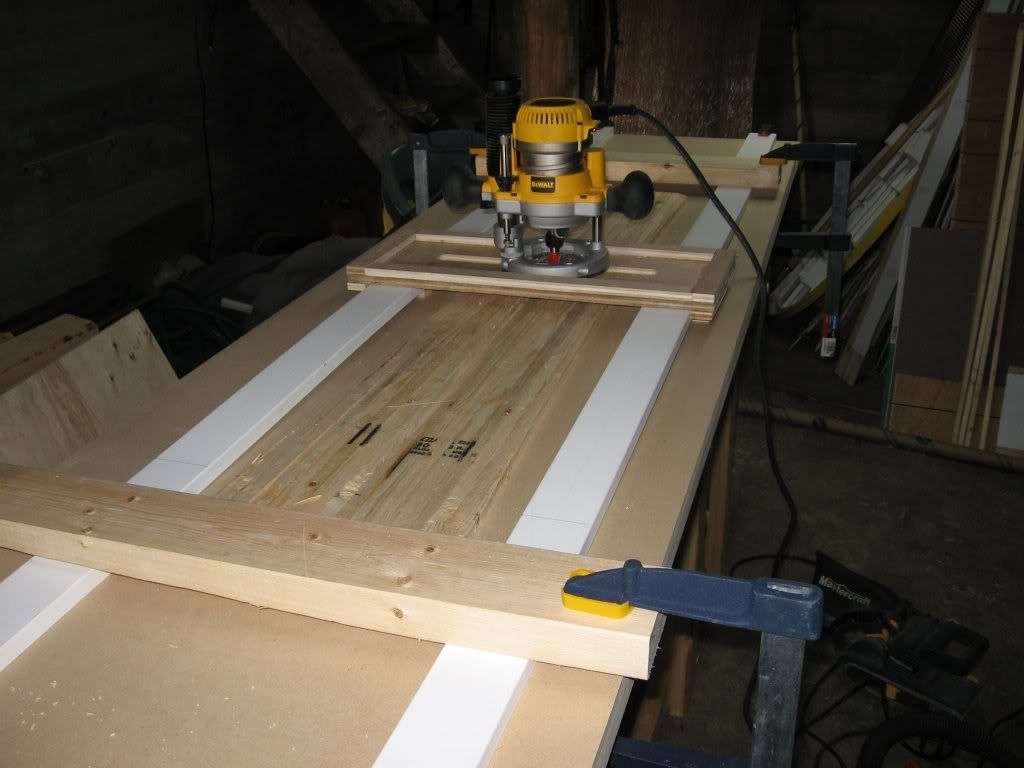
I have my router attached to the bridge and the bridge has nice comfortable handles on each end (so I hold onto the bridge rather than the router... easier due to the lower center of gravity). I make my cuts in the longitudinal direction rather than the lateral direction and the bridge itself slides laterally across the rails to get in position for the next longitudinal cut. The bridge has about 6 inches of lateral movement.
G-man
Posted: Wed Apr 09, 2008 8:23 am
by bigKam
brilliant!
Posted: Wed Apr 09, 2008 12:17 pm
by nkimmes_40
what are your rails made out of?
Posted: Wed Apr 09, 2008 12:46 pm
by sammer
I just used 2 pieces of 3/4x2 1/2 primed MDF molding 8 ft long. cheap and simple.
Clamped the ends to the end of my bench,
then clamped them down with 2x4 at the running length.
+Kam, thanks, means a lot coming from you.
sam
Posted: Wed Apr 09, 2008 2:01 pm
by nkimmes_40
ok thanks
this looks alot easier than the other way. i might try this for my first core. if you have any more tips that would be awesome. thanks
Posted: Wed Apr 09, 2008 4:36 pm
by sammer
nk... just be aware that it is pretty flexy.
I will probably put 4 or more thinner shims under each side when i make my own cores.
These are for my 7yr old daughter so very short.
I'm also thinking of using this same idea for my base mold
2'x8' 1/2" MDF with arborite glued to the top and then bend my camber.
should work ok for top bag vacuum system. I will post pics once i get time to put it all together.
I need it all to be fully adjustable as all 3 kids will need new skis in the next year or so.
Its true, they do grow like weeds.
sam
Posted: Wed Apr 09, 2008 7:30 pm
by nkimmes_40
yea it looked like it would be kinda flexy but it should work with more shims. When you make your own core eventually post pics and hopefully it works out good.
Posted: Mon Jan 25, 2010 9:38 pm
by sammer
After using this setup for 7 pairs of cores I've finally got it dialed in.
When I originally posted this I thought I'd need to shim the heck out of it to remove the flex.
It turns out that it is a pretty precise tool.
The shim in the middle determines the height and position of the thickest point then depending on the profile your after you shim accordingly.
I clamp them down at the end of the running length then hot glue to hold it when I remove the clamps
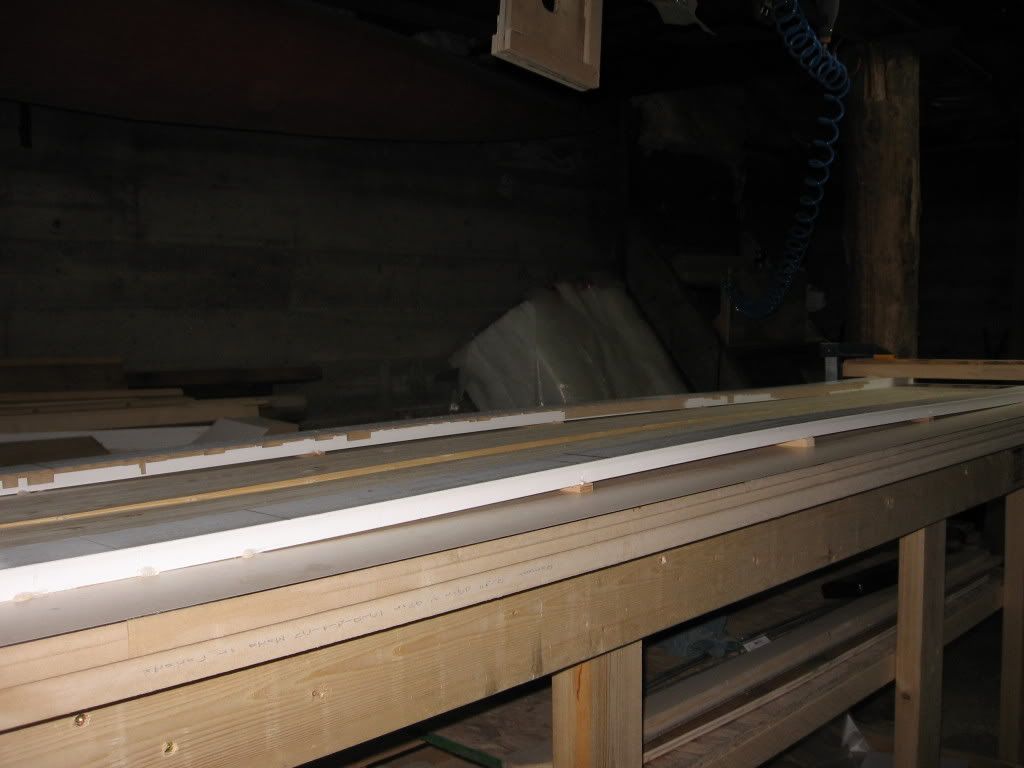
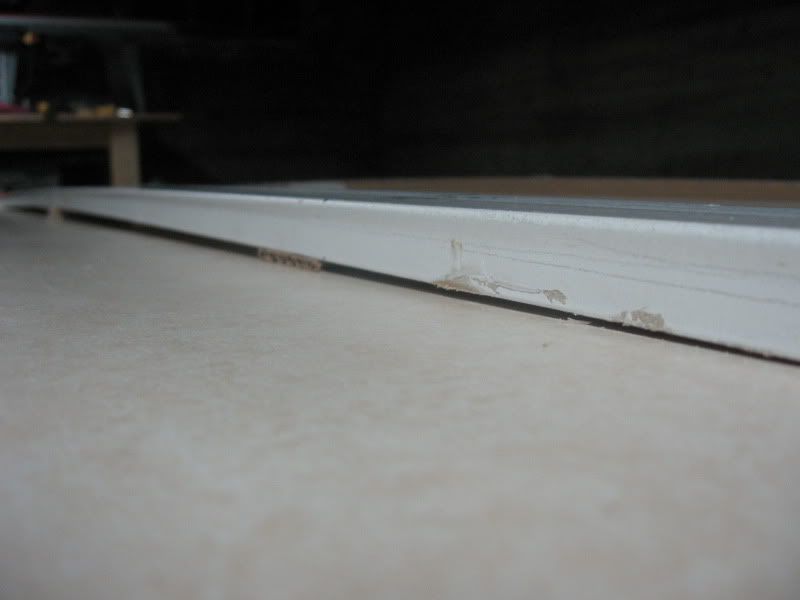
These 2 pieces of trim have lasted through 7 pairs of cores and will probably do at least 7 more.
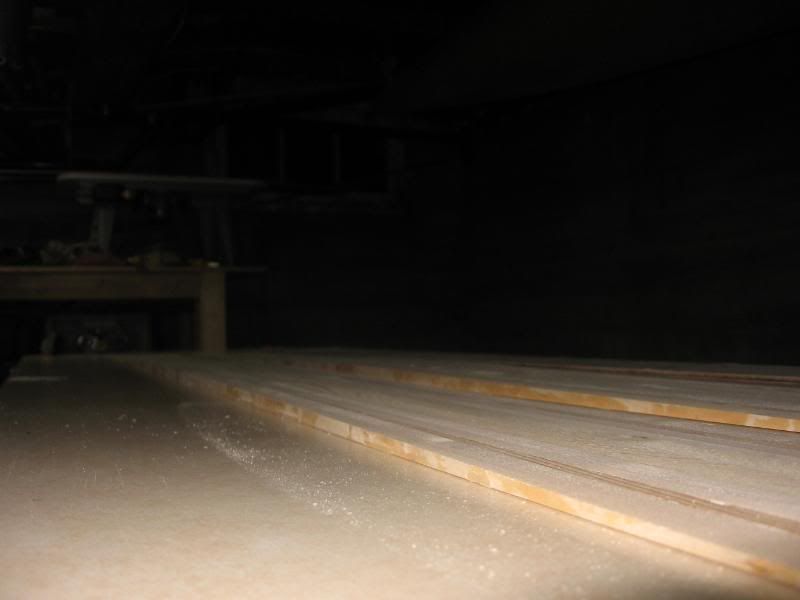
I'm using a 1 3/8" straight bit and doing long (tip to tail and back) cuts.
Going side to side left steps and was slowly eating the rails.
So far so good!
Once I'm done with the router they need a quick sanding with 80 grit to roughen them up and they are ready to go.
As G-man said at the time I need to "put a vacuum box under it" and it would be gold.

sam
Posted: Sun Jan 31, 2010 3:24 am
by Greg
Since you posted that method, I too have been using it and it works wonderfully. The only difference for mine was that instead of glue, I use sheetrock screws. I also got an old table top with a smooth laminate surface. I routed a 2 mm deep groove on each side to use for aligning the profile curve pieces, which works fantastically.
Thanks for the tip!
Posted: Mon Feb 01, 2010 1:05 pm
by alexisg1
best design award !!!!
I'm going for it too !
thanks a lot

edit : My french dictionary doesn't know "to shim the heck"

Greg: if you can show your enhancement, that'd be nice too

Re: Simple profile jig
Posted: Thu Mar 11, 2021 3:09 am
by Sailor Pronk
Wow, so happy I came across this thread! This looks like such a quick and easy solution to a problem I’ve been having cutting down my cores.
Thank you