
Getting started!
Moderators: Head Monkey, kelvin, bigKam, skidesmond, chrismp
-
skidesmond
- Posts: 2338
- Joined: Tue Apr 07, 2009 3:26 pm
- Location: Western Mass, USA
- Contact:
-
MontuckyMadman

- Posts: 2395
- Joined: Fri Jun 20, 2008 9:41 pm

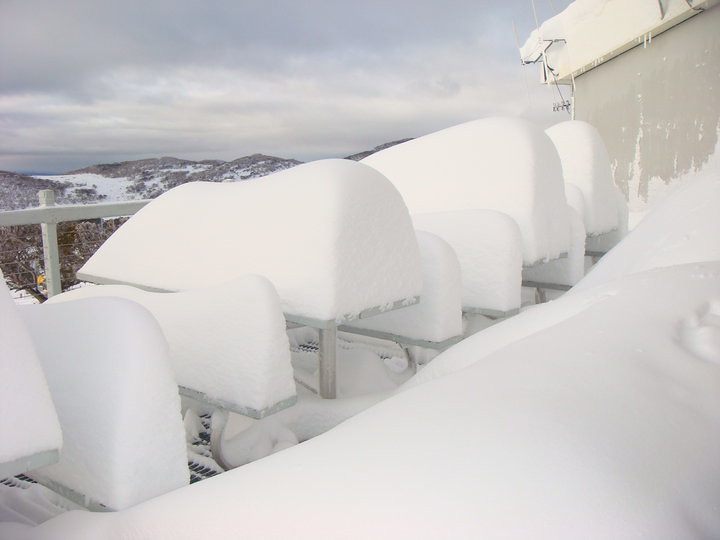
Firstly the view at Perisher ski resort this morning after 70cm snow in 36 hours! This is some inspiration after a dismal season here so far.
Have made some progress and after a few false starts it looks like tonight will see the first pressing (fingers crossed).
I constructed an edge bender in the 3 wheel style that twizz and redbull have made. Makes bending edges a lot easier but I am by no means an expert as yet. I will get some pics of the bender and add them soon.
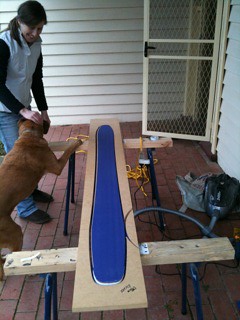
Cut out base material on the vacuum hold down jigs. Worked really well. Some feathering of the p tex edge, but I take it this is fairly common with router cutting.
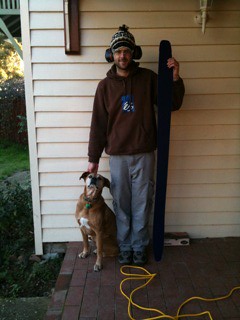
I swear it was this big!
edging bases. pretty good but not great. a few distinct gaps I need to work on next pair.
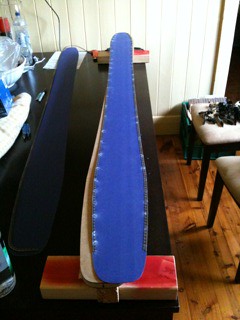 edged base
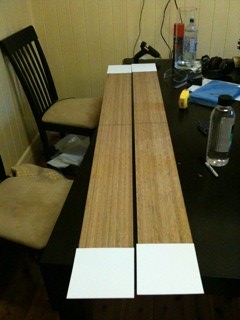
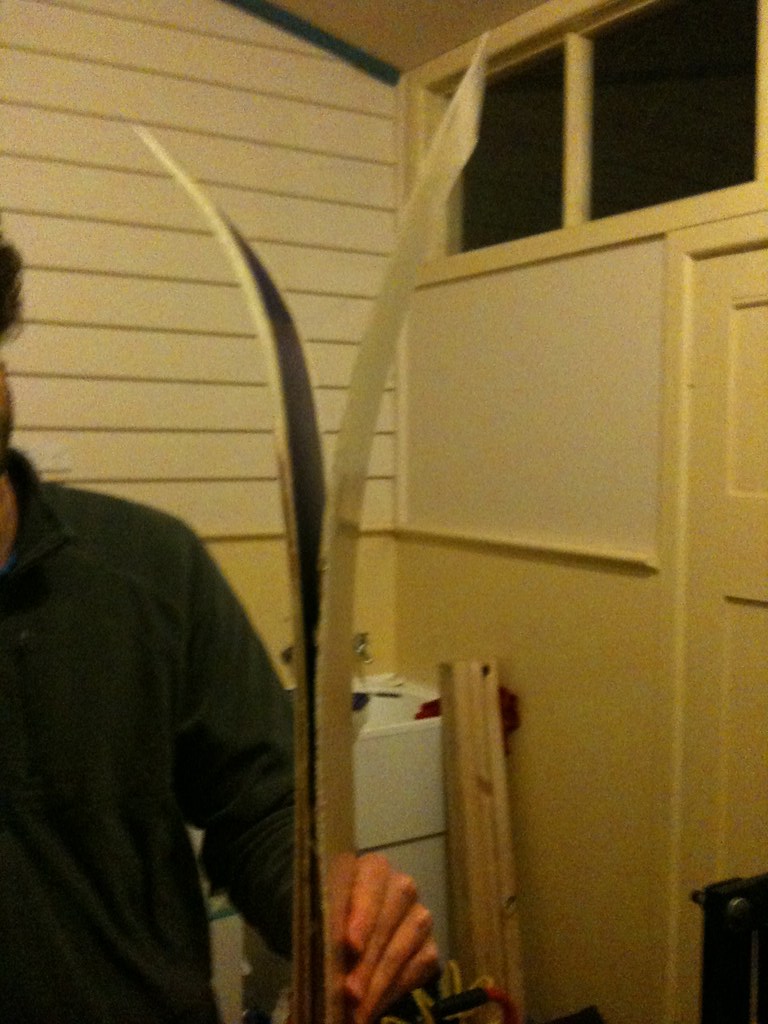
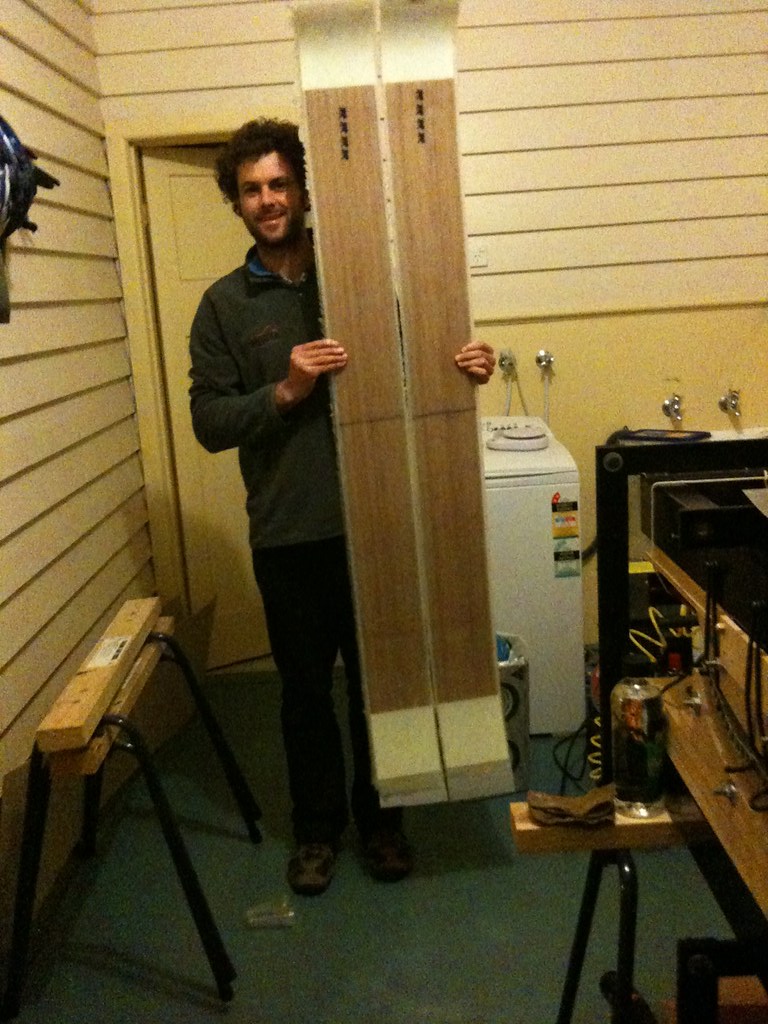
finally found time and a thicknesser to do some cores. vertical bamboo lam from floorboards. adjustable crib worked ok, but a few gouges by the cutter head. The thicknesser was massive. looked like it could have eaten a tree and I think the cutter head was pretty big and the rollers a long way apart. I think I got some flex in the crib as it fed through so some waviness in the tops of the finished cores especially as they thin at the ends. I think will need to work harder on the core production aspect.
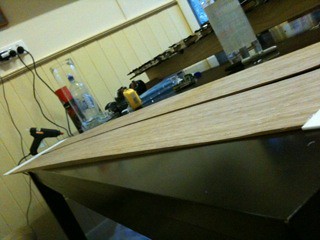
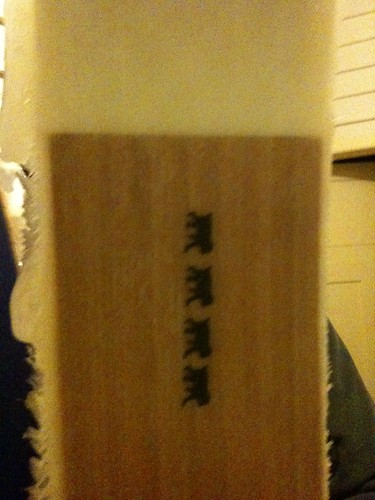
you can see the dip in the tip of the core (R side of photo). It goes down to about 1.7mm before rising again to 2mm. This dip will be within the rocker of the tip and no doubt will be a weak point. I just want to get this pair made and then work on fine tuning. And who knows it may be an awesome butter zone design and turn out to be revolutionary![/img]
Have made some progress and after a few false starts it looks like tonight will see the first pressing (fingers crossed).
I constructed an edge bender in the 3 wheel style that twizz and redbull have made. Makes bending edges a lot easier but I am by no means an expert as yet. I will get some pics of the bender and add them soon.
Cut out base material on the vacuum hold down jigs. Worked really well. Some feathering of the p tex edge, but I take it this is fairly common with router cutting.
I swear it was this big!
edging bases. pretty good but not great. a few distinct gaps I need to work on next pair.
edged basefinally found time and a thicknesser to do some cores. vertical bamboo lam from floorboards. adjustable crib worked ok, but a few gouges by the cutter head. The thicknesser was massive. looked like it could have eaten a tree and I think the cutter head was pretty big and the rollers a long way apart. I think I got some flex in the crib as it fed through so some waviness in the tops of the finished cores especially as they thin at the ends. I think will need to work harder on the core production aspect.
you can see the dip in the tip of the core (R side of photo). It goes down to about 1.7mm before rising again to 2mm. This dip will be within the rocker of the tip and no doubt will be a weak point. I just want to get this pair made and then work on fine tuning. And who knows it may be an awesome butter zone design and turn out to be revolutionary![/img]
Don't wait up, I'm off to kill Summer....
They're in the press!!!! Finally. Montucky especially hope you're pleased. Your long weekend ultimatum turned into 2 months, but I finally got there.
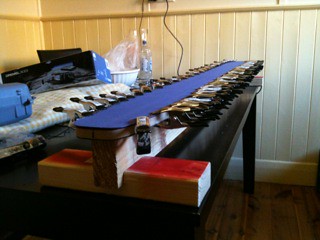
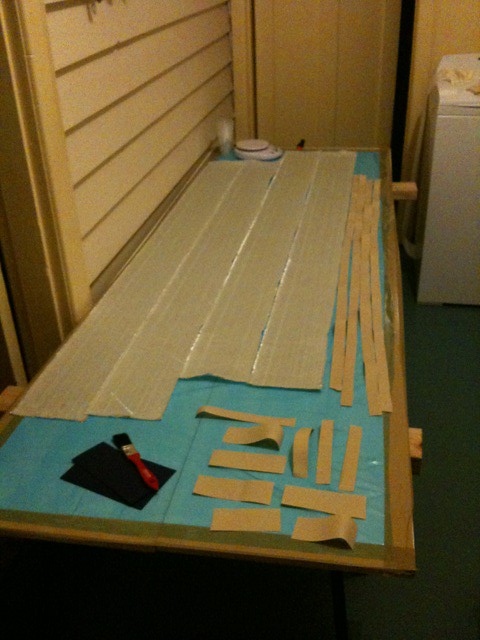
Waxed aluminium cassettes
 this stuff
I left a strip down the middle for spray adhesive.
I was disappointed with the spray adhesives ability to hold the base material in place. Maybe too cold? Maybe not the right product? The 3M stuff other people have used is like $30 per can here in Australia.
I also put contact paper along the edges of the bottom cassette and then folded it up and stuck it on top of the top cassette to act as an epoxy catcher when they went into the press.
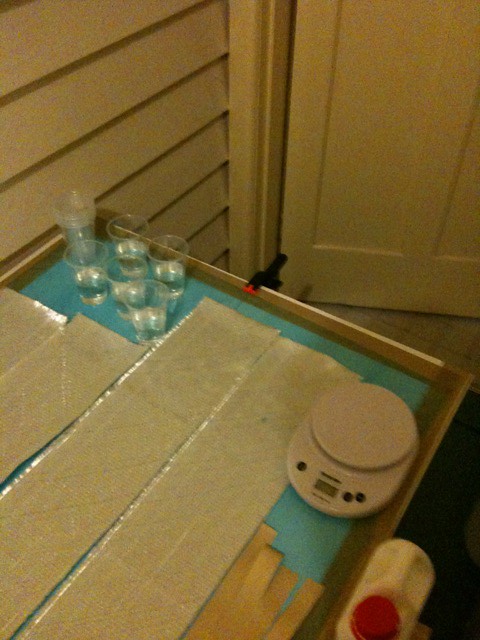
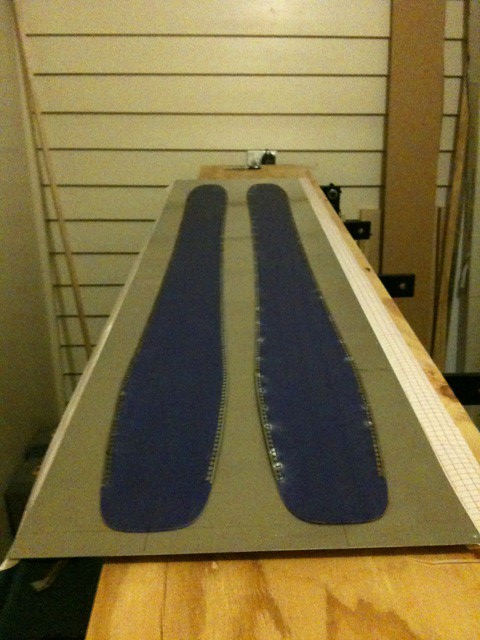
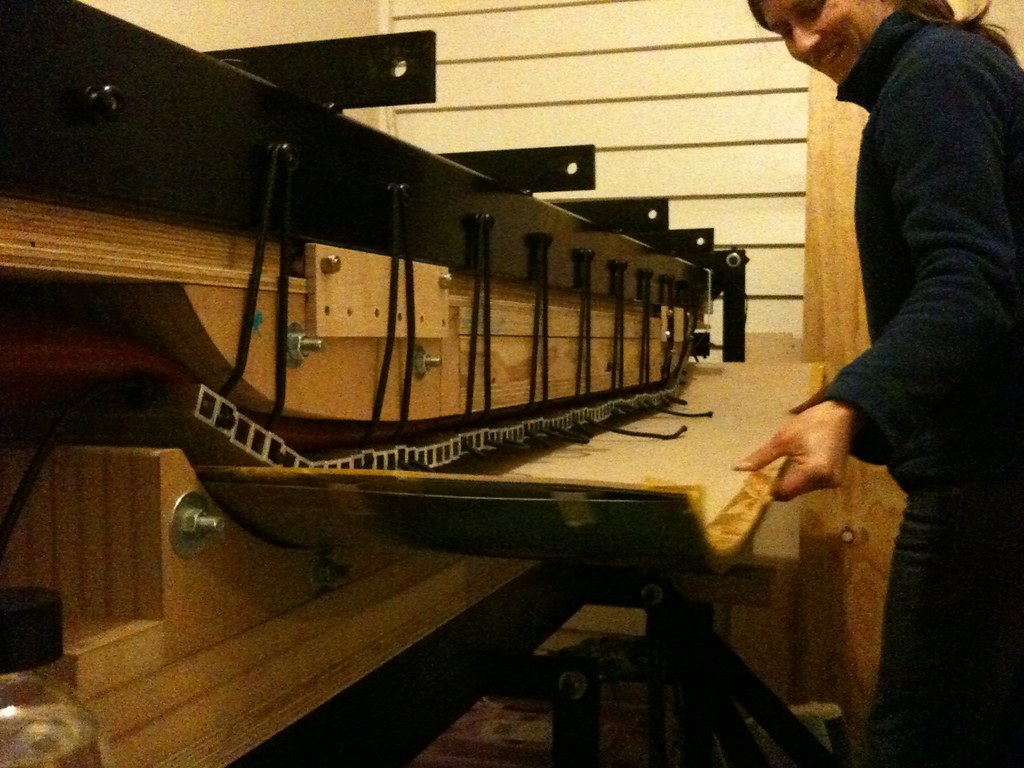
prepped materials. Masking taped painter's drop sheet to table to allow wet layup of glass and VDS and then add them to the cassette.
more materials
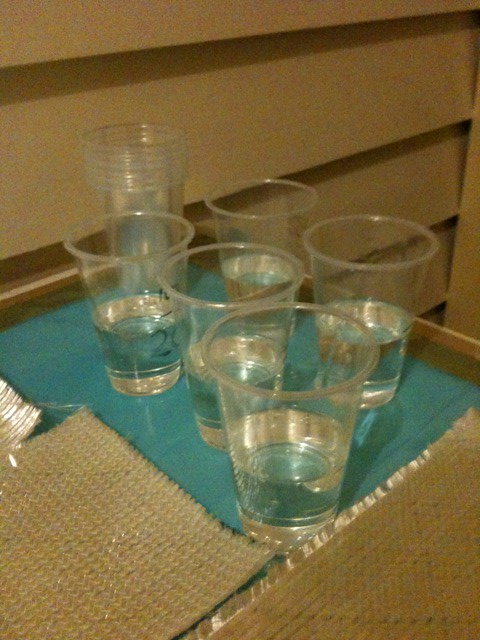
pre-prepared 100g lots of resin for adding hardener to along the way. I used 20ml syringes to add the hardener slowly while the resin in the cup was on the scale.
No pictures of laying up - pretty hectic way to spend half an hour!!
Base and edges
VDS (wet out both sides on separate table)
Triaxial glass (22oz - wet out on separate table)
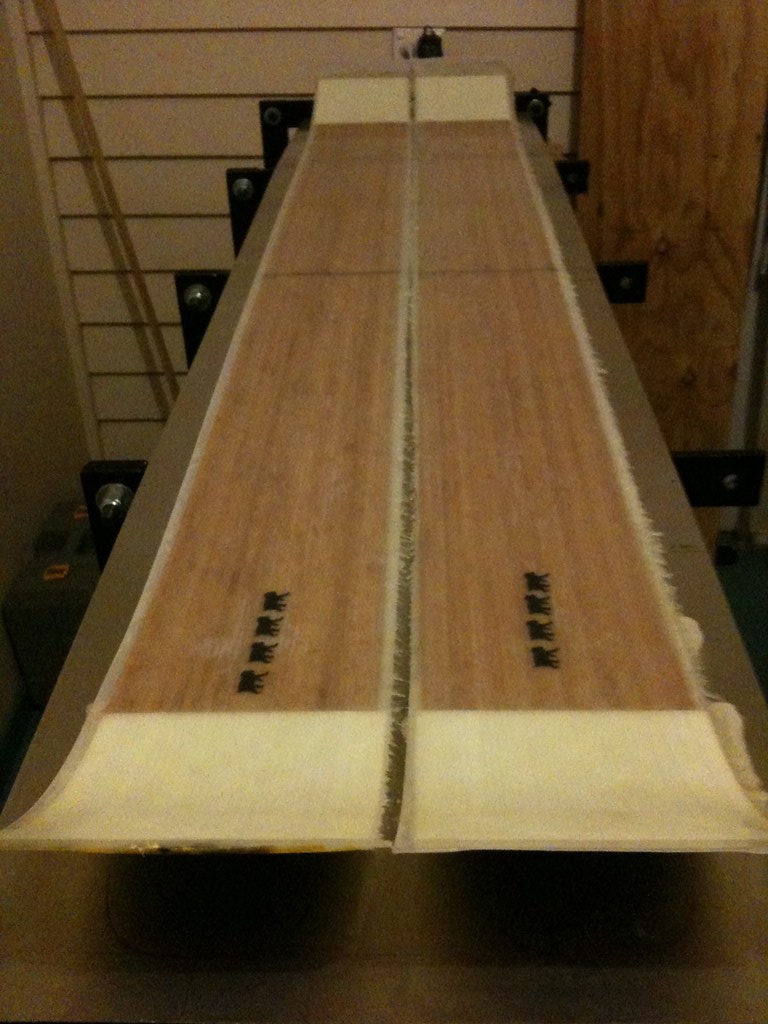
Vertical laminate bamboo core. UHMWPE tip spacer. 2mm tips. 10mm centre. I didn't shape the core for this first pair and just wood extending to the outside for sidewall.
Triax fibreglass
Clear ptex topsheet.
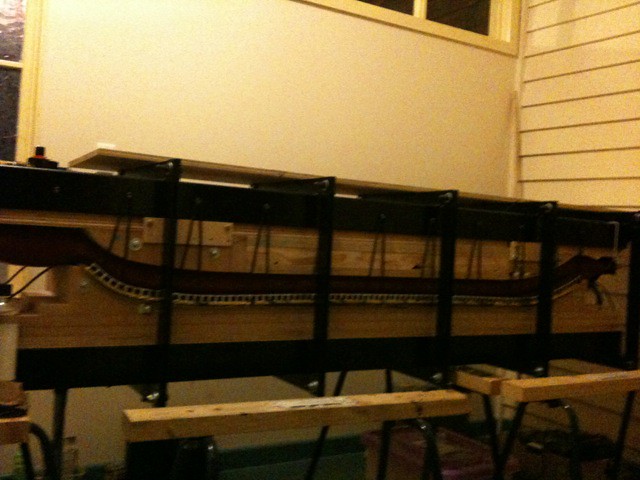
In the press!!!

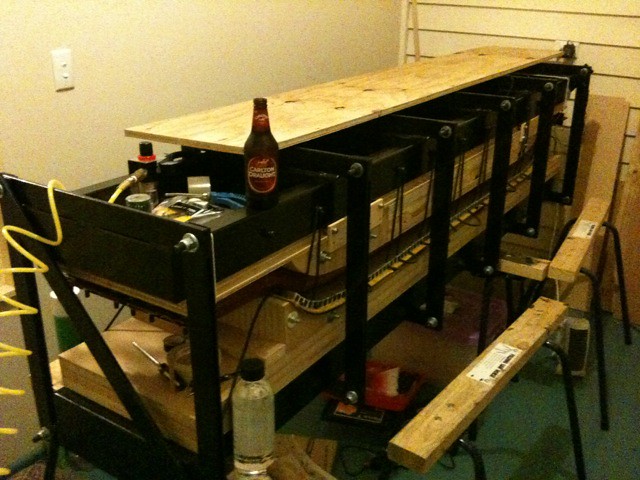
mandatory beer shot. I don't think you can make a pair of skis without it.
I used West system epoxy for this pair (205 hardener, 105 resin). Will leave in the press overnight with heater on. Should have some sicomin heat curinhg epoxy on the way to get the heat blanket into play.
Waxed aluminium cassettes
this stuffI left a strip down the middle for spray adhesive.
I was disappointed with the spray adhesives ability to hold the base material in place. Maybe too cold? Maybe not the right product? The 3M stuff other people have used is like $30 per can here in Australia.
I also put contact paper along the edges of the bottom cassette and then folded it up and stuck it on top of the top cassette to act as an epoxy catcher when they went into the press.
prepped materials. Masking taped painter's drop sheet to table to allow wet layup of glass and VDS and then add them to the cassette.
more materials
pre-prepared 100g lots of resin for adding hardener to along the way. I used 20ml syringes to add the hardener slowly while the resin in the cup was on the scale.
No pictures of laying up - pretty hectic way to spend half an hour!!
Base and edges
VDS (wet out both sides on separate table)
Triaxial glass (22oz - wet out on separate table)
Vertical laminate bamboo core. UHMWPE tip spacer. 2mm tips. 10mm centre. I didn't shape the core for this first pair and just wood extending to the outside for sidewall.
Triax fibreglass
Clear ptex topsheet.
In the press!!!
mandatory beer shot. I don't think you can make a pair of skis without it.
I used West system epoxy for this pair (205 hardener, 105 resin). Will leave in the press overnight with heater on. Should have some sicomin heat curinhg epoxy on the way to get the heat blanket into play.
Don't wait up, I'm off to kill Summer....
Happy to have the first pair in the press. Went OK but not great.
I am worried that the bases may have shifted during layup because the spray adhesive wasn't very good. Also didn't see any squeeze out of epoxy at the sides. The epoxy was quite viscous because it was pretty cold. The glass seemed to be pretty well wet out and transparent before adding to the skis so maybe it will be OK. I think we used about 840g of epoxy total. Not sure if that is a lot or not vewry much at all?
Got a very little bit of epoxy on my tongue - not great!
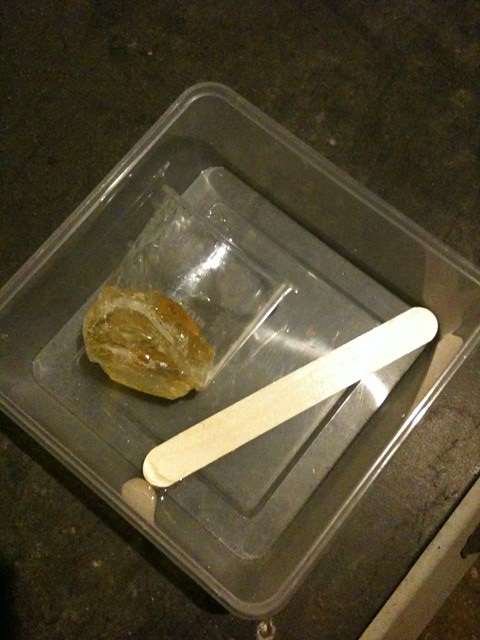
And the mandatory exotherm for a first time epoxy user!
Will see what tomorrow brings...............
Thanks to everyone along the way for help/advice and ideas to steal
I am worried that the bases may have shifted during layup because the spray adhesive wasn't very good. Also didn't see any squeeze out of epoxy at the sides. The epoxy was quite viscous because it was pretty cold. The glass seemed to be pretty well wet out and transparent before adding to the skis so maybe it will be OK. I think we used about 840g of epoxy total. Not sure if that is a lot or not vewry much at all?
Got a very little bit of epoxy on my tongue - not great!
And the mandatory exotherm for a first time epoxy user!
Will see what tomorrow brings...............
Thanks to everyone along the way for help/advice and ideas to steal
Don't wait up, I'm off to kill Summer....
-
skidesmond
- Posts: 2338
- Joined: Tue Apr 07, 2009 3:26 pm
- Location: Western Mass, USA
- Contact:
Wow. Nice press. I have to say it all looks pretty good, especially for the first time.
I've used packaging tape folded over to make a double sided stick tape to hold the base in place at the tip and tails. Low tech but it worked.
There's lots of tricks to keep the core from shifting. I've been making my cores over sized, about 2 inches longer then necessary. I tape right over the excess part of the core on the tip and tail and tape it down to the cassette. I don't worry about the tape, it all gets cut off as flashing.
Do you have pics of your adjustable crib? Looking to make one also. I'll check the forum. (* found it ! *)
The beer after ski making is mandatory... The epoxy on the tongue? Optional
Post pics of the finished ski asap.
-
MontuckyMadman
- Posts: 2395
- Joined: Fri Jun 20, 2008 9:41 pm
-
twizzstyle
- Posts: 2207
- Joined: Tue Mar 07, 2006 8:25 pm
- Location: Kenmore, Wa USA
Success!!
At least on face value.
The big moment pulling it from the press.
finished (partly) product

tip rocker. looks pretty aggressive! should be 2cm rise over 25cm
tail rocker. flat camber under foot
These are a 170cm length. Running length is 1100mm. Tip 140mm, waist 110mm, tail 120mm (but add edge width to that, say add 4.5mm). But there is also early taper at both ends so it is a bit like an Armada JJ, Rossi S7 or ON3P billy goat.
happy camper.
I think it's pretty funny that these babies came out of the press pretty much 9 months after I started on this ski building road!
mascots
They actually look pretty ok out of the press. I am amazed. I was expecting a total shambles on this first pair. I am a little concerned at the widest tip point whether I got complete coverage of wood over the edge (fingers crossed). Also seem to have had a fair few air bubbles under the topsheet. Not sure if that is due to the glass not being as wet as it should be. Or as it was pretty cold in layup and the epoxy was very syrupy maybe the air couldnb't diffuse quickly enough? any thoughts?
So pretty stoked all in all tonight. Will wait 7 days for setting then trim up next week. Heading for the mountains this weekend to make the most of the recent snow falls here. 1.1m in 48 hours at Thredbo - sounds pretty unAustralian!
At least on face value.
The big moment pulling it from the press.
finished (partly) product
tip rocker. looks pretty aggressive! should be 2cm rise over 25cm
tail rocker. flat camber under foot
These are a 170cm length. Running length is 1100mm. Tip 140mm, waist 110mm, tail 120mm (but add edge width to that, say add 4.5mm). But there is also early taper at both ends so it is a bit like an Armada JJ, Rossi S7 or ON3P billy goat.
happy camper.
I think it's pretty funny that these babies came out of the press pretty much 9 months after I started on this ski building road!
mascots
They actually look pretty ok out of the press. I am amazed. I was expecting a total shambles on this first pair. I am a little concerned at the widest tip point whether I got complete coverage of wood over the edge (fingers crossed). Also seem to have had a fair few air bubbles under the topsheet. Not sure if that is due to the glass not being as wet as it should be. Or as it was pretty cold in layup and the epoxy was very syrupy maybe the air couldnb't diffuse quickly enough? any thoughts?
So pretty stoked all in all tonight. Will wait 7 days for setting then trim up next week. Heading for the mountains this weekend to make the most of the recent snow falls here. 1.1m in 48 hours at Thredbo - sounds pretty unAustralian!
Don't wait up, I'm off to kill Summer....
Yeah I let it tack up 2 minutes or so and it felt sticky. Then placed the bases carefully and placed weights on top for 3 hours while I went back to work after lunch. Not sure on that one. In the end I don't think things shifted all that much. But I do definitely need to put more effort into keeping things straight and true in the cassette.840 sounds right.
Nice job.
I let the spray adhesive tack for like 2 minutes and then hold down with a weight for a while, like 30min.
One thing I found quite difficult was getting the wet glass straight on the ski and correct fore/aft orientation. You think glass 10mm wider on each side than the ski would be ok but when you're actually laying it on those tolerances become really tight!
Gotta say I feel a little bit more legitimate in this forum now that I have actually laid a pair up!
Don't wait up, I'm off to kill Summer....