Page 3 of 8
Posted: Wed Dec 31, 2008 8:17 am
by sammer
Well, after 4 days of skiing (and 3 base repairs due to thin snowpack this year) on the everydayfatties, I took the bindings off.
While they seemed great in the soft stuff, I couldn't generate enough pressure in the tips to carve a turn.
Found myself in the backseat sliding the tails around to turn.
And so after careful consideration moved them ahead 3.5cm.
Now 2 days later they are everything I wanted them to be.
They carve well on the hard pack, float well in the fluff and bust thru the chop and crud.
Definitely can be skied everyday

Still waiting for a bottomless day to test the 186's
Huge
Thanks to all the great people here for their ideas and advise, I couldn't have done this with out you

sam
Posted: Thu Jan 01, 2009 5:18 pm
by ben_mtl
Great to hear that !
Congrats for your skis and let us know how the other pair works !
How is the snow in Fernie ? Is it worse the $80 lift ticket ? Here in WH20 the snow keeps growing, the ski hill is almost fully open with pretty good conditions and nice snow but for backcountry/touring it's pretty bad with shitty facets buried on the ground and a couple ice layers above it... hope it will change soon !
My skis also rocks ! Had about 7 days on them for now in various conditions from hardpack to knee deep powder and I just love them !
Posted: Fri Jan 02, 2009 7:27 am
by sammer
Ben; snow here is getting better by the day, but we are still around 50% of our average for this time of year.
That said we did get about 30cm of super low density fluff yesterday.
should be fun this morning
Once the holidays are over the crowds should thin out and snow might get to stick in the high traffic areas.
Then you should definitely come check it out.
check the snow forecasts at (snowforecast dut com) they are pretty accurate.
make sure to let me know when your here.
sam
Posted: Wed Sep 16, 2009 7:23 pm
by sammer
It's ski building time again
This year my oldest daughter (12) needed a new pair.
I'm expecting an epic snow year (fingers crossed) and her powder ability is improving,
so I thought it was time to build another fat kid ski.
I used the same process as all the others.
Pine and maple core w/ maple sidewalls.
For the camber I used a super simple mold made of two pieces of 1/2 in mdf epoxied together
with a 8mm piece of wood to hold the camber while the epoxy set
similar to
http://www.skibuilders.com/phpBB2/viewtopic.php?t=1852
It worked really well.
The first one took quite a while to layup, as having a 12 year old helping doesn't really speed things up
but we managed to get it bagged up before the epoxy gelled.

Pulled it out of the bag yesterday and its mate came out tonight.
Unfortunately it was too dark by the time I was done to get any pics.
They came out great!! I have to say its definitely getting easier.
The top sheet and graphic are the best yet!
I'll try to post pics in the next couple days.
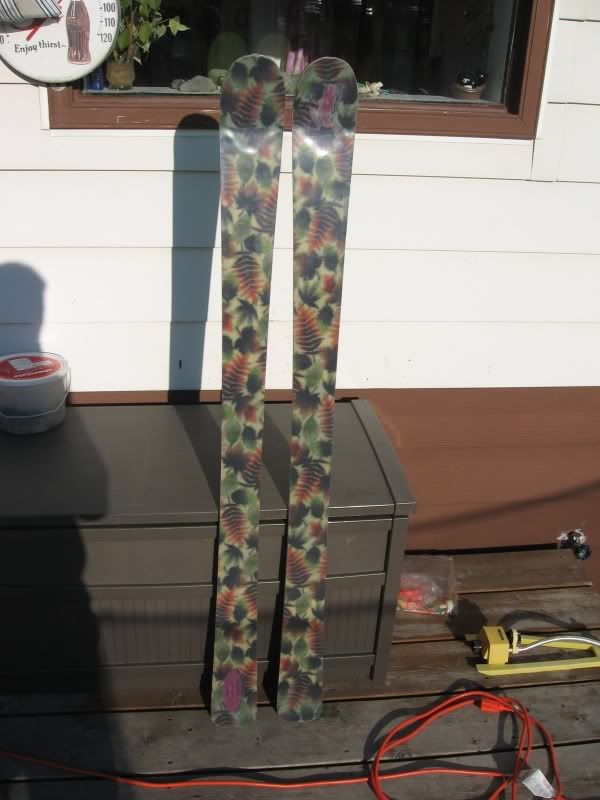
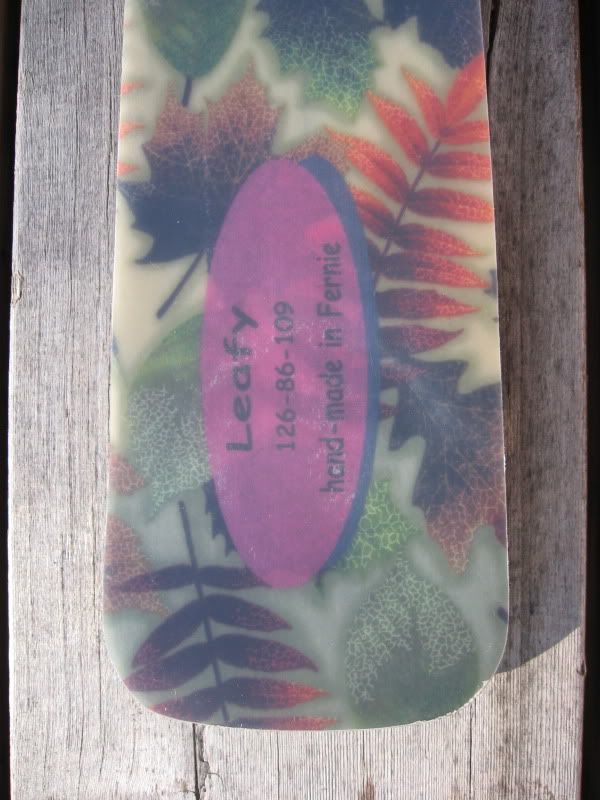
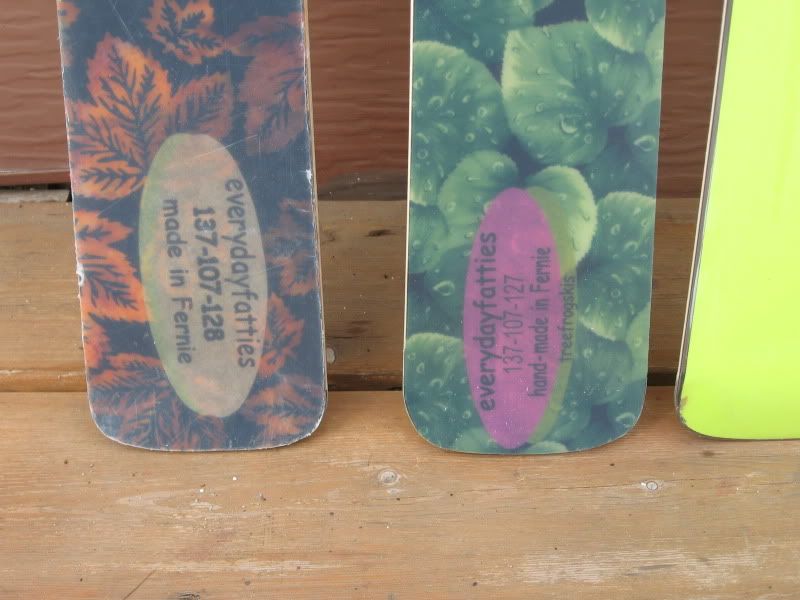
The final dimensions are 150cm 125-86-109
She made up the logo and called them "leafy" (you'll see why when I post pics).
Still have to build 3 or 4 more pair before the snow flies.
sam
Posted: Sat Sep 19, 2009 8:00 am
by sammer
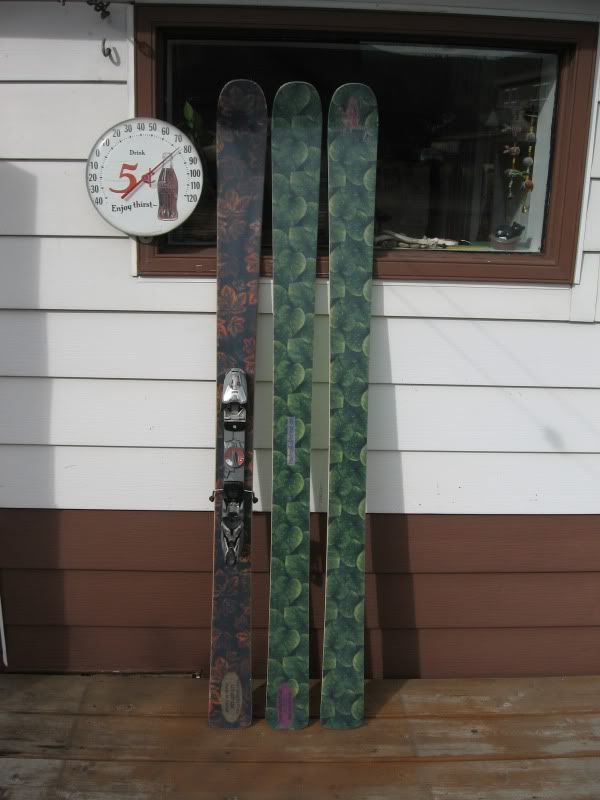
here as promised are pics.
You can see the tip spacer to core joint quite well in this one.
the core was a hair under 2mm at the transition but probably 2.3mm where I cut it for the spacer.
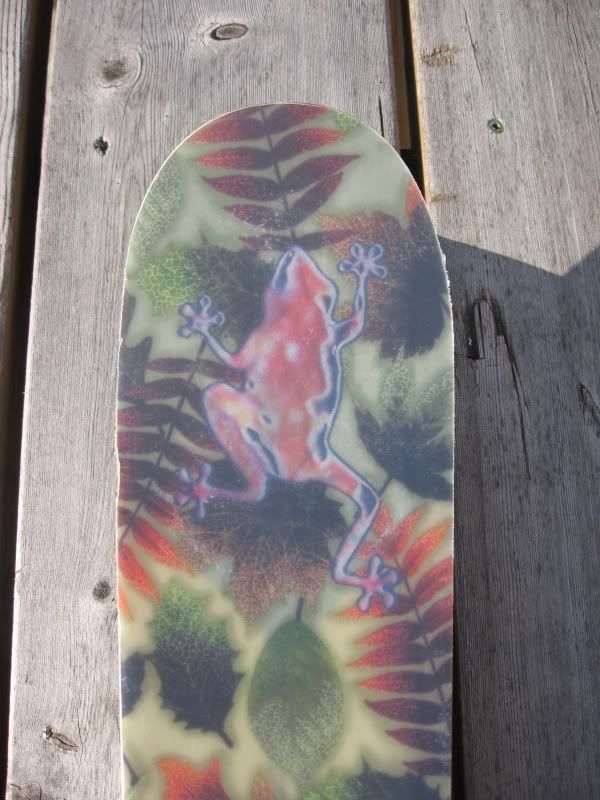
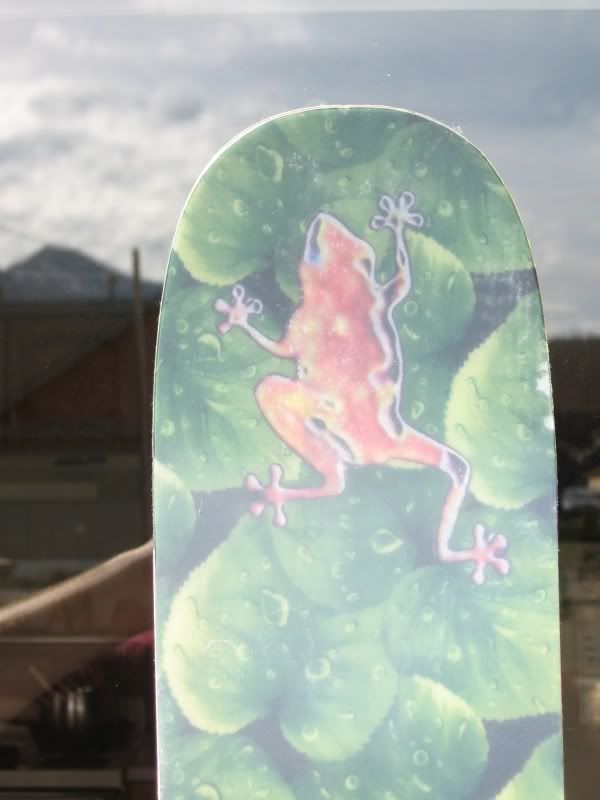
Close up of tip (TreefrogSkis logo)
Tail, still getting a bit of air trapped under the paper.
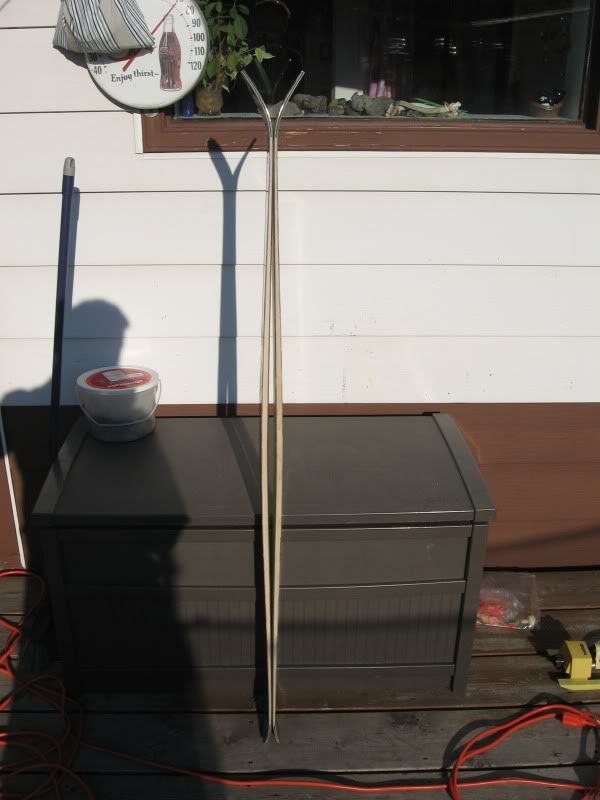
And finally, camber. Not quite perfect but not as wonky as the first pair.
Still I think should work pretty good as there is enough camber underfoot and the flat in the tip and tail cause it to rocker pretty nicely
As I said before it does keep getting easier
Still have to bevel and oil the sidewalls and base grind then will mount up some binders and shes good to go.
sam
Posted: Sun Sep 20, 2009 4:43 am
by ben_mtl
Nice work Sam !
Love to see pics of new skis :p !
Posted: Mon Oct 12, 2009 10:49 am
by sammer
Well, I built a new pair this weekend.
A rework of the everydayfatties.
I had a slight issue with binding screws stripping out in the soft core and I don't think the aluminum screen was really doing anything.
So I put an 24"x3" aluminum plate in where the binding would mount.
(On the top side of the core only.)
Used VDS on both sides of the plate.
Had to drill tiny holes to get a staple thru during layup.
In the bag, it all looked good so I went to bed.
Woke up next morning to find my vacuum bag had sucked in under my mold and popped like a balloon.
I'm not too sure how long it was under vacuum, so don't know what I'll find when I cut it out today.
The vacuum material is a new batch bought last spring but just unwrapped for the layup.
I've been using this same bag material since I started building.
I haven't had this problem before so I'm thinking this batch has some issues.
Will post pics when I have time.
sam
Posted: Thu Oct 15, 2009 8:52 pm
by sammer
Spent a couple hours this evening down at the Guides Hut base grinding the latest couple pair.
The leafy skis came out very nice. The bases were pretty much flat from the start so only minimal grinding to get cleaned up.
It was a totally different story with the new 'fatties.
They basically cured without a press.
They ended up with next to no camber although the early rise is still there.
There's one tiny area on the top sheet of one that has a slight dry spot under the top sheet. You can see it as an air bubble near one edge of the tip.
But the biggest issue would be the flatness. Some areas were railed some were convex.
It probably took 1/2 hr with a file to get them even close, then numerous passes on the stone to get them flat edge to edge.
They look pretty good with the flat bar now, but you can feel the waves when you run your hand down them.
And they're stinkin' heavy, close to 6lbs each!!
I'm not complaining, I really thought they were scrap when I found the bag all loose in the morning.
On a slightly more positive note they are definitely my stiffest ski to date (maybe too stiff)
they will be really fast and probably take a bit of work to turn but they'll get a work out this winter.
And by this time next year they'll have softened up a bit (if they're still holding together).
Should be able to get pics this weekend as its always dark now when I get home.
sam
Posted: Mon Oct 19, 2009 5:44 pm
by sammer
Managed to get pics this weekend.
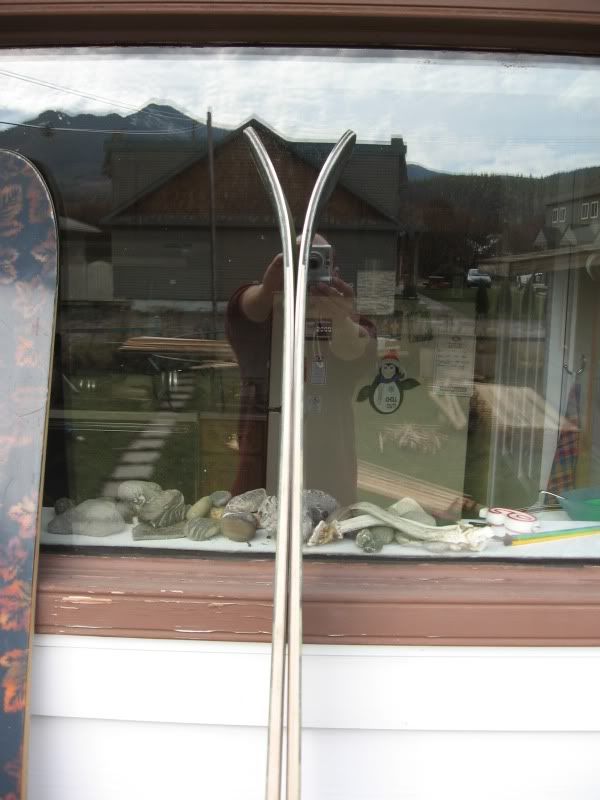
fronts with old fattie for comparison
Slight early rise. One has slightly more tip curve than the other due to vacuum bag malfunction.
tails
closeup of treefrog logo. You can see the air pocket in this one quite well.
Got a couple new cores started this weekend
Should have time to put them together in the next couple weeks.
I've got my vac bag problem under control so should turn out better!
sam
Posted: Mon Oct 19, 2009 6:25 pm
by MontuckyMadman
Do you have clearer ptex topsheet than what skibuilders has?
Where did you get it again?
Min order?
Thanks
Posted: Tue Oct 20, 2009 3:31 pm
by sammer
montucky..
Nope same old skibuilders topsheet.
I've just gotten better at finding high contrast fabrics

Graphics are turning out pretty good, I just need to find a way to print my frog a little brighter.
sam
Posted: Wed Oct 21, 2009 1:01 pm
by MontuckyMadman
hmmm. Thanks. I thought it was you. Someone said they ordered a small amount from somewhere and it was clearer. Guess it can only really be durasurf or crown unless it was another 3rd party source. Oh well.
Skis look kill.
Posted: Sun Dec 06, 2009 10:07 am
by sammer
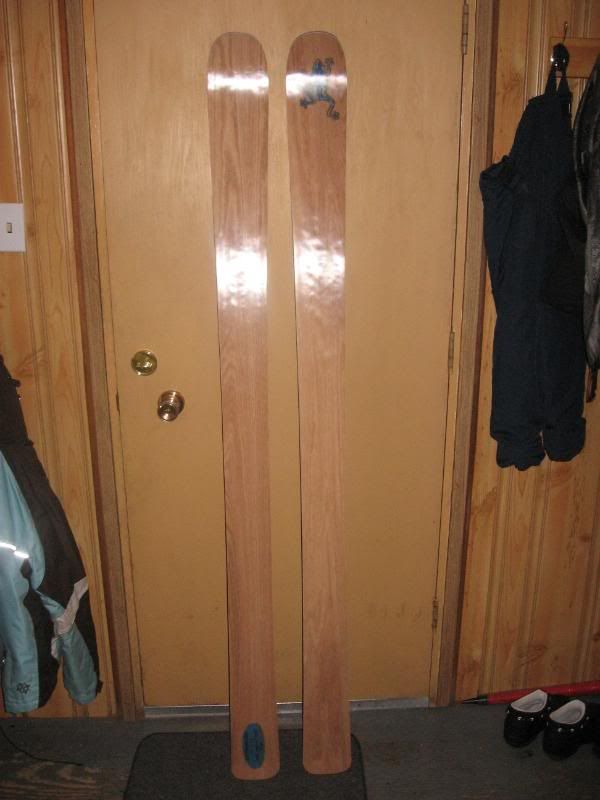
Time for more pictures.
This pair I built for a friend.
He still hasn't seen them yet, his eyes are gonna pop out of his head when he does
Same dimms as everydayfatties red oak veneer with clear uhmw topsheet (yes, skibuilders)
One extra layer of triax for binding retention.
they have a few strange bumps but...
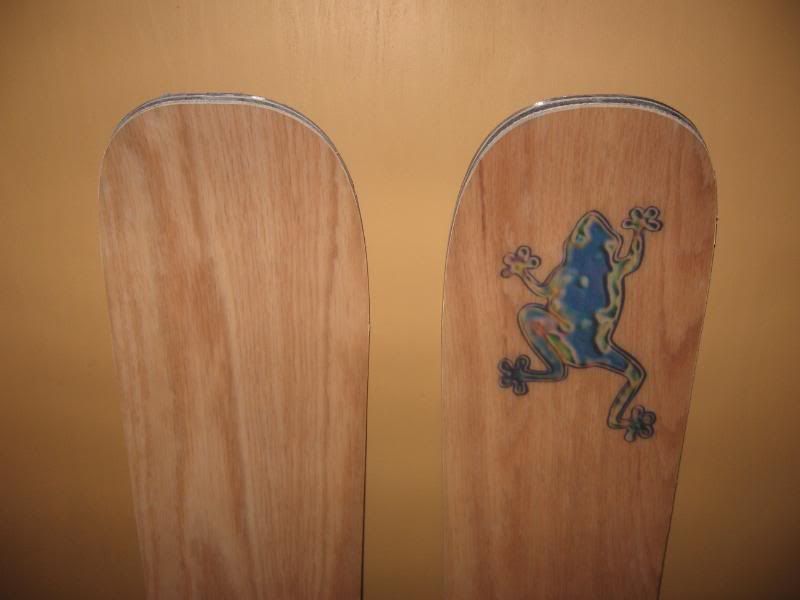
close up of tip
and tail
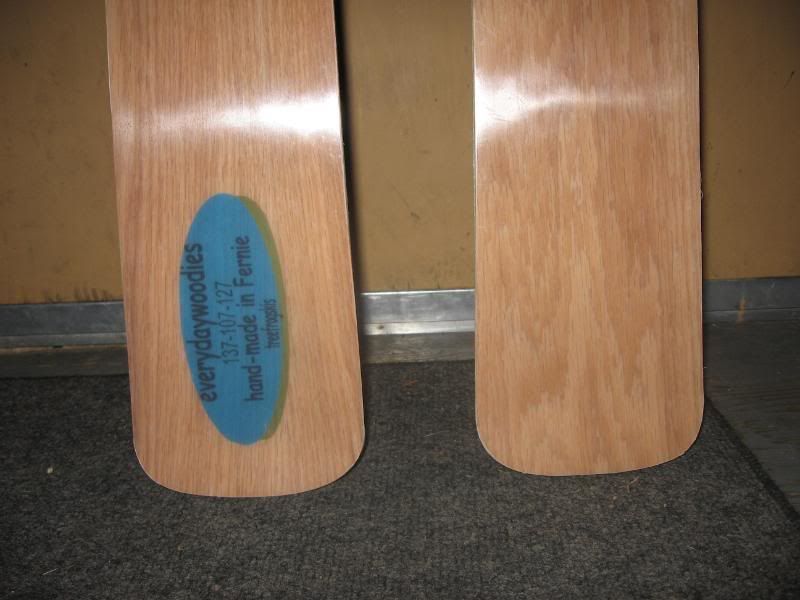
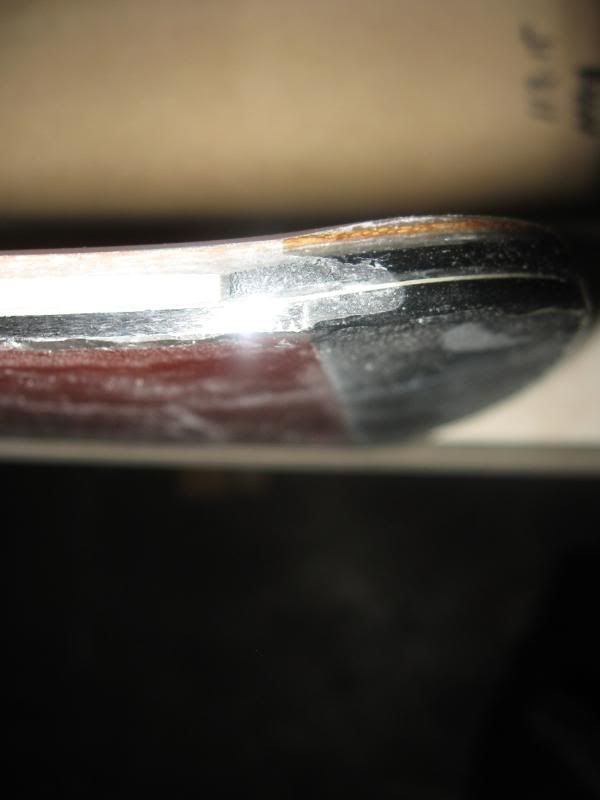
now the issues
I annealed the edges at the tail and ended up breaking one just past the running length.
In a moment of panic i cut them all off (at the end of the running length).
I cut my base off straight across at the end of the edges and replaced it with a piece of tip spacer.
It actually looks really good. (although it looks crap in the pics)
Will look even better once the bases and edges are ground.
The spacer is the same height as the edge. We'll see how long it holds up.
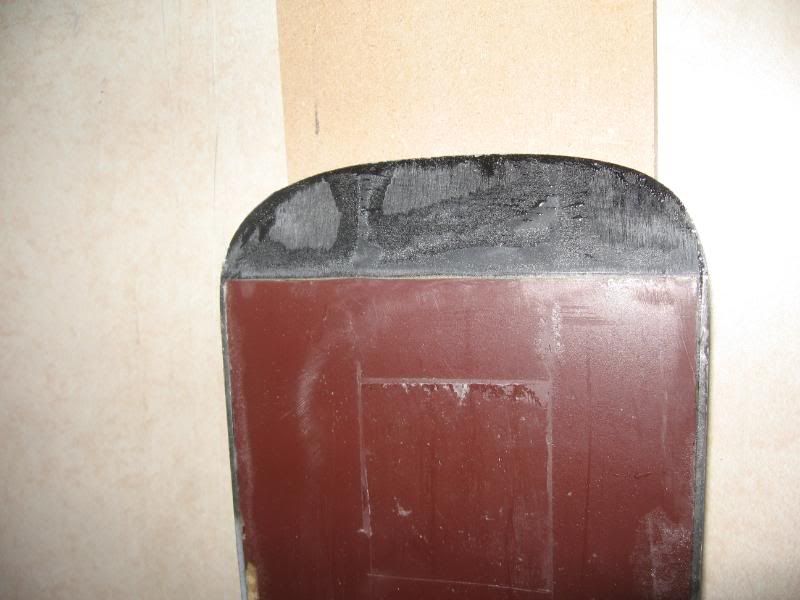
this one you can kinda see it
The only other issue is all the epoxy leaking down onto my mold has finally taken its toll.
after 13 skis the MDF broke up pretty good when trying to remove it from the table.
On the positive side I managed to reuse most of it to build a mold for the next pair (157's for the wifey)
And now I have an excuse to build a new mold and start building a pair at a time.
sam
Posted: Sat Jun 05, 2010 4:44 pm
by maximegb5
What did you use for the oak topsheet and what thickness? (real oak, decoration or some kind of composite)?
Posted: Sun Jun 06, 2010 6:16 pm
by sammer
It's oak veneer. It was pretty thin. Not sure how thick probably a little thicker than the stuff I got from Veneer supplies.
It's protected with a uhmw-pe topsheet from ski builders.
I've got some walnut and cherry in the basement waiting for me to get some time to build.
sam