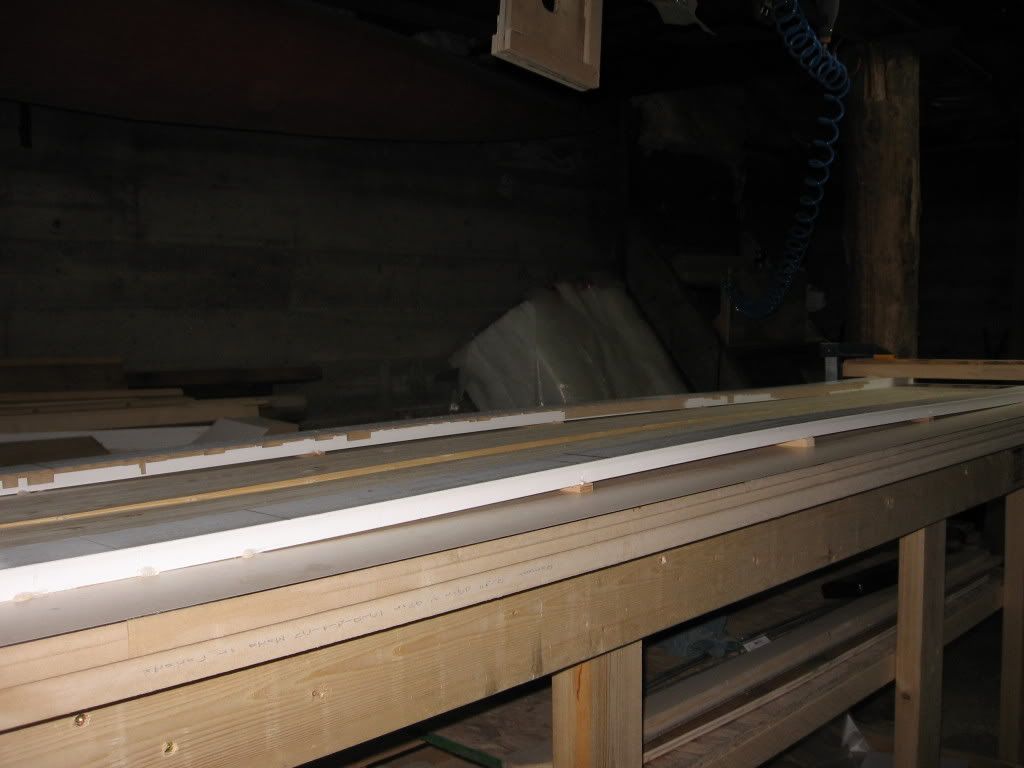
After using this setup for 7 pairs of cores I've finally got it dialed in.
When I originally posted this I thought I'd need to shim the heck out of it to remove the flex.
It turns out that it is a pretty precise tool.
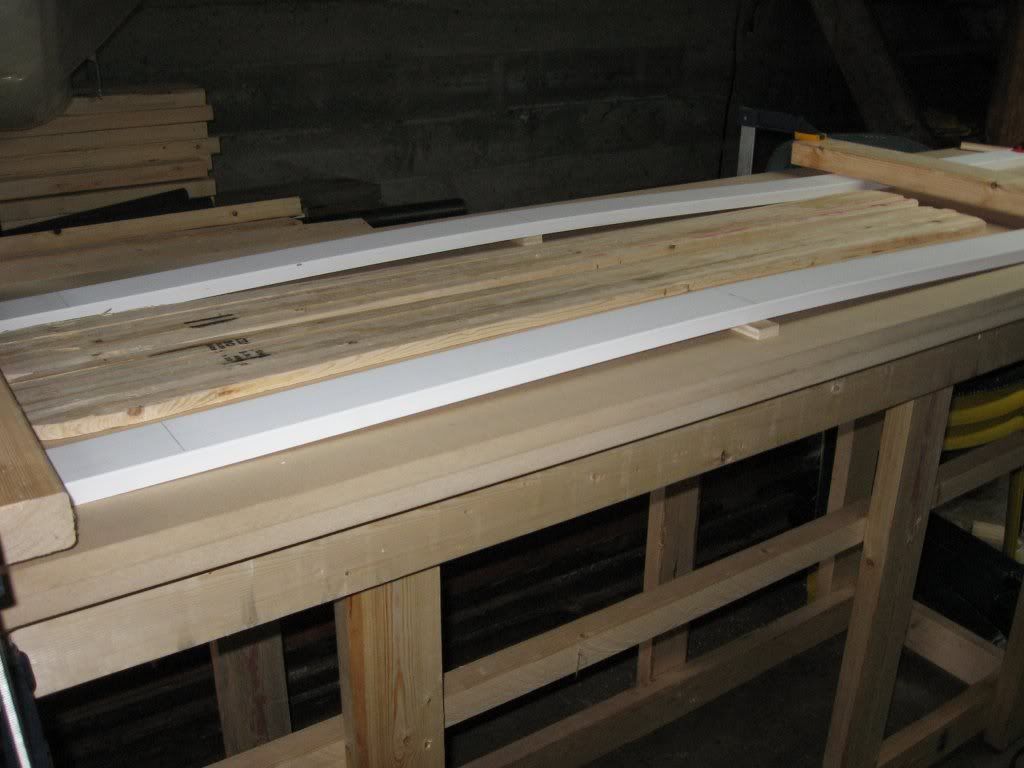
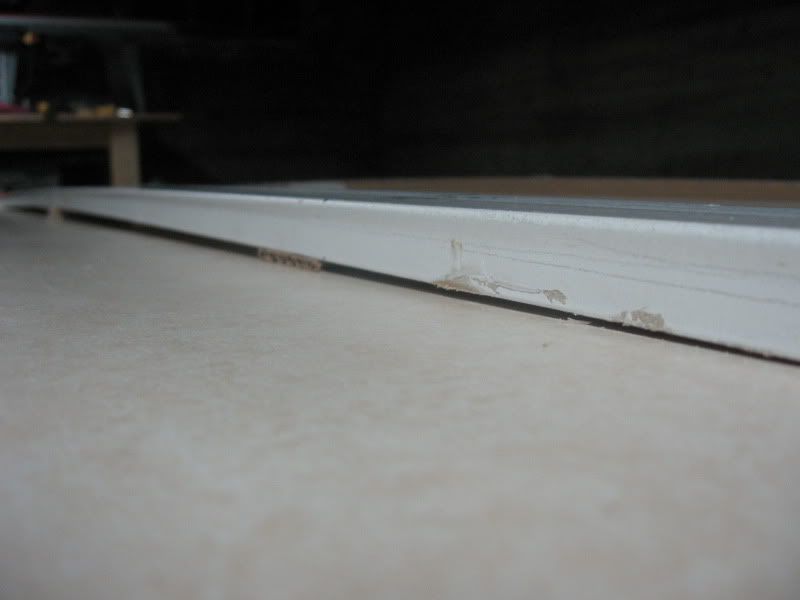
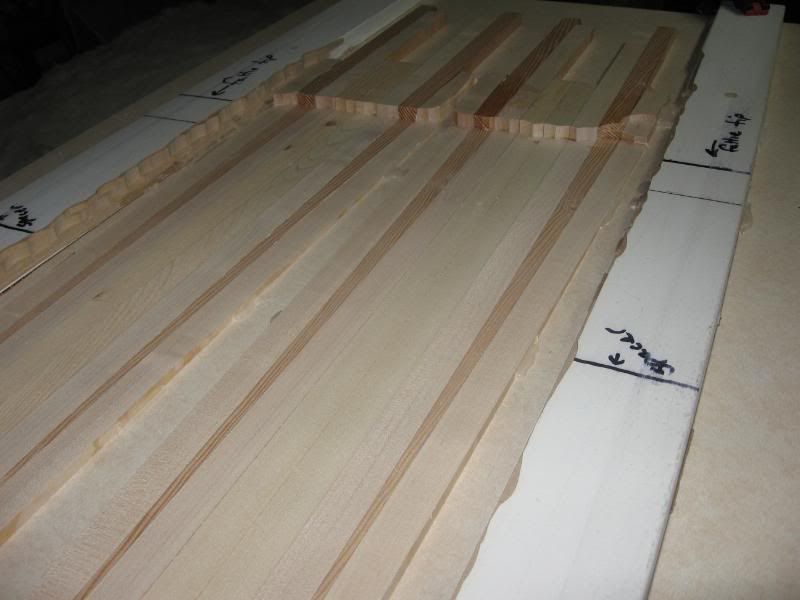
The shim in the middle determines the height and position of the thickest point then depending on the profile your after you shim accordingly.
I clamp them down at the end of the running length then hot glue to hold it when I remove the clamps
These 2 pieces of trim have lasted through 7 pairs of cores and will probably do at least 7 more.
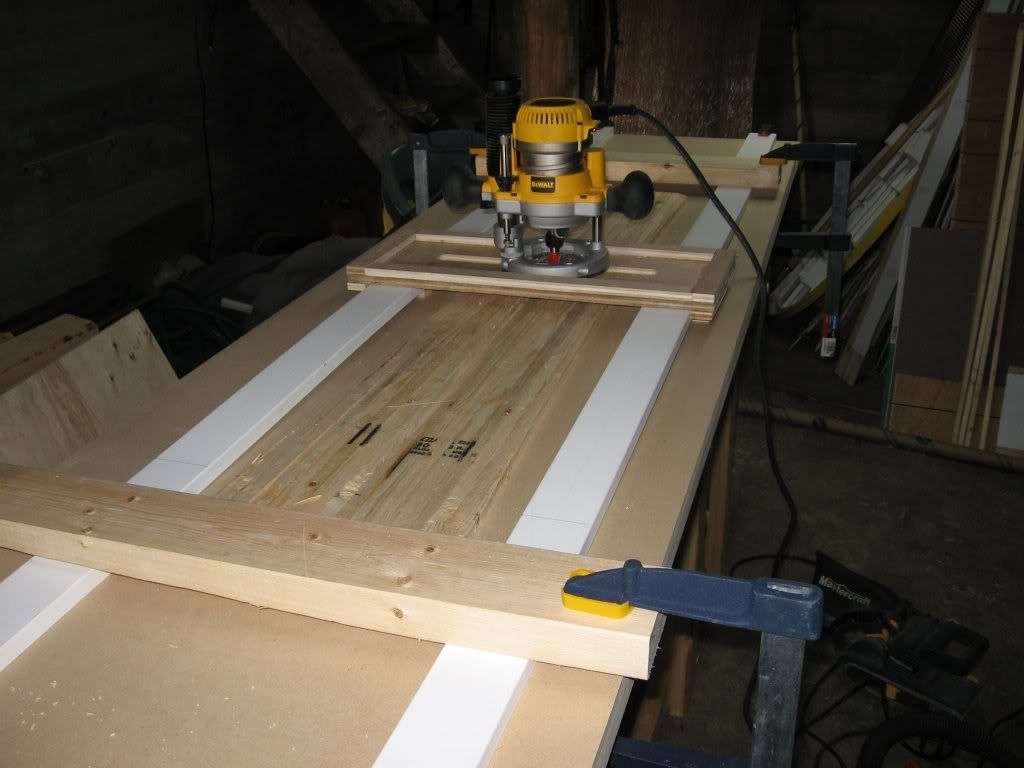
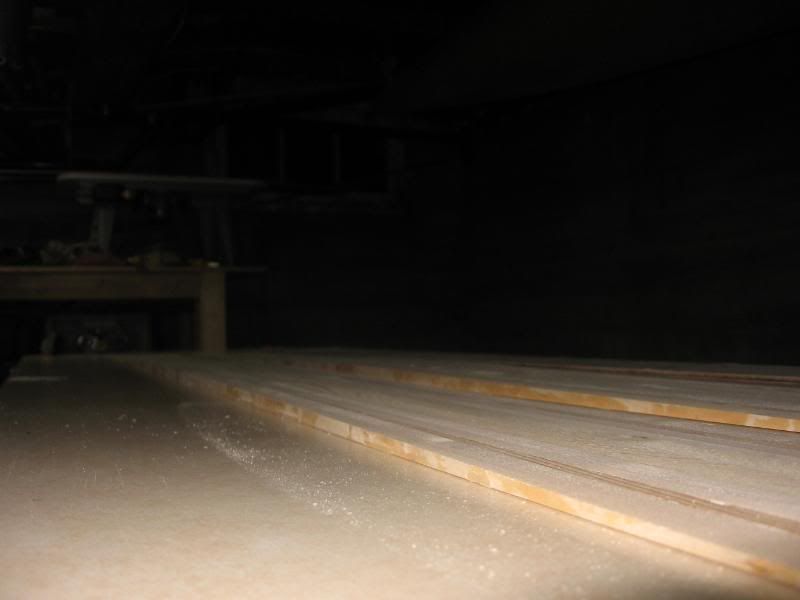
I'm using a 1 3/8" straight bit and doing long (tip to tail and back) cuts.
Going side to side left steps and was slowly eating the rails.
So far so good!
Once I'm done with the router they need a quick sanding with 80 grit to roughen them up and they are ready to go.
As G-man said at the time I need to "put a vacuum box under it" and it would be gold.

sam
You don't even have a legit signature, nothing to reveal who you are and what you do...
Best of luck to you. (uneva)