I'm mixing the resin in a round big plastic pot as well - 1kg yoghurt pot ;) After mixing I transfer it to the cut open tetra pak, as I can pour much more precise with the rectangular tetra pak (pouring it from one corner of the tetra pak).
Don't want to buy any extra pots for mixing and pouring when there is so much suitable stuff just thrown away every day.
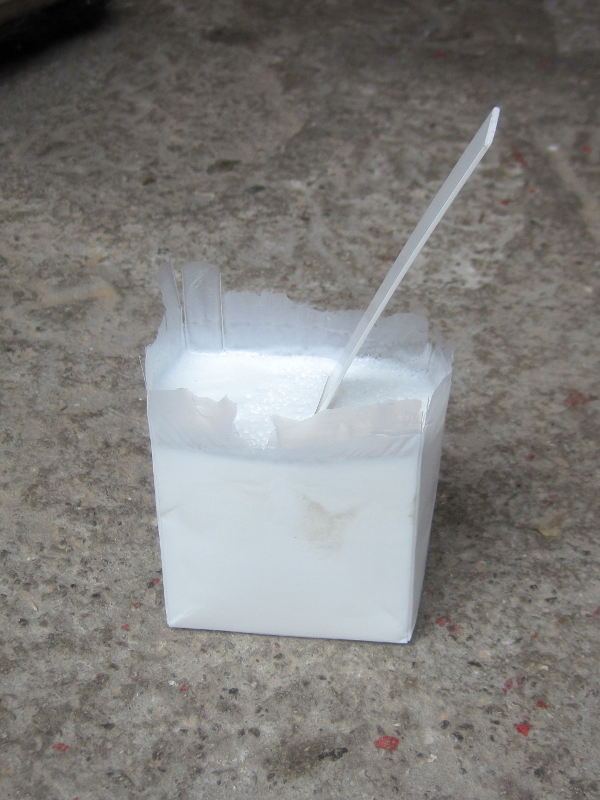
Have a look how it looks if you leave 500g of SO 310 in the tetra pak for too long:
If you look closely you can see that the bowls have a little notch which helps with pouring. Another reason why we use these bowls is that they have a rather large diameter which means that the resin is spread out over a larger area which makes degassing a bit faster.
Hi,
that's why I used 2 tetra paks for the 500g pot - 2 x 250g. Also because pouring is easier when the pot is only filled like 1/3rd or less. Will have to drink some more 2l tetra pak drinks like the pfanner green tea :)
One thing I would like to control more but absolutely lack sensible ideas is how to make the resin heat up less while in the vacuum pot. As I noticed when pouring that the resin poured first took longer to cure than the resin poured later => resin poured first cools down on the mold and takes longer to cure.
As the heat can't evade into the air in the vacuum pot (hardly any air in there)... ah, forget it. Solving this "problem" would be much harder than just building a pressure chamber.
Regarding the bubbles, I'm quite satisfied for the first try. In future, the main improvement will be 2 persons pouring simultaneously so the resin can cure longer in the vacuum pot.
And I didn't perfectly seal the wood core everywhere. Though being in contact with the wood for about only 3 minutes before curing, a lot of bubbles formed there. Well, as it's in the inner side of the sidewall it shouldn't be a real problem.
well, the main advantage is using less resin Will also reduce the sidewall width a lot: In this ski it will be about 11mm, the next ski will only have about 5mm. => less resin, lighter ski. Will need about 300g resin per ski in future.
Why I did it was because I didn't want to machine the wood and plastic together, leaving just a lot of waste. Now I'm machining the wood first, so the chips can be put to good use.
In general that you don't have to machine the poured sidewall a lot what I like. Destroying it after successfully pouring it would really piss me off
I also like the mold for machining the core with the planer: at least with my planer, the first and last 50mm of whatever I put in the planer are not just planed but planed a bit deeper. As the mold is 250mm longer than the cores, the problem is gone.
For the future I will get a friend to help me with pouring - like this I can leave the resin a bit longer under vacuum.
The vacuum pot makes the same as the press, about -750mB. With that pump and our altitude (850m) thats the max we get. Looking for a better pump already.
Be careful how narrow you make the sidewall. The width gives strength.
I agree that a wider sidewall will be less prone to breaking. Well, I still want to have as much wood in my ski as possible.
So my plan is to switch to SO Task 12 for the next pairs. More expensive resin but using less of it.
Why? The wider the sidewall the more weight it adds to the ski. Also, wood has some nice properties for a ski, and with 6mm instead of 12mm sidewall I will have 12mm more wood over the whole ski. Should make a little difference :)
backyardskier wrote:Question for all you pu experts, I just bought the trail size of smooth on 790. Just wondering if it is enough to fill the void for a ski that is 180 in length, 120 tip 90 mid foot and 115 tail? Going to be using a 3/4 size router bit down to a depth about 18mm. Will I need more than the trail size or will it be enough to get the job done?
Do the math lol.
Been trying to do the math and I give up. Has anyone ever just used the trail size for both sidewalls?
3/4 inch is a really wide channel, have you thought of dropping that down to 9/16 so you can make the trail size go further? The sand idea is a good one to try too.
The trail size I have is 3lbs, and you are saying you use 600-800ml. I upped it to 1200ml just because why not, and that turns out to be roughly 2.6lbs. So I might be safe.
As for the bit I was looking around my shop last night and found some other bits, one being a 1/2. I'm going to make a run with it and try the sand fill to see how much it uses.
Calculating based on the density will give you the numbers you need, the real key is to route channel the same as your finished core profile shape, pour the rubber and then flip and profile, still trying to figure our how to get the CNc to do tat for me. The quebeccer has it dialed. Half inch is the bit you need.


