Back at it finally
This season I decided to see what all the heated press rage was all about.
I built some heat mats using some 22oz 90x+/-45 fiberglass that was shipped to me in error. I reallllllly cheaped out and used hardware store silicon (as in the stuff that comes in a tube). The end result vastly exceeded my expectations and my shop only smelled like vinegar for like 2 months afterwards. The mats are ~800 watts rms a piece.
I used these screw terminals that I think chrismp used? I know I got the idea from someone here.

I used drywall tape to secure the wires which worked out really well.

Maybe not the prettiest things, but they are burly and effective

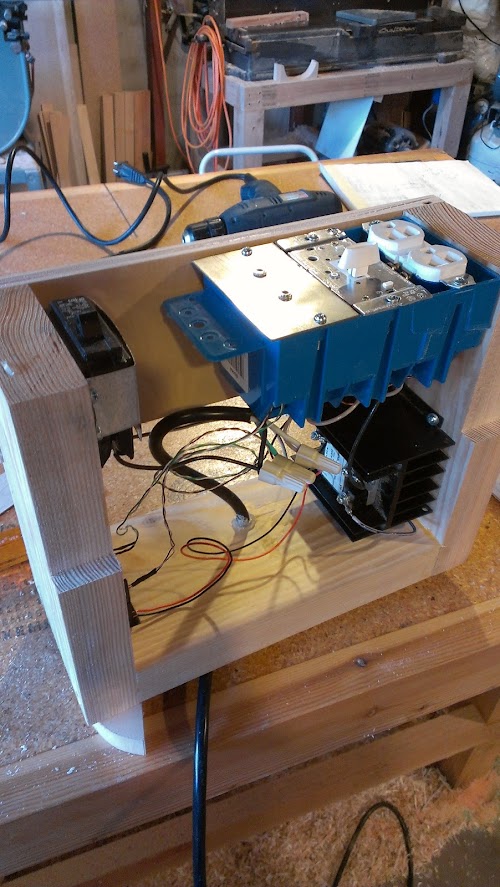
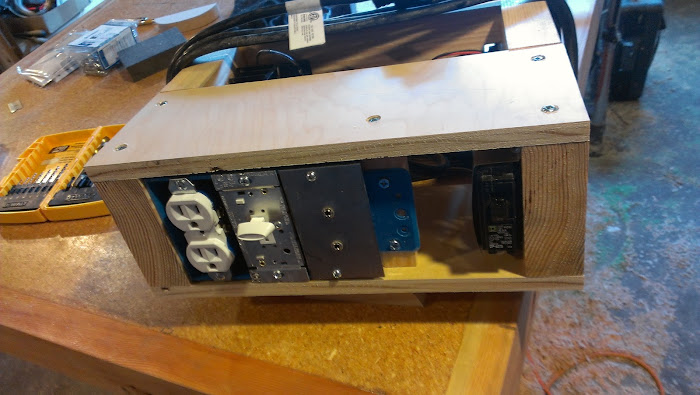
The temp controller is constructed out of things I had pack-ratted away over the years... There are two temp sensors and a single SSR being read/controlled by an arduino. One of the two outlets is connected directly to the SSR. The other outlet has the dimmer switch connected in line with the output of the SSR. This enables me to "dim" the blanket that gets hotter. The setup worked great.


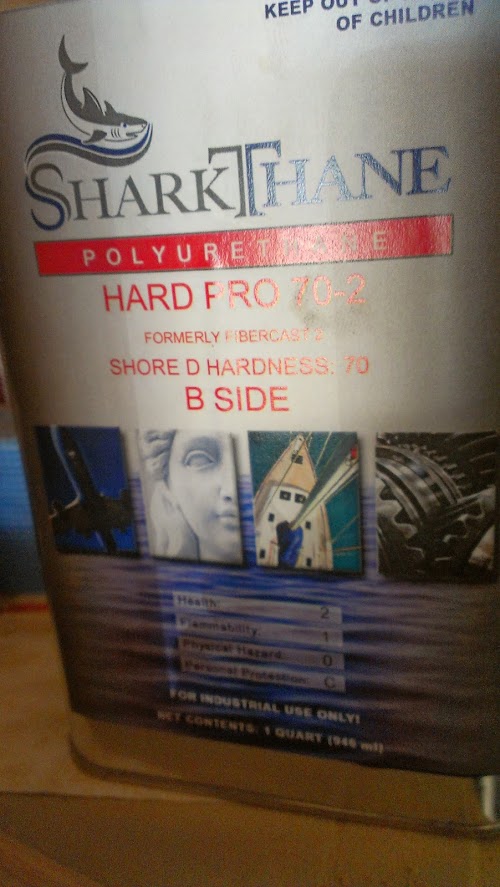
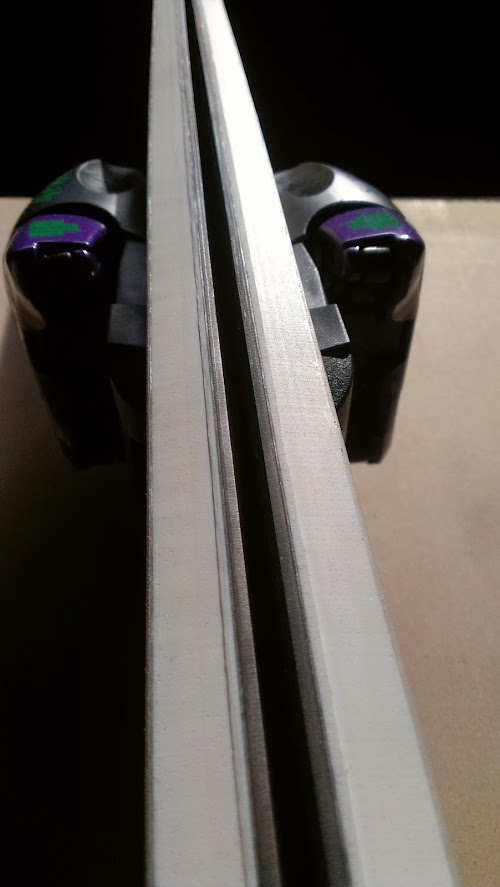
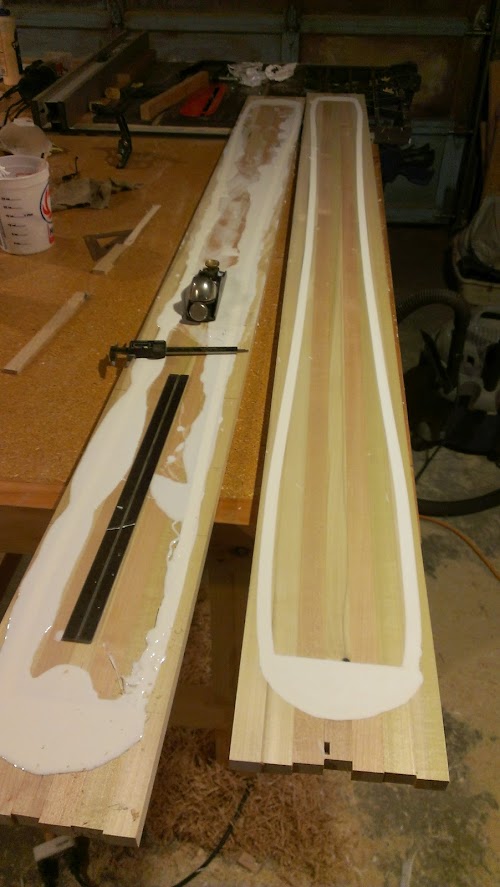
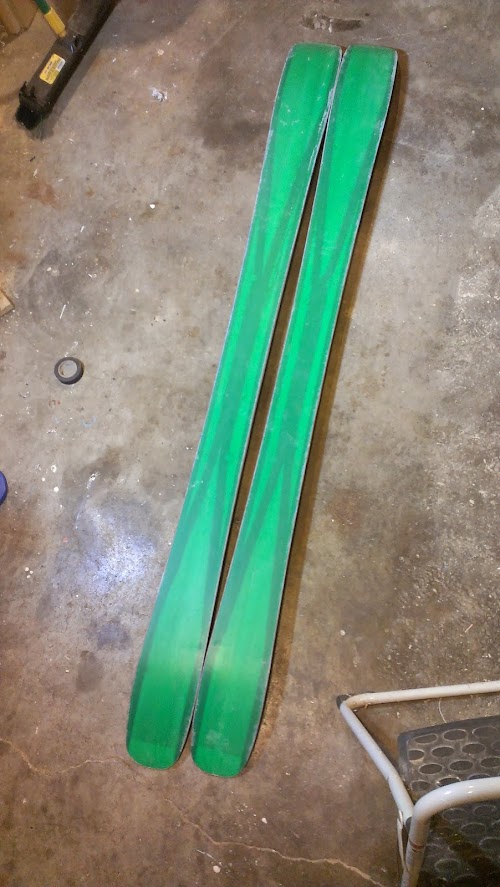
I tried poured polyurethane sidewalls on this set. I used the sharkthane 70-2 that fiberlay carries. This was... interesting. It's hard to imagine two liquids being mixed together and turning into a raging hot blob of solid plastic in 90 seconds. I tried to pour too much on my first shot and wasted a lot. I need to look over my notes, but I think 200cc's of total liquid ended up being a manageable amount. I wish I had take some pictures pre-pour. The channel was routed at 4 different depths to try and conserve plastic.
I had to chop my press beams down a bit to get them in my shipping container, but they still worked fine. My arduino code is super crude so I need the laptop to monitor temp.
My cassette/blanket protection was:
22 gauge galvanized -> blanket -> 0.0508 Al -> ski -> 0.0508 Al -> blanket -> 22 gauge galvanized

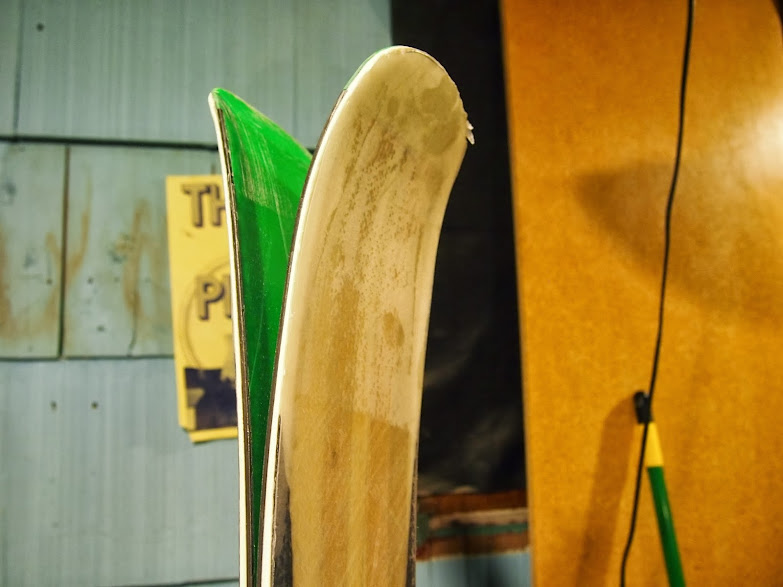
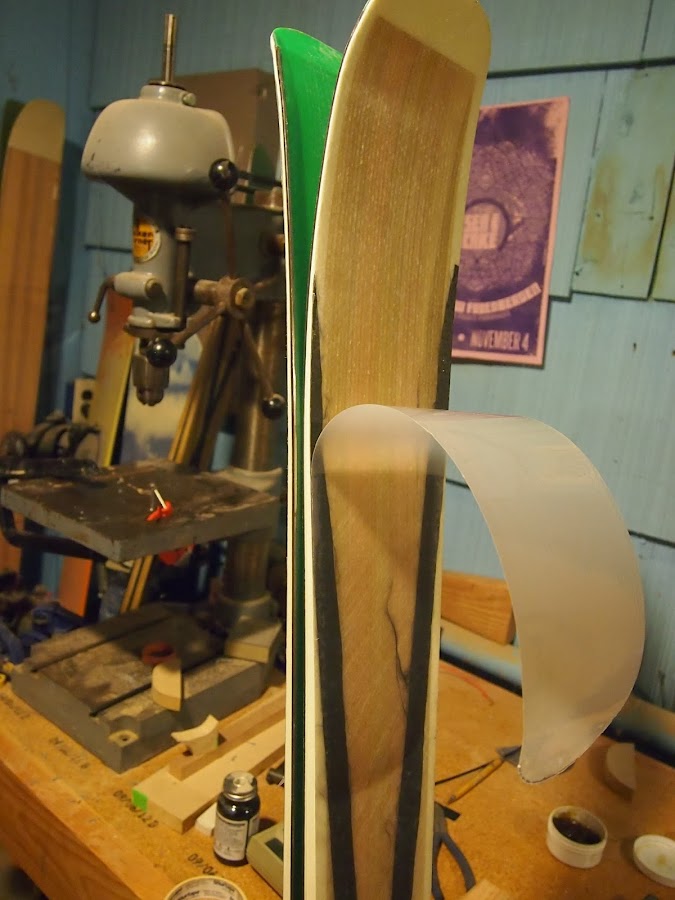
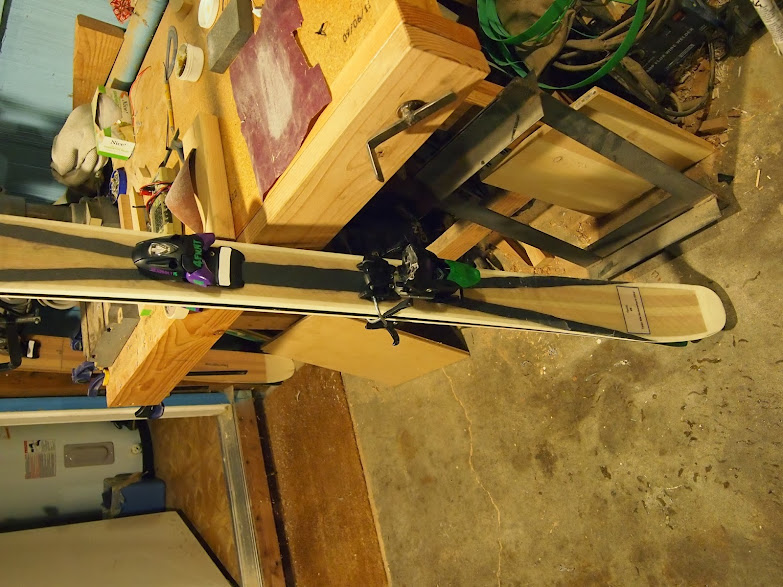
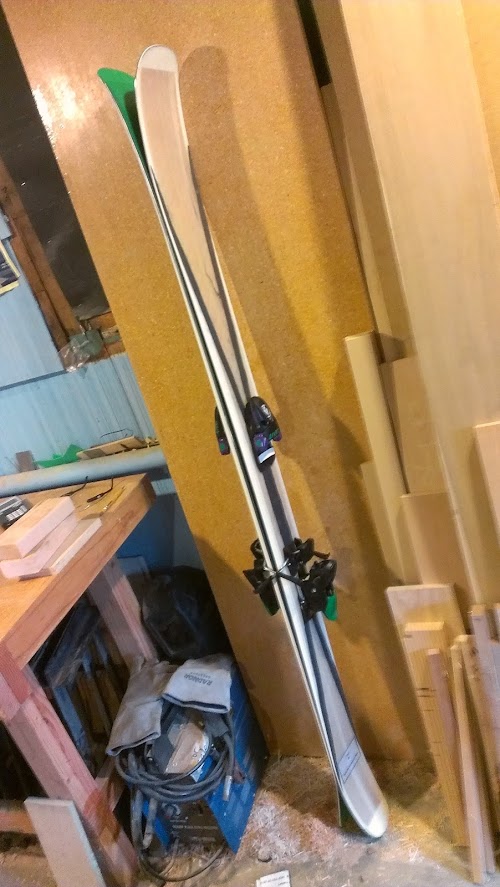
Skis are 183cm ~140/100/130. This set is going to by my everyday PNW conditions ride. cell phone pics... lame


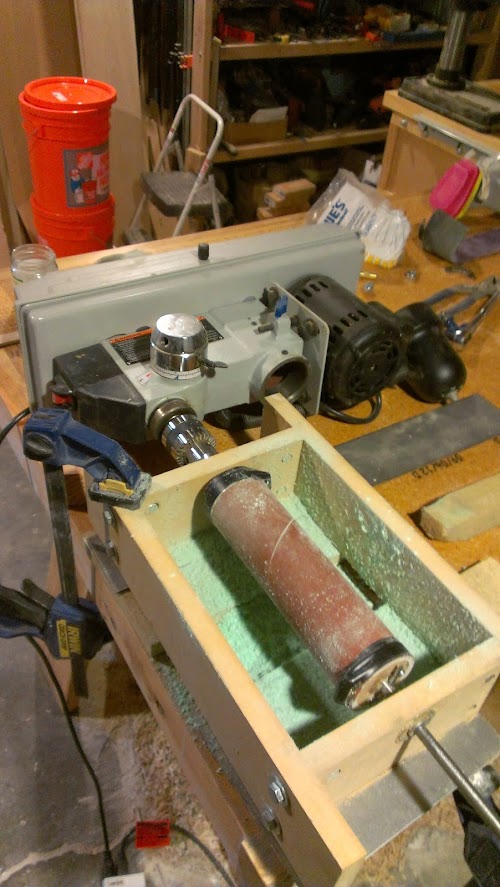
I also updated my deathtrap don't try this at home might loose fingers "base grinder". The drill press head worked great.
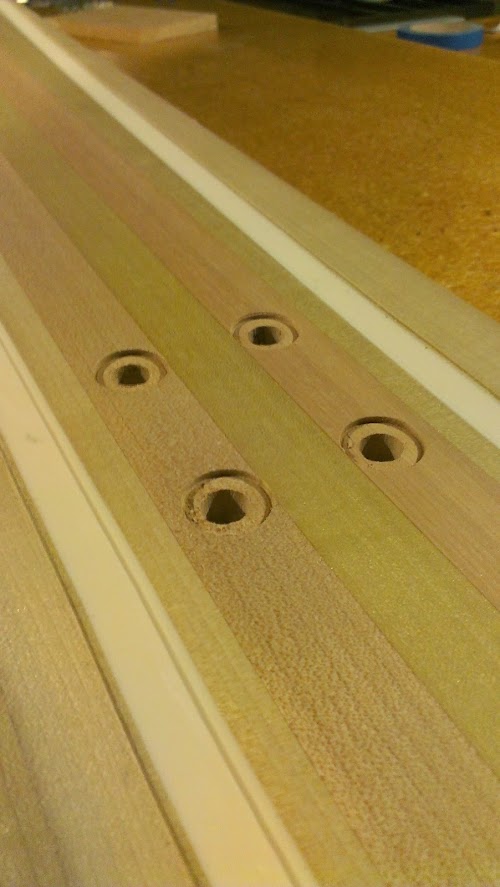
The binding inserts were a little stressful, but ended up working out great. Can't wait to get these up on the mountain, it just needs to get colder and stop raining....
Hope you guys are doing good!