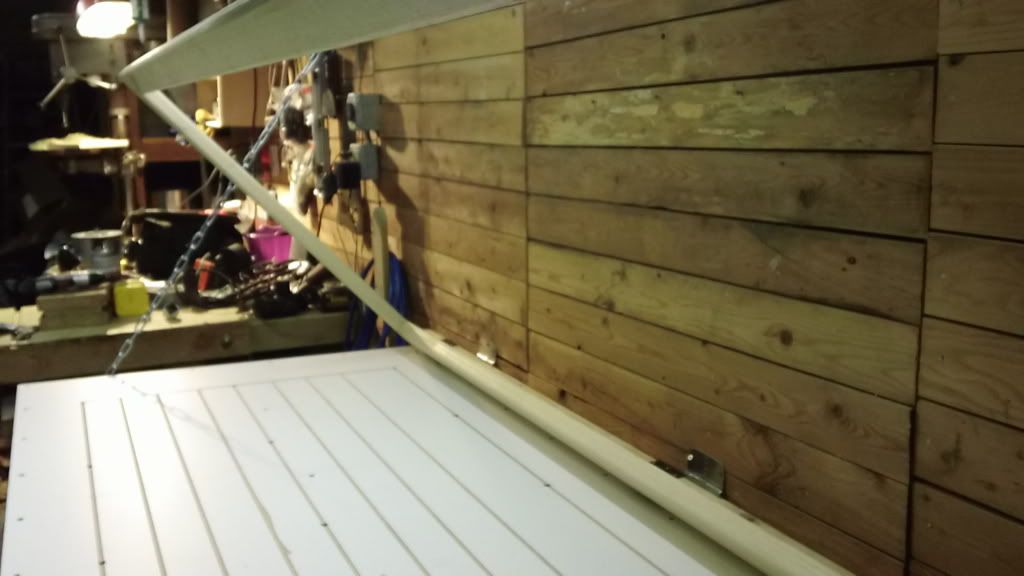
Built a new vacuum table today that has the vacuum chamber under the table so no holes in the vacuum flim. Im using Stretchlon 800 for the film, which is good up to 400*f and will stretch up to 500%. And while not in use it folds up against the wall.
Waiting to see what happens.
I know the frame on mine is 1x4 maple with 1x2 screwed to the top and isn't strong enough to stop the long sides from bowing in close to an inch.
Your planning on using this for heat blankets? They're fairly flat and this should work ok.
Keep us posted!
sam
You don't even have a legit signature, nothing to reveal who you are and what you do...
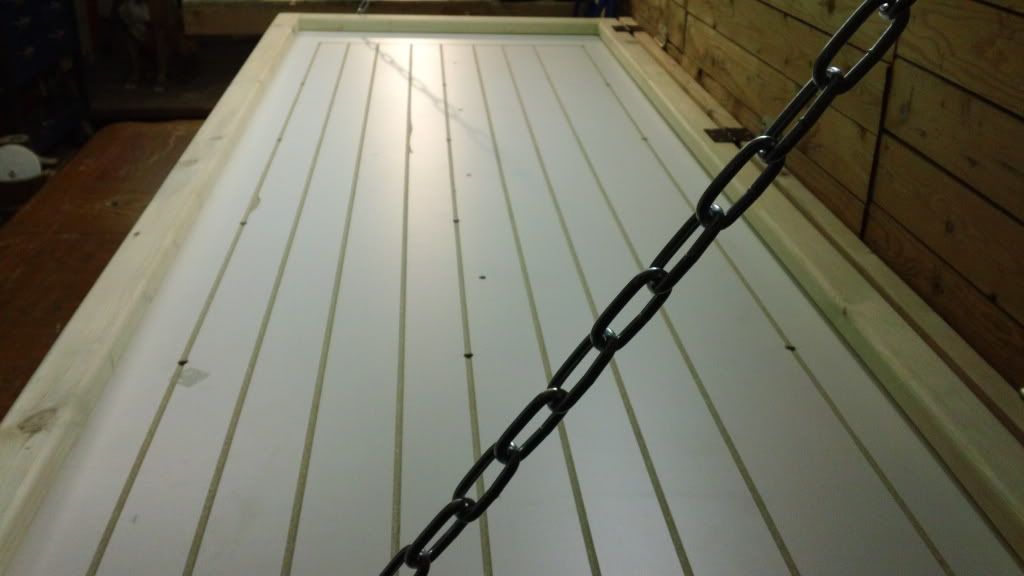
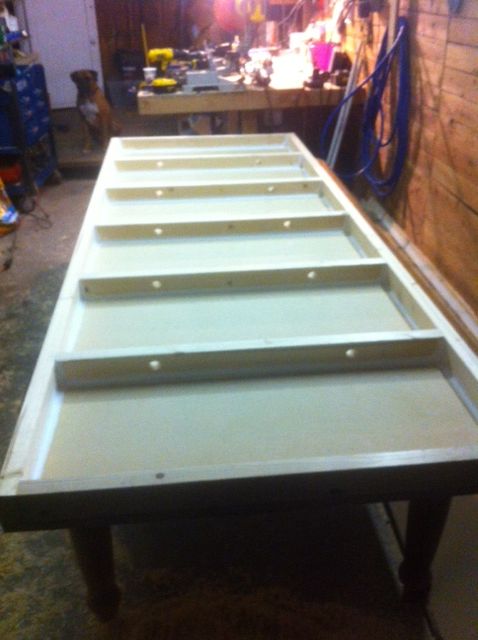
I haven't installed the hold down clamps yet, I think the only side that would bow if it did would be the front long side. The back has three hinges on it and really solid. The lid is made out of 2X3 I ran through the planner just to clean them up and I took a 3/8 roundover bit and ran it around the top and bottom of the frame for the sharp edges. The bottom frame is a beast!! I used some more 2X3's and built a frame with the 2X3's on 16" centers I drilled 2, 1" holes per board for air flow through the chamber. I then covered the bottom side with a sheet of 3/4" MDF and then sealed with silicone caulk on the inside. The top is a sheet of 3/4" partical board with melanmean (? spelling) on both sides. I layed down a small bead of silicone on the frame before I screwed the top down to the frame, nice spooge joint down the whole seam. I routed shallow air flow grooves the lenght of the top with a 1/2" cove bit and a straight edge, then drilled a few holes in the grooves for air flow back to the pump.