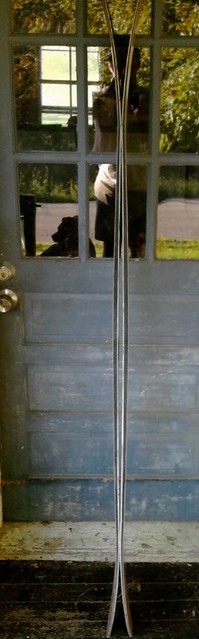
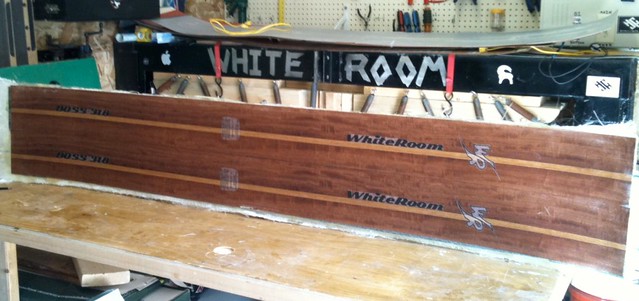
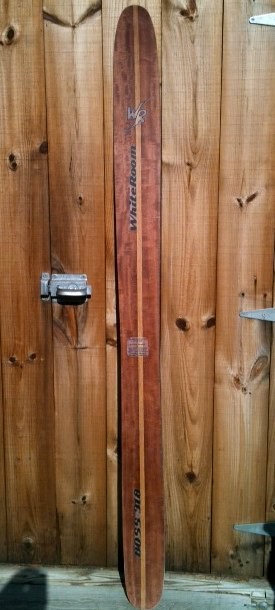
Big rocker fatty out of the press
185cm
dimms: 130/142/122/132/122
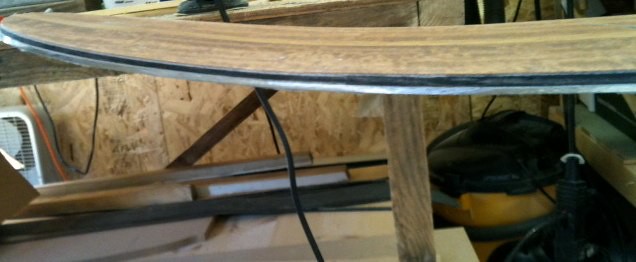
40cm tip with 7 cm rise, 5 mm camber under foot, 35 cm tail with 3 cm rise
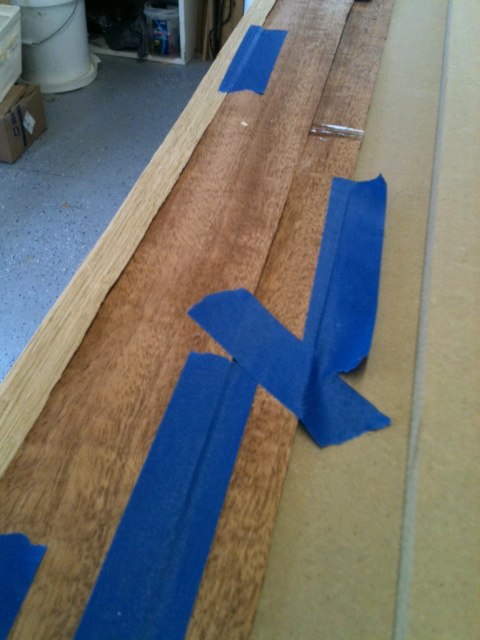
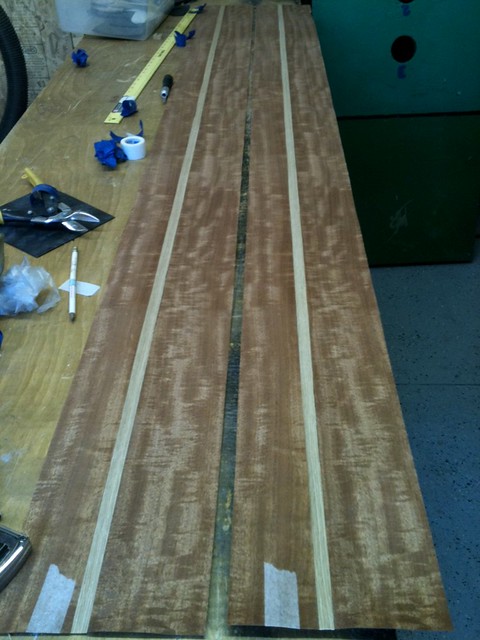
core profile 2.5-12-2.3. maple and poplar laminate, veneer topsheet
pressed 180F for 30 min at 55 psi, super sap CPM epoxy.
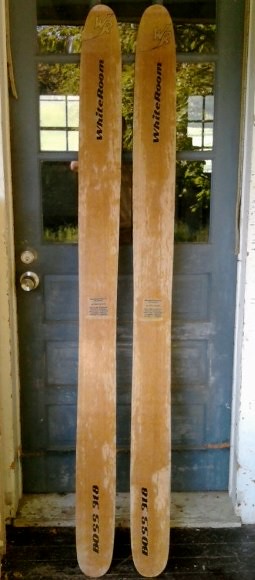
I'm wicked pumped right now. These came out of the press looking great. bases and tops look flat. Heaters and electronics worked great. The tips/camber and tail profiles came out as expected. Camber was slight more than projected at 5-6mm. I was shooting for 4mm.
I really did a better job of thinking out the layup and placement of the thermocouples, which was my problem last time.
Had a minor issue with the epoxy. we mixed 3 batches of epoxy 250g resin and 125 g hardener. The first 2 batches were fine but kicked quickly in the containers. I was a bit nervous that we'd screwed the pooch but everything seemed to cure nicely.
But, this left us a bit short on epoxy but we ended up with just enough to finish the layup. Not quite enough to do the full top coat on the veneer. But we'll mix a small batch and coat the tops and put them in the press to finish them off.
I also need to do some more sanding on my tip mold, there is a bit of a flat spot in the tip rocker but it won't effect performance.
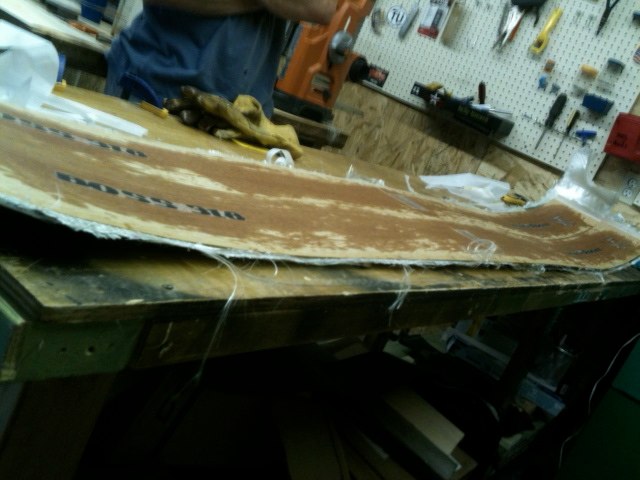
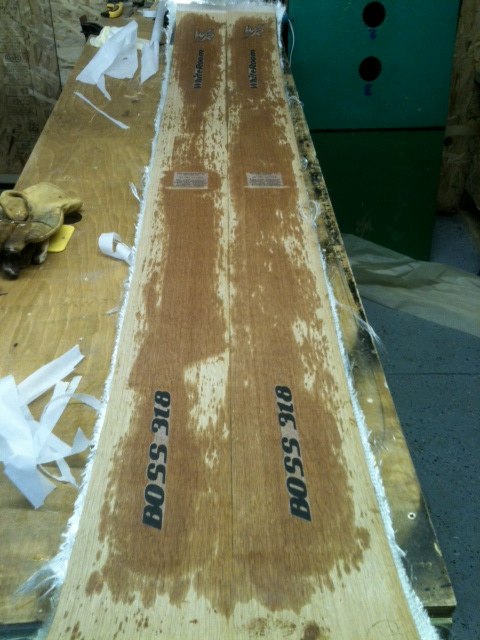
we let them cool to ~140F and then took them out. One they cooled some more we cut them in half. and placed them on their sides for overnight. We'll trim flash tomorrow. FKNA!!!! This pair definitely came out better than the first pair. No major pressure issues in the tail or tips like in the first pair.
I'll post more once they get some finishing work done.