After a nervous moment wondering if this idea would actually work with our household vacuum cleaner I am pretty confident it will be a success!
Base material jigs were cut with CNC to create a groove for the router bit to run in against the desired shape outline. On the "island" created in the middle are 5mm deep grooves offset from the edge by 20mm. There is a central hole through the MDF board to accept the vaccuum cleaner nozzle and distribute its suction along the channels.
Like most of my ski building experiments so far it took place in the living room after work. The vacuum holds the base material down very snuggly. In the video you can see the board moving from side to side rather than the base material shifting.
Vacuum is a 2400W cyclonic type (like Dyson brand).
Don't want to cut the base material yet because I am still a bit of a way off pressing a pair and don't want the UHMW to warp before then. I am pretty sure though that the router will cut it neatly without the base material shifting.
Thanks Chris for the CNC work. Didn't need to seal the MDF either.
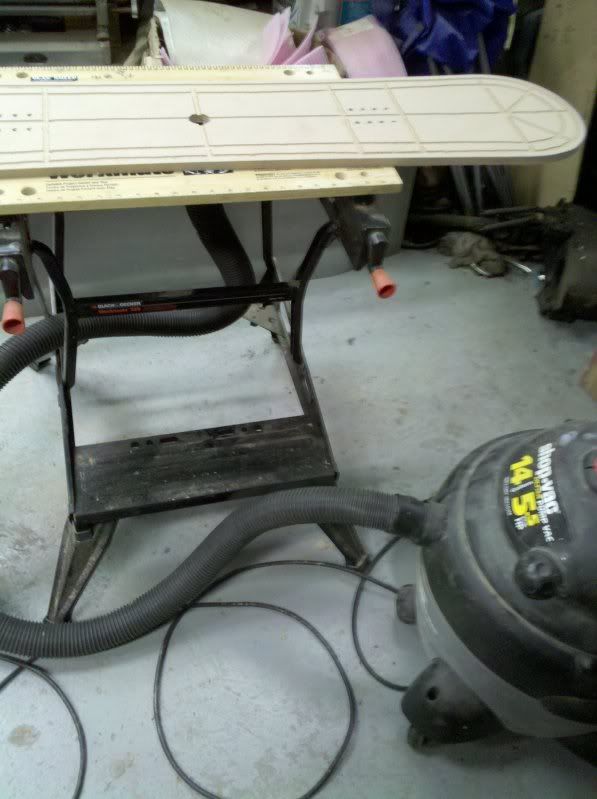
Vacuum hold down base jig

Vacuum nozzle in place

Vacuum nozzle entering board from below

Base material on top

Video (beware vacuum noise)
http://www.youtube.com/watch?v=-f_AjOAa0aM
Pretty pleased with the project tonight.