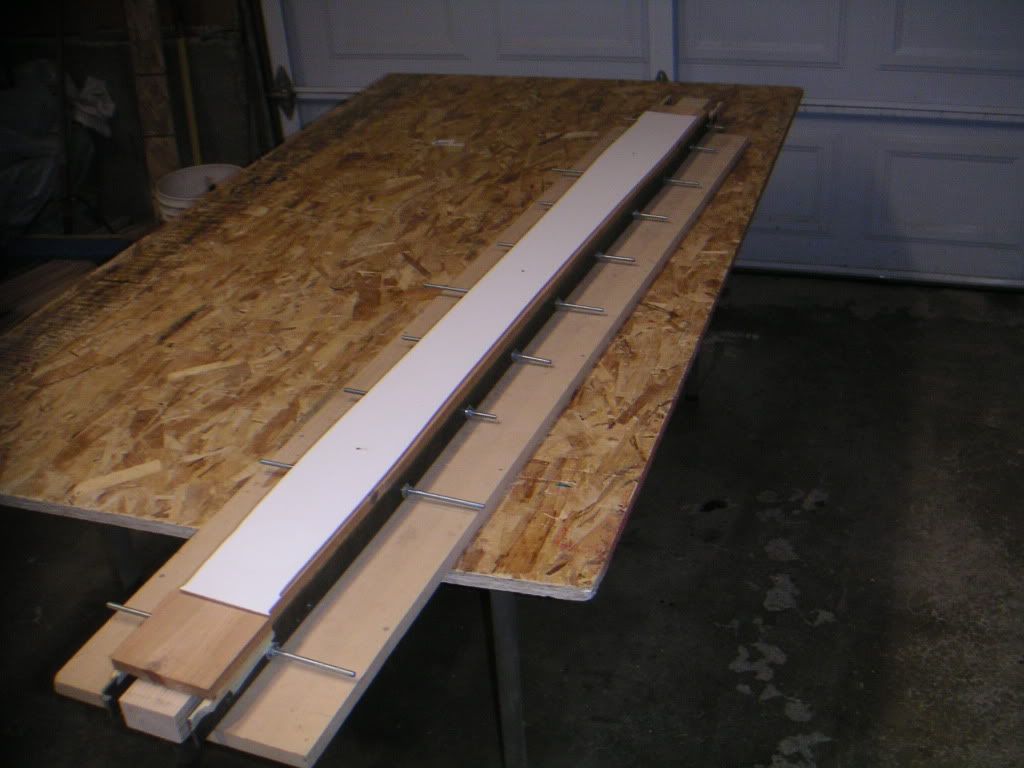
Its a sidecut jig roughly based on 333's jig.

it will be nice to just set it up once for a pair, cut the core and the base without having to change it. i plan on buying an offset router bit that is the difference between the base (minus the edges) and the core widths.
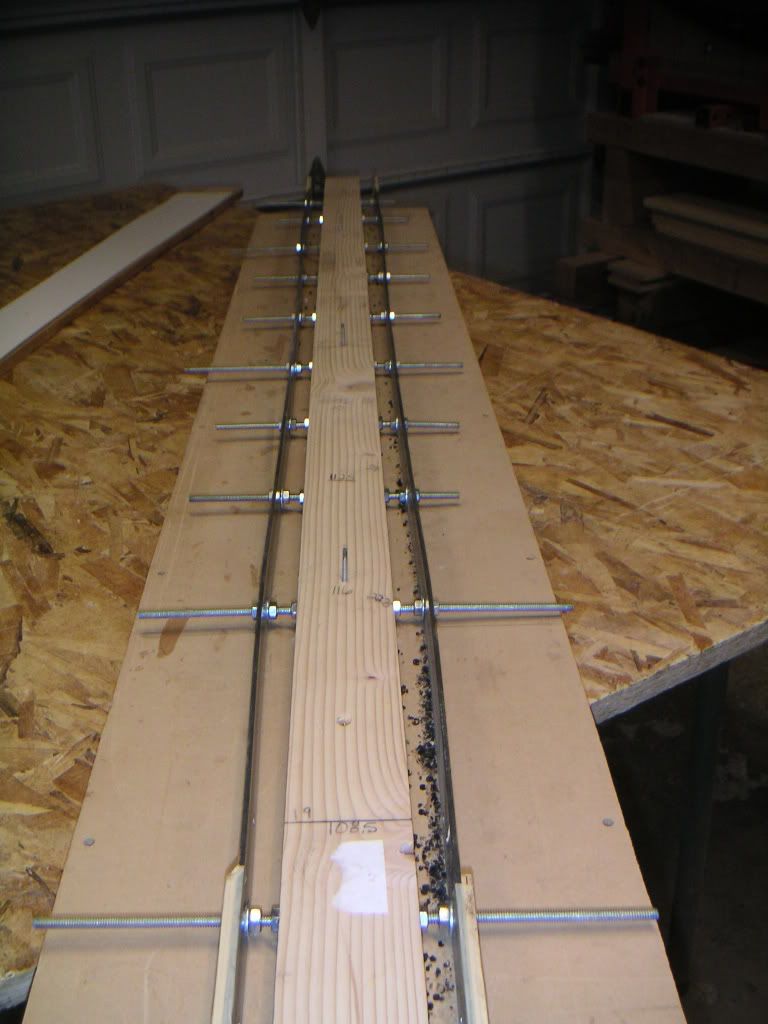
I found a piece of PVC that was close to fitting the my shop vac hose. put silicone on it to get a better seal.

Holes down the center for the vacuum to hopefully hold the core or base material while using the router. i'd like a little more suction, so i'll try adding more holes.

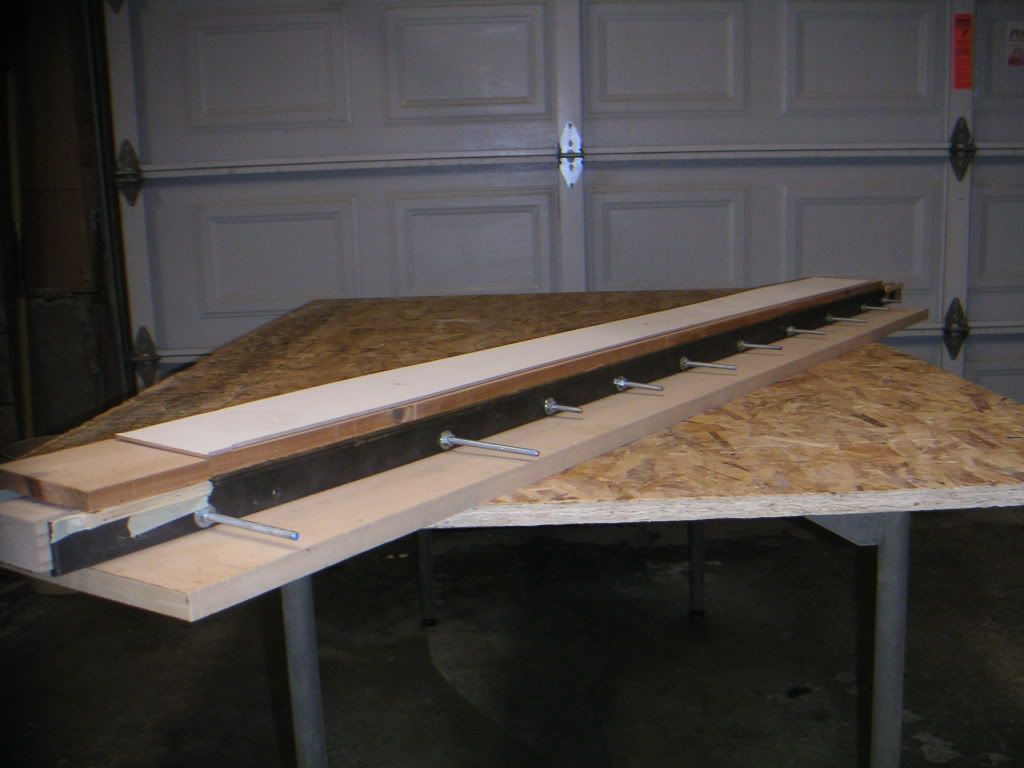
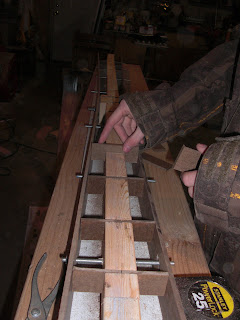
i used MDF for the entire thing. i was hoping that the MDF for the sides would have a consistent flex patern. its not perfect, but it works.

I used 5 brackets on each side for adjustment

The brackets are for closet doors. found at home depot or loews for less than $3 each.


so, what do you guys think? any suggestions?
the minimum widths are 100mm 74mm 100mm
i don't know the max widths off the top of my head, but it will go big enough for fat powder skis.