Alright, I figured it out.
So here it is. I've been working in the ski lab for over six months now and I'm finally getting around to posting. First, I'd like to say thanks to skibuilders and all of the people who post on this forum. I've learned a lot here, it's an increadible resource. To anyone who's just thinking about starting to build skis I'd say go for it. However, know that you will spend way more time and money then you could have ever imagined. Totally awesome experience though.
So the first pair of skis turned out as good as I could have ever hoped.
specs:
-155-120-145 (length 185)
-reverse camber (80cm of flat under foot with 2cm of rocker to the tip and 1.2 cm of rocker in the tail)
-maple core (3mm tip, 10mm, 2.5mm tail)
-layup- 4001 base, 22oz. triax, core, 22oz. triax, topsheet
-stuck it all together with QCM epoxy at 40 psi at room temp. (48 hours)
-maple side walls and no tip or tail spacers. (trying to keep it simple at first)
enough said, here's the pics
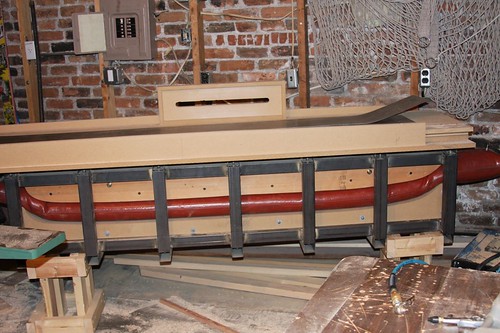
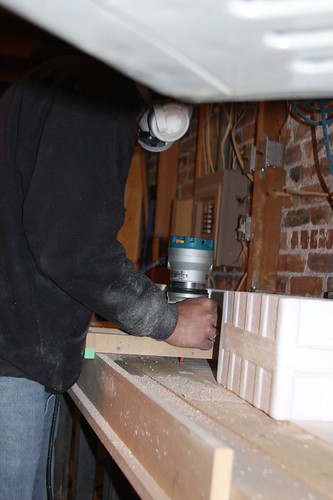
bottom mold action

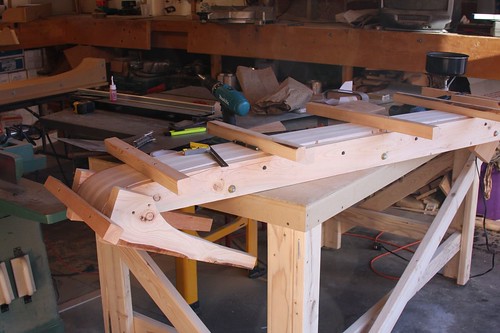
core assembly
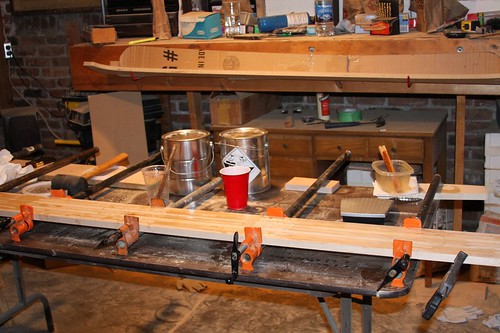
looks like i painted that thing with epoxy ( i used way too much glue )
ski core and an apple core
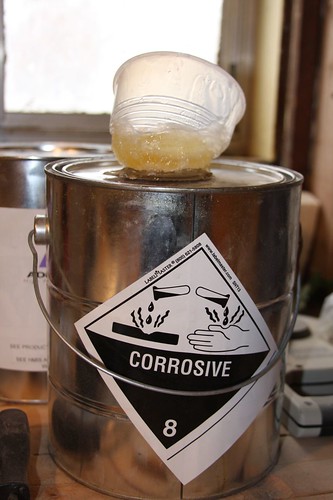
things I learned: epoxy will melt cups if you let it sit for too long!
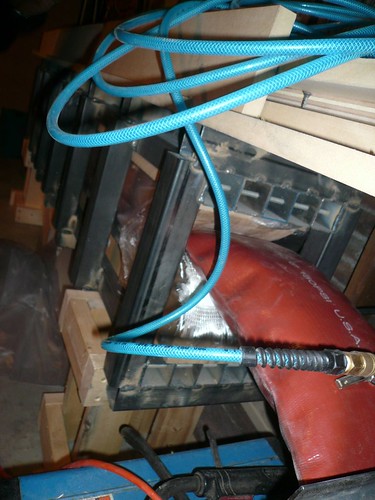
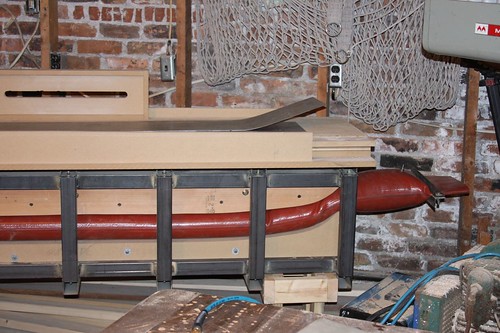
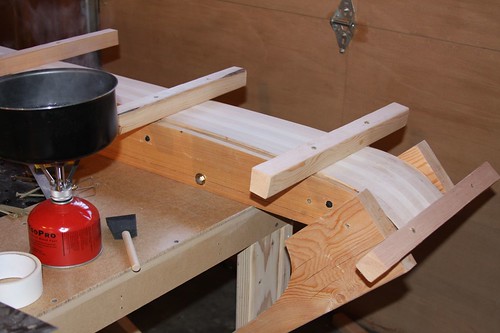
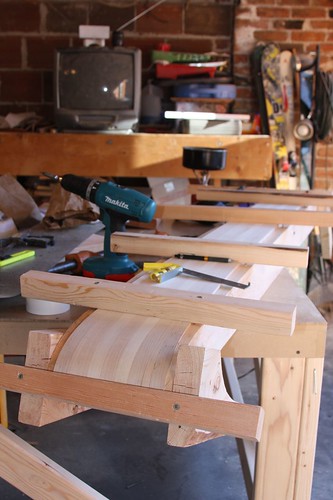
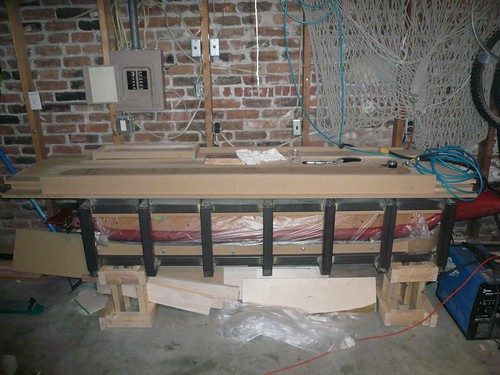
test running the press, didn't blow up the garage so i'd say success
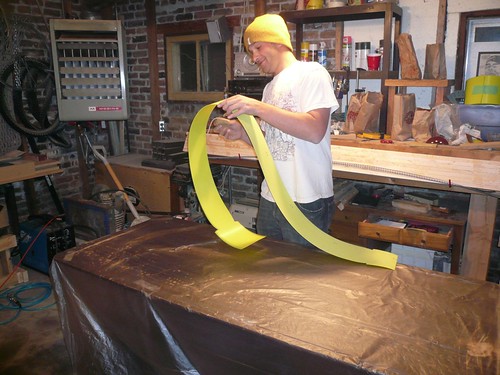
this is not the best way to pre-bend cores, but it works
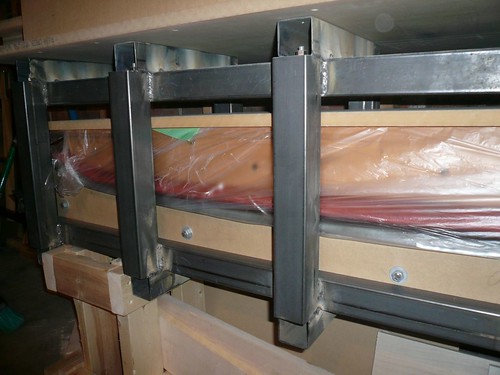
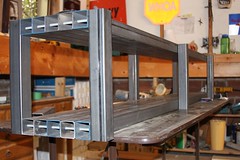
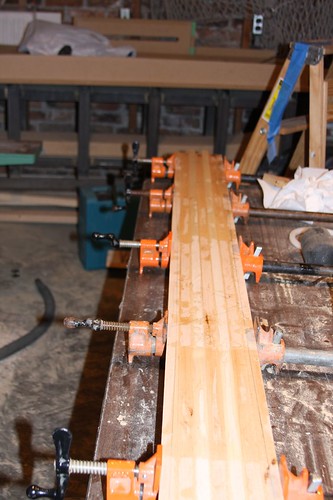
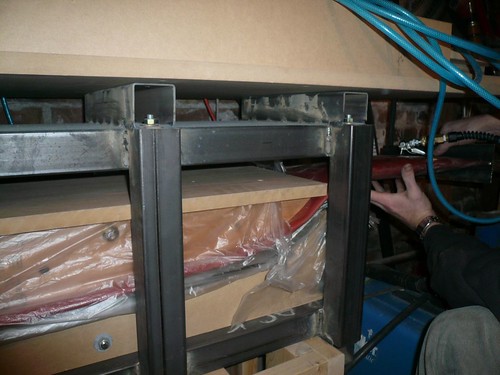
mold with metal cassette thingy (I think you could call it a cassette)
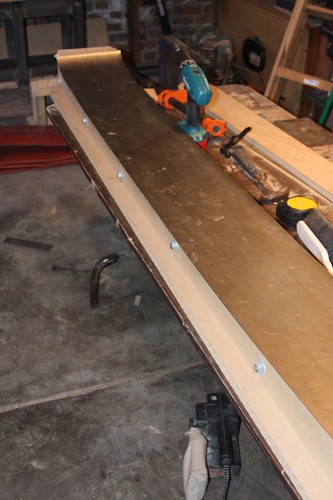
I need about 20 more squeezy clamps and i'll be set
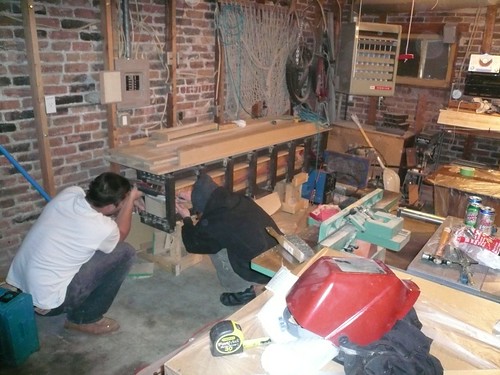
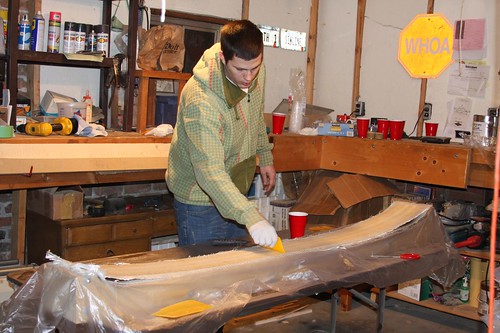
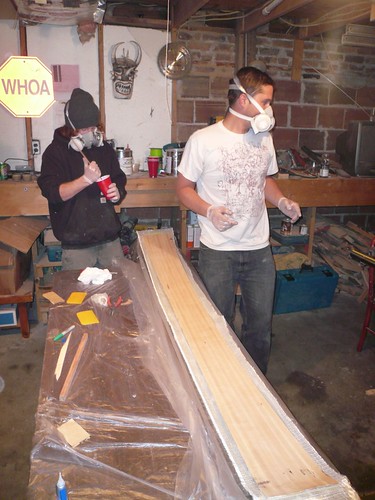
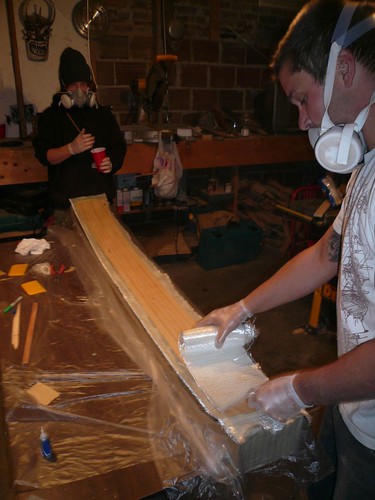
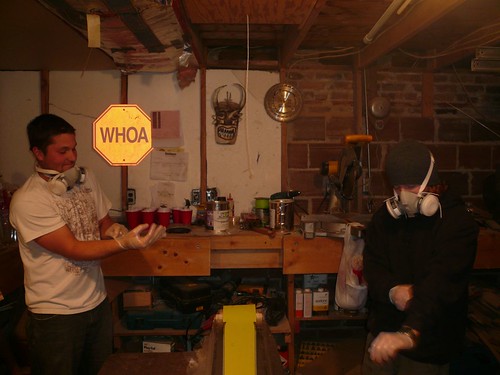
layup action (this is the coolest part, I love it!)
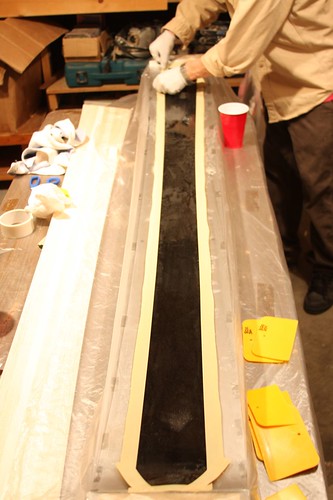
I know, he should be wearing a mask. I think he likes the fumes, thanks for the help Volbs.
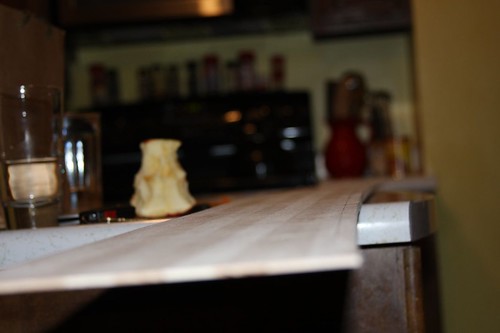
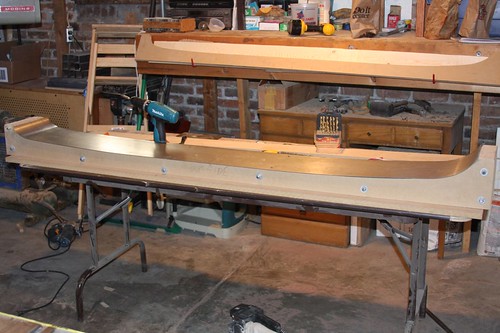
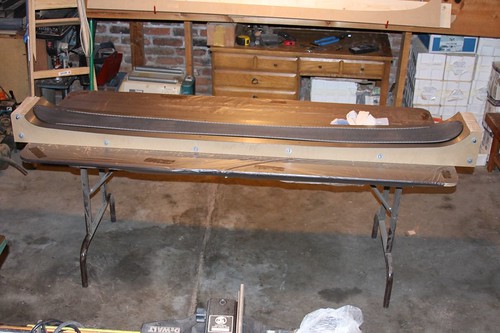
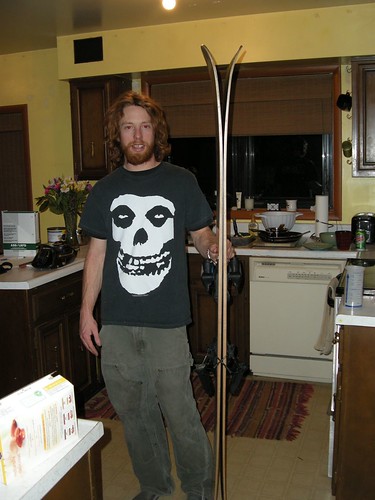
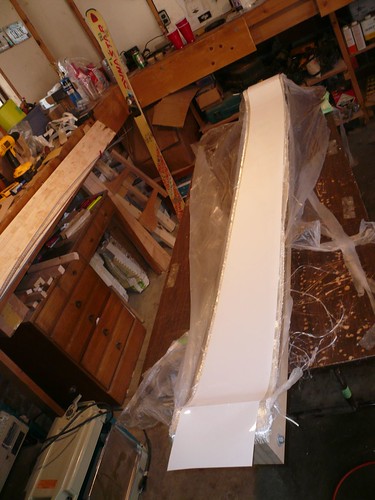
first ski out of the press ready for a base grind
finished product
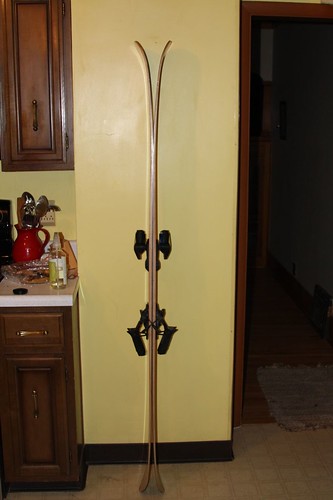
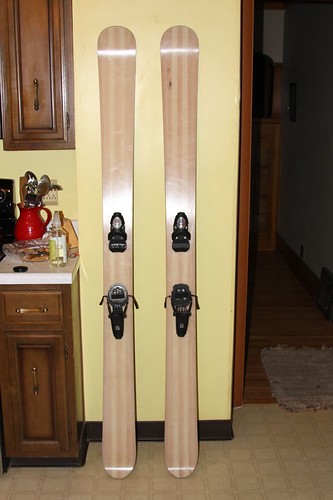
I'm 5'10" so the skis are huge for me, but they ski like 170s in the pow
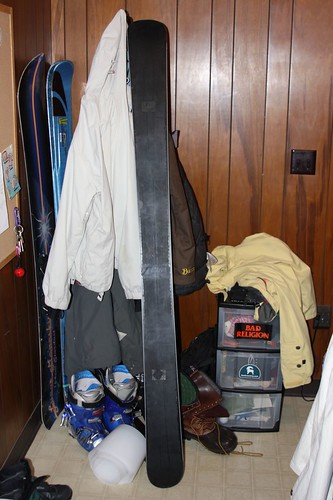
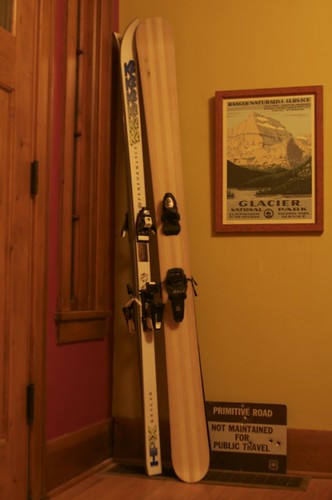
the old and the new
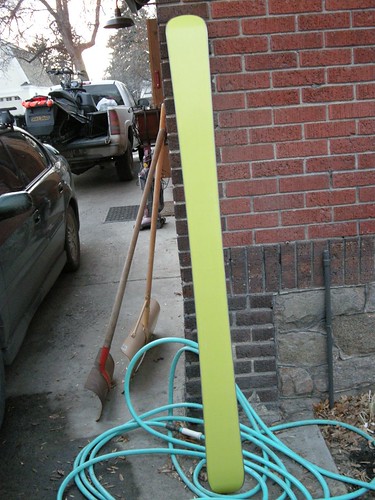
So that about sums up my first set. Now that i finished them I'm helping my buddy build a set for an Architecture class at the college. I know, building skis for an architecture class seems weird but this kid knows how to work the system at the university. Building the same set but this time using gloss white topsheet and neon green base. We also didn't do a full edge wrap on these. The edge ends about half way around the tip and tail. If anyone has any advice on this 3/4 edge wrap thing I'd love to hear about it. We pretty much just ended the edges and smashed everything together in the press. I was thinking it would be nice to have some sort of spacer material in the tip of something along those lines. Either way, we just pulled the first one out of the press last weekend so here it is.
Using boxes of tile to make sure the core didn't lift. (scientific procedures)
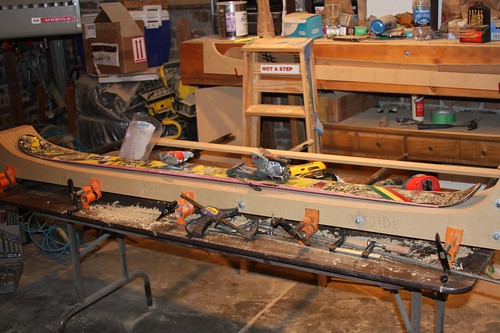
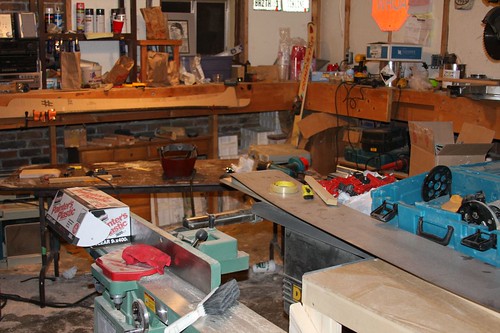
total shop disaster
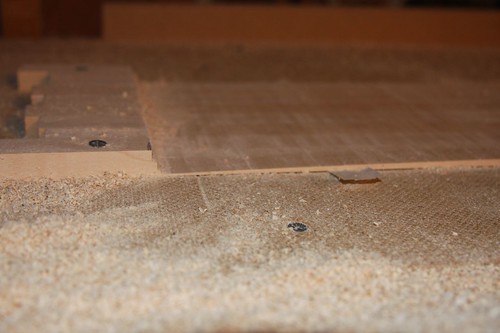
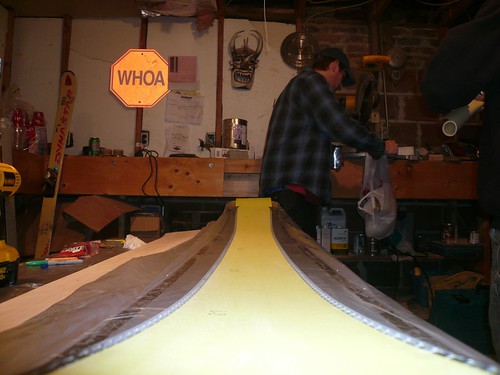
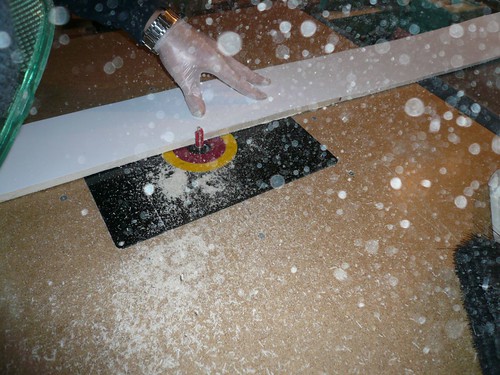
gettin base ready for edges
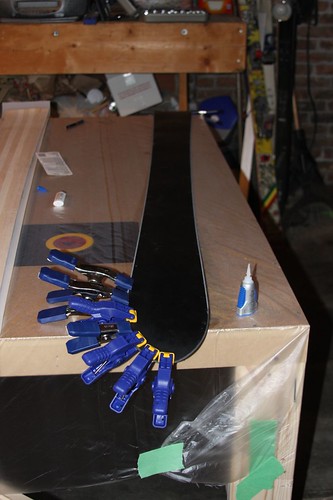
layup time

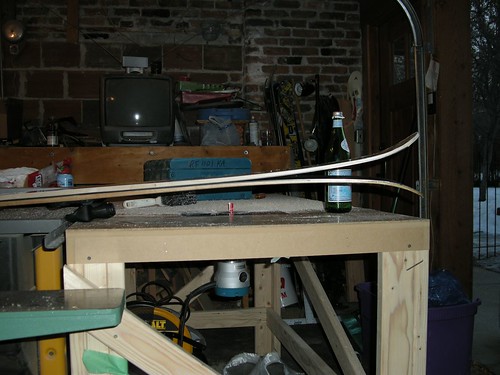
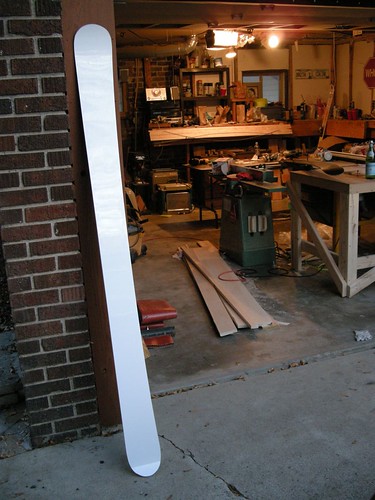
hot off the press
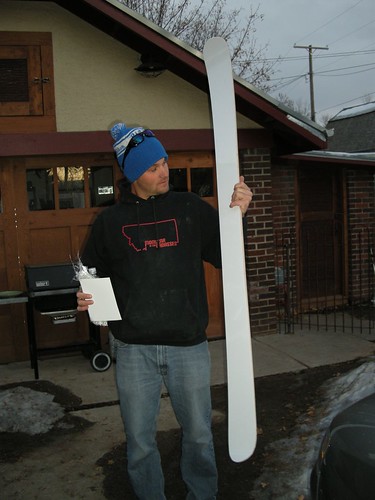
let it snow
new ski sitting on old ski
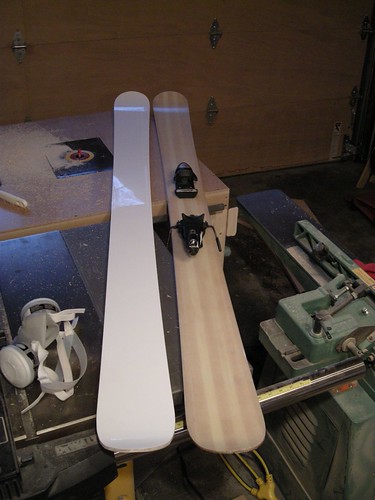
Thats it thats all. I posted a lot of pictures cause that's what I like to see on this forum. Hopefully they will be help full to someone someday.
So as for the skis, I've got 3 days on them now and they are some of the funnest skis i've ever rode. Hopefully we get a big dump soon so I can try them out for real.