Page 2 of 3
Posted: Wed Oct 25, 2017 4:57 pm
by vinman
I've now eliminated base pins for core/base alignment. Just a note. I never had a failure of the core with base pins but it was one of those things that I never really liked but was easy to use.
I now use a external "lock and key" method. I think a couple other guys use this, Montucky maybe... So I can't take credit for this.
I use small MDF scraps squares placed at various locations along the sidewall of the ski about .5mm from the sidewall to allow for the glass, usually around 4 spots on each side of the ski to prevent lateral movement of the core. At the waist of the ski I hot glue an MDF block to the sidewall on each side of the core, this makes the "key". I then place a block on either side of the key. These are hot glued directly to the aluminum sheet to create the lock. This prevent front-back movement of the core in relation to the base. It is important to slit the base layer of glass over the lock blocks to allow the key and core to sit flat. All of these alignment blocks are later cut off in the flashing process.
So far this seems to work very well and I've had not core shift issue with it.
Posted: Thu Oct 26, 2017 5:41 am
by mammuth
I remember the old post from montucky. Seems the most easy method (2 blocks on core, 2 pins on cassette). But how do you align / prevent shifting of the base? Glue it to the cassette before glueing the alignment pins?
Btw. does hotglue/superglue stick on cassette threated with release agents?
Posted: Thu Oct 26, 2017 3:43 pm
by MontuckyMadman
Super 77 Spray adhesive, align with tip, tail and center mark.
Just keep the edged skis on the template until right before layup. Glue base down, glue your alinment dowles to the cassette and blammo.
77 Cleans off with paste floor wax. Work hot. Dont ask me why i have no idea. Mek barely does anything same as denatured or acetone. I cant wait for a petrochemical expert to explain that to me.
Posted: Fri Oct 27, 2017 5:01 am
by vinman
A tip on base warp. Warm your base material with your heat blankets on a flat surface to ~120F for 10-15 min to allow it to relax. Let it cool back to room temp before cutting.
Plastics like these have a “thermal memory�. Warming them like this takes this out. This was taught to me by a guy (my father-in-law) with several decades of experience in chemistry and industrial plastics.
In doing this my bases don’t warp. I can cut a base and leave it Un-edged for a week or more without issue. I think cutting it on the cnc with the vac table helps also. But even when using templates. Be sure your material is dead flat.
Apply contact paper to the base to keep the spray adhesive off your materials. Peel while still warm and everything comes out clean.
Posted: Fri Oct 27, 2017 9:28 pm
by OAC
vinman wrote:A tip on base warp. Warm your base material with your heat blankets on a flat surface to ~120F for 10-15 min to allow it to relax. Let it cool back to room temp before cutting.
Plastics like these have a “thermal memory�. Warming them like this takes this out. This was taught to me by a guy (my father-in-law) with several decades of experience in chemistry and industrial plastics.
In doing this my bases don’t warp. I can cut a base and leave it Un-edged for a week or more without issue. I think cutting it on the cnc with the vac table helps also. But even when using templates. Be sure your material is dead flat.
I will try this. This has annoyed me ever since I started building. Leaving them un-edged would speed up the process(for me) . I haven't dared to test it...

Posted: Wed Nov 01, 2017 2:12 am
by OAC
Works!
Now I can do 4 bases (probably more) in one pass and no warping!
Thanks Vin for the tip on this one!
Posted: Wed Nov 01, 2017 6:02 am
by vinman
Glad it worked!
Posted: Thu Nov 02, 2017 3:52 pm
by agiocochook
And now for something completely different……
Not sure how well this technique would work with plastic sidewalls, but because I “inlay� epoxy sidewalls into the core by routering channels into the core blank (leaving a thin bottom to the channels which I plane off after the epoxy hardens), I don’t have to cut the cores to shape before pressing. I double stick tape the bases to the bottom cassette to keep them in position and since everything else, including the cores, goes into the press as square sheets, so long as I keep the corners lined up, I’m good to go. This way also lets me press both skis at the same time by simply stapling the two cores together.
Full disclosure, though I never had a problem with things shifting, but being naturally paranoid, I’ve started running pegs (two on each side) through the core, bottom cassette and into the mold (through the excess area of the core that isn’t part of the ski) to make absolutely sure that the bases stay lined up properly with the cores and that everything stays lined up with the mold.
The one time I tried the peg glued to the base technique, one of the pegs happened to perfectly line up with two binding mount screws which resulted in the core snapping in half along that line......
Cheers,
Scott
Posted: Sat Nov 04, 2017 8:21 pm
by gav wa
agiocochook wrote:And now for something completely different……
Not sure how well this technique would work with plastic sidewalls, but because I “inlay� epoxy sidewalls into the core by routering channels into the core blank (leaving a thin bottom to the channels which I plane off after the epoxy hardens), I don’t have to cut the cores to shape before pressing. I double stick tape the bases to the bottom cassette to keep them in position and since everything else, including the cores, goes into the press as square sheets, so long as I keep the corners lined up, I’m good to go. This way also lets me press both skis at the same time by simply stapling the two cores together.
Full disclosure, though I never had a problem with things shifting, but being naturally paranoid, I’ve started running pegs (two on each side) through the core, bottom cassette and into the mold (through the excess area of the core that isn’t part of the ski) to make absolutely sure that the bases stay lined up properly with the cores and that everything stays lined up with the mold.
The one time I tried the peg glued to the base technique, one of the pegs happened to perfectly line up with two binding mount screws which resulted in the core snapping in half along that line......
Cheers,
Scott
Yeah dude, the trench method of sidewalls is used by heaps of folks. Even some commercial manufacturers use it on some models.
The bit that got my attention though is you mention the use of epoxy as a sidewall material. That's a thick piece of epoxy getting stiffer in the cold weather. Nearly all of us using the trench method use Polyurethane for the sidewalls.
Posted: Sun Nov 05, 2017 5:34 am
by agiocochook
Tried PU once and had some issues, so fell back on what I knew, but I agree it's a better sidewall material and keep meaning to try again. I haven't seen any significant stiffness change though, and live in New England so plenty of temp range, nor yellowing (I use a West System white pigment), but there's the chipping issue.
Regarding the effect of temperature on stiffness, how wide are your sidewalls? After stepping and beveling, mine run 6-8mm
Re:Dowel Location
Posted: Sun Mar 17, 2019 9:36 am
by Louis
vinman wrote: ↑Sun May 17, 2015 1:48 pm
Drill 2 11/32 holes through core, glue 5/16 poplar dowel pins to base. Just be sure they are big in your mounting zone and they are sanded flush or slightly recessed to the core.
I assume it was just a typo. Did you mean to say, "Just be sure they are NOT in your mounting zone", or?
Re: Methods to keep core/ base still during press.
Posted: Sun Mar 17, 2019 3:12 pm
by vinman
^^correct
Re: Methods to keep core/ base still during press.
Posted: Tue Dec 17, 2019 2:21 pm
by fred
Hi guys,
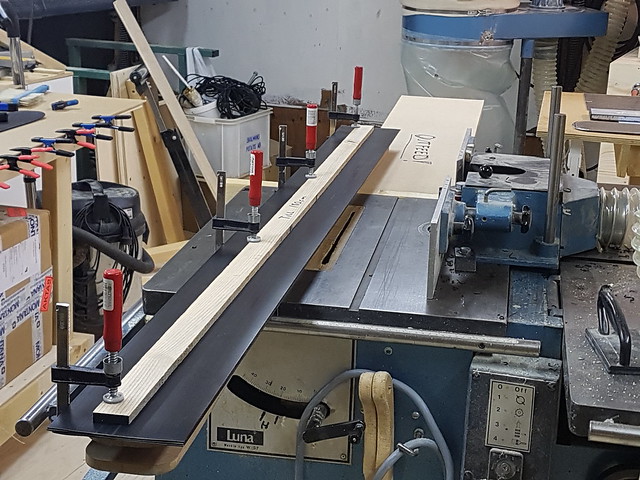
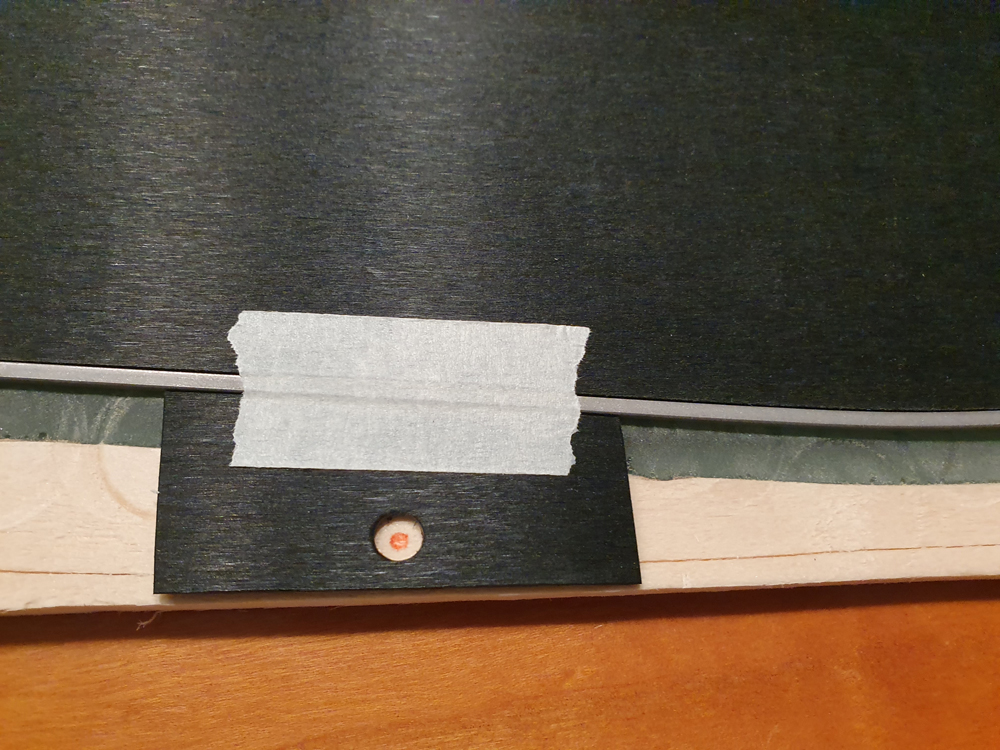
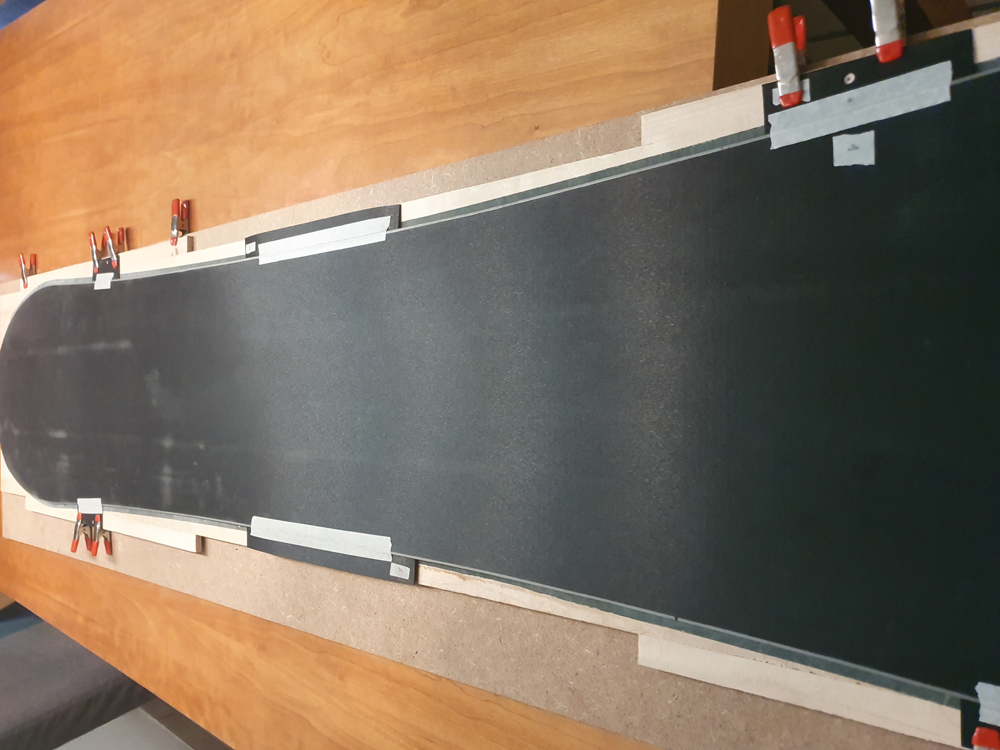
Since I have poured PU sidewalls and therefore have wood core outside of the sidewalls, I was considering to do the following: I have attached scrap base material pieces around the edges with tape. The base material pieces and the core have holes and marks for proper alignment (I might have to cut small 'windows' to the glass at the right places). After wet layup of the bottom part of the board, I would then staple the longer scrap base pieces around the boards waist to the core.
Would that work?
Thanks!
- ExcessBase_1.jpg (553.07 KiB) Viewed 6264 times
- CoreAlignment_2.jpg (429.39 KiB) Viewed 6264 times
Re: Methods to keep core/ base still during press.
Posted: Tue Dec 17, 2019 7:59 pm
by MadRussian
@fred
I hope it will be more successful.
This method didn't work for me. You can see my results when base shifts. obviously I only tried it once.
