Jsquared Year II

Document your personal work here. Show photos, movies, and share your secrets.

Moderators: Head Monkey, kelvin, bigKam, skidesmond, chrismp

JSquare
Posts: 119
Joined: Fri Sep 14, 2012 1:59 pm
Location: NH

Jsquared Year II

Post by JSquare »

Welp, last year my buddy and I got hooked on this. We started of doing the boardcrafter design style press, had a good time, made a few crappy boards, and learned a ton. Since then, we've both gotten more into woodworking, acquired a pile of tools, and been busy thinking and designing. This year, we're back for more.

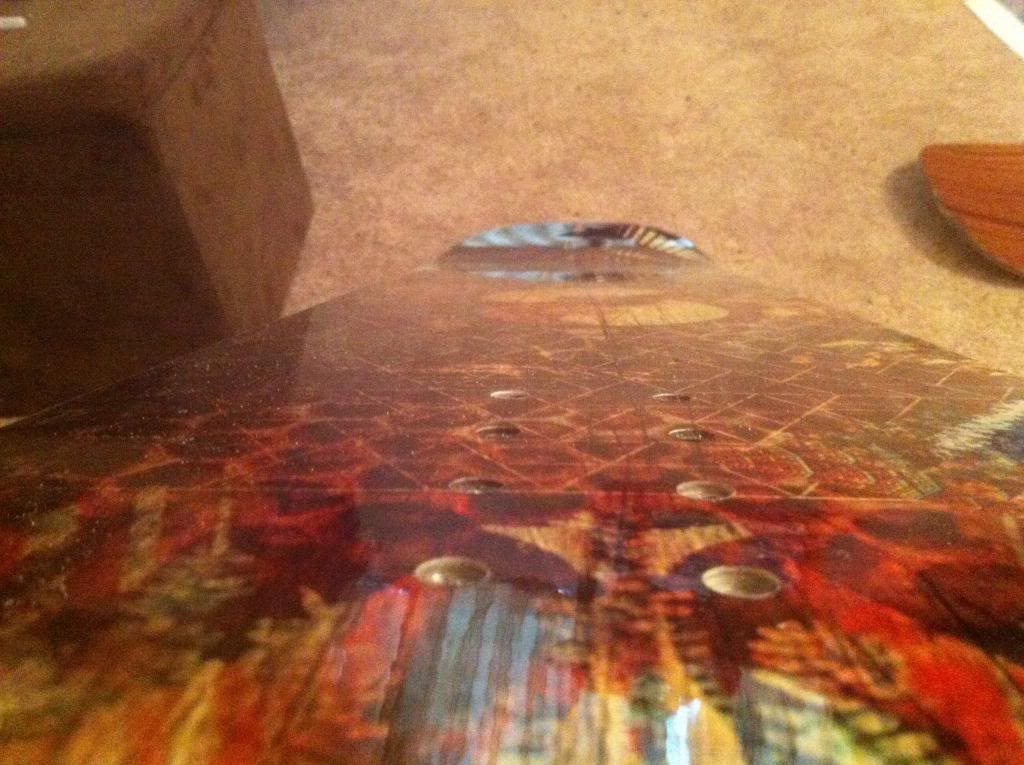
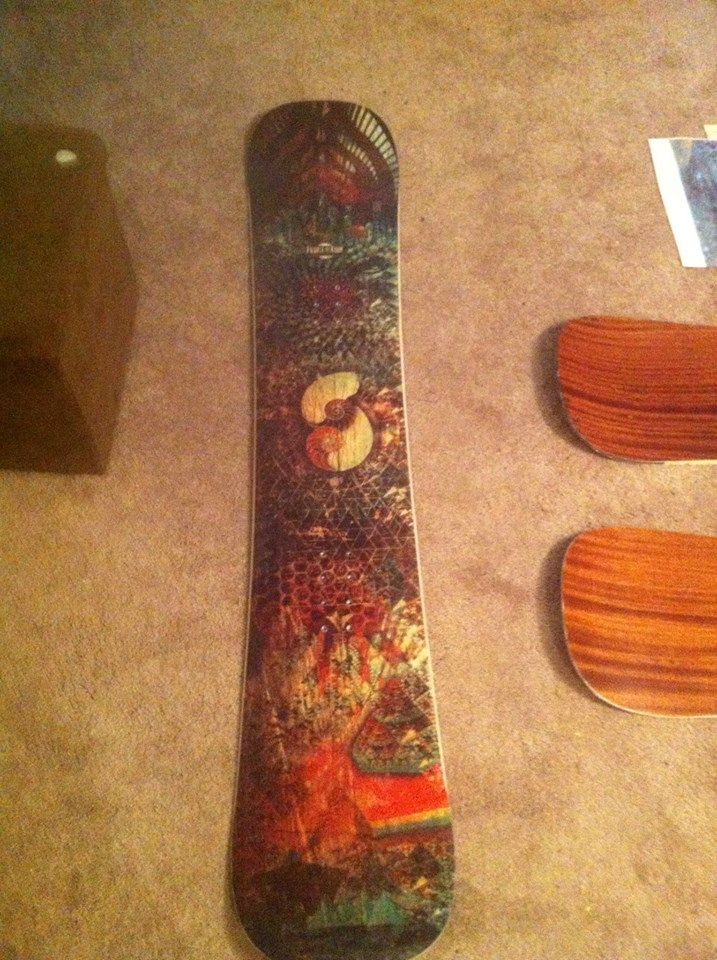
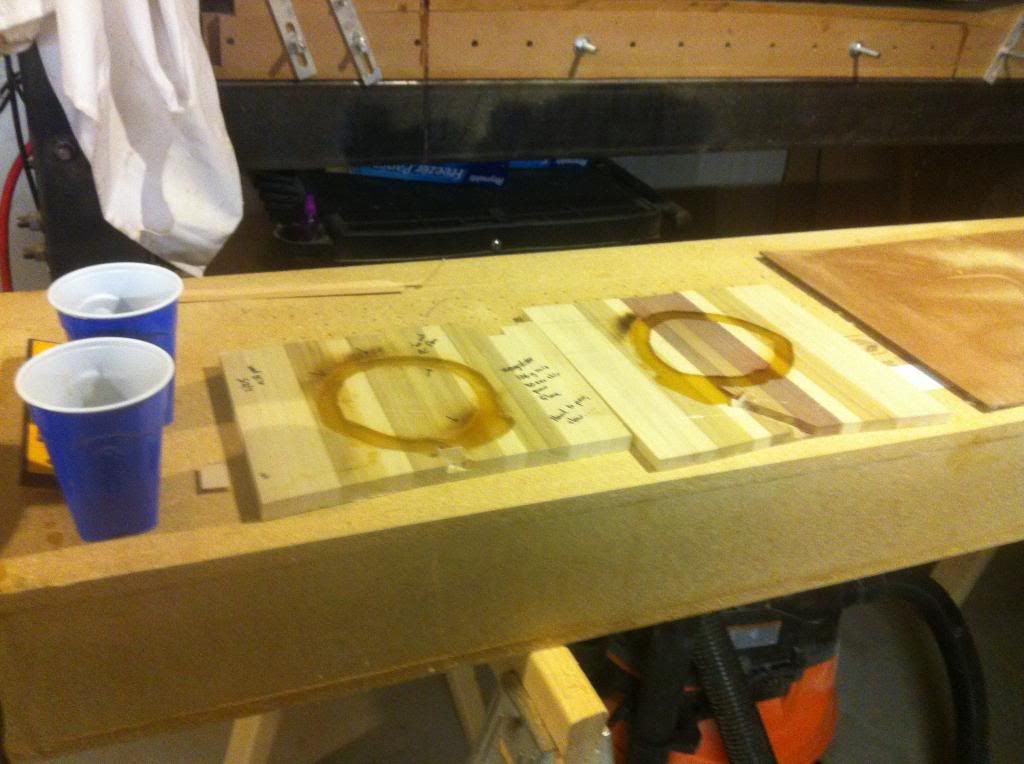
We've got a box beam press (5X .25"x3"x6") frame assembled and awaiting some load testing (and quite possibly some additional supports, although my calcs say it should behave like some of the smaller ibeam presses people have posted up). We've got an adjustable length cambered bottom mold, and a stockpile of materials lined up to finish out the press build. We're both engineers, but this is all new to us, so its fun to see it all come together.

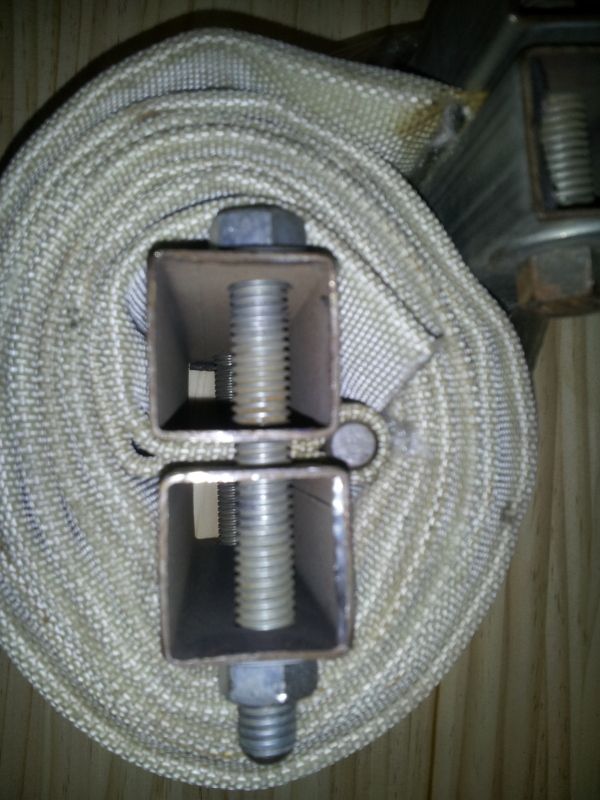
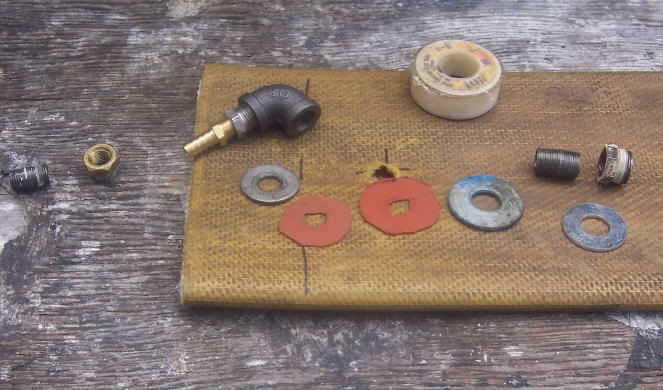
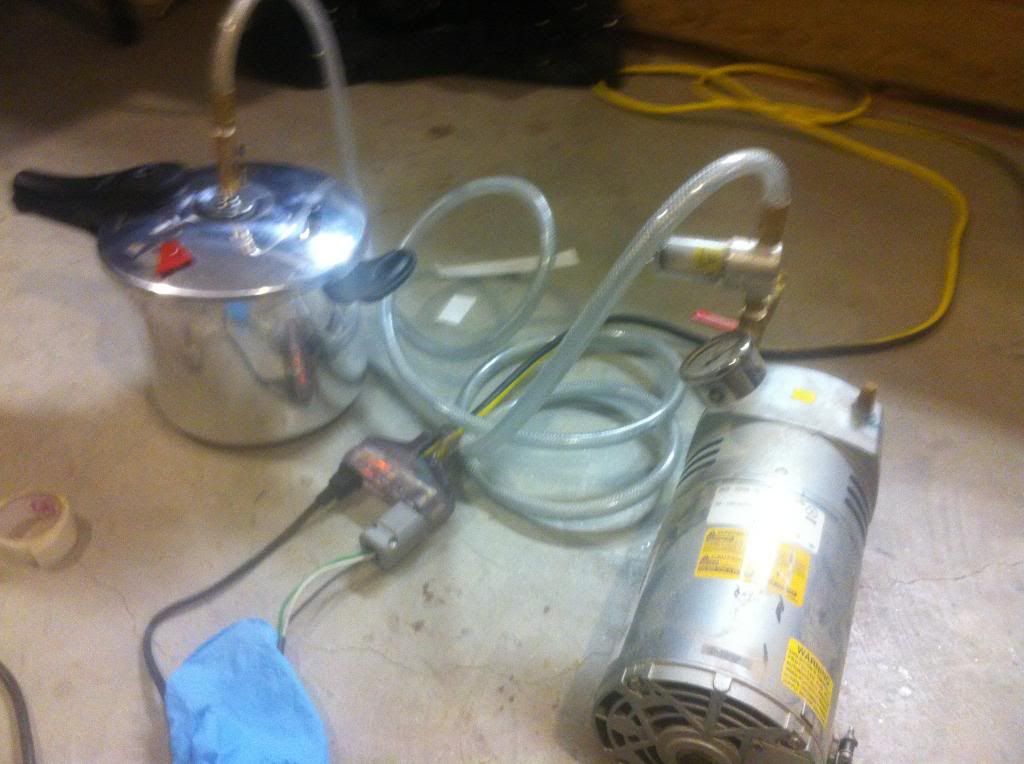
We did run into one snafu this week. Our firehose bladder has developed (or maybe I just noticed it when i moved to our trim compressor from the shop) a strange leak where it leaks out through a bunch of the pores in one region of the firehose. I am thinking of replacing the hose, but I was talking to MadRussian a while back and he thought he read a thread where people blamed this on sealing somehow (like...maybe it leaks along the bolts, then into the strands in the hose?) Just curious if anyone has any "I know what that thing is!!" moments...

Otherwise, I'll scrap one hose, start fresh, and continue on with the build.

So psyched for the next few months of fun and learning.

-Josh (and Jesse)...get it?


Image
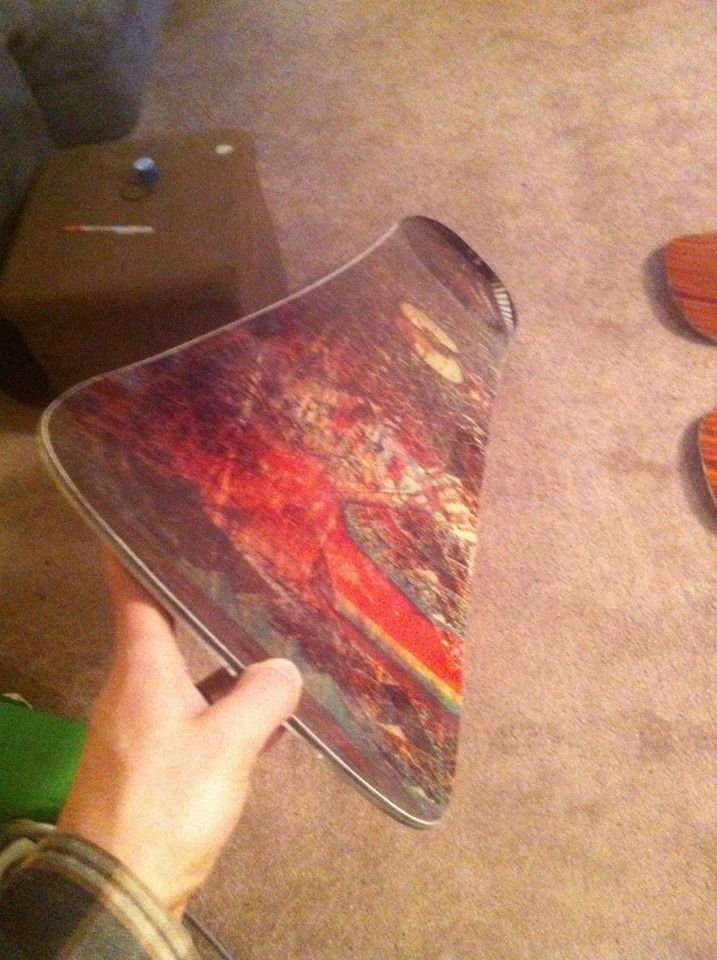
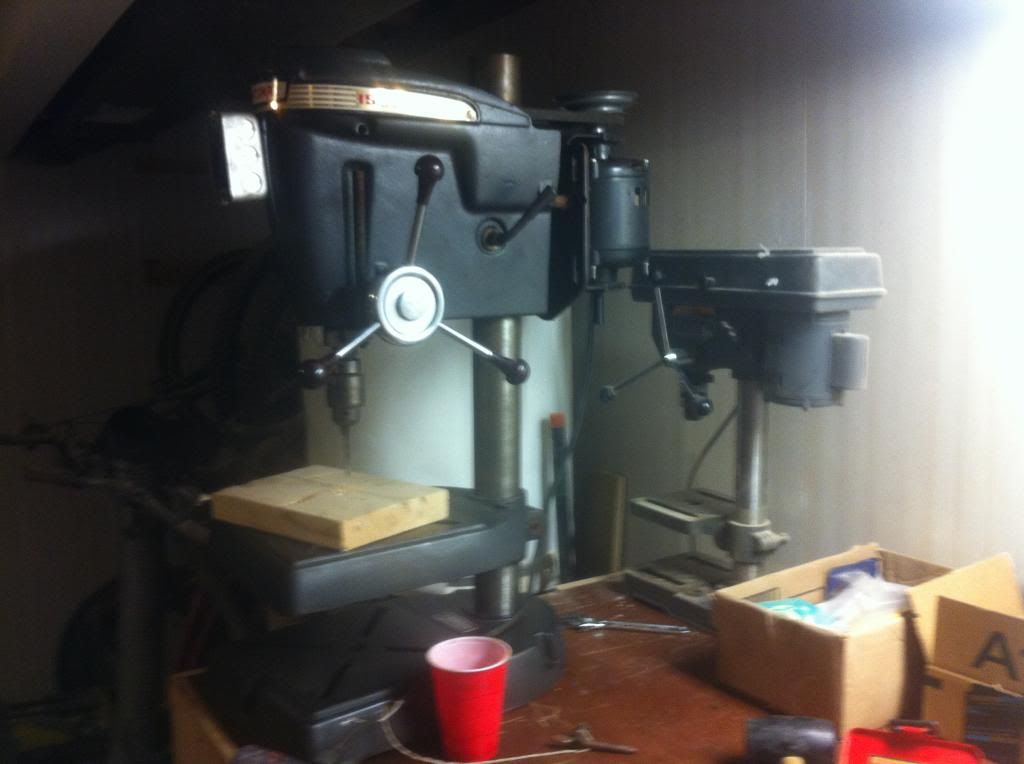
New workspace, press frame, and leaky bladder (gross)

Image
Leaky bladder (again, gross)
User avatar
MontuckyMadman
Posts: 2395
Joined: Fri Jun 20, 2008 9:41 pm

Post by MontuckyMadman »

If u cook with a leakey bladder the compressor will only cycle once or twice duing the cure. Otherwise figure 2 times an hour. Its not that's big a deal. Keep pressing on.
Dump some tire sealer in there the green foam stuff or whatever
sammer wrote: I'm still a tang on top guy.
gozaimaas
Posts: 663
Joined: Fri Feb 10, 2012 4:17 am
Location: Nagano Japan

Post by gozaimaas »

If you have enough length try doing it like this

Image
MadRussian
Posts: 712
Joined: Thu Sep 30, 2010 12:32 pm
Location: USA

Post by MadRussian »

the only place I usually have a problems is a air inlet. Also I'm using thicker flat metal and 4 or 5 bolts per each firehose. Sometimes it need to redo several times air inlet. Now I use C-clamps on metal plate when testing a inlet, quicker and easier take apart if the problem.

on one of the hoses I had same problem fixed it by redoing air inlet
I have not failed. I've just found 10,000 ways that won't work.
Thomas A. Edison
JSquare
Posts: 119
Joined: Fri Sep 14, 2012 1:59 pm
Location: NH

Post by JSquare »

Cool idea Goz! I like it. Not for me on this revision.

MM, dammit, that is a good idea. A tubeless tire kit for mountain biking should totally fix that. I'm into it

MR, that seems like the leak path was up the fittings and into the firehose matrix. I used head monkey's sealing system and kept it clean. I'm more suspect of the holes put through the blanket for the bolts, no matter, we'll put a little sealant and there and see what happens, I've got some beefier angle and some more compliant gasketing material on order, so maybe I'll just rebuild it if needed. Onwards we go.

Thanks dudes, back to the shop for me.
MadRussian
Posts: 712
Joined: Thu Sep 30, 2010 12:32 pm
Location: USA

Post by MadRussian »

here how I do it
Image
I have not failed. I've just found 10,000 ways that won't work.
Thomas A. Edison
JSquare
Posts: 119
Joined: Fri Sep 14, 2012 1:59 pm
Location: NH

Post by JSquare »

Made some progress this weekend. Cut a lot of wood! Still shoveling up the sawdust. Few more weeks and we might have something.

Image
User avatar
mattman
Posts: 265
Joined: Mon Jan 02, 2006 10:22 am
Location: NH
Contact:

Post by mattman »

The press looks great! How are you fixing the location of the adjustable tip/tail mold blocks?
JSquare
Posts: 119
Joined: Fri Sep 14, 2012 1:59 pm
Location: NH

Post by JSquare »

Thanks Matt! There are some slotted brackets in the works...

I actually just pressure tested the whole thing yesterday without the cat track or the mold brackets and brought the bladder up to 45 psig. Totally pumped. Got maybe .5-1mm of deflection which is pretty much what i calc'd out. The bladder sorta hugs the mold and keeps the tip and tail in place, which was a pleasant surprise. More to come.

Back to the dungeon for a while... very excited to see this thing come together.
JSquare
Posts: 119
Joined: Fri Sep 14, 2012 1:59 pm
Location: NH

Post by JSquare »

Got the first board out of the press! This is our first heated press board. So much fun!

Specs
"box twin"
157cm Wide
7.5m sidecut
12mm camber
Twin shape
6mm under foot, 2mm tip and tail
Rounded spacers
Poplar-Maple core, maple sidewalls
Mahogany veneer top sheet with multiple coats of wiped on thin polyurethane
20ish oz vectorply triax with carbon stringers

Camber came out nice, but the base has some minor issues. The outlines of the inserts are visible, the base is a tad concave, the tip spacer joints show, and the edges were tiny bit dished. I think next time I'll preinstall the inserts and pot them nicely in epoxy, and crank up the pressure a bit.

Any other input on the base? It doesn't look that sexy to me.

Image
157W, box twin, mahogany veneer with semi gloss poly

Image
Same board, base, after getting a base grind from a local shop.
knightsofnii
Posts: 1148
Joined: Tue Jan 08, 2008 6:02 am
Location: NJ USA
Contact:

Post by knightsofnii »

you gotta send it for a bunch of laps on a nice grinding machine, i bet it will get most all of issues out!
Doug
knightsofnii
Posts: 1148
Joined: Tue Jan 08, 2008 6:02 am
Location: NJ USA
Contact:

Post by knightsofnii »

and that top looks awesome!
My next board is going to be much like your shape.
a 157 twin with a slightly "boxed?" tip shape, and a deep sidecut.

just finalizing graphics then cutting the materials
Doug
JSquare
Posts: 119
Joined: Fri Sep 14, 2012 1:59 pm
Location: NH

Post by JSquare »

Been a busy winter. Hard to find time to build, let alone ride, or post up on here. Ran out of epoxy so i have some downtime to post up while it makes its way from west coast to east coast.

Decided to stick with the current size and shape and do some learning and playing around. Built two more boards, played some games with the layup, ultimately unbalancing it a bit. I've run a bunch of small coupon tests on different glasses, sidewall materials etc. This hobby is a lot of fun! Also switched to magnetic insert caps and just recently acquired a planer off craigslist for 100 bucks. I love new toys. Apart from that? Here's some pics of the latest two. Cell phone pics...but meh, you get the idea.

Artwork is courtesy of a good friend who sacrificed much sleep to do it for me. I love these two boards. Most fun boards Ive ridden so far. I owe a lot to a few of you who post up so much good info on here. Someday, i hope to contribute in the same way.


Image

Image

Image


Image

Image

Image

Image
JSquare
Posts: 119
Joined: Fri Sep 14, 2012 1:59 pm
Location: NH

Post by JSquare »

And we've got some new stuff brewing:

Picked up a nice used cheap inkjet printer from craigslist and did some veneer printing. (middle one is on veneer)
Image

Got a new drill press ( i love this thing. 1950s crafstman i think). For 60 bucks how could i go wrong? Had to dissassemble it to carry it around. Mfugger is heavy. But it has enough throat depth to actually drill a snowboard core, so thats helpful.
Image

Been playing around with Die cutting using a buddy's HF bottle jack press. And some homemade dies
Image

Did some PU sidewall coupon tests. Stuff planes and routes pretty nicely. Just need to make some new templates and hopefully try this out on the full scale soon. Still looking for that sweet spot in microwave time, degas time, pot life, and bubble free. Pretty good so far though. Tried doing the whole flame thing to get bubbles out-- didn't get a lot of success here. It was easier to microwave the stuff and then mix it i thought, but maybe I'm missing a trick somewhere.
Image

Here's the degassing setup. Had the pump leftover from the old vac bag press. Vessel is a cheapo pressure cooker with a custom cut gasket and some fittings changed around. Pretty easy to set up using the vac bag nipple setup.
Image
User avatar
chrismp
Posts: 1444
Joined: Fri Feb 13, 2009 9:00 am
Location: Vienna, Austria

Post by chrismp »

Great looking boards! Do you use a clear topsheet over your veneers and are those graphics sublimated or printed directly onto the veneer?
Post Reply