
Cornice Skis
Moderators: Head Monkey, kelvin, bigKam, skidesmond, chrismp
-
skidesmond
- Posts: 2337
- Joined: Tue Apr 07, 2009 3:26 pm
- Location: Western Mass, USA
- Contact:
-
threeninethree

- Posts: 172
- Joined: Fri Feb 23, 2007 8:11 pm
- Location: Massachusetts
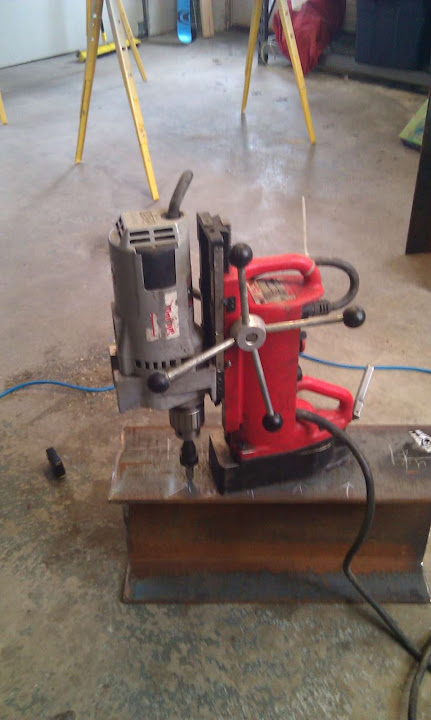
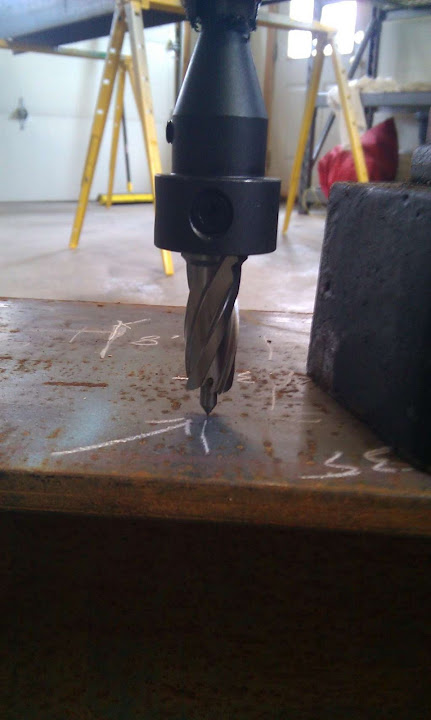
Yeah the mag drill is the ONLY way to go. I had twist drill bits in hand and the fellow below the counter convinced me to get a drill bit called a Rotabroach. These things are amazing for those who dont know. I drilled almost 90 5/8' holes without even sharpening. They are expensive and i had to buy the adapted as well. Some Mag drills will chuck a Rotabroach with no adapter but this one had a regular drill chuck so i had to purchase the $67 adapter. Use lots of drill fluid.
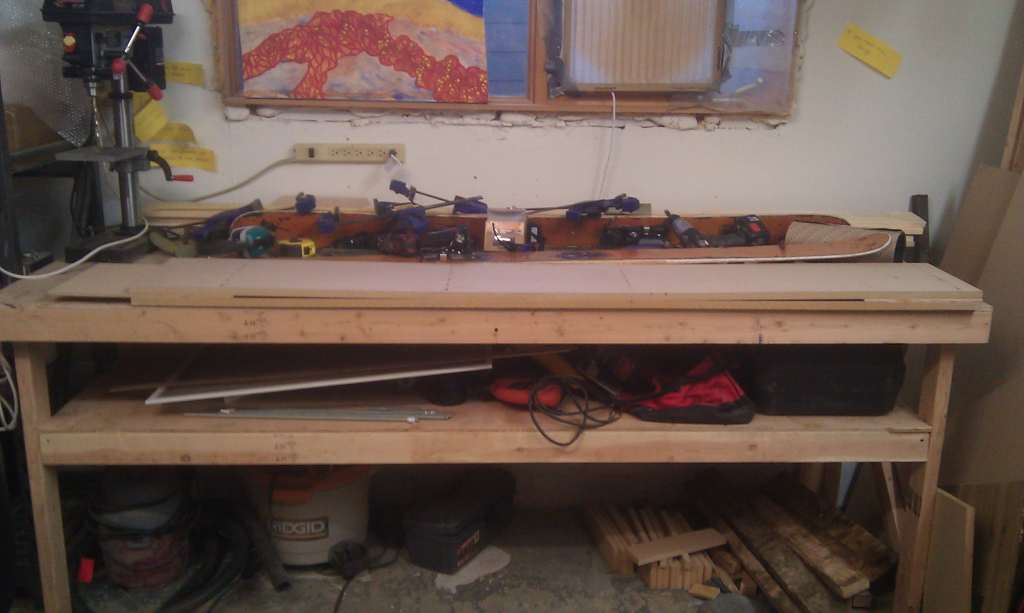
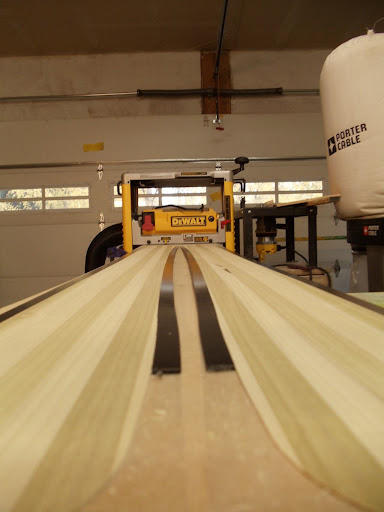
I decided to go with the planer jig method of profiling cores. This has been the MOST frustrating part of the whole process. I made the jig out of MDF. Oh did i mention that im still shaking MDF dust out of all my camping gear HATE that stuff. Anywho The jig was simple to build. It came out super heavy, i would use thinner material next time.
I first tried the grip tape/ anti skid stuff. DISASTER. I dont think i stuck it down very well because it got sucked in. The planner makes a horrific noise when it eats 3m grip tape and obliterates $55 blades. Lucky for me i was just using a test piece.
After this mess i gave up for the summer it pissed me off so much.
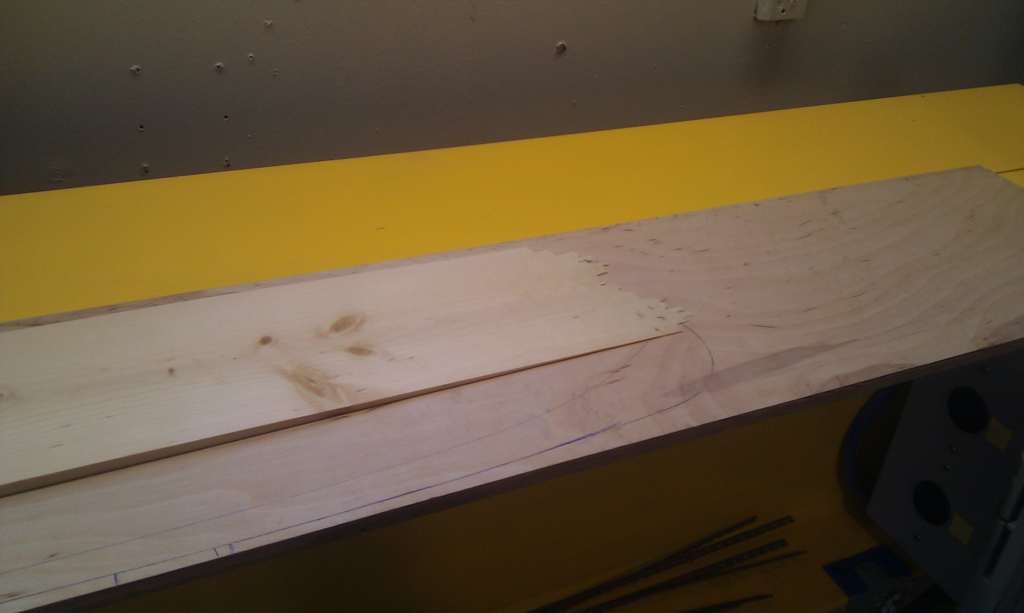
So... after breaking all summer i started back with the core disaster. I decided on UHMW sidewalls for some reason. I knew i would end up there so i figerd i might as well start there even with its difficulties.
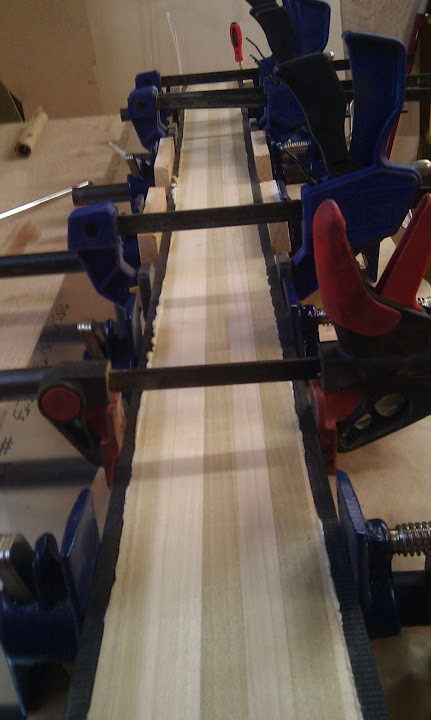
After a ton of test samples i got the flaming/glue up process down. I can now tear a side wall off with vice grips and it will take the wood with it.
I have no idea how people get hot glue to work. It works ok for just wood but there is no sticking to UHMW. The planer would just yank that crap right off. I finally used double sided tape. That works great but GDAM how the hell do you get it off the jig???!!!!!! I love the planer. It leaves the smoothest flattest finish but OMG i hate this part. Its always the last pass and WAAAAHAHAHA CHATA CHATA ERRRRRR GRIND EEEEK there go's days of work. F this project i need a whiskey.
-
threeninethree
- Posts: 172
- Joined: Fri Feb 23, 2007 8:11 pm
- Location: Massachusetts
-
skidesmond
- Posts: 2337
- Joined: Tue Apr 07, 2009 3:26 pm
- Location: Western Mass, USA
- Contact:
I use grip tape now. I used hot glue before. It worked ok but sometimes hard to get it off. Take shallow pass with the planer. Keep the blades sharp. A stop block on the end helps. I leave and extra inch or so of sacrificial wood on each end to account for tear out or sniping.
As for the sidewalls jut need o be careful. Also you may get debris under the core. You want to make to keep that area clean. I use an air hose to blow out the material on the last few passes.
As for the sidewalls jut need o be careful. Also you may get debris under the core. You want to make to keep that area clean. I use an air hose to blow out the material on the last few passes.
I use Grip tape and hot glue. If you rabbet first make sure to get a good amount of glue around the tip and tail to. Prevent things from vibrating and causing the sidewall damage you had. Be sure to take no more than .25mm for those final passes. Inspect the tip and tail after each pass, if you start seeing things get wavy that means you are getting some vibration and lifting of the core off the sled. When I see this I stop and usually add more glue to make sure things stay firmly attached to your sled. Some double sided mounting foam tape might also work well under the rabbet near the tip and tail to prevent vibration.
Fighting gravity on a daily basis
www.Whiteroomcustomskis.com
www.Whiteroomcustomskis.com
-
twizzstyle
- Posts: 2204
- Joined: Tue Mar 07, 2006 8:25 pm
- Location: Kenmore, Wa USA

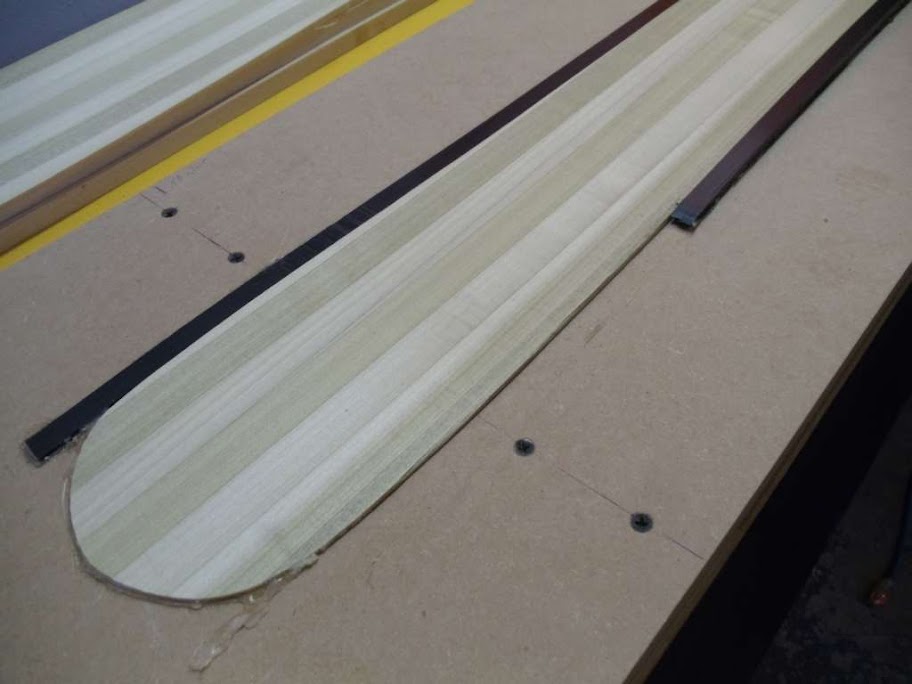
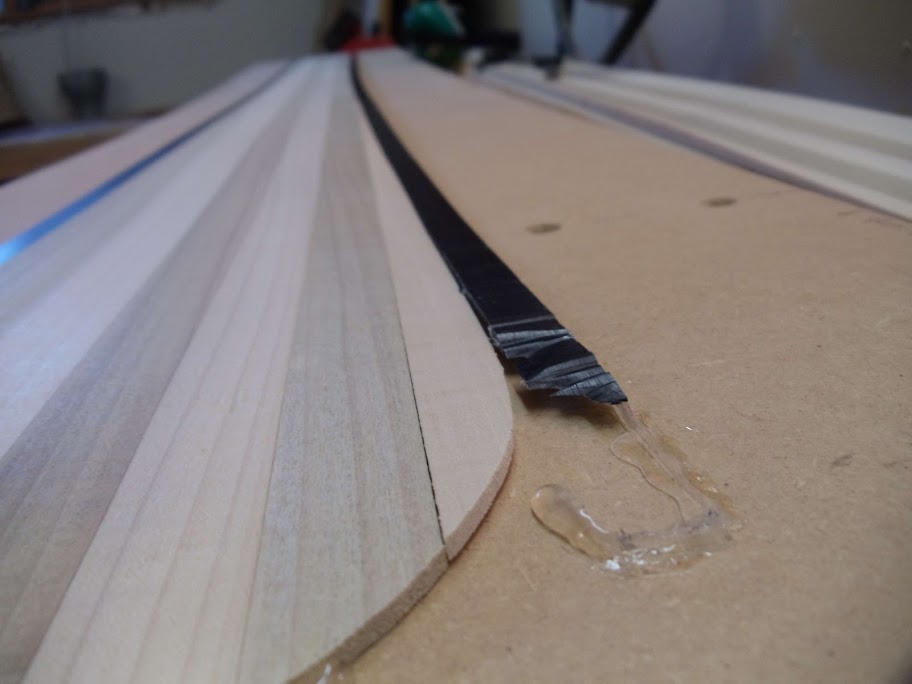
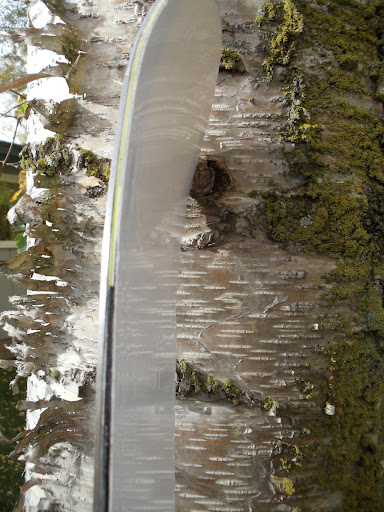
the way your sidewall is diverging from the rounded core tip leaves a very narrow piece of plastic that the planer is just grabbing at. In deep's photo above you can see the core has the sidewall flush against it the whole way to the end so the sidewall is planed as an extension of the core. The support at the end helps also. I think it's best as the others say to leave some sacrificial core at the tip an tail and cut this off after profiling. Any sidewall detachment when trimming the core at the end can just be glued back on.
an old pic from SHIF showing MDF used as an end supprt for the planer to run out on.

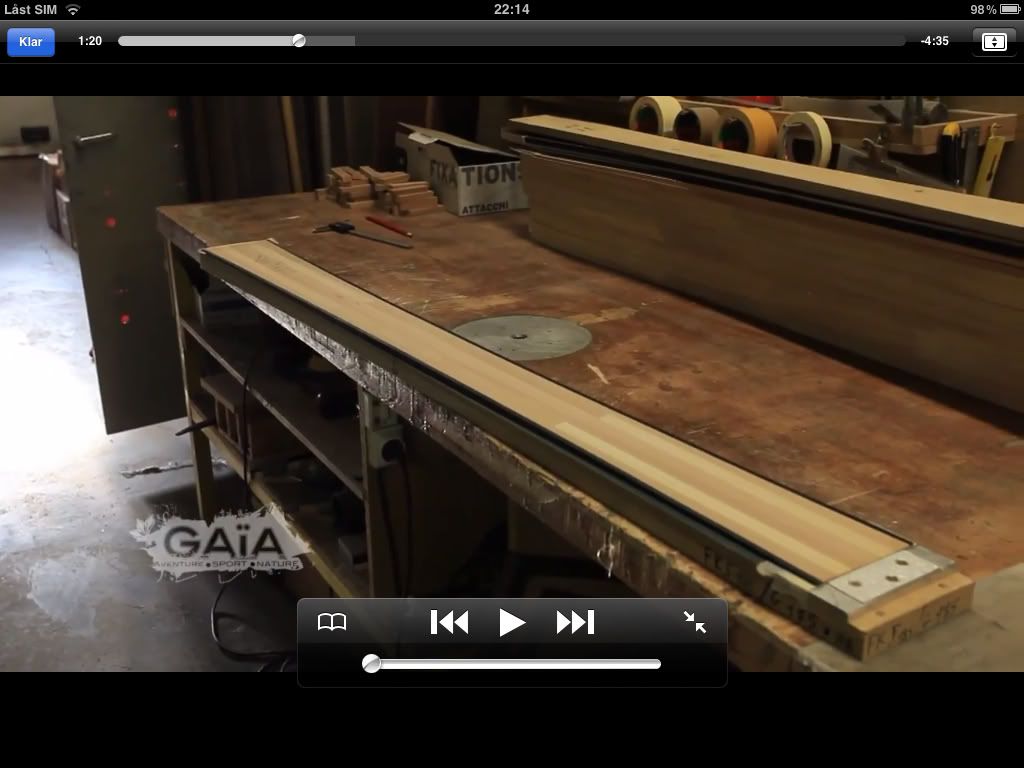
PS. Deep, that still looks to be from a video that I think I would like to watch any chance of a link?
an old pic from SHIF showing MDF used as an end supprt for the planer to run out on.
PS. Deep, that still looks to be from a video that I think I would like to watch
Don't wait up, I'm off to kill Summer....
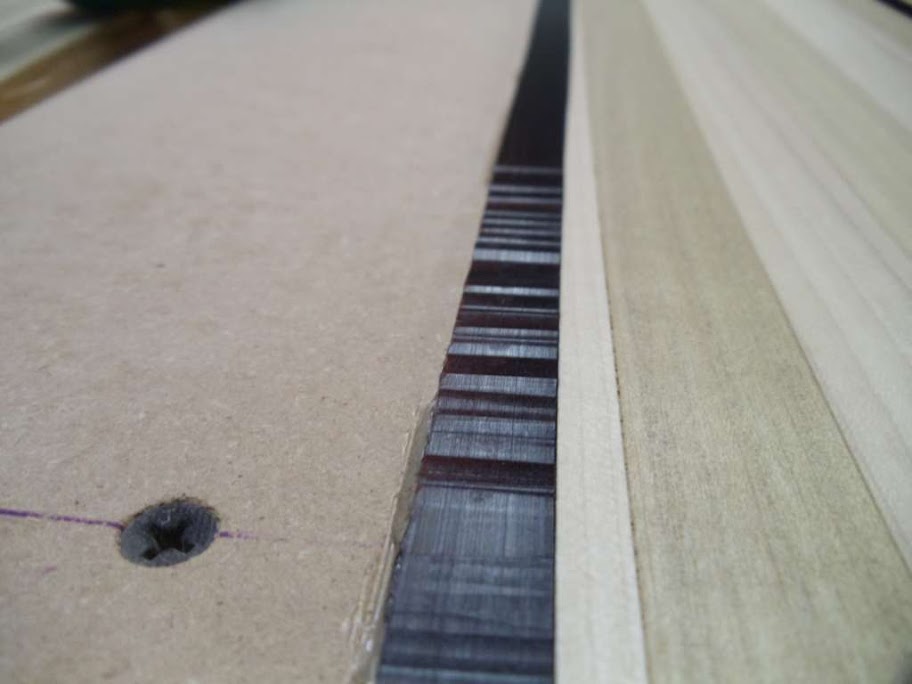
Ok S canned the hot glue and went with double sided tape. I also got rid of the excess sidewall where it diverges the core. As suggested. I also took allot less material off on each pass. These cores are going to be my first pair of skis i hope. IT WENT PERFECT! The only problem is getting the core off the tape. I was able to plane the tips to 2mm with zero issues.
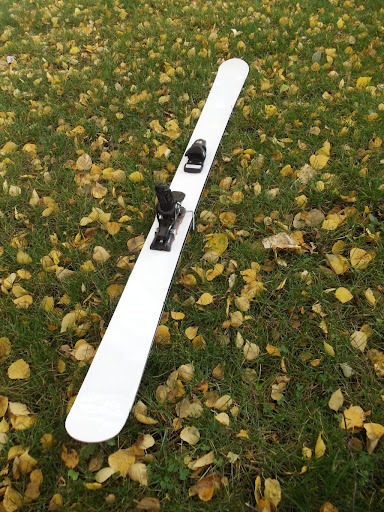
I decided to repair the messed up core and press it as my first test ski. It went way better then expected but had allot of problems that should be easy to fix next time.
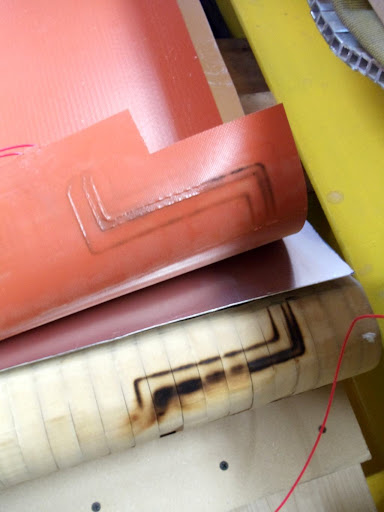
I intended to extend my aluminum skins beyond the heat pad but for some reason i forgot about that until the fuses burnt and the smoke came out. It still works once i removed it but pretty stupid mistake.

I lost heat at about 160degrees while ramping up the heat. I Left the ski in the press to cure.
PROBLEMS
1. Lost heat. Need to adjust alum skins.
2. Used packaging tape over the top sheet. Every seam and bubble got pressed into the top sheet leaving dents and lines. ??????
3. Some air pockets near edges. Brush epoxy into edges??????
OH and i cant forget. Thanks!!! So happy to finally have a ski. I am going to try to press this pair soon but arggggg i need to go to work again.
I decided to repair the messed up core and press it as my first test ski. It went way better then expected but had allot of problems that should be easy to fix next time.
I intended to extend my aluminum skins beyond the heat pad but for some reason i forgot about that until the fuses burnt and the smoke came out. It still works once i removed it but pretty stupid mistake.
I lost heat at about 160degrees while ramping up the heat. I Left the ski in the press to cure.
PROBLEMS
1. Lost heat. Need to adjust alum skins.
2. Used packaging tape over the top sheet. Every seam and bubble got pressed into the top sheet leaving dents and lines. ??????
3. Some air pockets near edges. Brush epoxy into edges??????
OH and i cant forget. Thanks!!! So happy to finally have a ski. I am going to try to press this pair soon but arggggg i need to go to work again.