Neilg skis

Document your personal work here. Show photos, movies, and share your secrets.

Moderators: Head Monkey, kelvin, bigKam, skidesmond, chrismp

NeilG
Posts: 40
Joined: Fri Jan 22, 2010 10:46 am
Location: Too far south

Post by NeilG »

Been a bit since I put up anything, but I've been skiing the Johnny Cash skis all season and love them. As with all skis though, someday I'll be looking to replace them, hahaha (though I'll keep them around of course).

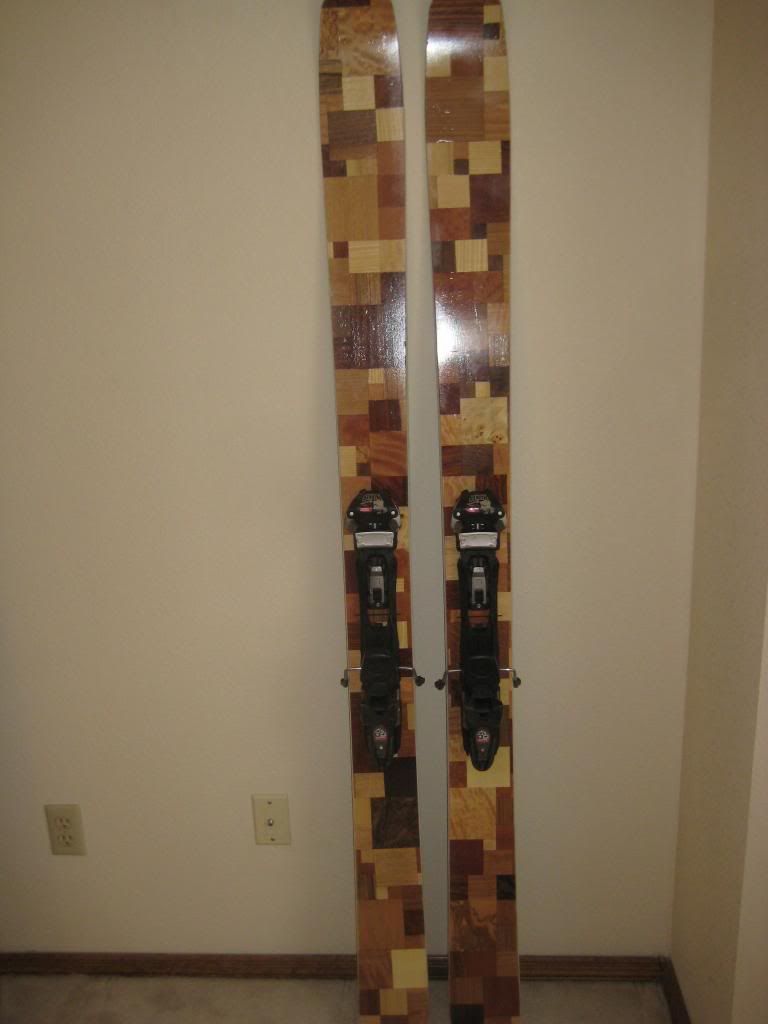
I tried a slightly different shape, 135-115-130, (bamboo, 2" uni-carbon top and bottom) but I felt that the tail wasn't tapered enough. They ski fine, and I put some Barons on them so they'll be my smaller bc skis. As for the graphics, I wanted to mess around with cutting veneer, so I bought the cheap sample pack from Certainly Wood and spent several hours cutting and taping squares. I think the result looks good, but not as durable as I'd like.

Topsheet, looking a bit scuffed from only a few days on them (no backcountry days this season, unfortunately).
Image

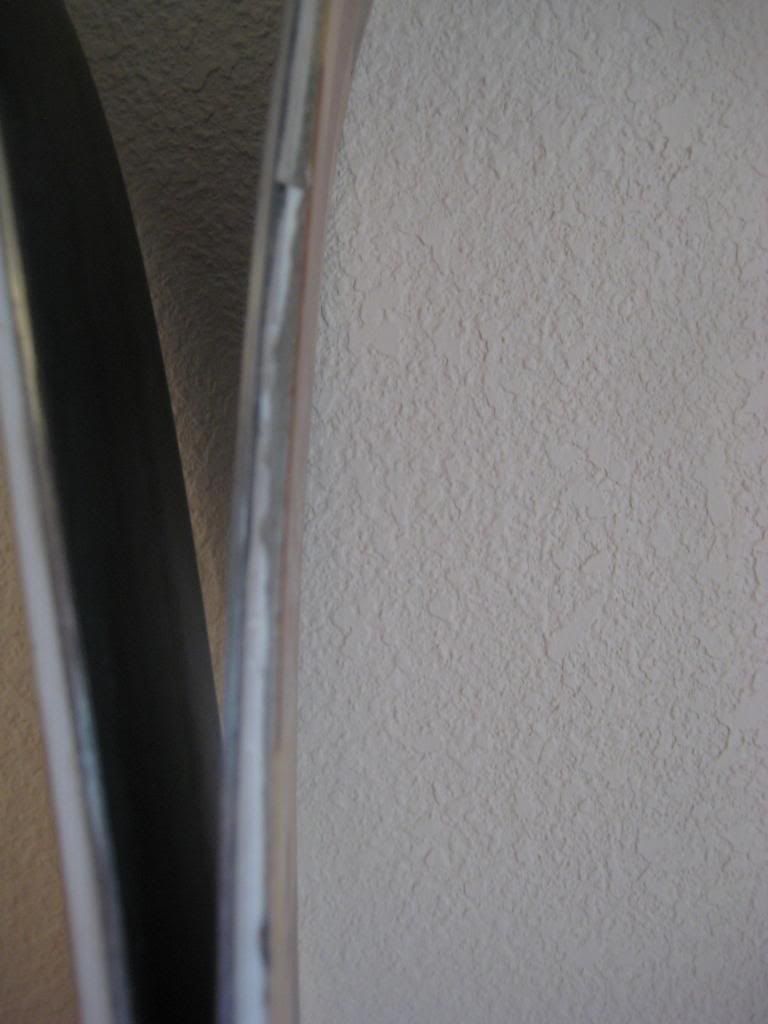
Tried to save the sidewalls from the dreaded "last pass" on the planer! It still chewed them up pretty good.
Image


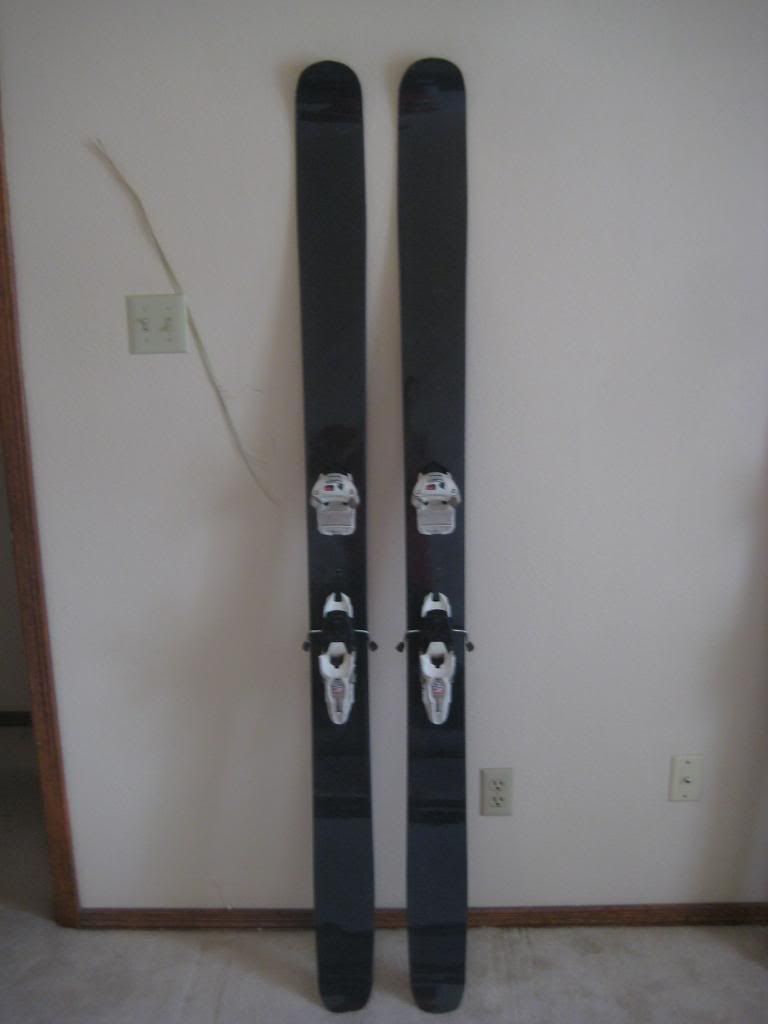
So, still on the search for a replacement in bounds ski, I decided I'd try something with carbon fiber. I used some vendor out of California, they had quite a bit if biaxial cf for fairly cheap, unfortunately it's pretty heavy.
The skis are bamboo, 130-114-124, tip/tail rocker, I think they came out well. It's true, cf likes to use up epoxy!
Laminates are 8oz uni top and bottom, as well as biaxial top and bottom. Skis came out rather heavy but I think they'll be very torsionally stiff.
I also managed to plane a full core with sidewalls successfully. I used double sided tape to hold it down like usual, but I added more at the tips and tails which tend to vibrate as the core gets planed thinner and thinner.

Kind of late in the season for these (and Ski Apache is certainly not getting any better...) but hopefully I'll get to try 'em out at least once.

Clear topsheet
Image

Purple base, why not.
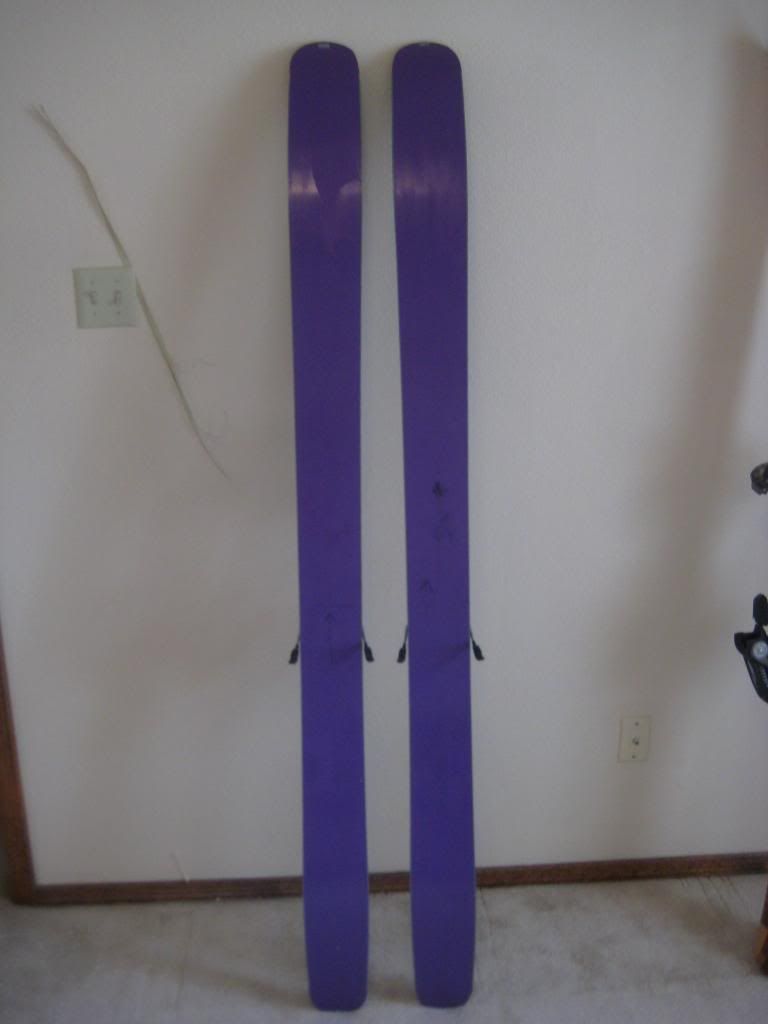
Image

Rocker
Image


I should really build something other than 115mm waisted pow skis! But I love skiing them all over the mountain, even in crappy snow.
twizzstyle
Posts: 2204
Joined: Tue Mar 07, 2006 8:25 pm
Location: Kenmore, Wa USA

Post by twizzstyle »

NeilG wrote:I should really build something other than 115mm waisted pow skis! But I love skiing them all over the mountain, even in crappy snow.
Lately it seems like I've been having more fun on the groomers on my 130mm waist (155mm tip!) super soft powder boards, than anything else... you're not alone! :)
NeilG
Posts: 40
Joined: Fri Jan 22, 2010 10:46 am
Location: Too far south

Post by NeilG »

Those are huge! There's something rad about being really stable while going ridiculously fast as you ride over crud, pow, ice, small children, whatever.
User avatar
skimann20
Posts: 345
Joined: Wed Feb 27, 2008 8:28 pm
Location: Taxachusets

Post by skimann20 »

I think its awesome that you used these cores with the chewed up side wall. I have a core that looks almost the same. I might have to use it now after seeing this. my other thought was to cut it off and send the tip spacer material down the sides of the core where the gnar is/was. One trick that I found to help a lot with eliminating the gnar was take a utility knife and cut a ~45 degree angle into the leading face of the sidewall. After I did that it was night and day with profiling sidewalls.
NeilG
Posts: 40
Joined: Fri Jan 22, 2010 10:46 am
Location: Too far south

Post by NeilG »

Skimann, what do you mean by cutting a 45* angle across the leading face of the sidewall? Is it a 45* angle when viewed from the top or 45* angle when viewed from the side?
User avatar
vinman
Posts: 1388
Joined: Fri Nov 09, 2007 4:16 pm
Location: The tin foil isle
Contact:

Post by vinman »

I think he's saint to cut a 45 deg angle on the the part of the sidewall hat hits the planer blades first.

For example I do the same thing. I run my sidewall past the point that it will stop in the ski. Then before profiling I will cut a 45 deg angle in the waste area of the sidewall. So if you look at it from above the leading edge of the sidewall is angle back toward the waist of the ski. I think this give the planer blades less chance of catching that front edge and ripping it up.

Also be sure to firmly attach your sidewalls to your sled. I use hot glue. A he first sign of sidewall damage, slightly cupped cuts in the plastic, stop and reglue the sideall down. This method has been successful for me.

I only had 1 single core get damaged out of 12 pair this past year with this method.

Lu's keep your blades really sharp. If they show signs of being dull change them. This is the reason I lost that one core I mentioned above.
Fighting gravity on a daily basis
www.Whiteroomcustomskis.com
User avatar
skimann20
Posts: 345
Joined: Wed Feb 27, 2008 8:28 pm
Location: Taxachusets

Post by skimann20 »

NeilG wrote:Skimann, what do you mean by cutting a 45* angle across the leading face of the sidewall? Is it a 45* angle when viewed from the top or 45* angle when viewed from the side?
Vin hit the nail on the head.
When you look at it from the side it should look like
back of ski [---------\ front of ski (wow that's a crappy drawling)
and Vin is also correct (he's the bomb). as soon as you see any sign of damage that means the side wall is starting to lift off the sled and it's only going to get worse, much worse... you will face the dreaded: WAAAAHAHAHA CHATA CHATA ERRRRRR monster.
skidesmond
Posts: 2337
Joined: Tue Apr 07, 2009 3:26 pm
Location: Western Mass, USA
Contact:

Post by skidesmond »

[/quote]... you will face the dreaded: WAAAAHAHAHA CHATA CHATA ERRRRRR monster.[/quote]

Well said! Followed by a long rant of swears.
User avatar
vinman
Posts: 1388
Joined: Fri Nov 09, 2007 4:16 pm
Location: The tin foil isle
Contact:

Post by vinman »

Wow I just re-read my last post.....I really wasn't drunk and english is my first language....I need to turn autocorrect off on my iPad.
Fighting gravity on a daily basis
www.Whiteroomcustomskis.com
NeilG
Posts: 40
Joined: Fri Jan 22, 2010 10:46 am
Location: Too far south

Post by NeilG »

Got it, thanks!
Vinman, I got it. For the most part.

Also, I've been having good luck with the duoble sided tape, and just making sure that there is no chance for the sidewall to vibrate. I'll have to try hot glue at soem point, though.
NeilG
Posts: 40
Joined: Fri Jan 22, 2010 10:46 am
Location: Too far south

Post by NeilG »

New pair of skis, for my dad. They'll have telemark bindings so I added some inserts to the core.
Skis are pretty simple, bamboo, some 22 oz triax fiberglass, and veneer topsheet.
The cores came out a bit thick but overall I'm pretty satisfied with them.
I'm closing in on a way to finish veneer the way I imagine it in my head, but I need to get some much finer grit sandpaper. Next time.
Dimensions are 130-106-118, 20m radius, 175cm. This is kind of turning into my go to template for all around skis for a moderate skier (I have yet to try the design unfortunately but my dad and sister say that they ski well).

Image

Tip
Image

Tail
Image

Bases are blue.
Sorry about the cell phone pics but I don't have a camera right now.
skidesmond
Posts: 2337
Joined: Tue Apr 07, 2009 3:26 pm
Location: Western Mass, USA
Contact:

Post by skidesmond »

Nice looking skis. The veneer really stands out!
NeilG
Posts: 40
Joined: Fri Jan 22, 2010 10:46 am
Location: Too far south

Post by NeilG »

Finally made a pair of veneer topped skis that I'm happy with the finish I put on them.
Sanded the top coat of epoxy until it was smooth, 100 or 120 grit, this took a while.
Took that up to 220 grit sandpaper.
Brushed on a thick coat of poly.
Sanded this down most of the way to about 320 grit.
Another brushed on coat of poly.
Sanded to 400 or 600 or so.
Sprayed a thin coat from a can of spray poly.
Pretty happy with the result, unfortunately I don't have a camera and my phone camera is pretty bad.
Also unfortunately, these are for a friend, kind of wish I was keeping them for myself! The veneer at the tips is from the last pair of skis I made and the veneer in the center is some new stuff I bought.
Image

The top is shinier than this, my cell phone camera doesn't really do it justice.
Image

Profile
Image

And to all the folks getting pow this week, hope you're getting after it. Southern New Mexico is still really dry.
Post Reply