
Falls, that's a great idea. I just used my surface planer to take off the finish, loudest noise I've ever made in the shop, and the blades dulled really quickly like everyone says. However, once the finish was off the bamboo planed amazingly well.
Sir Orange, I haven't pressed a ski yet but once I do I'll be able to give a bit more input into how the bottom mold worked. I'm using a fairly thick aluminum cassette and hopefully that coupled with the cattrack distributing the pressure, I shouldn't run into any issues (we'll see...).
Also the tip and tail molds are pretty much solid all the way across, as are the middle 1.5ft of the camber molds.
Neilg skis
Moderators: Head Monkey, kelvin, bigKam, skidesmond, chrismp
Are you saying you were concerned with the cross-members bending under the load which could cause a convex base (side-to-side)?NeilG wrote:White Pine, thanks, press dimensions are 12" by 14" by 90", just enough room to hopefully be able to press two skis at a time. I didn't want to go too wide since I want it as strong as possible laterally to keep my bases and mold flat.
I did a quick estimation of deflection on a similar design. Using 2"x2"x1/16" wall thickness tube steel and pressing with my bladder @60psi produces roughly 2700lbf on both the upper and lower frame. In my estimation it would deflect about 0.5" at the most (that assumes no molds present to distribute the force). I plan on using 1/8" steel and pressing around 45 psi and so it shouldn't deflect much at all. I would think your 3/16" frame should be fine (although it depends on your bladder configuration).
-
amidnightproject
- Posts: 378
- Joined: Wed Nov 04, 2009 10:59 am
- Location: Portland Area, Maine
- Contact:
Jut finished the first ski to come out of my new press. Dimensions are 138-124-131, turn radius 35m, core: thick-thicker-thick (it's bamboo and I like stiff skis).
Fully reverse camber with tip and tail rocker, kind of like an S7/Renegade I guess. Length, about 190cm. There's a 2in wide carbon tape running the length of the ski top and bottom.
I really like how folks' bamboo side walls look, so no plastic on this one. The bamboo planed so nicely once that varnish was off that I didn't use tip/tail spacers just a full length core.
Some pictures:
Tip rocker
Tail rocker (with wall plug for scale or something...)
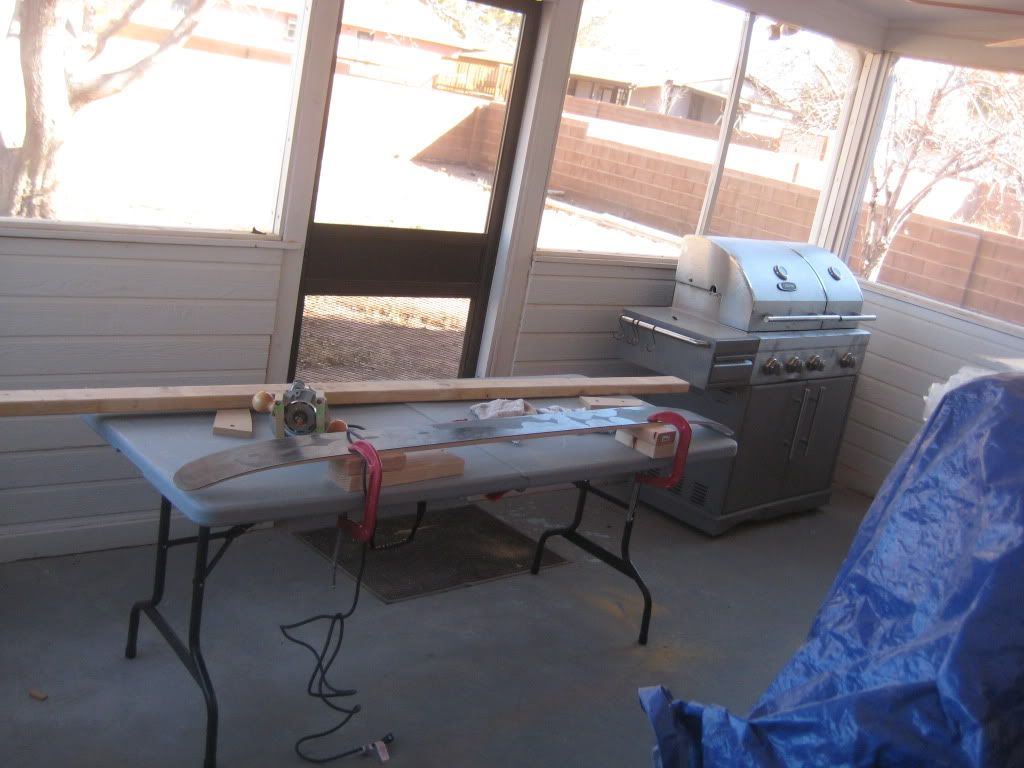
Oh, and a picture of my workspace (if you could even call it that). The blue tarp is covering my ski press.
Fully reverse camber with tip and tail rocker, kind of like an S7/Renegade I guess. Length, about 190cm. There's a 2in wide carbon tape running the length of the ski top and bottom.
I really like how folks' bamboo side walls look, so no plastic on this one. The bamboo planed so nicely once that varnish was off that I didn't use tip/tail spacers just a full length core.
Some pictures:
Tip rocker
Tail rocker (with wall plug for scale or something...)
Oh, and a picture of my workspace (if you could even call it that). The blue tarp is covering my ski press.
-
skidesmond
- Posts: 2337
- Joined: Tue Apr 07, 2009 3:26 pm
- Location: Western Mass, USA
- Contact:
So the panda bear skis turned out to be great BC skis, but kind of squirrely in bounds on hard pack due to the full reverse camber.
Anyways, the most recent development is a pair of skis I just built for my dad. They're kind of "dadded down" if you will. Thinner bamboo core, 2-10-2, no carbon, still 22oz fiberglass. 175cm, dims are 130-106-118, tip rocker with regular twin tip tail. I think they'll be a great all mountain ski for him. I decided to try a veneer this time but unless I find a better way to finish it I won't be doing many veneers! They came out fine, but I definitely need a better way to apply polyurethane, or a different poly product.
Some pictures:
I like this pattern, bought on sale at certainly wood.
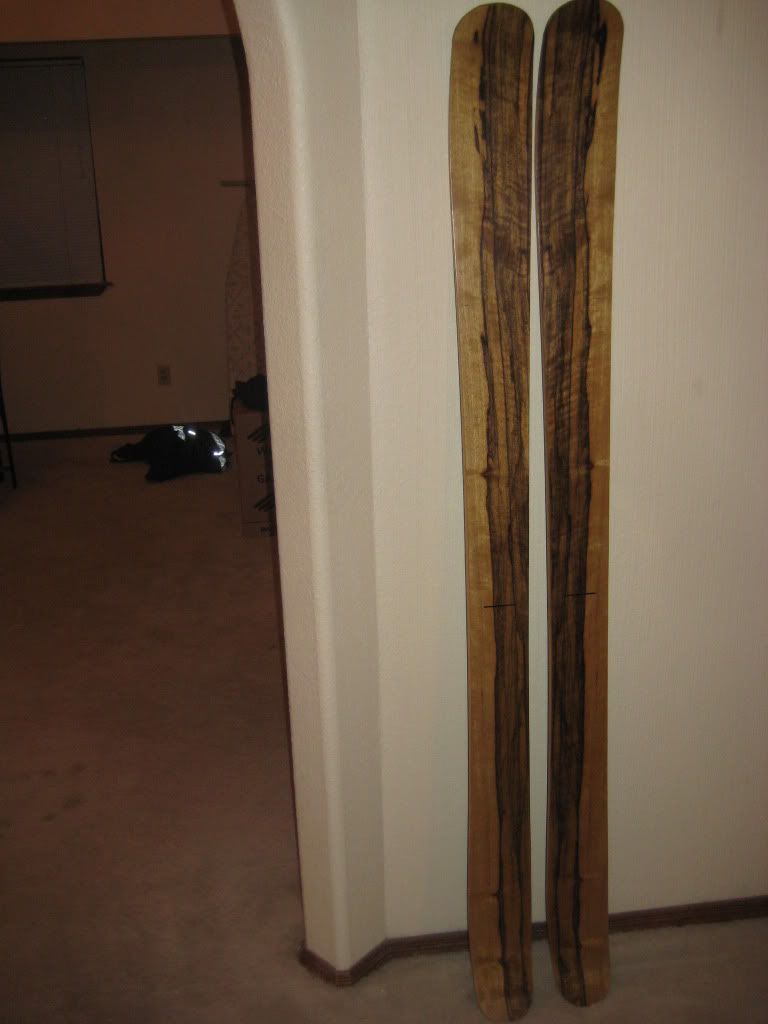
Pre base grind, just showing the odd base color.
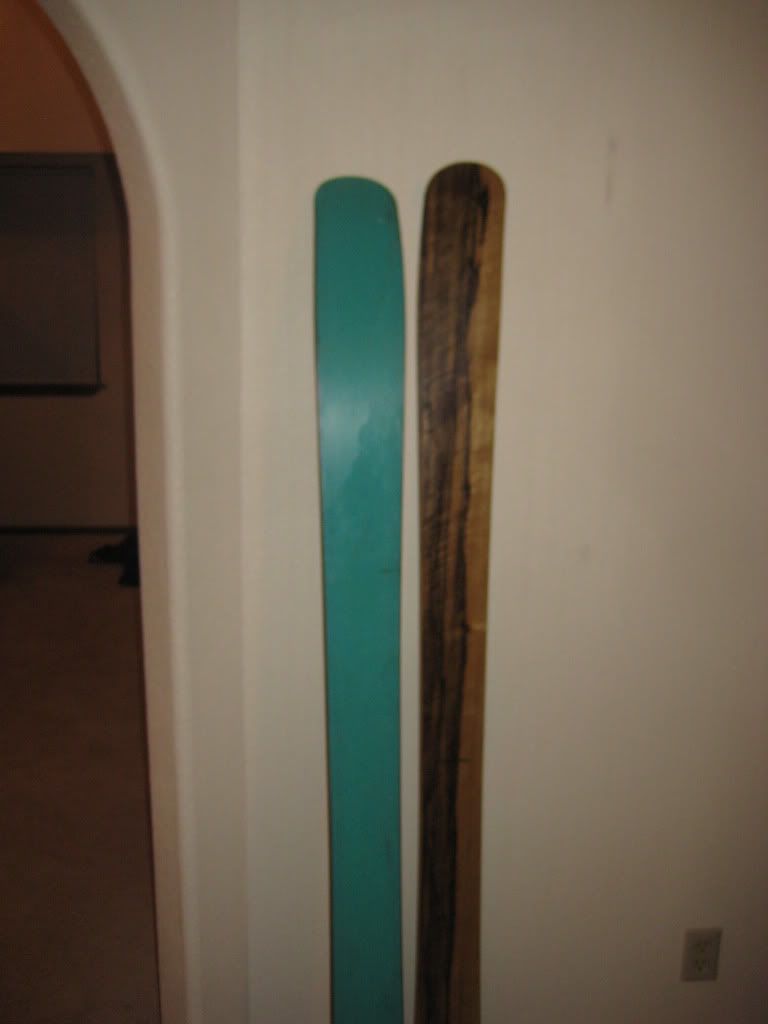
Bit of camber, bit of rocker. The skis do have the same profile, the picture just looks a bit skewed.
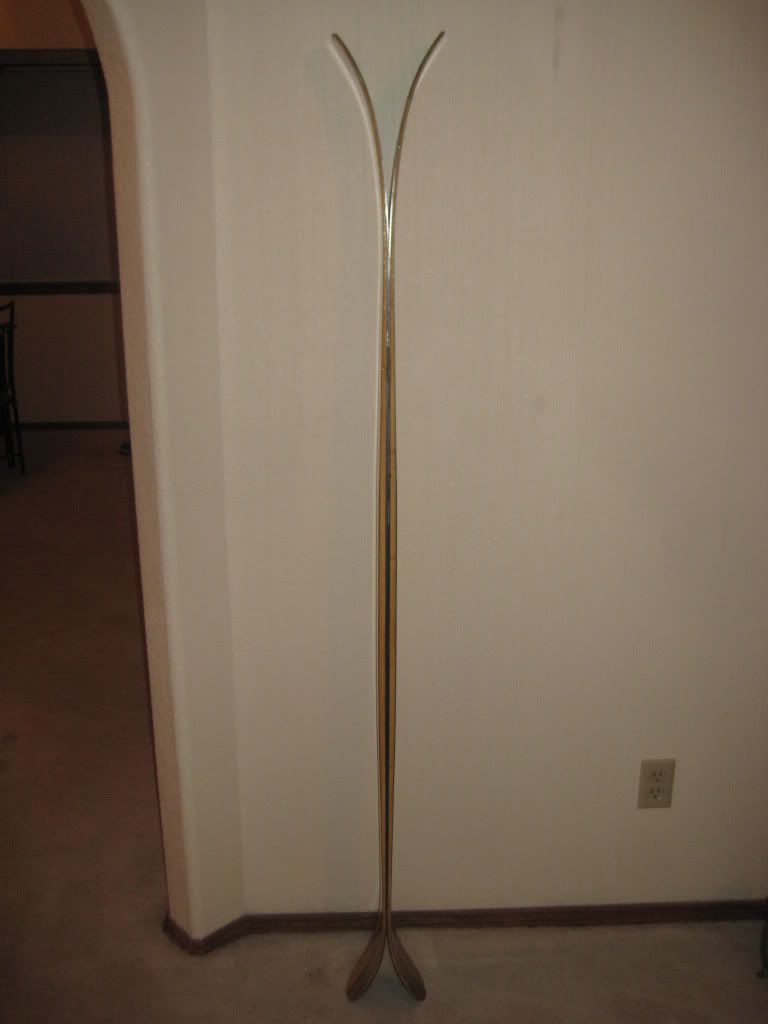
Just in time for all the snow to melt!
Anyways, the most recent development is a pair of skis I just built for my dad. They're kind of "dadded down" if you will. Thinner bamboo core, 2-10-2, no carbon, still 22oz fiberglass. 175cm, dims are 130-106-118, tip rocker with regular twin tip tail. I think they'll be a great all mountain ski for him. I decided to try a veneer this time but unless I find a better way to finish it I won't be doing many veneers! They came out fine, but I definitely need a better way to apply polyurethane, or a different poly product.
Some pictures:
I like this pattern, bought on sale at certainly wood.
Pre base grind, just showing the odd base color.
Bit of camber, bit of rocker. The skis do have the same profile, the picture just looks a bit skewed.
Just in time for all the snow to melt!
For my veneers, they get a skim coat of epoxy in the press. Then 2-3 coats of helmsman spar, then a spray coat of helmsman spar. The brush coats build up sat and the spray coat gives it a nice gloss. 220-400 grit sanding between coats. Pretty and durable.
Fighting gravity on a daily basis
www.Whiteroomcustomskis.com
www.Whiteroomcustomskis.com
Helmsman comes in a rattle can. This is what I use.
The only other thing that seems to work really nice is the systems 3 LPU clear gloss. It is pretty expensive stuff and needs an air gun. But it is a 2 part poly with cross linking hardener. Head Monkey used/uses this.
The only other thing that seems to work really nice is the systems 3 LPU clear gloss. It is pretty expensive stuff and needs an air gun. But it is a 2 part poly with cross linking hardener. Head Monkey used/uses this.
Fighting gravity on a daily basis
www.Whiteroomcustomskis.com
www.Whiteroomcustomskis.com
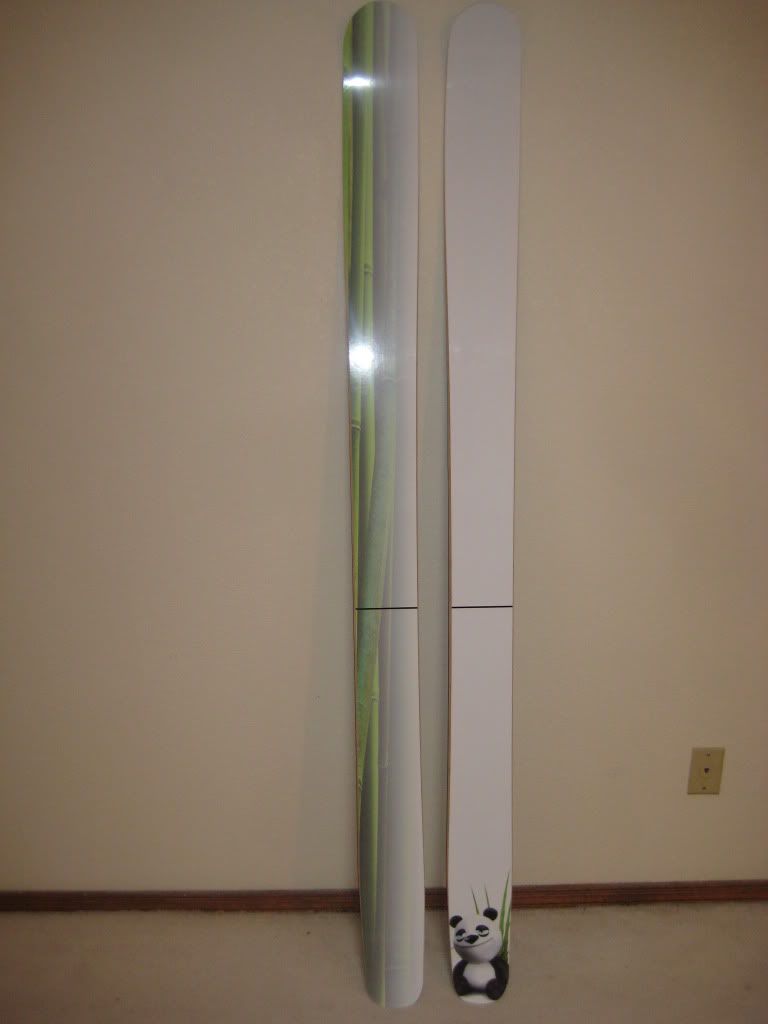
Made some skis for my sister, same design as the ones above (which may or may not be a good thing as they have yet to be skied).
I thought I'd try and make them a bit softer, using 19oz fiberglass, but I put in some 2" carbon strips above and below the core as usual so they aren't really that soft. Oh well, my sister will get used to them, or else I'll ski 'em haha.
The graphic is just a printed picture carefully stacked on two other layers of printer paper so the white would stay opaque.
***A note about the bamboo veneer (yes they are bamboo core with bamboo veneer): I'm not sure if it's the veneer type, but the epoxy didn't really soak through at all. I applied a thin coat above the veneer to keep the graphics in place on the assumption that the topsheet would get completely wet out. This didn't happen so we'll see if they hold up.
Some pictures:
Bases, pre grind.

Overall view (still working on the best way to apply polyurethane, tried something different, these didn't end up quite as nice as the previous pair)

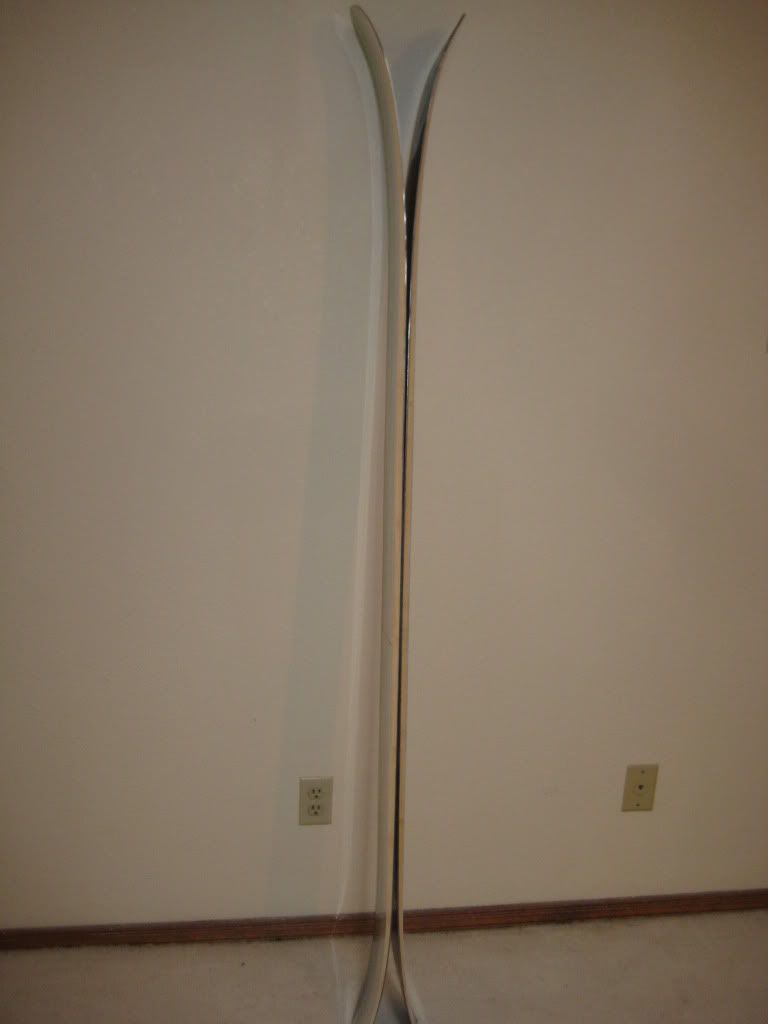
Side profile.

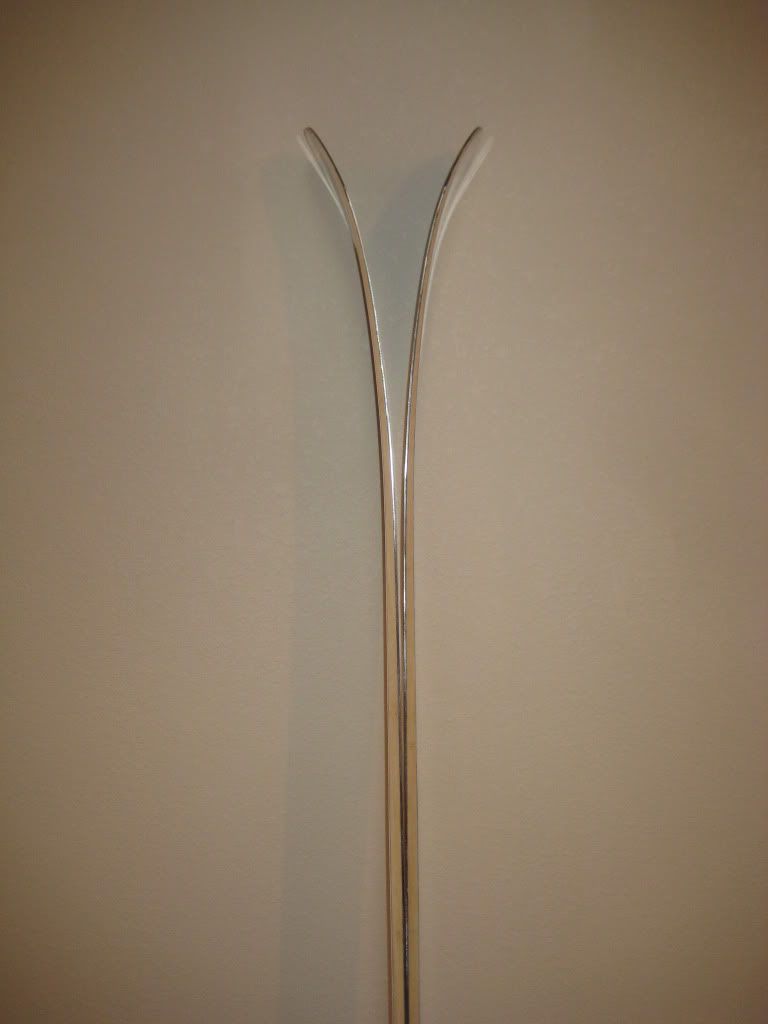
Tip rocker.

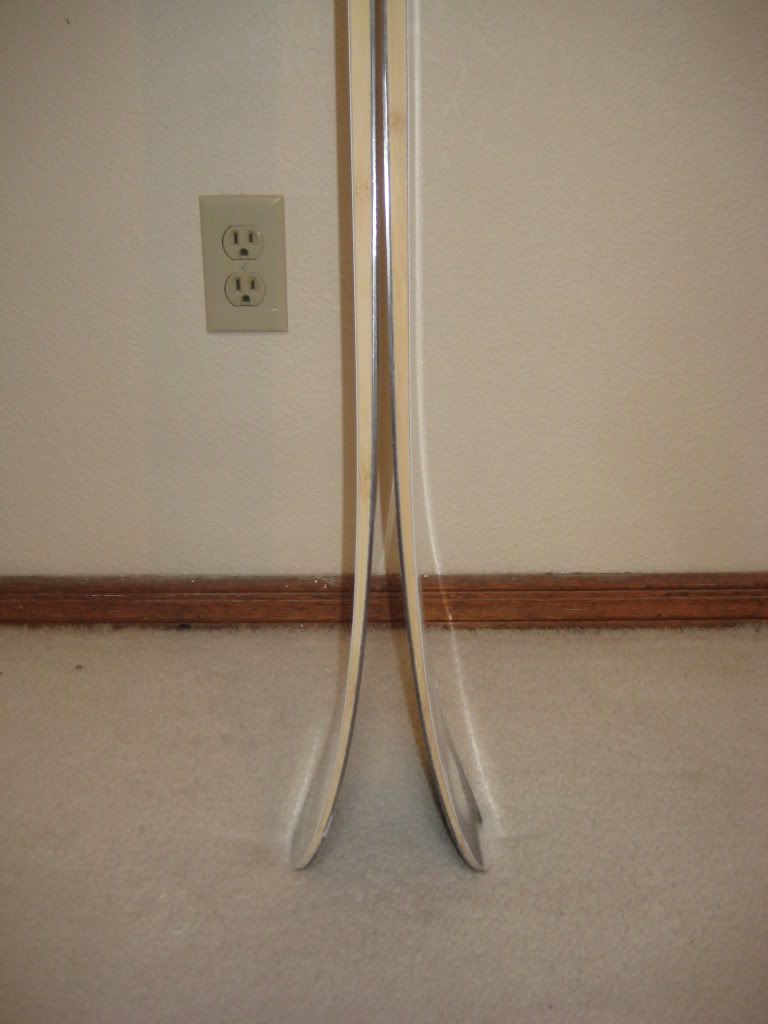
Regular tail.

Graphic.

I thought I'd try and make them a bit softer, using 19oz fiberglass, but I put in some 2" carbon strips above and below the core as usual so they aren't really that soft. Oh well, my sister will get used to them, or else I'll ski 'em haha.
The graphic is just a printed picture carefully stacked on two other layers of printer paper so the white would stay opaque.
***A note about the bamboo veneer (yes they are bamboo core with bamboo veneer): I'm not sure if it's the veneer type, but the epoxy didn't really soak through at all. I applied a thin coat above the veneer to keep the graphics in place on the assumption that the topsheet would get completely wet out. This didn't happen so we'll see if they hold up.
Some pictures:
Bases, pre grind.
Overall view (still working on the best way to apply polyurethane, tried something different, these didn't end up quite as nice as the previous pair)
Side profile.
Tip rocker.
Regular tail.
Graphic.
-
twizzstyle
- Posts: 2204
- Joined: Tue Mar 07, 2006 8:25 pm
- Location: Kenmore, Wa USA
