Background:
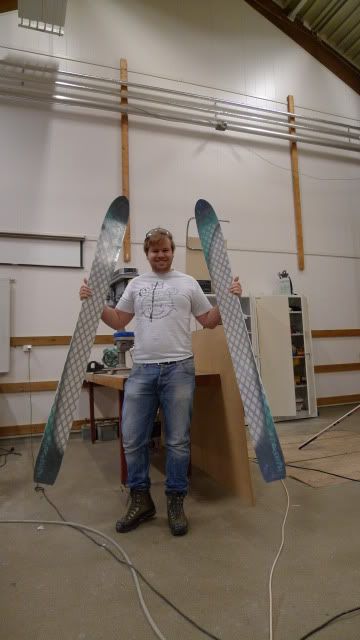
Tought it was time to make a small thread about our skibulding project. We are five students/friends studying at the Norwegian university of life Sciences (4 engineers and one life Science masters). So this fall we figured let's build skis! And then I figured why not do my semester paper on something fun; Skibuilding! So this is how it started November 2010
Build:
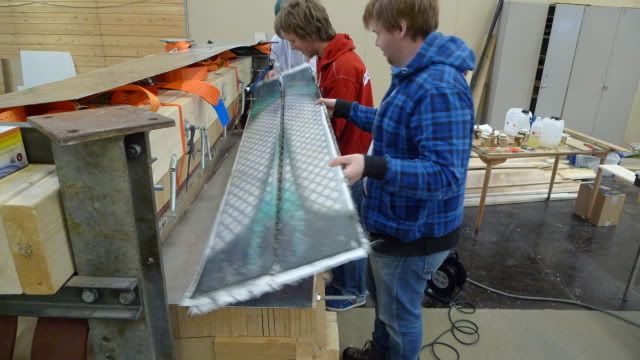
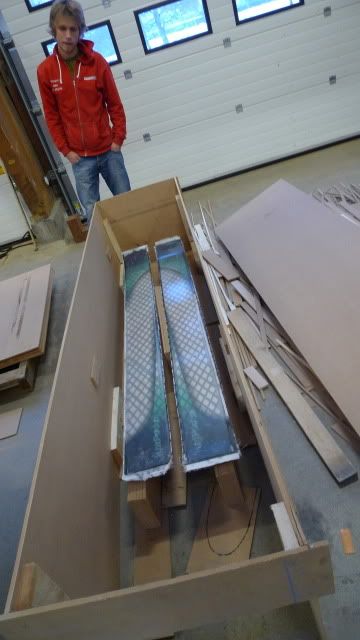
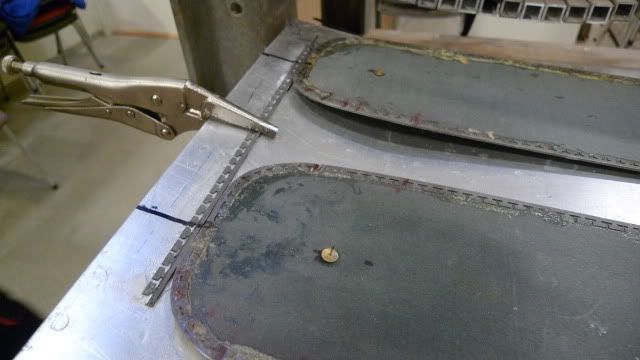
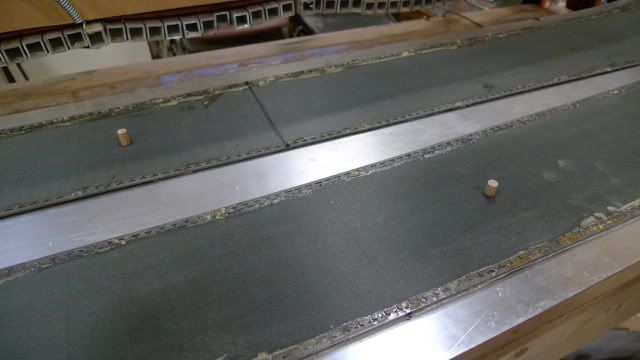
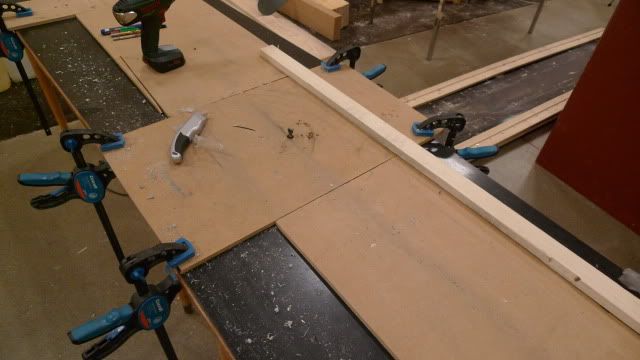
So we where quite lucky, we where able to use one of the Engineering Shop's for our project, so we had space and some tools from the beginning
Skis:
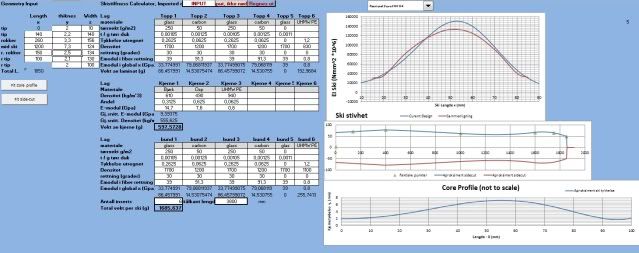
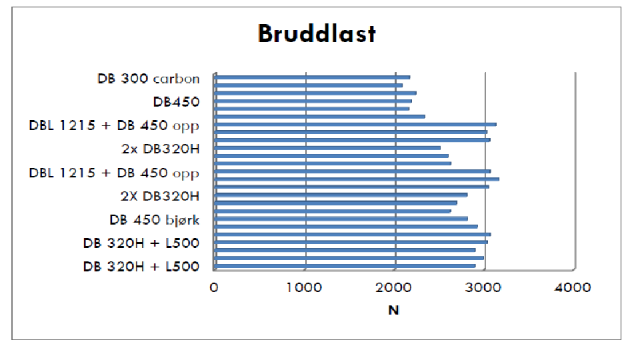
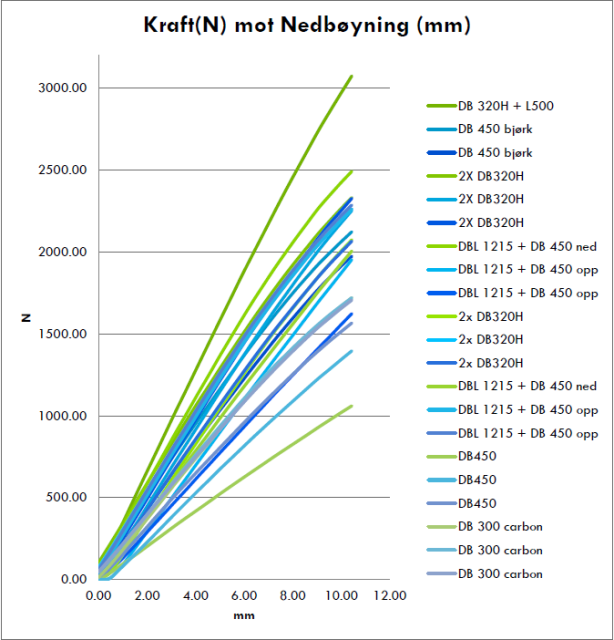
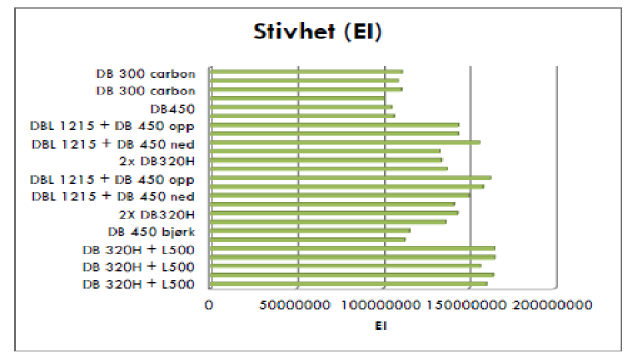
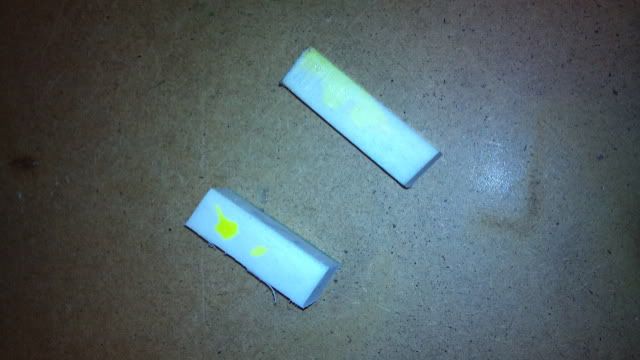
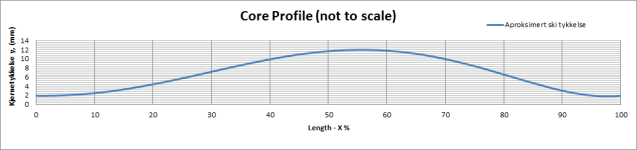
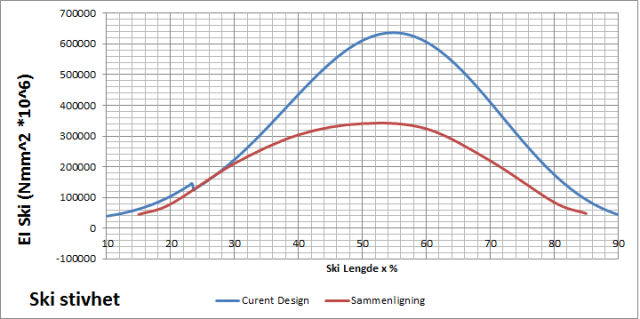
We did not want to just use the "iteration method" for designing good skis, we wanted to be able to calculate strength and stiffness for our designs and make a quick and easy to use "software". So while building the press, we worked on this as well. To be able to know if our calculations where right, we made a bunch of different samples and tested them, for stiffness, strength as well as fiber content.
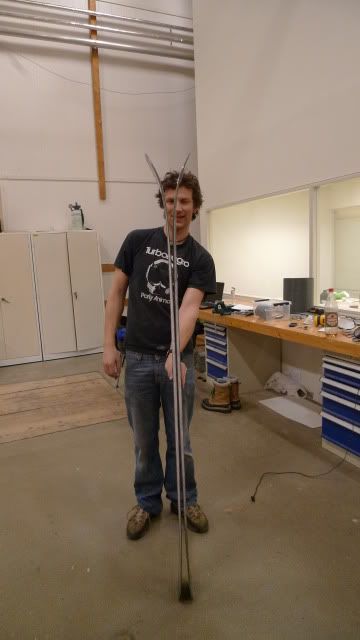
Pictures:
Instead of posting one picture at the time here, i made a (public) Facebook album, which should be view able even if your not "on facebook". Let me know if it does not work.
http://www.facebook.com/album.php?aid=5 ... aa7d47962d
Thanks to everybody that has and will answer questions and/or participate in discussions. And thanks to skibuilders.com for hosting this amassing resource