Page 4 of 6
Posted: Sun Aug 15, 2010 7:11 pm
by Drew
Ok. So I am finished with everything except my bases and edges and if everything goes to plan, the skis should be in the press tomorrow night. I have one more question. I read somewhere on this forum that the cure time for epoxy is cut in half for every 10 degrees the temperature increases above the standard temp(in my case 70). Is this true for West System epoxy and or all epoxies?
Posted: Sun Aug 15, 2010 8:35 pm
by twizzstyle
Drew wrote:I read somewhere on this forum that the cure time for epoxy is cut in half for every 10 degrees the temperature increases above the standard temp(in my case 70). Is this true for West System epoxy and or all epoxies?
No. All epoxies cure quicker with increased temperature, but the exact time can depend on so many things, I'm not sure that's a good rule of thumb. Every epoxy is different, it can be changed by both temperature and humidity, how well you mix it will change the cure time (and the cure quality). If you're unsure of the cure time, just let them press for 24 hours. There is nothing wrong with leaving them in the press longer than they need.
Posted: Sun Aug 15, 2010 8:38 pm
by twizzstyle
I'll bite my thumb a little bit on this as I did find other references online to a halving of cure time with an increase of 10 deg C. I'd still err on the long side though with the amount of variability possible.
Posted: Sun Aug 15, 2010 10:35 pm
by Alex13
2x2 tubing is a bit large for a cat track, you want the pieces small enough that they can conform fairly well to the shape of your mould. Most people use 20-25mm (4/5" to 1") square.
I agree with twizz on the timing. There's plenty of posts on this forum about time for curing. If in doubt, do a test press with some scrap glass and a little bit of epoxy and see how it comes out.
Posted: Tue Aug 24, 2010 6:45 am
by Drew
SO I have been pretty busy getting settled in at college but I figured I would update on what happened before I left.
I got one of my skis in the press which was exciting but they did not turn out very well. When I was putting my cassette in the press, the core and most materials shifted because I did not have enough space to slide the cassette in correctly. Then I guess the hot glue on my bases didn't stick because when I pulled everything out of the press the base had shifted back too. I'll post pictures later but I have a ski with a massive tail and almost no tip. My topsheet also looked really bad because I used a felt/fleece material and it soaked up a ton of epoxy which left many air pockets. So at this point I am just going to see what I can do to learn from my mistakes and try to refine the process a little better for more consistent results in the future.
Posted: Tue Aug 24, 2010 9:41 am
by twizzstyle
Drew wrote:My topsheet also looked really bad because I used a felt/fleece material and it soaked up a ton of epoxy which left many air pockets. So at this point I am just going to see what I can do to learn from my mistakes and try to refine the process a little better for more consistent results in the future.
Mistakes are the
best way to learn, we've all made them, that's part of the fun!
You used fleece/felt for a top sheet? Soaking up all that epoxy will make your skis VERY heavy.
Posted: Tue Aug 24, 2010 9:45 am
by skidesmond
We've all been there. There's plenty of different solutions to fix movement problems of core and bases. RICHUK just posted a new technique to limit core shifting.
As for the topsheet, if you're using fabric use thin cotton fabric. Good luck on the next one.
Posted: Fri Jan 21, 2011 4:07 pm
by Drew
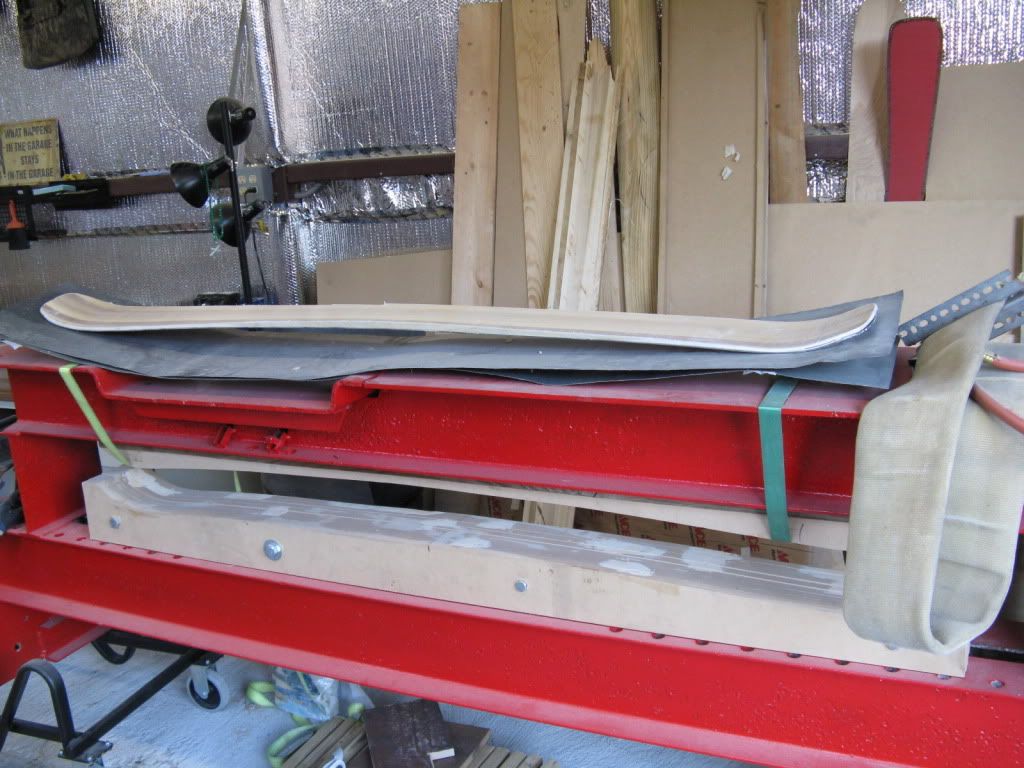
here are some pictures from my first ski that i made last year and the rebuild that i just did.
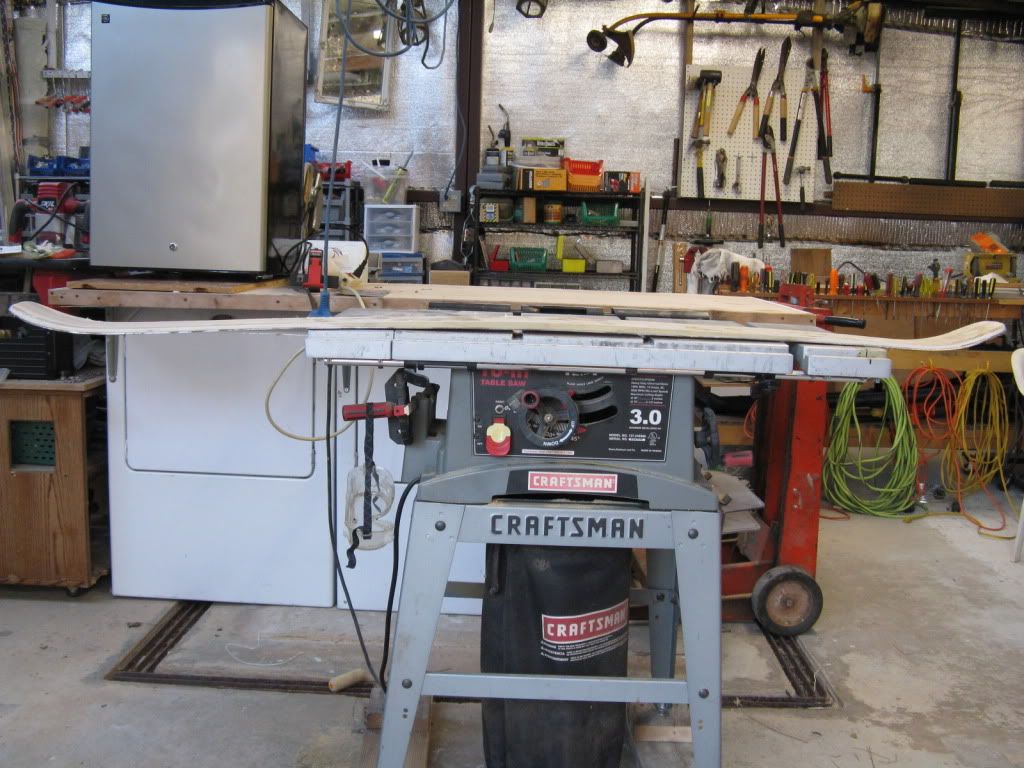
this is how it came out. everything shifted backward leaving me without a tip and a really screwed up tail.
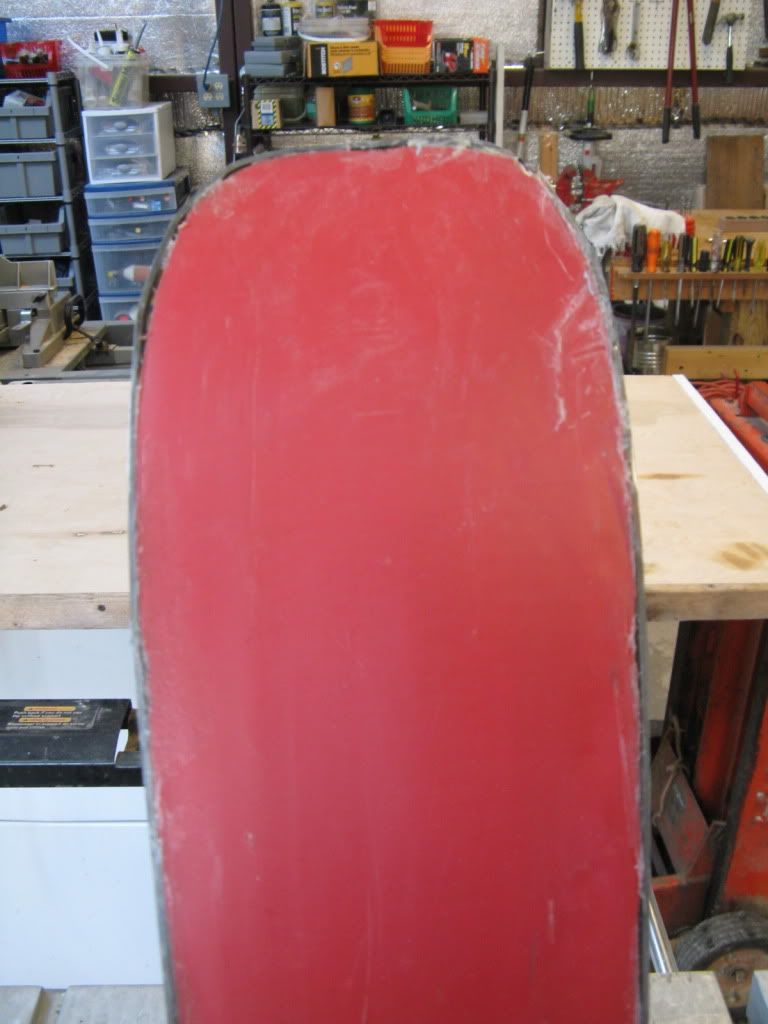
here is the tip.(or lack thereof)
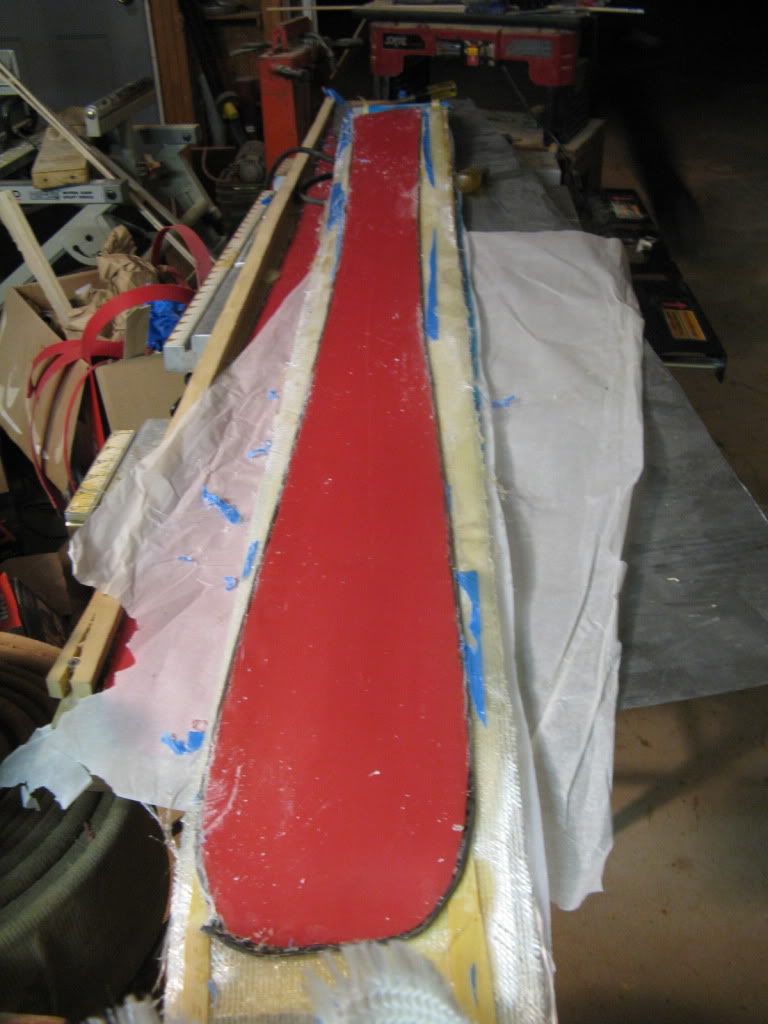
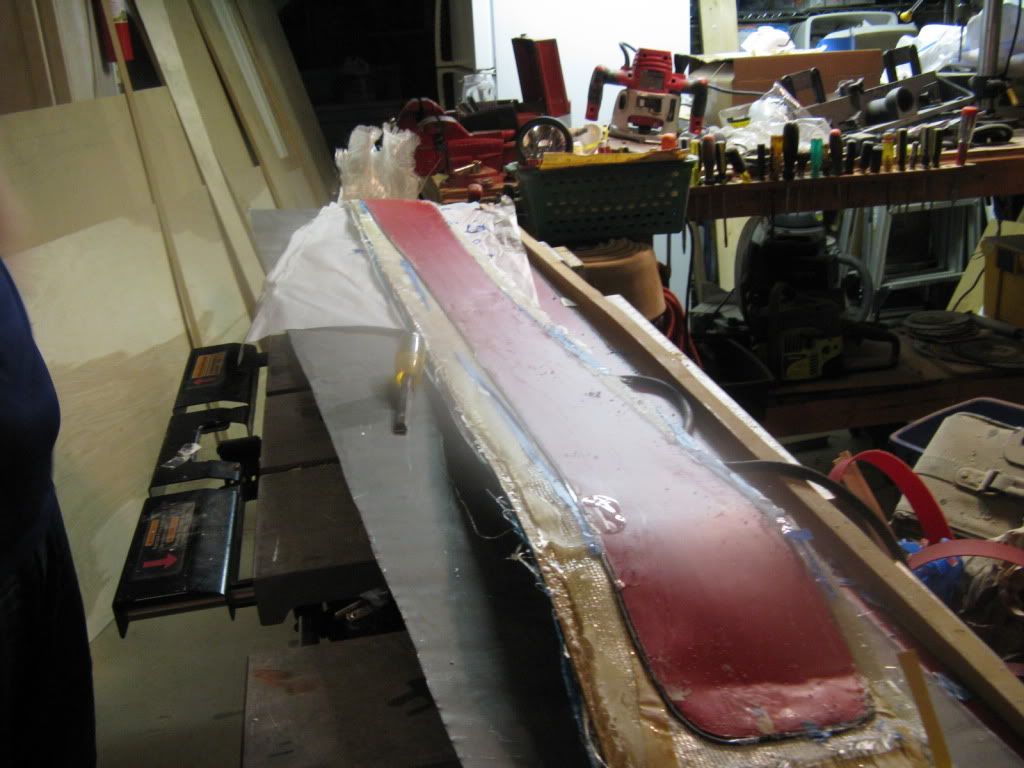
Ok now here is my rebild which turned out fine. i was able to delam the original screw up and salvage the base and the bottom layer of fiberglass which i just used to make this rebuild.
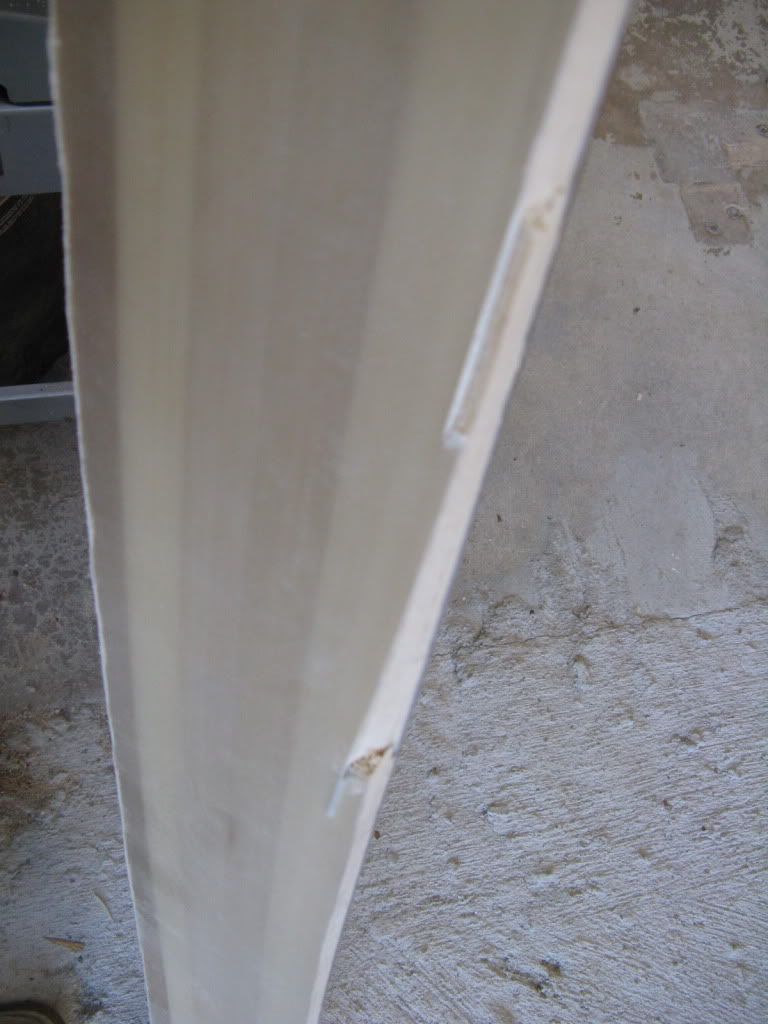
here is the tip with a few flaws
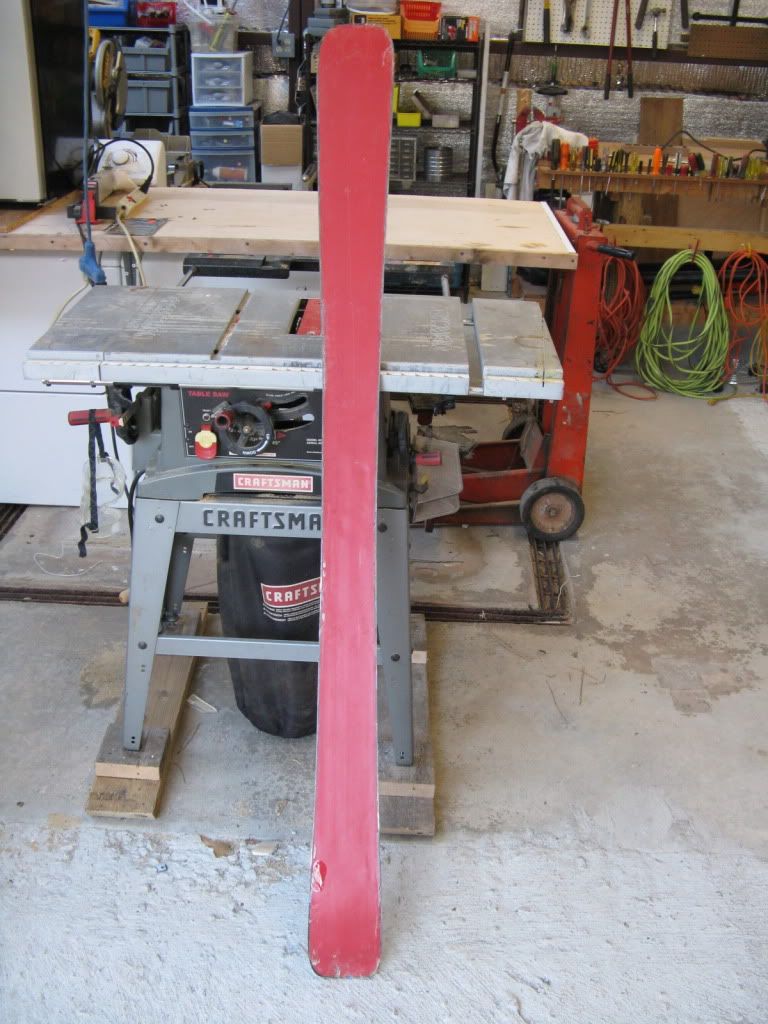
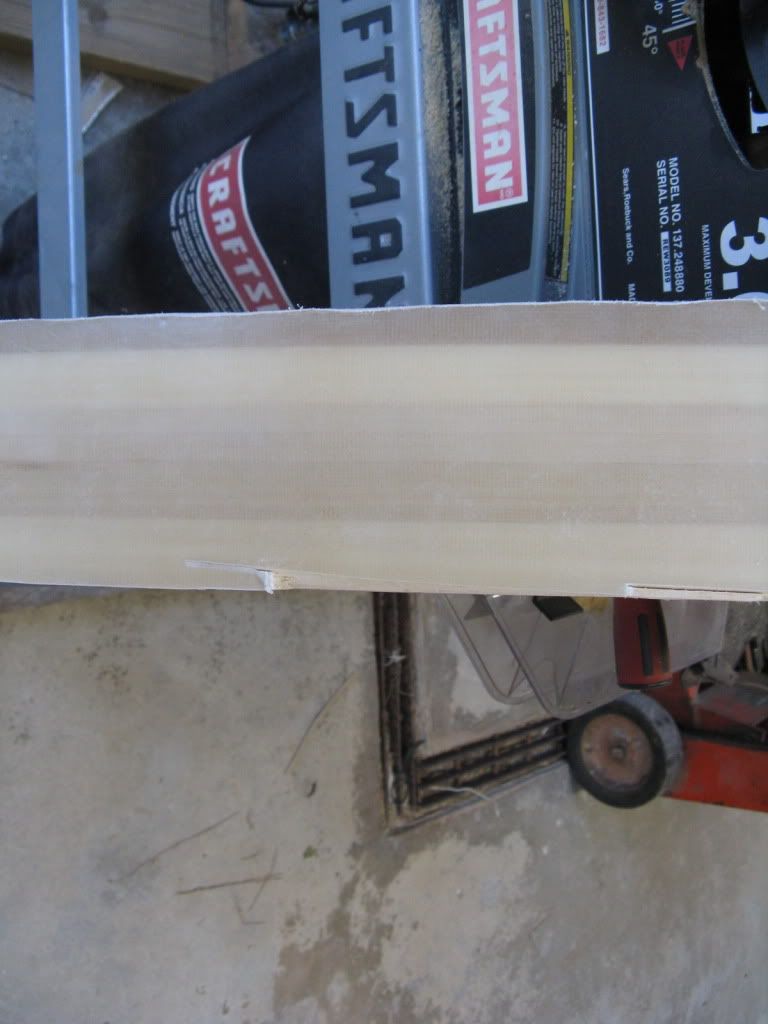
base
tail which is still screwed up from last time
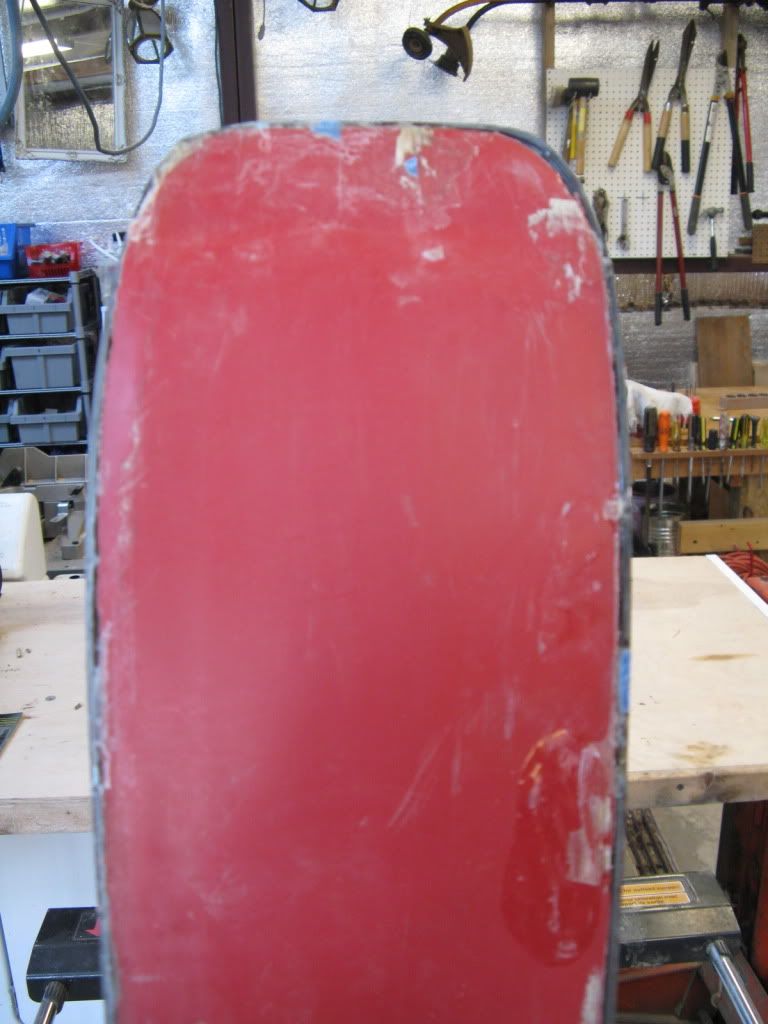
here is the side of the tail. the focus is off but the black line is a gap.
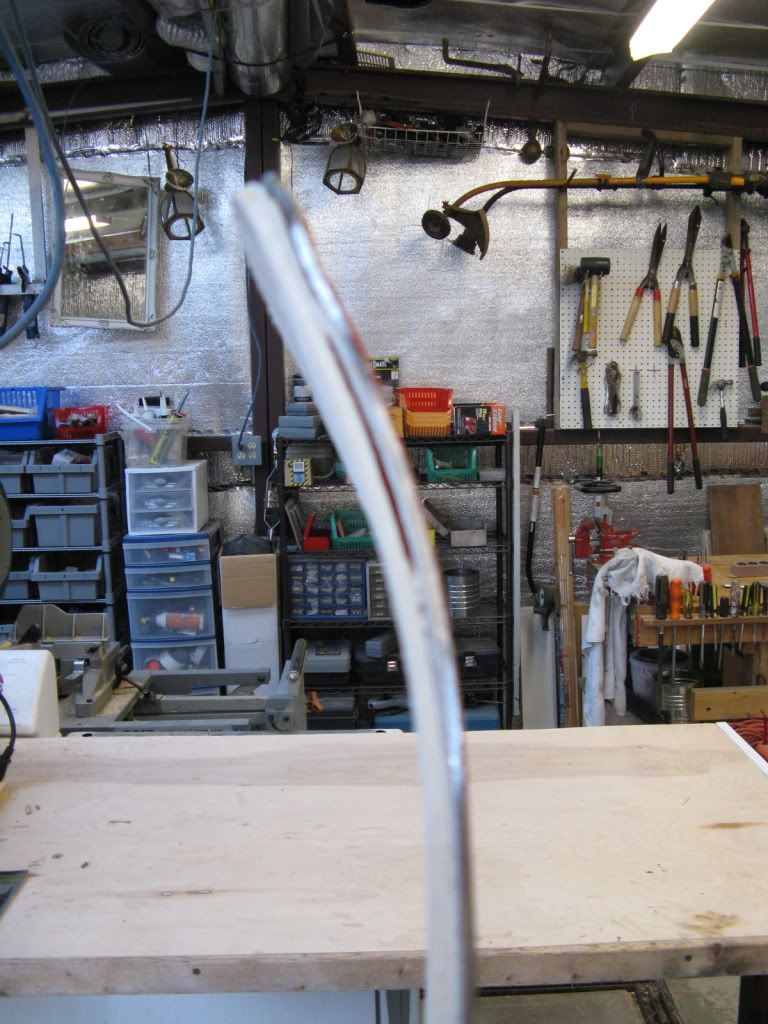
here is another problem. when i was cutting this ski out, the blade began to bend and cut into the ski so i'm going to have to bevel it alot. I then found a blade made for wood and plastic which worked extremely well. I believe it was called a skip tooth blade.
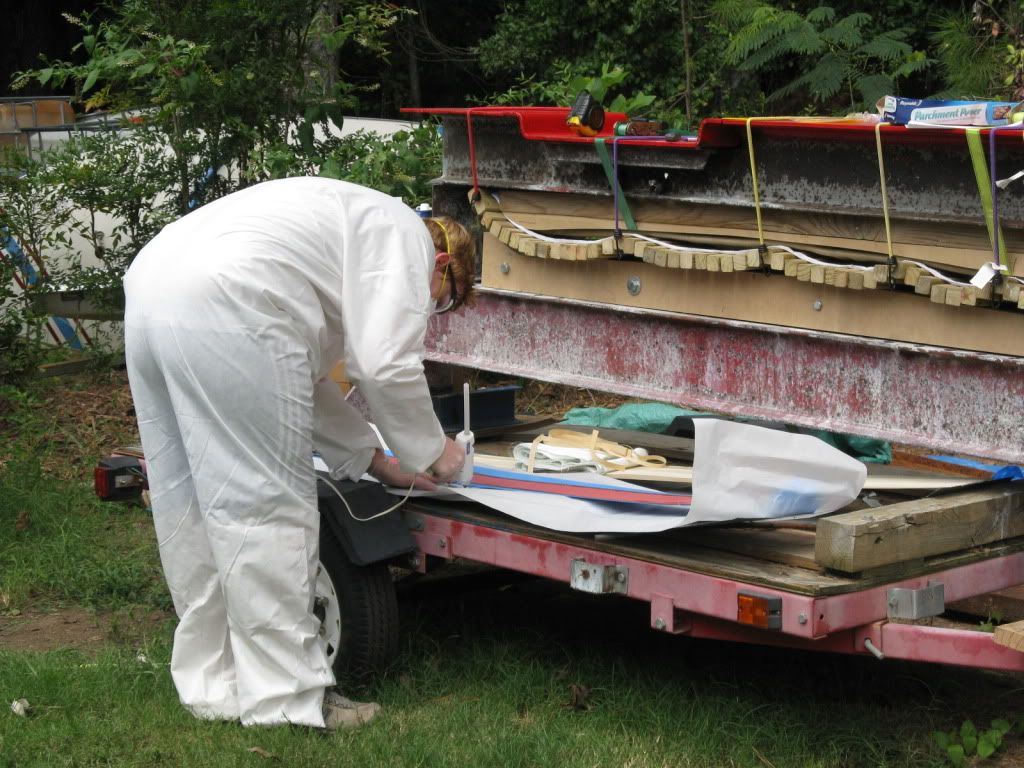
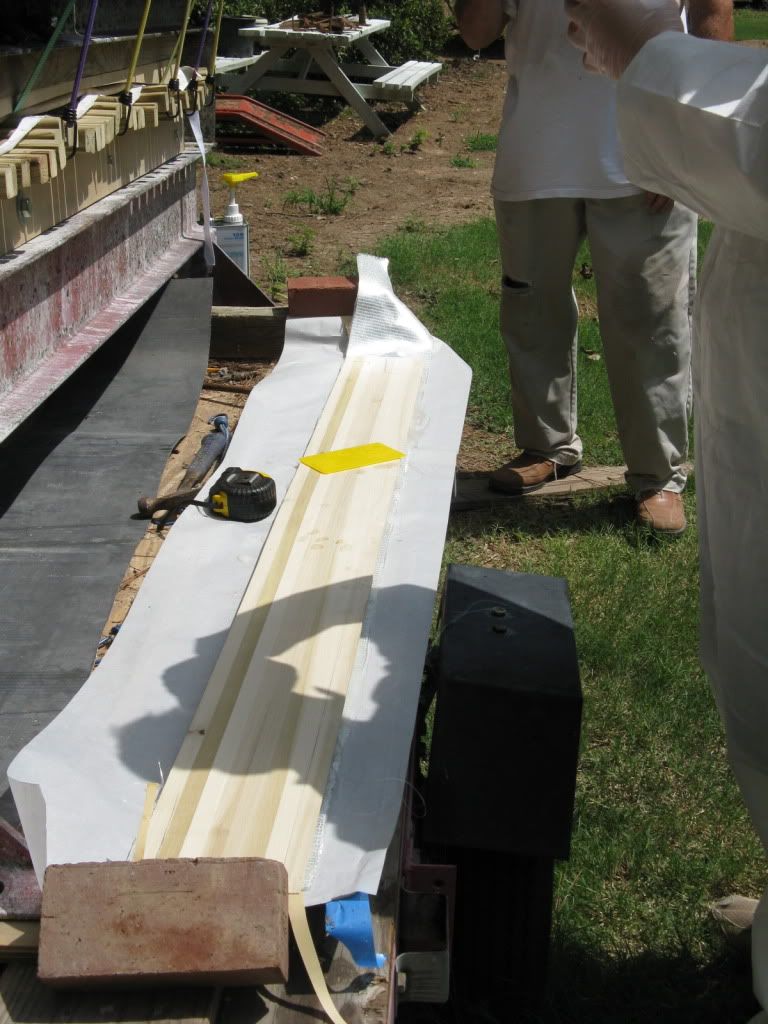
This is my modified cattrack. I had to bevel the tops so that it would fit the curvature of the tips and tails under pressure. without pressure it fit fine but once under pressure there would be a gap. the bevel fixed this completely.
This ski had a less traditional layup process.
The base and bottom layer of fiberglass were already cured.
Then the Poplar core.
Then instead of using another layer of heavy fiberglass, i used teh fiberglass you buy from homedepot that comes in a pack and is roughly 4ftx3ft. I cut it into pieces and used 3: one covering the tip to the middle, one covering the tail to the tail to the middle with a little overlap, and then one covering the middle overlapping the other two.
This was followed by the topsheet.
Posted: Fri Jan 21, 2011 7:00 pm
by Brazen
Thanks for posting this, I've always been too much of a dick to post my record breaking f' ups

but this is SO awesome! Thanks!
Posted: Fri Jan 21, 2011 7:48 pm
by skidesmond
Ouch! The blade travel did a number on the ski. But we all learn from our mistakes and each others. You'd be surprise how many mistakes you make and still have a ski that works fine. The gap in the tail can be fixed by filling it w/ epoxy and re-clamping w/ C-clamps. I've had to do that a number of times. Nobody gets it perfect the first time.
Did you do a full wrap of edges around the tip and tail? I found that very difficult to do. Kudos if you did for your first ski!
Posted: Sat Jan 22, 2011 8:24 am
by Drew
I did do full wrap on the edges, but i don't think ill be doing that for the next few pairs. It is a pain, especially without and edge bender.
Ill be finishing this pair in the next week. since i screwed up the first time i have to rebuild a core, then i'll be ready to go.
After this ski, i'll be designing one for a trip to Vail that ill be taking in March. I'll also be building either an adjustable planner jig or something similar to 333's chainsaw.
Posted: Mon Jan 31, 2011 11:27 am
by Drew
I am getting ready to buy materials for my next few pairs(more like 10) and im thinking about getting 17oz triax and use some unidirectional carbonfiber tape @ 3" to add a little extra stiffness. I used the search tool and twizzstyle said that uni Carbon Fiber adds pop but not really stiffness at one inch. I guess my main question is if its 3" will it add stiffness and pop? My goal is to have thinner cores and lighter skis but still a little stiff.
Posted: Mon Jan 31, 2011 12:06 pm
by doughboyshredder
it all interacts. Core thickness, glass weight, carbon weight. Minor changes in core thickness have a huge effect on flex.
The one thing I will say is if you plan on using 3" uni cf, that you should use it top and bottom or you will get drastic camber changes.
Posted: Mon Jan 31, 2011 3:02 pm
by Richuk
Worth having a good look at how the cat track comes down onto your cassette - give you a good idea what caused everything to move around.
This is a good way of keeping the core over the base - its quick and easy to do:
http://www.skibuilders.com/phpBB2/viewt ... atchsticks
Great to see the press working!
Posted: Mon Jan 31, 2011 3:06 pm
by Brazen
Which way camber changes?!? Will the sidewalls BULGE OUT 12º? 60mm tip reverse camber and -25mm middle with a +30mm tail?!? Up? Down? Less camber? More camber? Concave? Convex? Inexact which way? Over the entire length? Only at the ends? In the middle? Temperature dependent? Will the top and bottom temperature make a difference!?! WTF.
I just get a little tired of the nebulous CRAP in here sometimes. If you don't know, don't say SHIT.