
I'm always amazed by the climate on this globe! We, on the top of the globe, have hi summer with warm and nice days now!
Enjoy your season!
Getting started!
Moderators: Head Monkey, kelvin, bigKam, skidesmond, chrismp
I feel the same way. SLC almost reached 90 the other day. The skiing at the Bird is still damn good and now Snowbasin is re-opening this weekend because they still have a ton of snow. They wouldn't have closed, but the Gondola needed scheduled maintenance. Strange to think about about how Falls is starting another ski season and ours here in UT never ended.OAC wrote:I'm always amazed by the climate on this globe!
-
sweaterskier

- Posts: 16
- Joined: Mon Jun 06, 2011 12:45 pm

Thanks Sweater
Back on the building mission now:
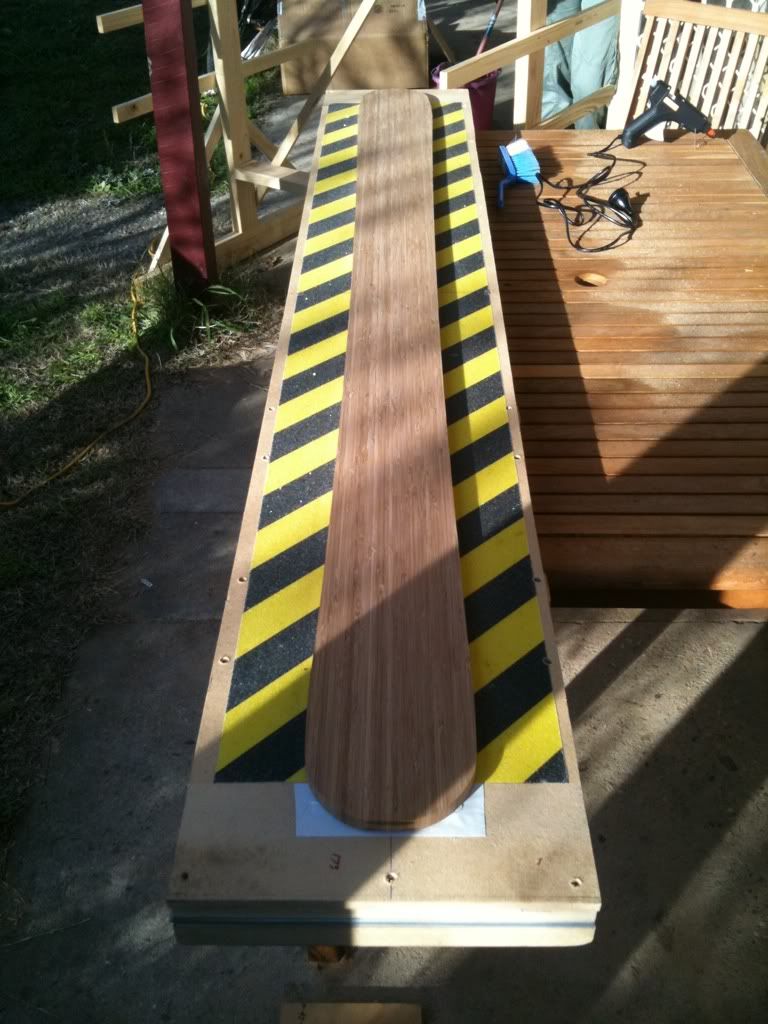
Making a new shape I call the J-POW
It is a deep snow charger (at least that's what I would write if I was marketing it). Tip and tail rocker. 30m radius. Slight early taper in the tip and minor in the tail. 145 - 115 - 135 (not sure about the tail measurement actually). Flat camber underfoot. Basically the same profile as my other pairs but new templates (thanks carnold for the CNC). I guess you could land switch and ski switch in powder on it too, if you were into that.
Will be the second pair heat cured with the sicomin epoxy.
Got a new palm router (same as the bosch colt in the USA) which goes pretty well. It came with a tilt base which I will use for sidewall bevel (think I might build a support base for it to minimise tipping). I also got some brass template guides which let me do some offset cutting using the same templates.
My process will be the same with a few refinements:
Rout base with MDF template (vacuum hold down)
Attach bent edges with superglue
Spray adhesive to aluminium cassette
VDS over edges
triax
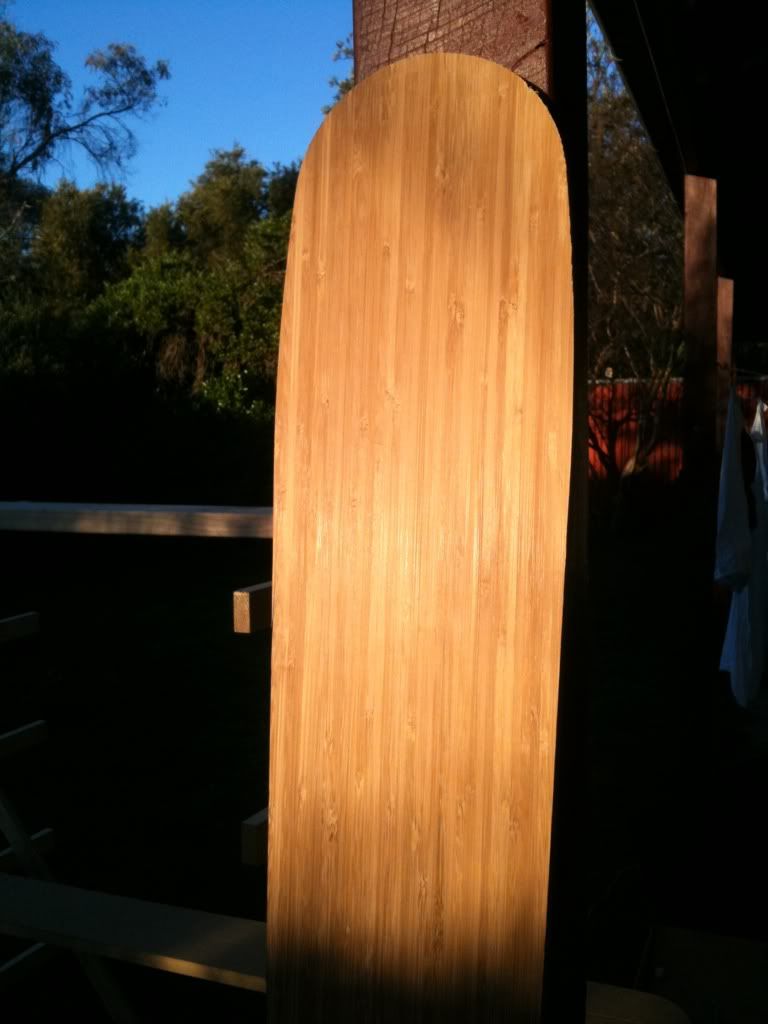
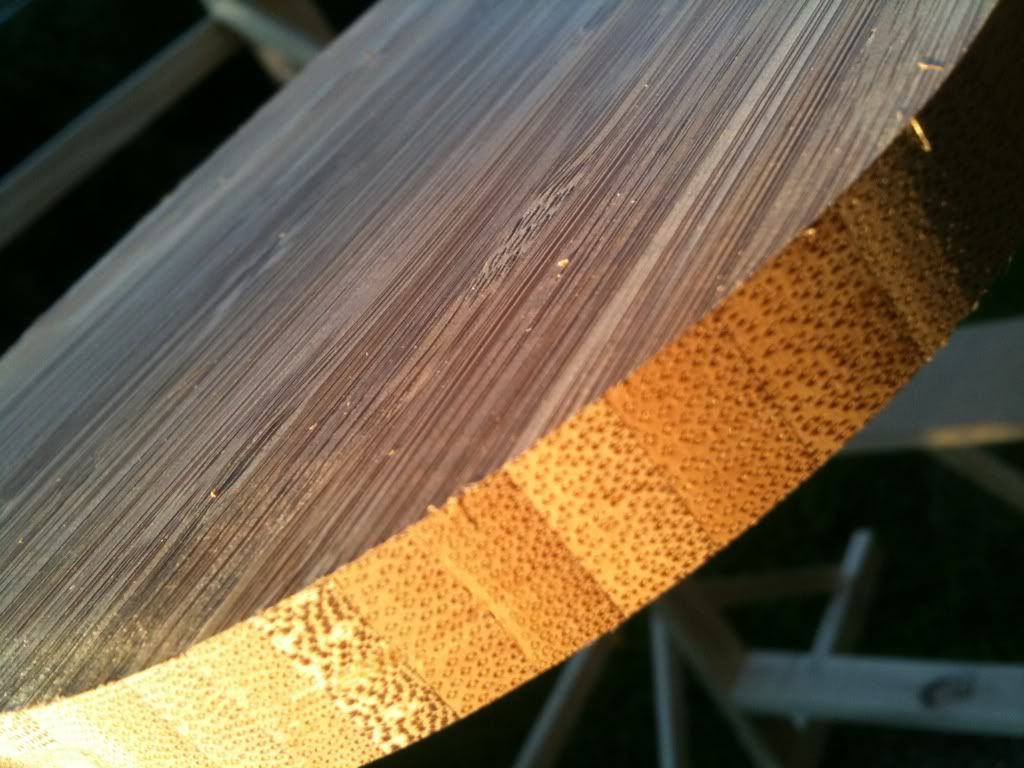
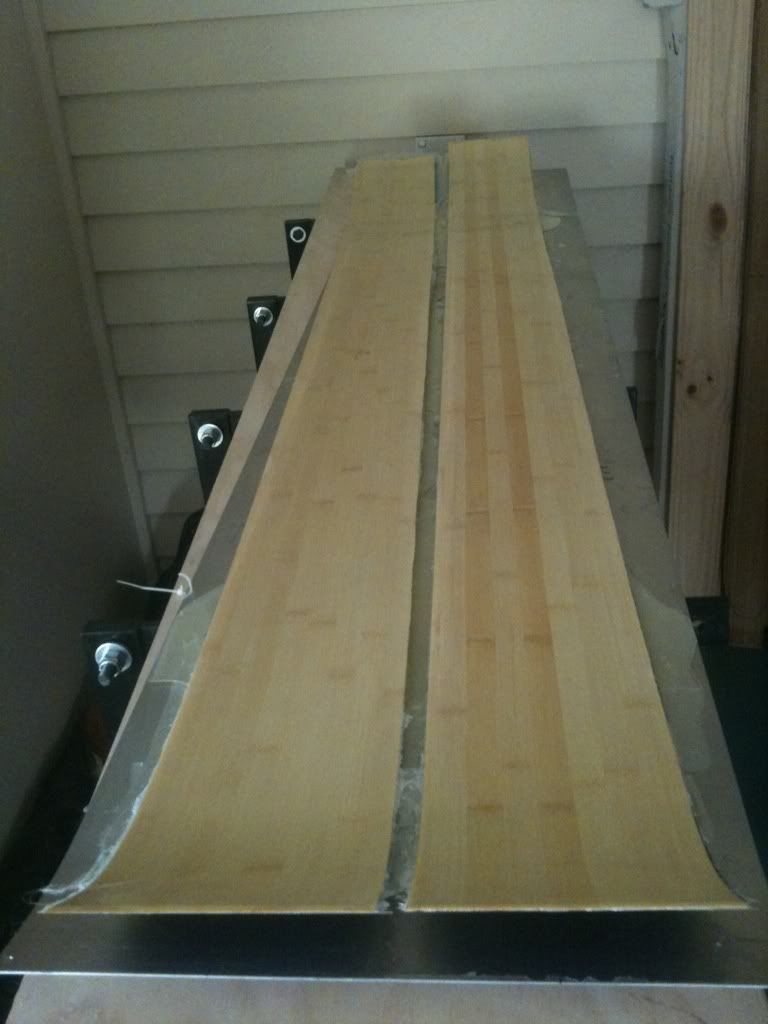
vertlam (to use MM's term) bamboo core
triax
horizlam (can I claim that?) bamboo veneer
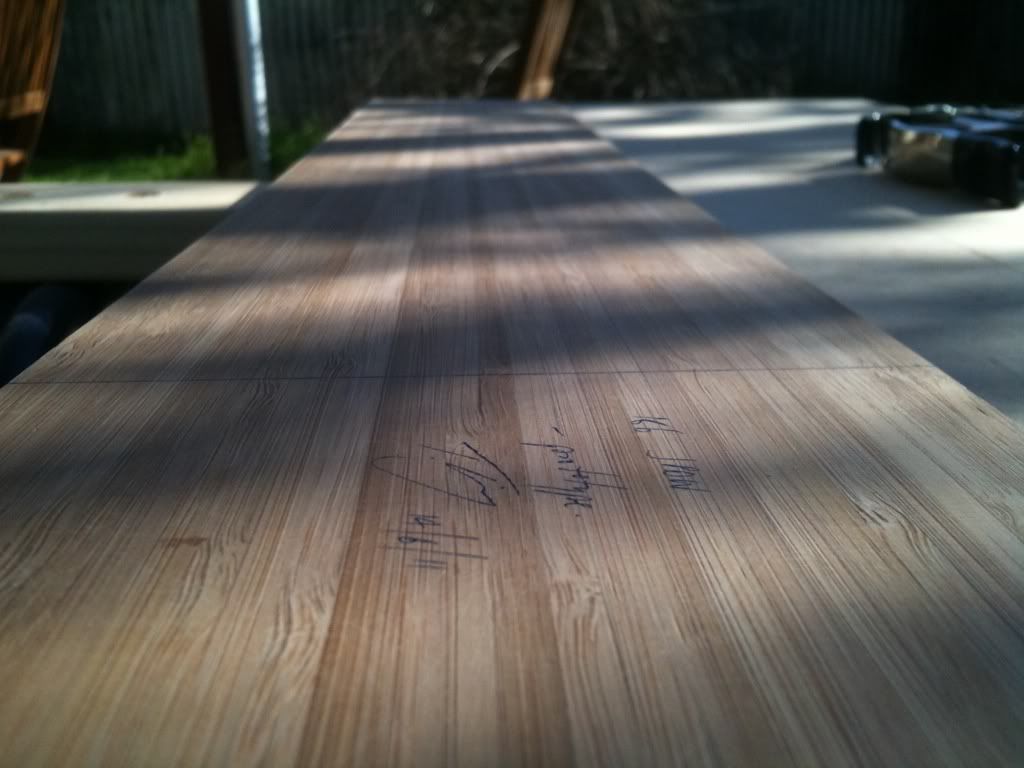
I think my first 5 without any edge trench in the core have suffered concave base. So that is my main change this time. I have used by base shape template with a 3/4 OD brass guide and 1/4" router bit to shape the cores to 1/4" bigger than the base shape. Then going to use my router with the ball bearing guide you attach to the side to create the trench for the edges at the correct depth for the teeth and also correct distance in from the edge.
Hopefully this leads to flatter bases out of the press and less difficulty for the monkeys who have been trashing my skis with what they call a base grind.
I have all the glass etc prepped so hopefully not too far off layup on these.
Nice afternoon for some wood (well grass really) work.

Any thoughts on edge rebate depth and width?
Back on the building mission now:
Making a new shape I call the J-POW
It is a deep snow charger (at least that's what I would write if I was marketing it). Tip and tail rocker. 30m radius. Slight early taper in the tip and minor in the tail. 145 - 115 - 135 (not sure about the tail measurement actually). Flat camber underfoot. Basically the same profile as my other pairs but new templates (thanks carnold for the CNC). I guess you could land switch and ski switch in powder on it too, if you were into that.
Will be the second pair heat cured with the sicomin epoxy.
Got a new palm router (same as the bosch colt in the USA) which goes pretty well. It came with a tilt base which I will use for sidewall bevel (think I might build a support base for it to minimise tipping). I also got some brass template guides which let me do some offset cutting using the same templates.
My process will be the same with a few refinements:
Rout base with MDF template (vacuum hold down)
Attach bent edges with superglue
Spray adhesive to aluminium cassette
VDS over edges
triax
vertlam (to use MM's term) bamboo core
triax
horizlam (can I claim that?) bamboo veneer
I think my first 5 without any edge trench in the core have suffered concave base. So that is my main change this time. I have used by base shape template with a 3/4 OD brass guide and 1/4" router bit to shape the cores to 1/4" bigger than the base shape. Then going to use my router with the ball bearing guide you attach to the side to create the trench for the edges at the correct depth for the teeth and also correct distance in from the edge.
Hopefully this leads to flatter bases out of the press and less difficulty for the monkeys who have been trashing my skis with what they call a base grind.
I have all the glass etc prepped so hopefully not too far off layup on these.
Nice afternoon for some wood (well grass really) work.
Any thoughts on edge rebate depth and width?
Don't wait up, I'm off to kill Summer....
normal Chris.
I have been using Selleys Quik Grip spray adhesive (you can even buy it in safeway!). A fine spray on the base material with edges attached and then stick it down to the aluminium sheet. Keeps it in place for core/base allignment. Cassette is just a euphemism for pressing between 2 sheets of aluminium.
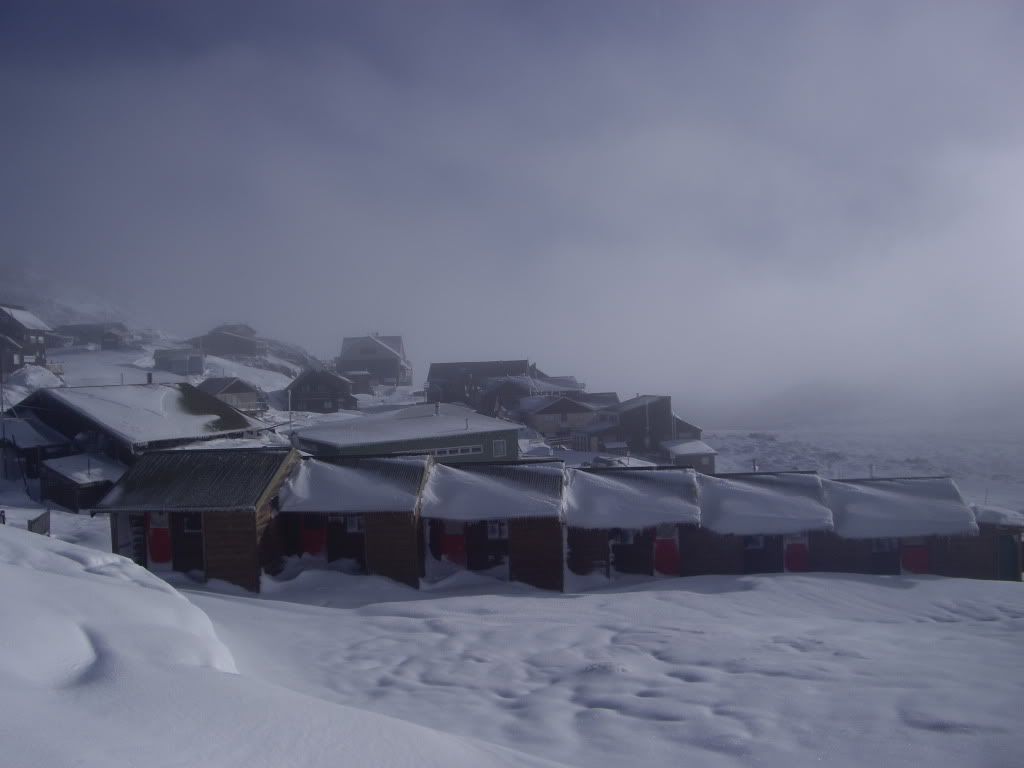
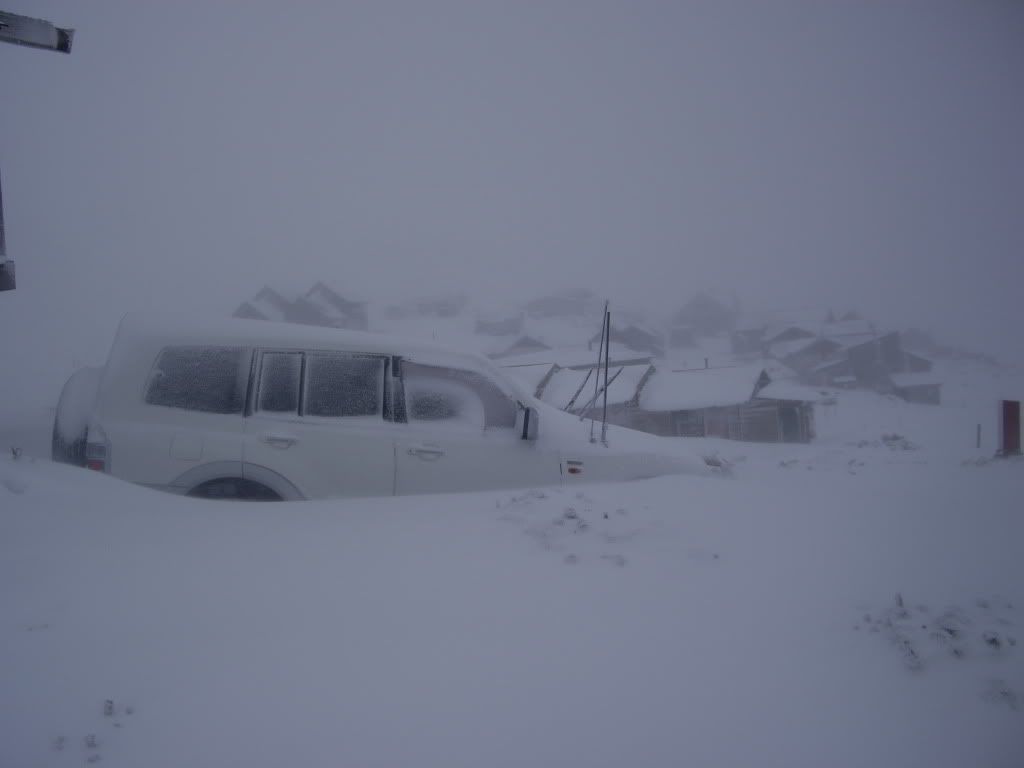
Came across some more Tasmania snow pictures from this week too:
I have been using Selleys Quik Grip spray adhesive (you can even buy it in safeway!). A fine spray on the base material with edges attached and then stick it down to the aluminium sheet. Keeps it in place for core/base allignment. Cassette is just a euphemism for pressing between 2 sheets of aluminium.
Came across some more Tasmania snow pictures from this week too:
Don't wait up, I'm off to kill Summer....

thanks brazen
i ended up doing 0.8mm depth and 8mm inwards
just finished layup. waiting for the press to cool so i can go to sleep without worrying about fire.
cold tonight - epoxy gloopy - need to create a resin warmer.
slow layup, but thorough
hopefully looking good in the morning.
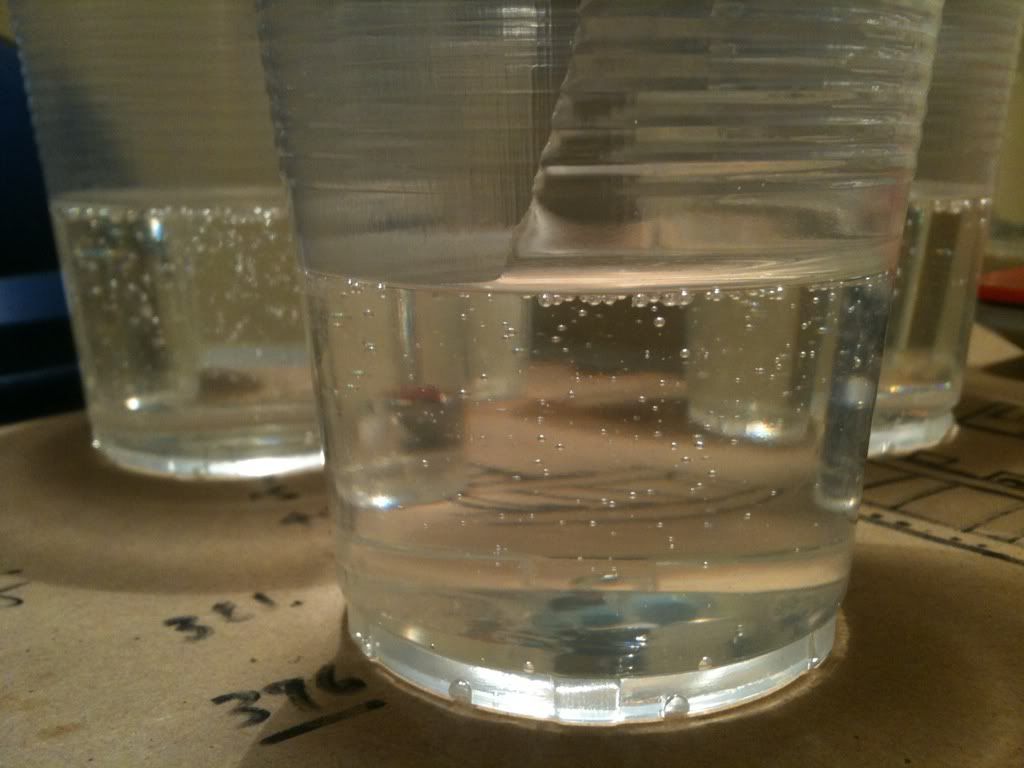
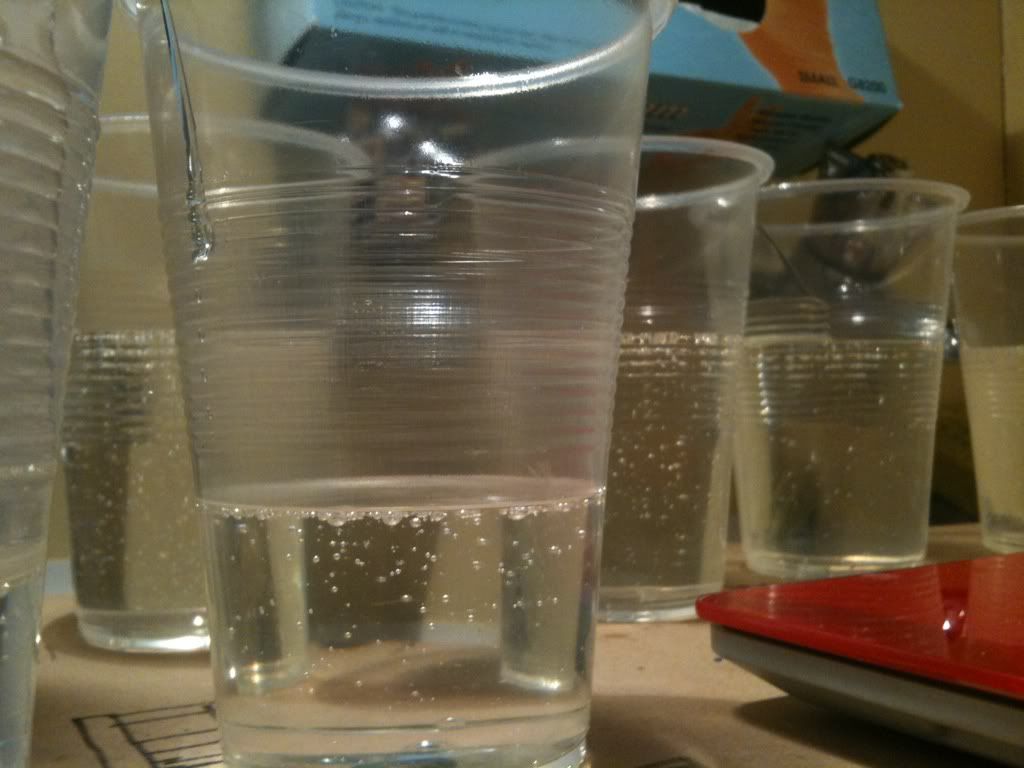
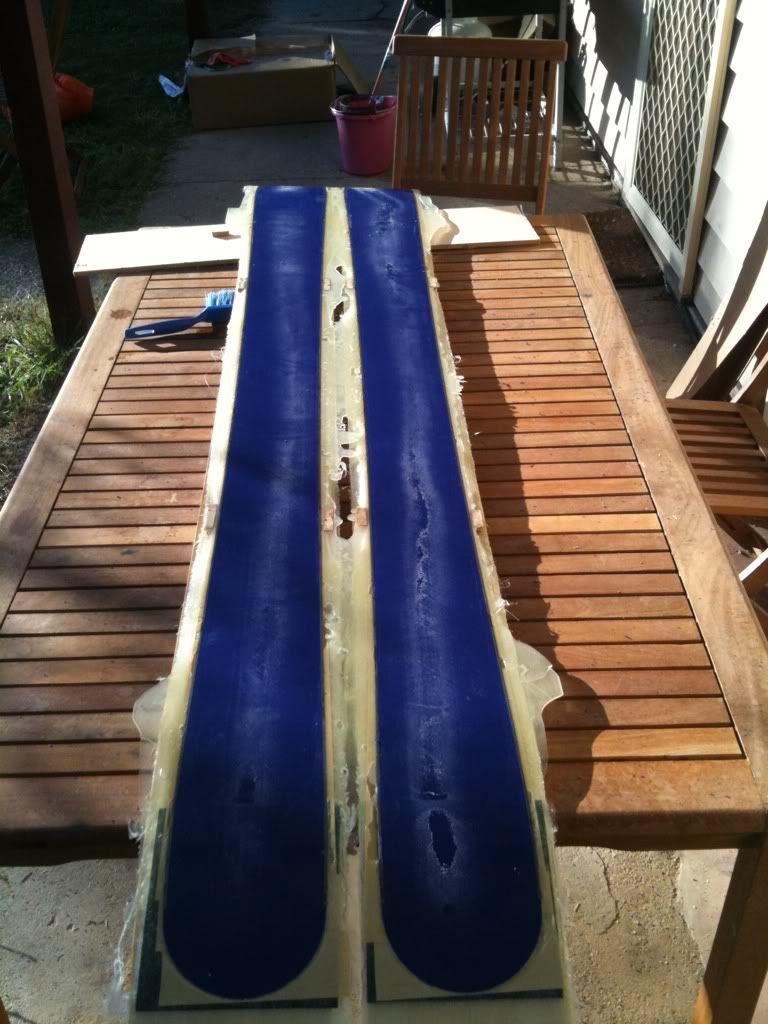
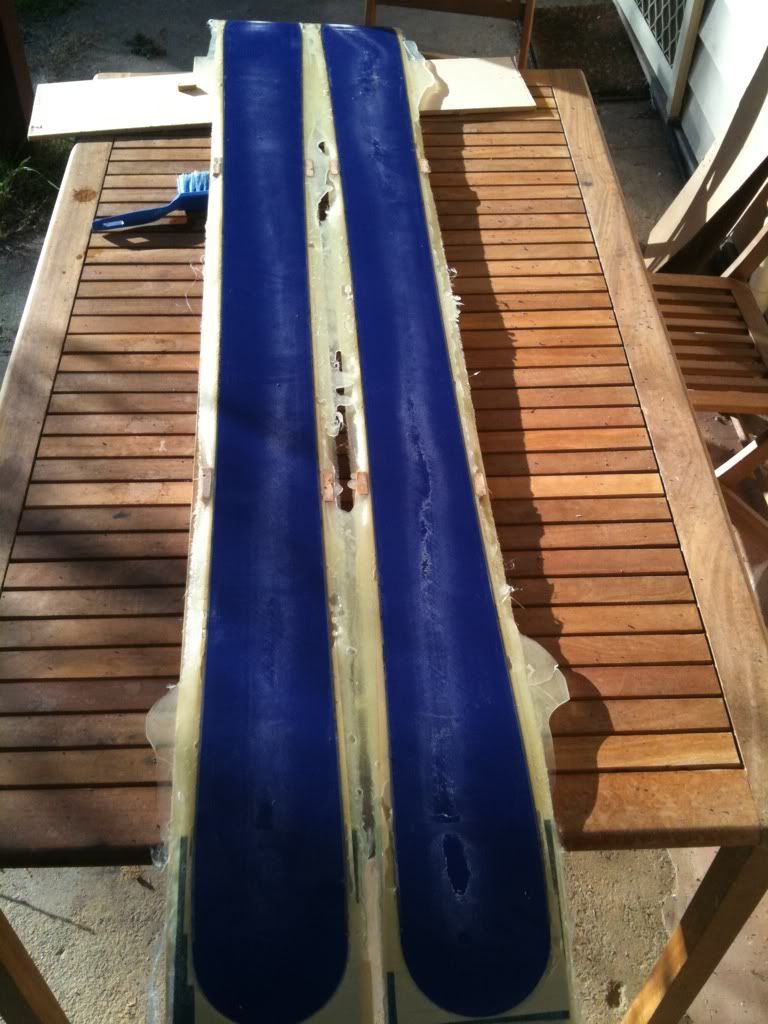
some random pics
i ended up doing 0.8mm depth and 8mm inwards
just finished layup. waiting for the press to cool so i can go to sleep without worrying about fire.
cold tonight - epoxy gloopy - need to create a resin warmer.
slow layup, but thorough
hopefully looking good in the morning.
some random pics
Don't wait up, I'm off to kill Summer....
hi chris. no real problems releasing from the aluminium.
i wax it with a carnuba wax mold release each time and buff this to a high shine. the spray adhesive still sticks enough for the base and edges not to shift while pressing. after pressing the skis peel off the aluminium pretty easily and leave little epoxy on the aluminium sheet. i have to use acetone to clean the spray adhesive off the base and off the aluminium sheet is the major downside. i always end up with small blobs or droplets of epoxy on the aluminium. these come off with finger nail pressure, which is how i have found most effectve. i dont use a polyvinyl alcohol spray mold release or anything too industrial. cleaning up the aluminium sheet takes prob half an hour which is a bit of a pain (although by definition all the excess is outside the ski shpe so if i miss a bit it doesn't really matter). i have considered using hairspray as an additonal mold release, but never tried.
you can see in the pics of the bases where the cooked spray adhesive is on them. i dont think it affects base flatness very significantly.
Don't wait up, I'm off to kill Summer....