school kills creativity (http://www.ted.com/index.php/talks/ken_ ... ivity.html), it`s so true!
this year i had as many exams at university as never before. so i had some pretty painful last two months with basically nothing else than sleeping a little, eating and studying. along with this i built up a "creative vacuum" over time.
now that i have holidays this vacuum had to be filled with all kinds of stuff. to start a bit off topic:
i`ve printed some shirts with my logo:

i`ve built a kite in shape of my logo:

it became heavy as shit and needs at least a hurricane to get some air
i`ve built a purse out of some pieces of a snowboard backpack - i didn`t need this thingy to put in a snowboard anyway :P


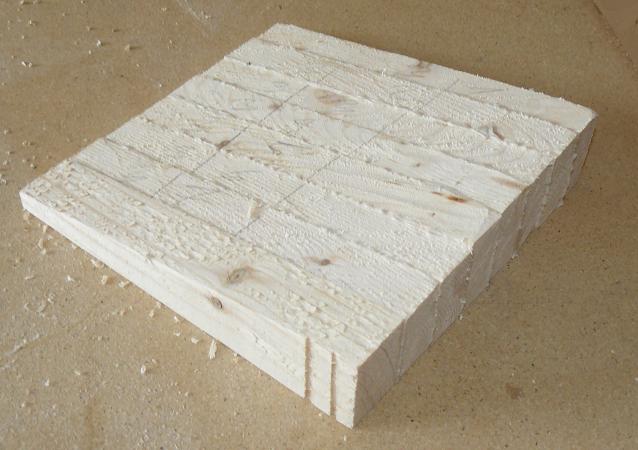
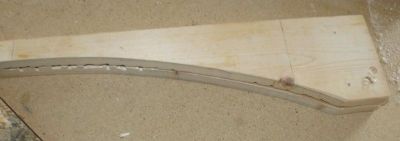
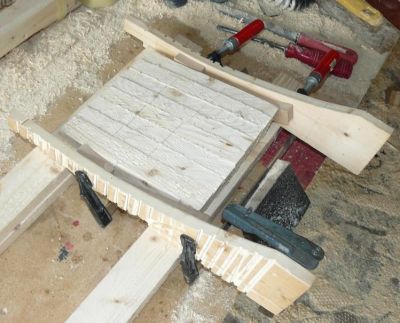
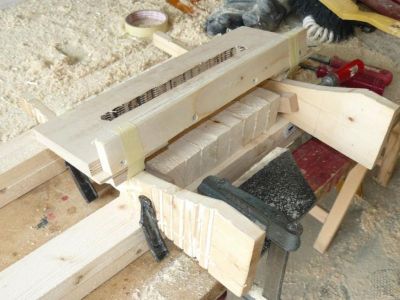
i`ve built a slalomskateboard entirely out of 3mm aramid honeycomb in sandwich with 1mm plywood. it works surprisingly well!

i`ve improved the design of existing powder bands for skiing. hopefully i`ll recover lost skis faster next season


so in a way school kills the time to be creative, but creative ideas "happen" anyway. at least in my case. so now i`m just in the right mood to start skibuilding.
so back to topic:
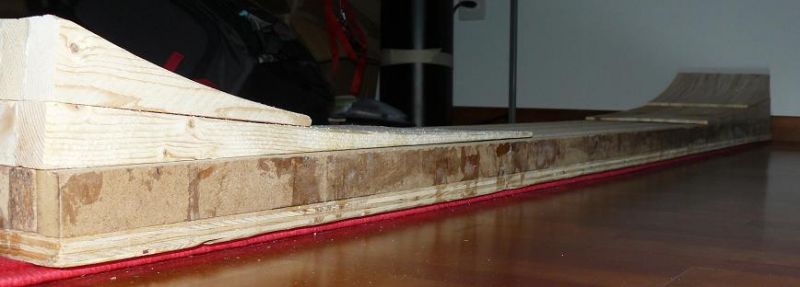
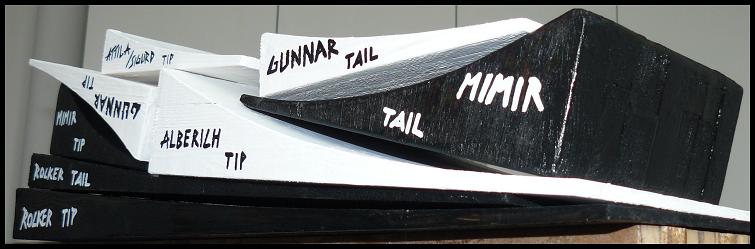
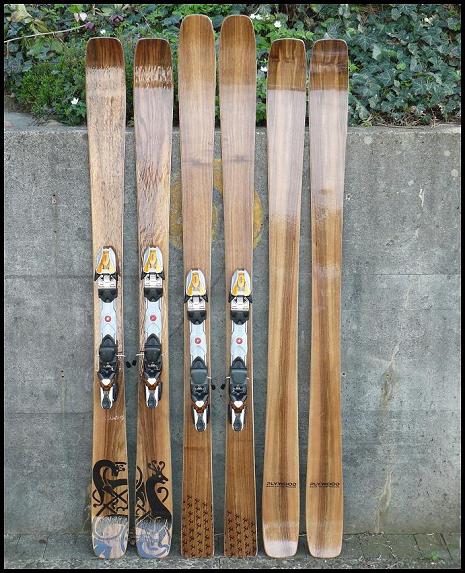
i`m not yet sure with what to start. i`ll have to do some modifications in the shape of the attila, my 190cm superfatty. basically i`m going to change the tip a little, make it a little higher and so.
then i`m going to build a shorter 172 superfat ski for my female buddies. also with rocker and the same shape as always. i`ve already built the cores for those skis in my last building session, so i just have to find the right shape for it. so i`m probabely gonna start with this project, called valkyrie - mainly because those skis are for the girls and this name really suits in my whole "framework" of namegiving as it refers to some ancient tales of the germanic/norse mythology which i started to like. but i`m still looking for inspiration to connect the grafics with those tales. somehow.
and last i`m going to go even bigger with a 199cm long version of the attila. i`m not sure about how to call this pair. i`m also thinking about using fins on this pair, but this is not yet sure.