sammer's skis

Document your personal work here. Show photos, movies, and share your secrets.

Moderators: Head Monkey, kelvin, bigKam, skidesmond, chrismp

Post Reply
sammer
Posts: 933
Joined: Wed Dec 19, 2007 10:37 pm
Location: Fernie B.C.
Contact:

sammer's skis

Post by sammer »

Well i've made a bit of progress on my daughters skis so i thought it was time to share.
I started with some nice 2x4's MSR 2400's very few small knots.
and ripped them into 3/4" x 1 1/2" strips then glued them up
Image

I didn't worry about a caul to keep them flat as i thought that would cause to much internal stress.

Image
Once dry i ripped the board in two to get 2 somewhat symmetrical core blanks.

I then hot glued the blanks to my work table and assembled my simple profile jig. and using my router machined the bottoms with the rails laying flat. then shimmed up the middle flipped the blanks and machined my profile. I made the mistake of machining my tips and tails first so ended up with an obvious transition line.
Image
Image
Image
Next i started to bend edges. Possibly the hardest part. I annealed the tails but just cold bent the tips. I made a bender similar to the one in the how-to out of parts i found around work. It works OK but i think its still going to take some practice to get the hang of creating a smooth bend
Image
Image
Image
I had quite a bit of trouble with the tight radius tails.
I've got my mold planned out but am waiting for a rain free weekend to get to the lumber store to pick up the last few items.
More then.

sam
You don't even have a legit signature, nothing to reveal who you are and what you do...

Best of luck to you. (uneva)
knightsofnii
Posts: 1148
Joined: Tue Jan 08, 2008 6:02 am
Location: NJ USA
Contact:

Post by knightsofnii »

i would put the base somewhere inside the house maybe where it is temperature controlled.
with the edges on, given the time the base will sit before its ready for the build, it might expand and contract this way and that, and places you had nice and tight are going to look otherwise.

the best thing to do is do your edges just prior to layup, but we got to do what we can when we can i suppose ;). looks good so far!
Doug
sammer
Posts: 933
Joined: Wed Dec 19, 2007 10:37 pm
Location: Fernie B.C.
Contact:

Post by sammer »

knights... I still haven't cut my base, its cut to length and ripped in half and sitting on a shelf in the basement/workshop.
The edges in the pic are just sitting on my template. The clamp was just so they wouldn't fall off while i took the picture.
I plan to cut it with the router the day before my layup.
but first i have to build my mold.

sam
You don't even have a legit signature, nothing to reveal who you are and what you do...

Best of luck to you. (uneva)
plywood
Posts: 499
Joined: Fri Oct 13, 2006 2:13 am
Location: wilen, switzerland
Contact:

Post by plywood »

respect! all in all a very clean look and great workmanship. you`re on the right way, son ;) good to finally see some building from scratch again after the long winter building break
plywood freeride industries - go ply, ride wood!
sammer
Posts: 933
Joined: Wed Dec 19, 2007 10:37 pm
Location: Fernie B.C.
Contact:

Post by sammer »

I found a bit more time last week to get to the hardware store and put a few more things together.

heres the mold for the 127's. Bought a sheet of 1/8 puckboard to smooth out the bottom.

Image

my vacuum press is coming together still need to put in the reservoir but it works. Shuts off at 25" of vacuum comes back on at about 21" (thanks joe woodworker)
The pump came from an old AC recycling machine they were throwing out at work.

Image

Did a test suck. Took a while to figure out the pleats as the 6mil poly doesn't really stretch too well. But success. :D

i think i might invest in some vacuum bagging material for the next pair.

Image

Now i just have to find a day when i can press the first ski. Not easy as mountain biking season is finally here :D

more later

sam
You don't even have a legit signature, nothing to reveal who you are and what you do...

Best of luck to you. (uneva)
ben_mtl
Posts: 583
Joined: Mon Mar 31, 2008 1:47 pm
Location: Sherbrooke, Quebec
Contact:

Post by ben_mtl »

Where did you find puckboard ? Do the sell it at Home Depot or something like that ? I'm searchig for something smooth and cheap to cover my vacuum mold... Formica is quite expensive (70$ for a 8'x4') and I can't find some cheap one.
thanks
sammer
Posts: 933
Joined: Wed Dec 19, 2007 10:37 pm
Location: Fernie B.C.
Contact:

Post by sammer »

Ben.. found the puckboard at my local home building center. I think it was about $35 a 4x8 sheet. (can't find the receipt) They had 1/4" as well but it was quite a bit more.
You don't even have a legit signature, nothing to reveal who you are and what you do...

Best of luck to you. (uneva)
sammer
Posts: 933
Joined: Wed Dec 19, 2007 10:37 pm
Location: Fernie B.C.
Contact:

Post by sammer »

When buying formica look for "seconds". The piece laminated to the top of my work bench i bought the same day as the puck board.
It had a small chip in one corner and was about $25. just a thought. :idea:
I also put 2 little strips of puck board on the bottom of my router bridge where it contacts the rails.
It slides so easy now it only takes half the time to machine cores. No more stiction or chatter when doing the long passes.
Just glued em on with contact cement.

sam
You don't even have a legit signature, nothing to reveal who you are and what you do...

Best of luck to you. (uneva)
Motherhucker
Posts: 10
Joined: Mon Jan 28, 2008 7:42 pm

Post by Motherhucker »

Did you also purchase your vacuum bag from joewoodworker?

or did you make it yourself?
if so, what material did you use? and the material to seal it?
what about the valve?


thanks,
motherhucker
sammer
Posts: 933
Joined: Wed Dec 19, 2007 10:37 pm
Location: Fernie B.C.
Contact:

Post by sammer »

motherhucker...

I bought the controller, gauge,and the fitting(valve) from joewoodworker.
The vacuum bag is just 6 mil poly (left over vapor barrier from a house reno)
its a little difficult to work with as it doesn't stretch much so has to be pleated.
The sealant tape came from snowboard materials when i ordered my edges.
I've since bought some vacuum bag material from Fibretek in Burnaby BC. The service was really fast. I will definitely deal with them again.
I'll post again when i find out how that works.

sam
You don't even have a legit signature, nothing to reveal who you are and what you do...

Best of luck to you. (uneva)
sammer
Posts: 933
Joined: Wed Dec 19, 2007 10:37 pm
Location: Fernie B.C.
Contact:

Post by sammer »

it's been a while since i've had a chance to post. I'm in the process of renovating my 98 yr old house so no internet at home.
last weekend while I was waiting for drywall mud to dry I pressed my first ski.
It turned out better than I ever could have hoped for (thanks to all on here!)
I'll post more when my living room is a living room again.
Hoping to press the second one Sunday night.
It will probably be a few weeks before I get to post picks.
thanks again to all the helpful people on here especially Kams and Kelvin

sam
You don't even have a legit signature, nothing to reveal who you are and what you do...

Best of luck to you. (uneva)
User avatar
zachjowi
Posts: 110
Joined: Sat Aug 26, 2006 10:41 am
Location: WI

Post by zachjowi »

is the top of your mold flat? I mean will your ski be flat in the middle with curved tips?
sammer
Posts: 933
Joined: Wed Dec 19, 2007 10:37 pm
Location: Fernie B.C.
Contact:

Post by sammer »

no the mold isn't flat. I put a 12mm thick strip of wood under it in the center. (similar to my "simple profiling jig")
The vacuum pulled it down flat near the tip and tail so it rockers when you push down on the camber of the finished ski.
Not quite what i planned but a happy accident. Should work great in the pow!
will post pics when i get internet up and running at home.

sam
You don't even have a legit signature, nothing to reveal who you are and what you do...

Best of luck to you. (uneva)
sammer
Posts: 933
Joined: Wed Dec 19, 2007 10:37 pm
Location: Fernie B.C.
Contact:

Post by sammer »

Yea reno's are just about done!! i have a living room i can sit and watch tv in, and a dining room i can eat in. My computer is up and running so now its time to finish my story.

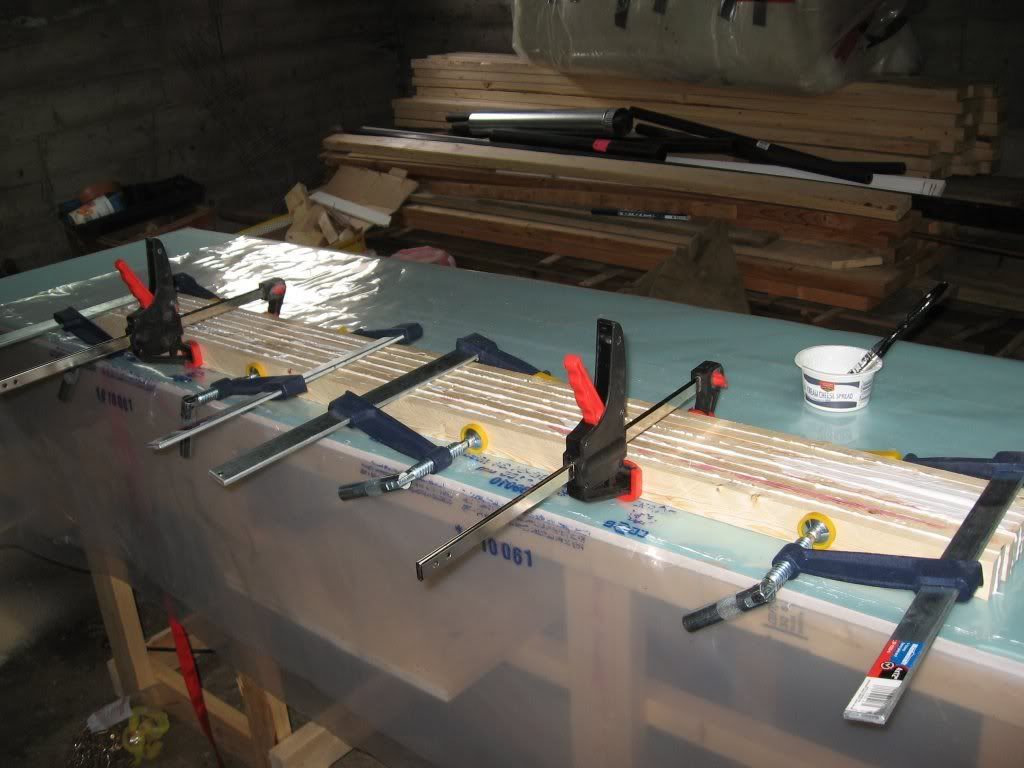
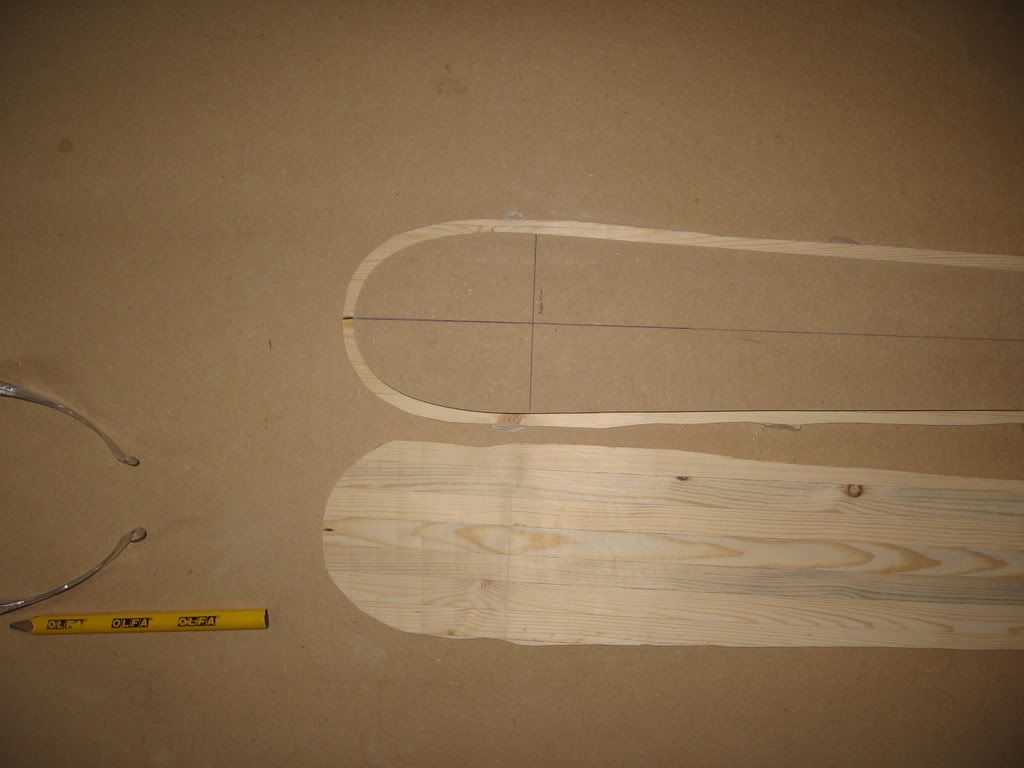
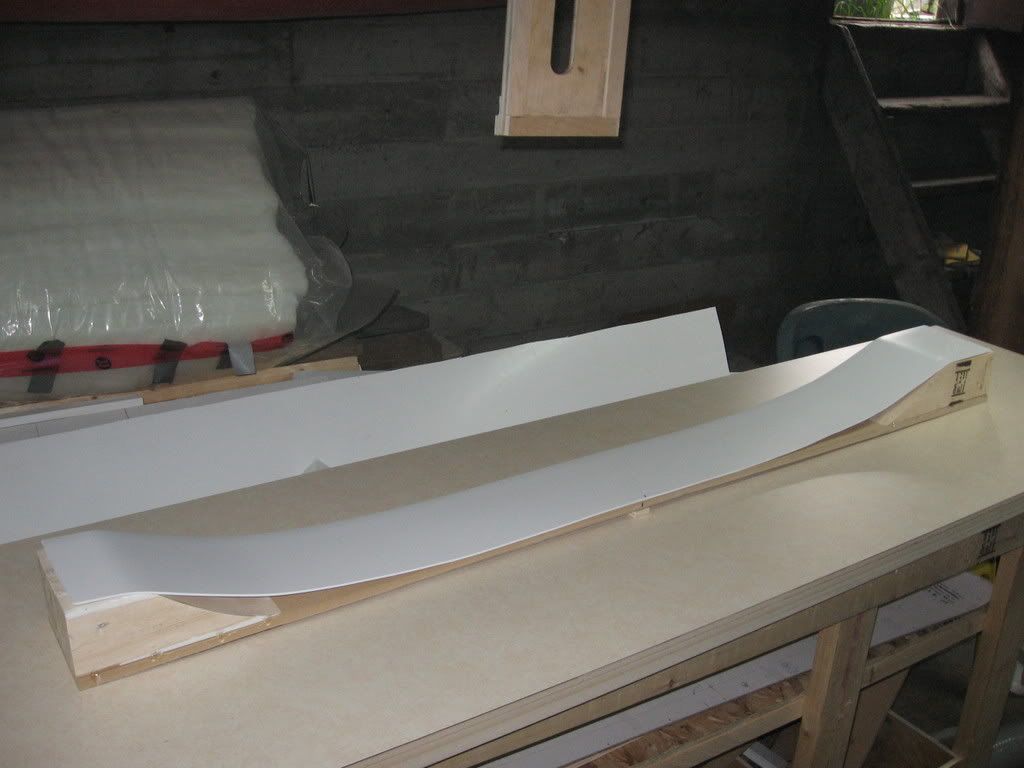
While I was waiting for drywall mud to dry I got a chance to lay up my first ski. I used double sided carpet tape to hold my base to my template then cut out 1 base.
Image

while it was still taped down i glued on my edges
Image

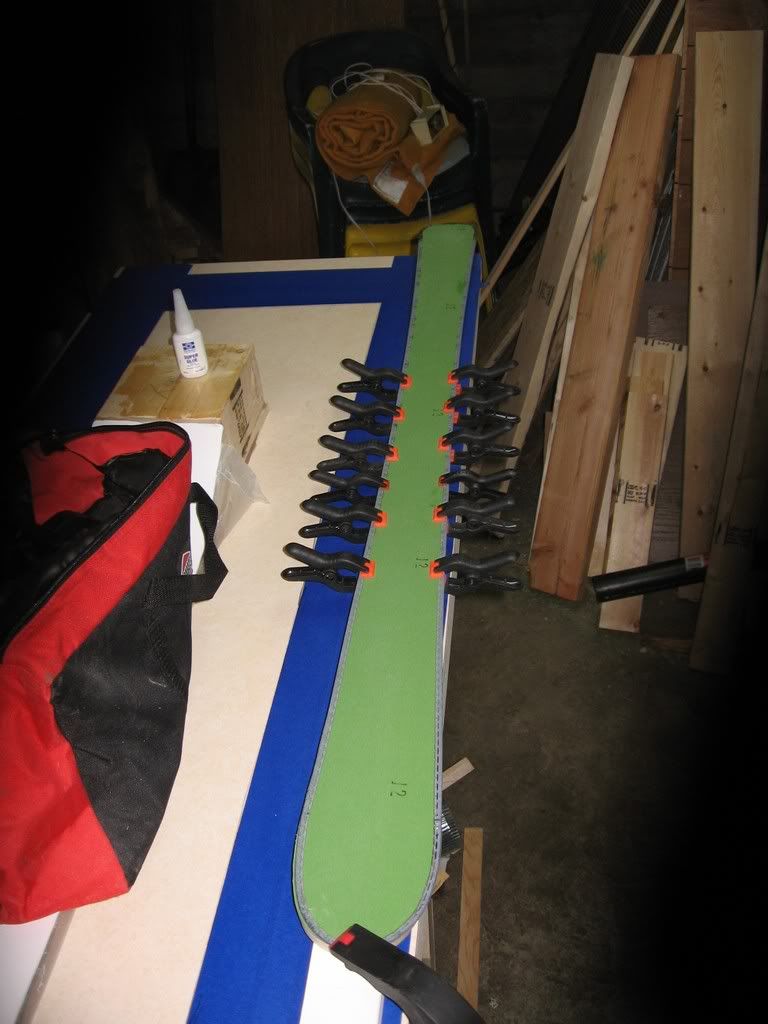
the only problem here was that some super glue migrated under the base and glued it firmly to my template i got it off with a razor knife. but it left some MDF permanently attached to the bottom of my base.

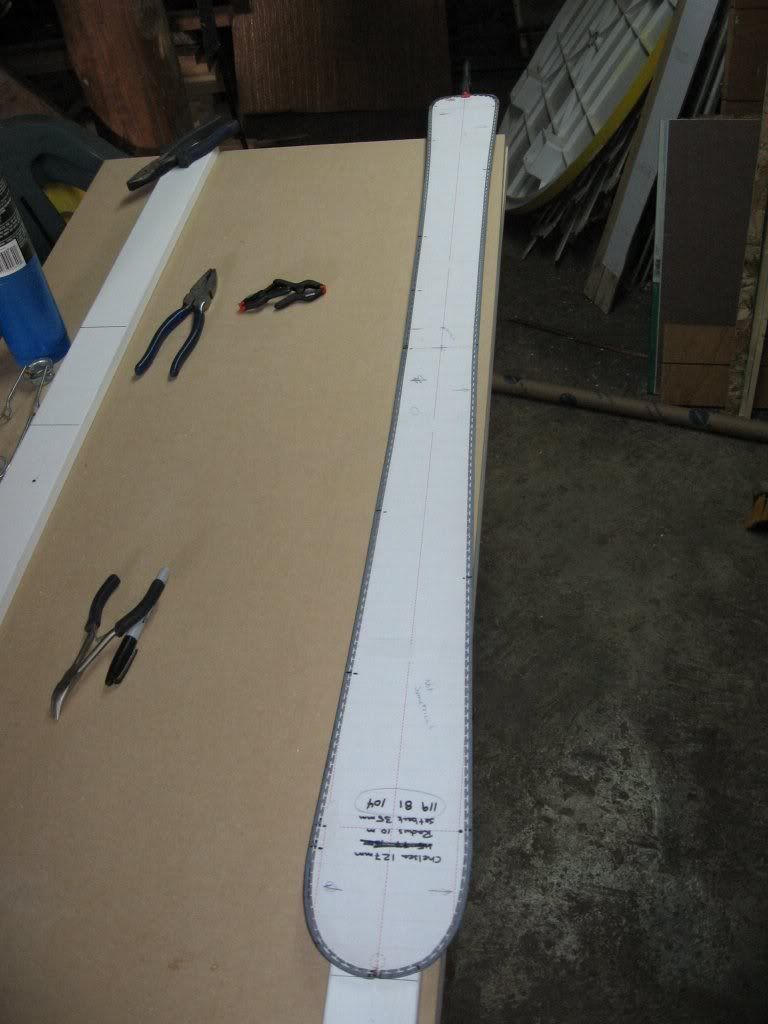
next i gently bent the base to fit the mold used a piece of 2" abs pipe
Image

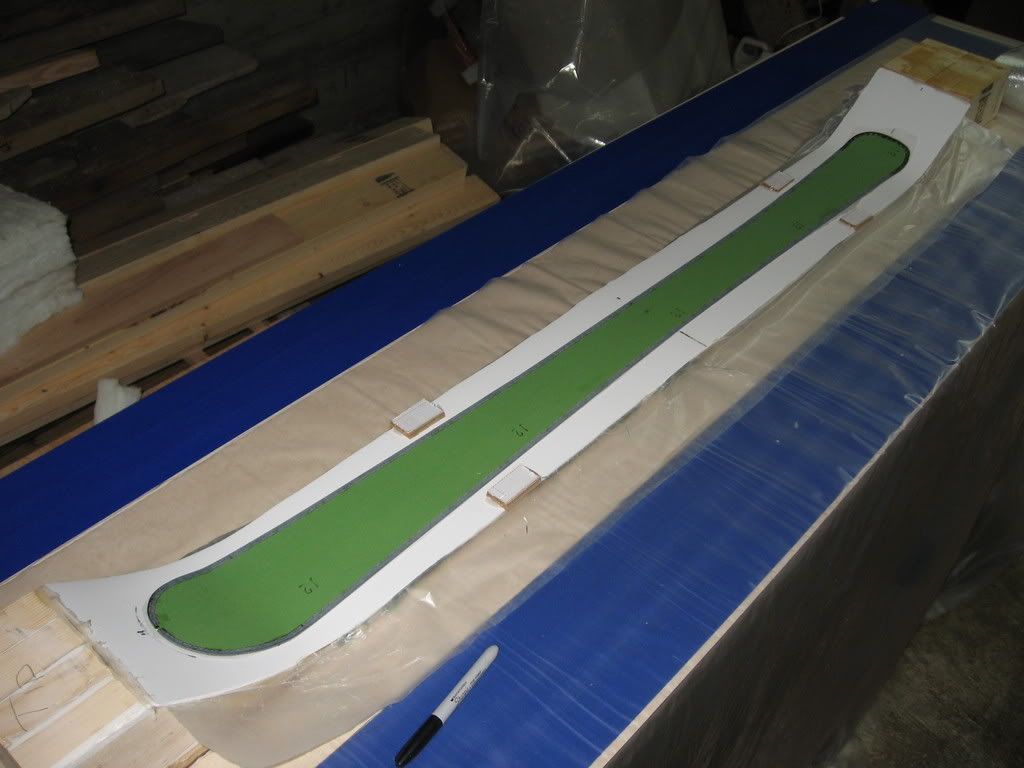
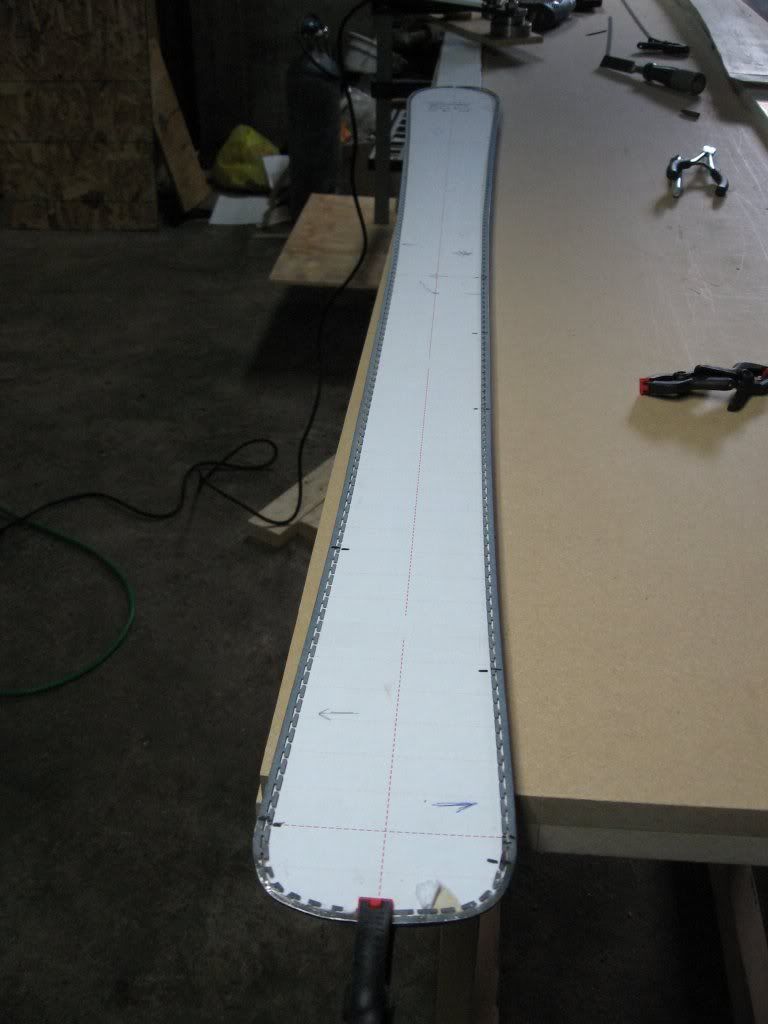
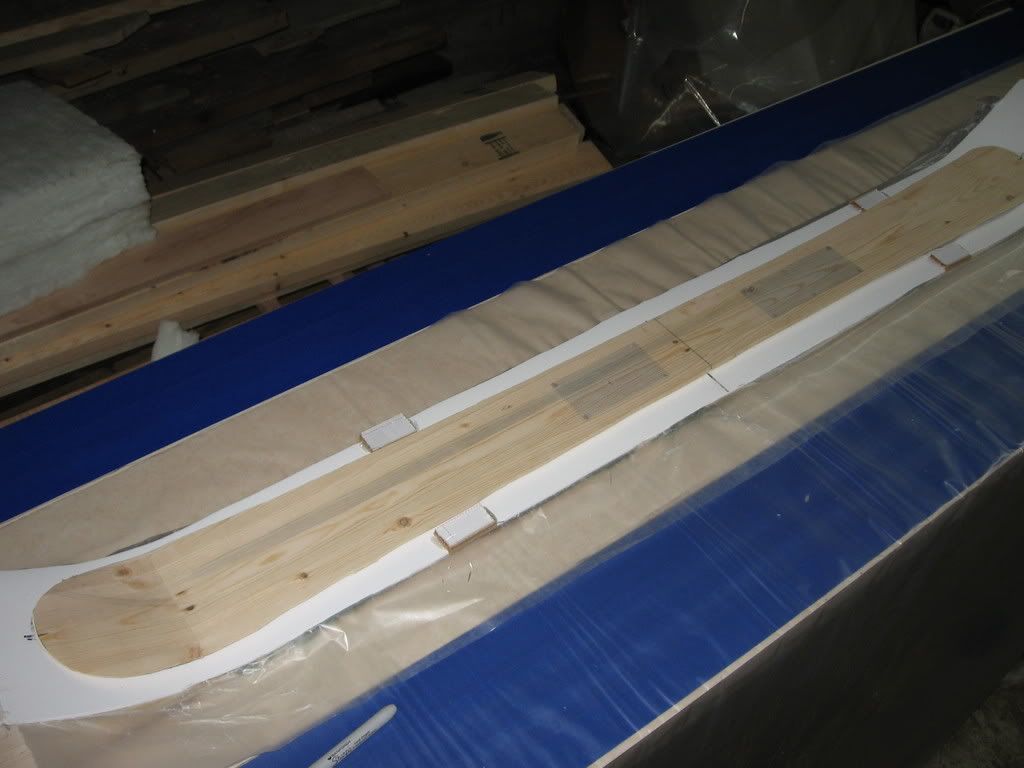
then it was time for a dry fit to make sure i knew what i was doing. 8)

had to glue in some pieces of paneling to aid in core alignment
Image

I hot glued some aluminum window screen for some binding retention, you can see the bumps of glue in the finished ski
I cut both layers of triax to go around the aligners

then it was time for the layup. I was way too busy and gooey to get any pics.

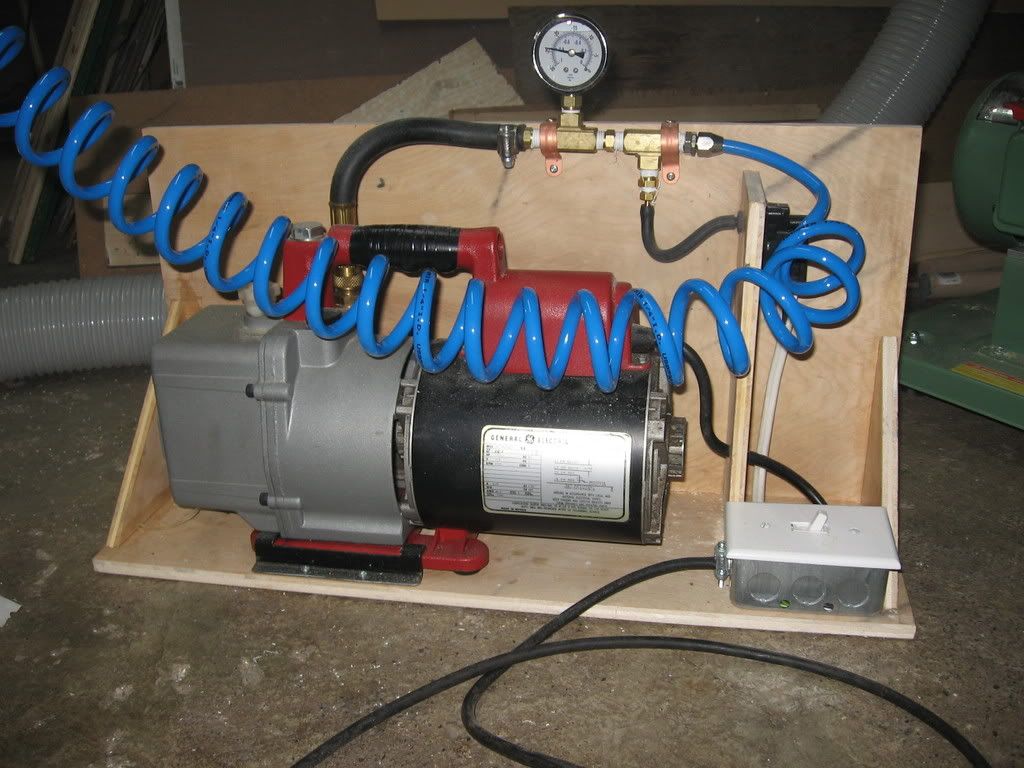
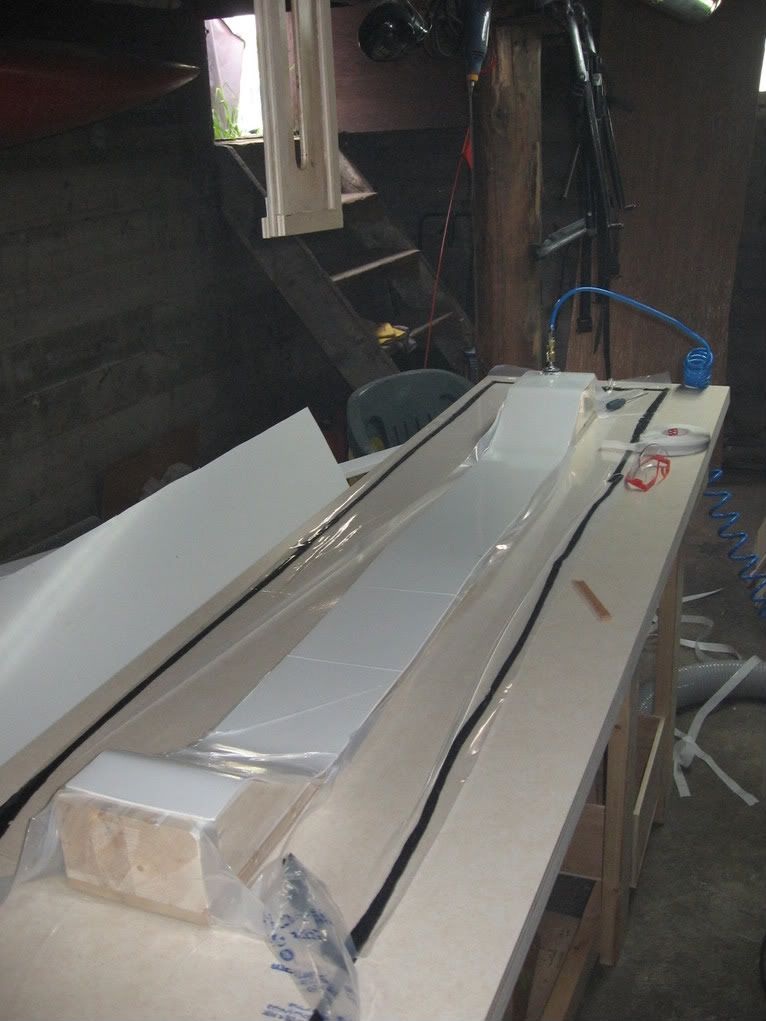
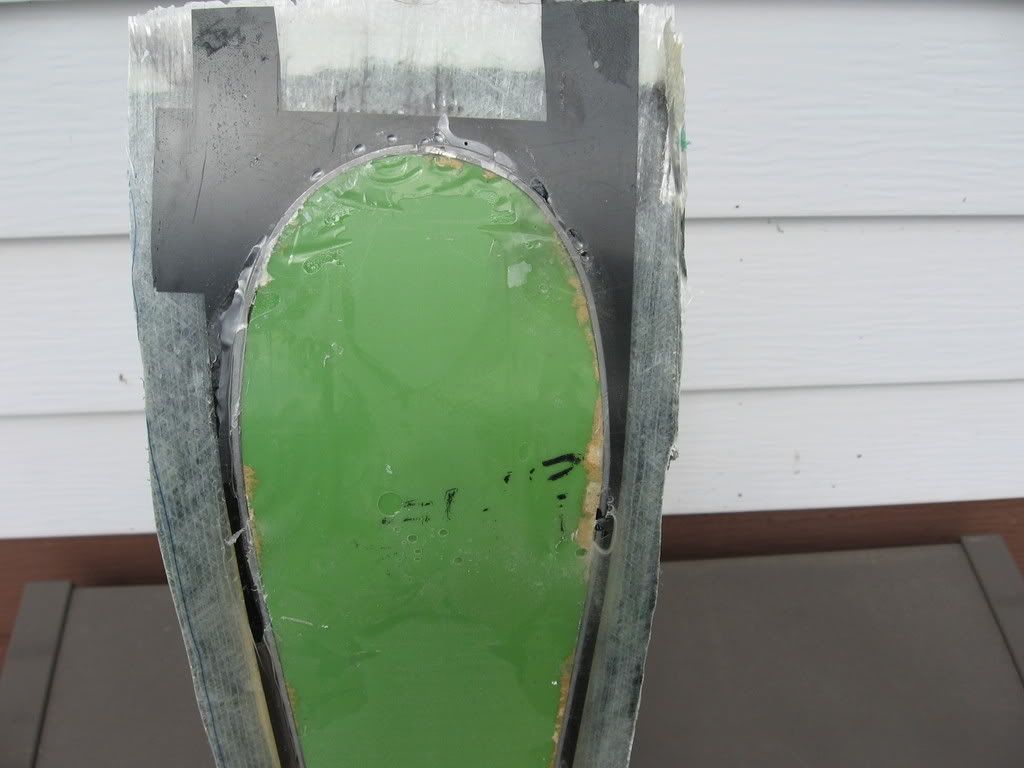
But once it was in the bag and sealed up the camera came back out
Image

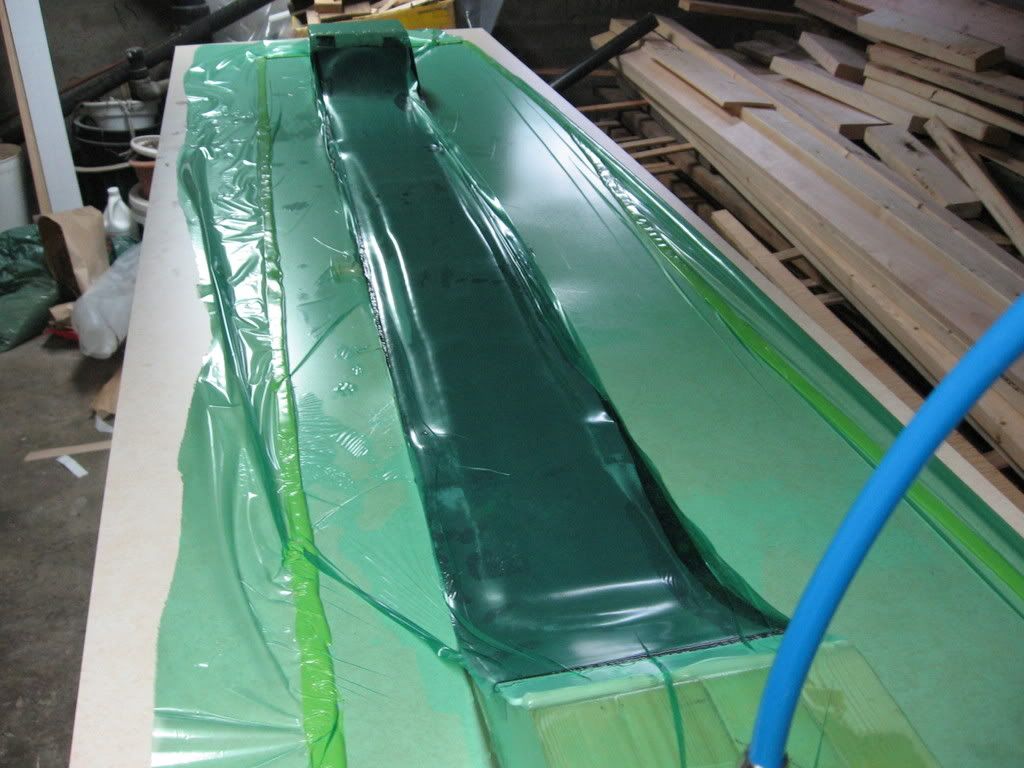
I left it sucking all night with my cheap electric blanket on it set on medium/high. when i woke up in the morning it was 127f. A little warmer than i would have liked. I'm using west system with slow hardener.
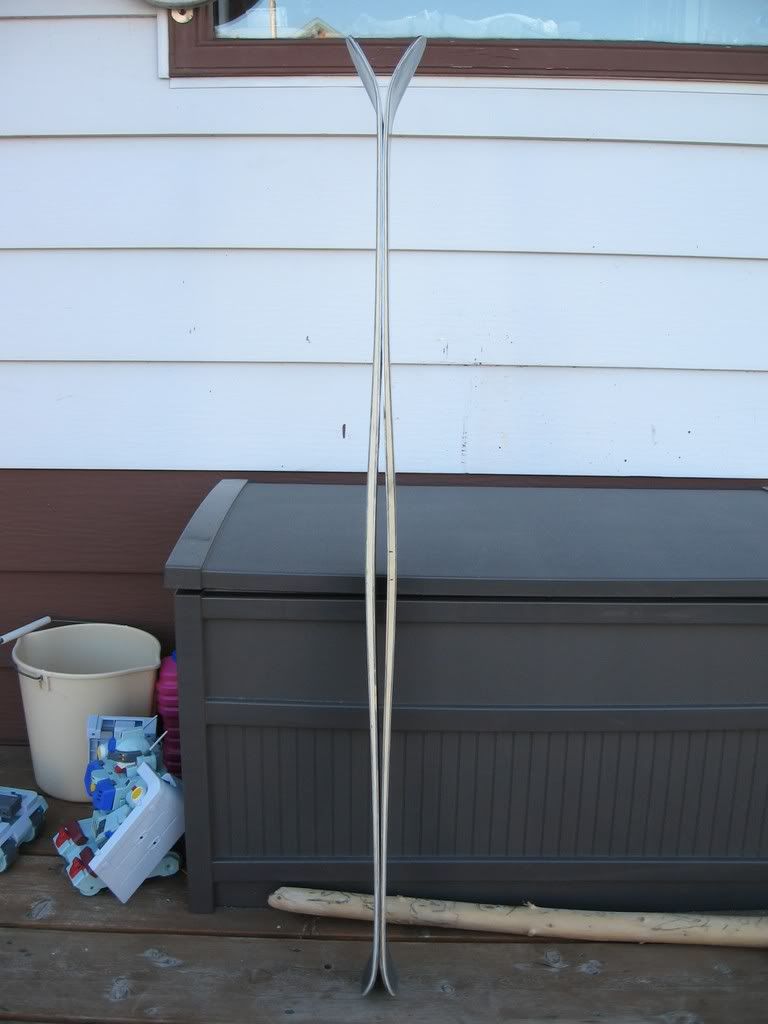
when i got it out of the mold and took it out into the sunshine heres the result.
Image

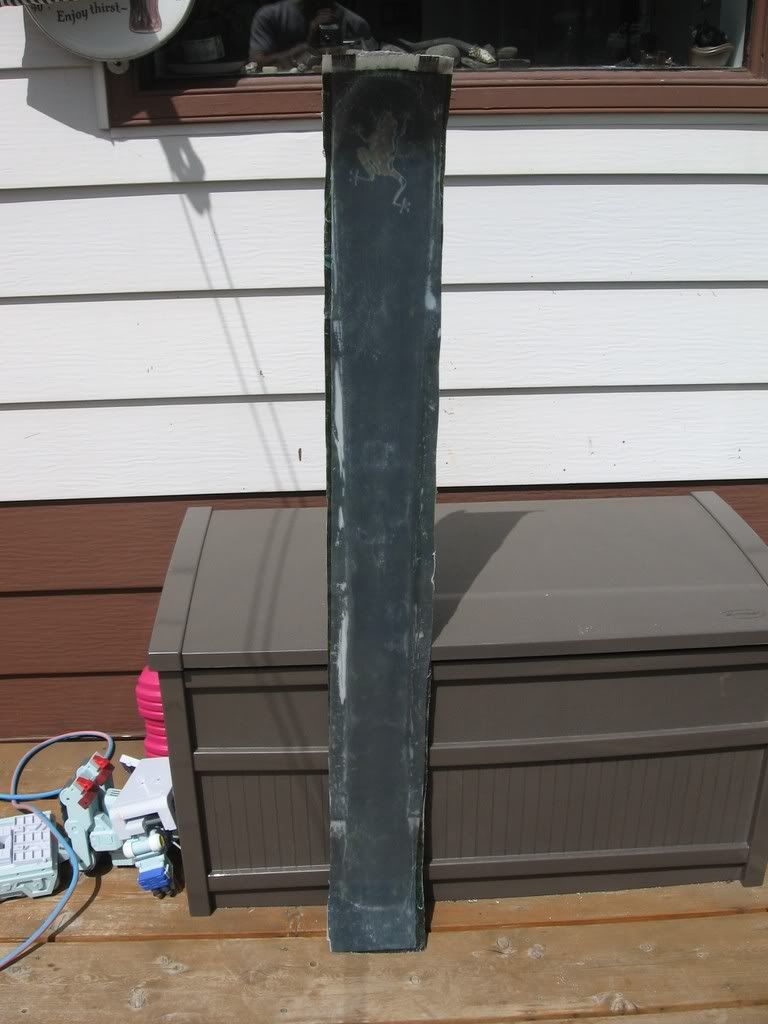
I did get quite a bit of epoxy under my bases in the tip and tail and they are a bit concave near the edges. You can also see the MDF super glued to the base.

Image

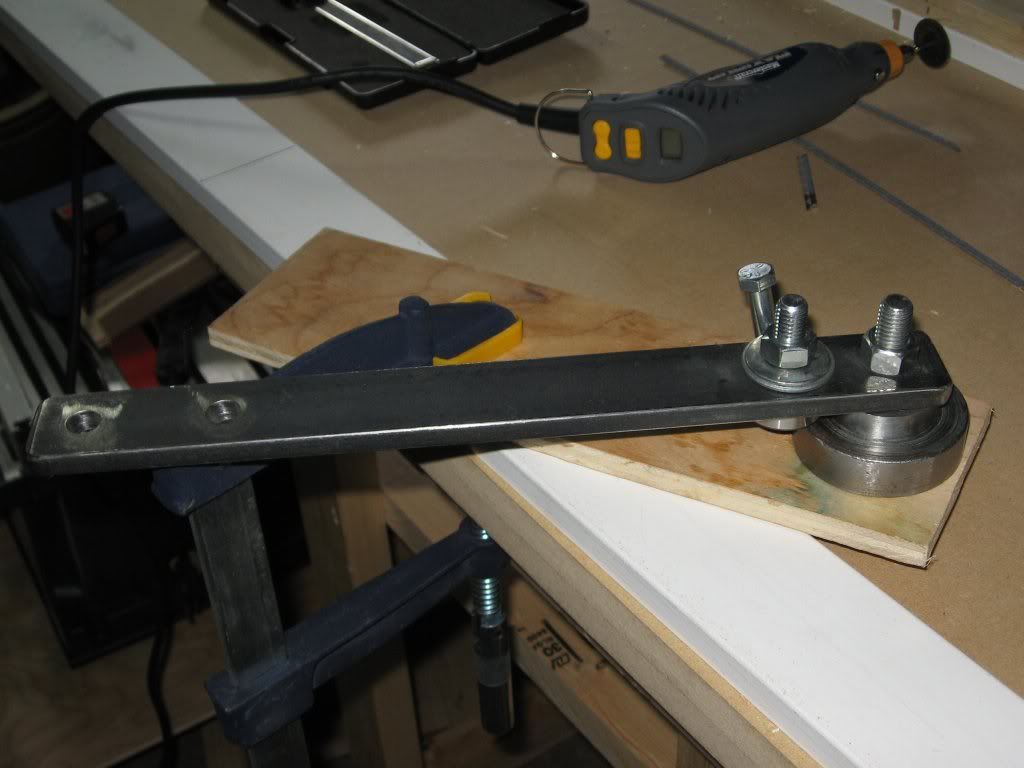
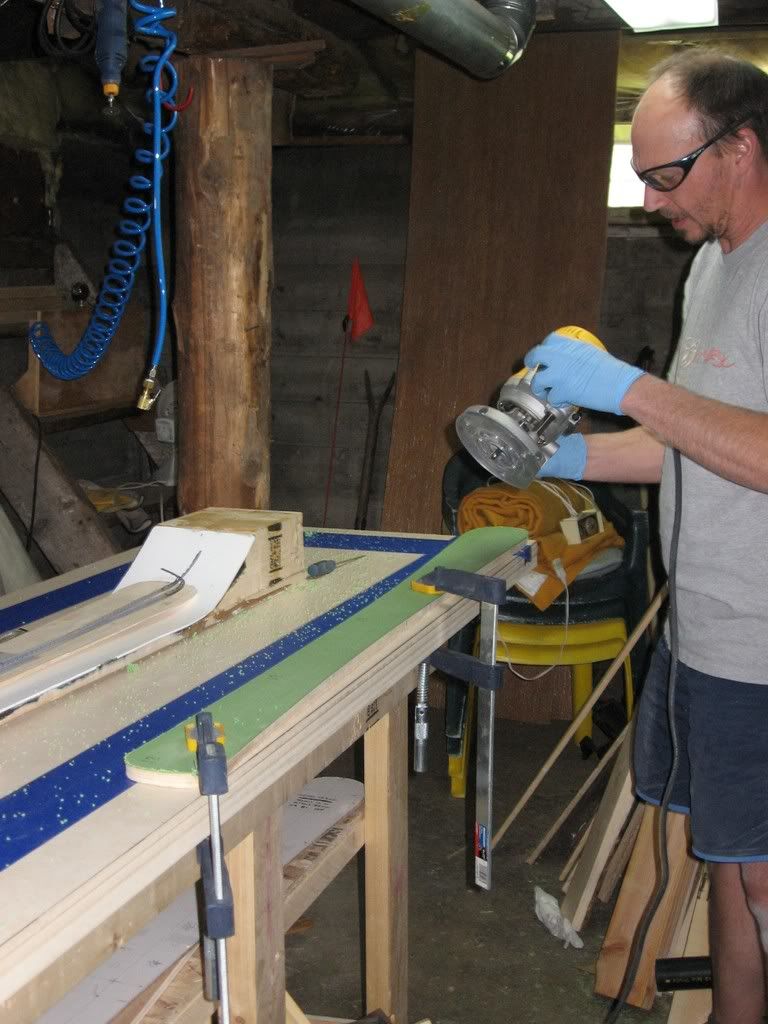
Cutting away the flash was a piece of cake, Bought some cheap "Task" fiberglass blades for my jig saw. worked quite well

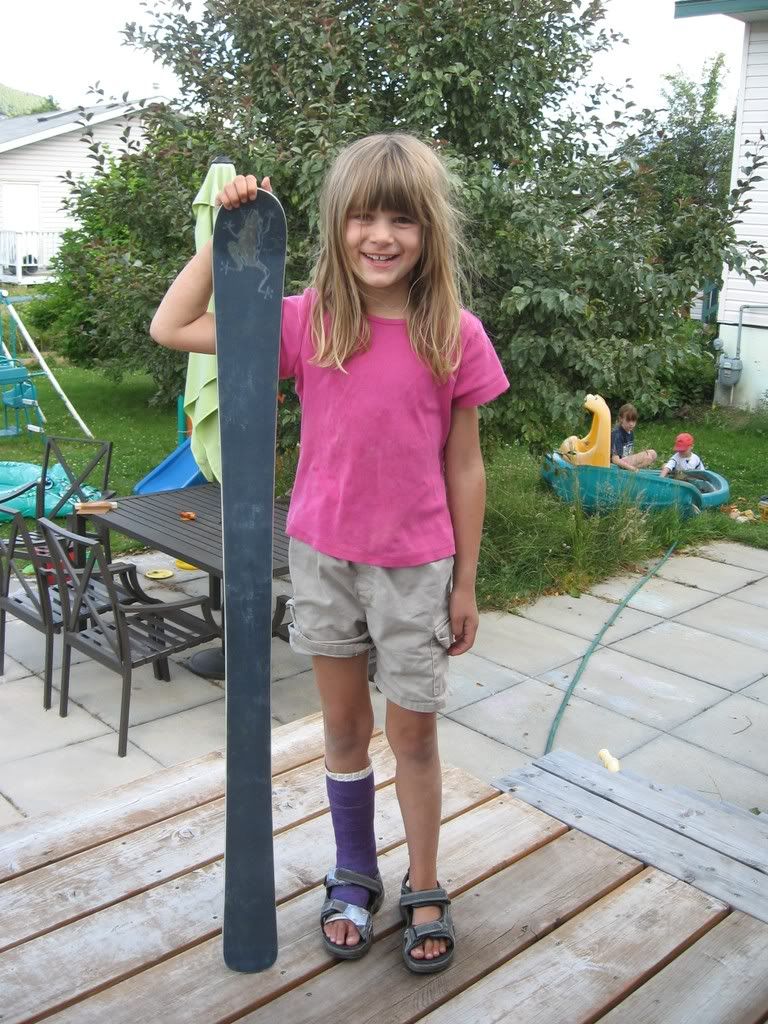
Heres the happy girl with the first ski she only needs one until the cast comes off
:D
Image

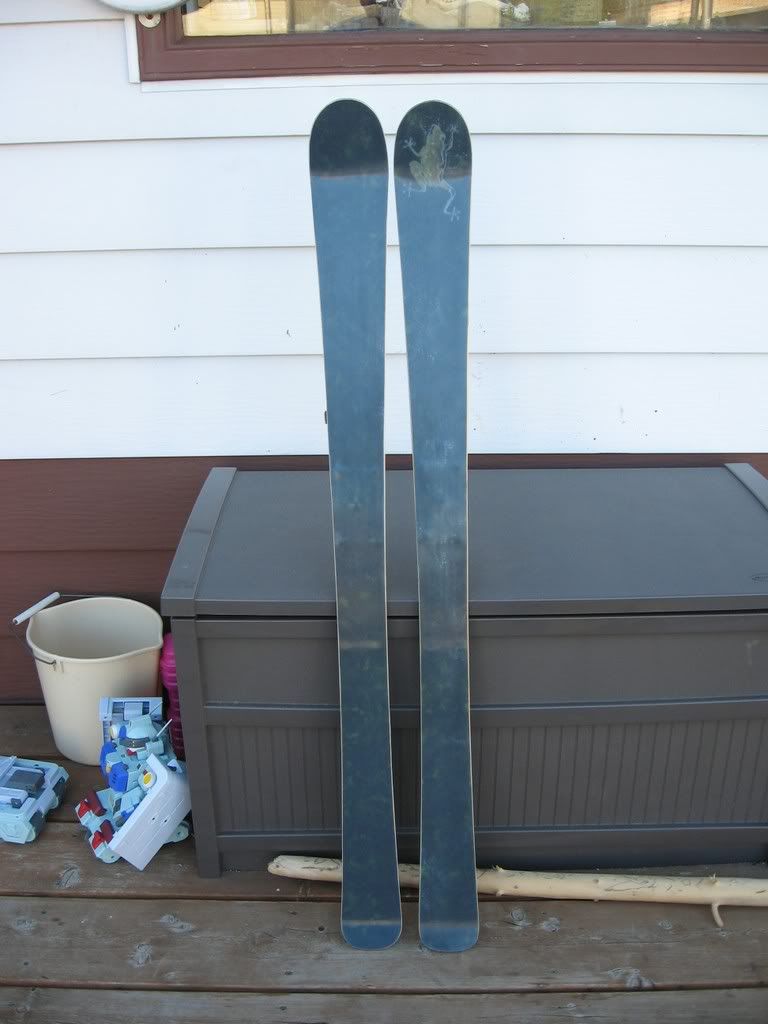
The second ski i built a couple of weeks later. the process was exactly the same only i spent a bit more time rolling the air out from under the top sheet.
Image

the only thing I'm not sure about is the crazy camber i got from my mold design. The vacuum sucked the mold down to the table so the finished ski has about 10mm of camber right under foot and is flat at the tips and tails.
i guess we'll see how it works in a few months.
Image

and here's chelsea again, poor girl spent the entire summer break in the cast (trampoline accident) got it off 3 days before school started

Image

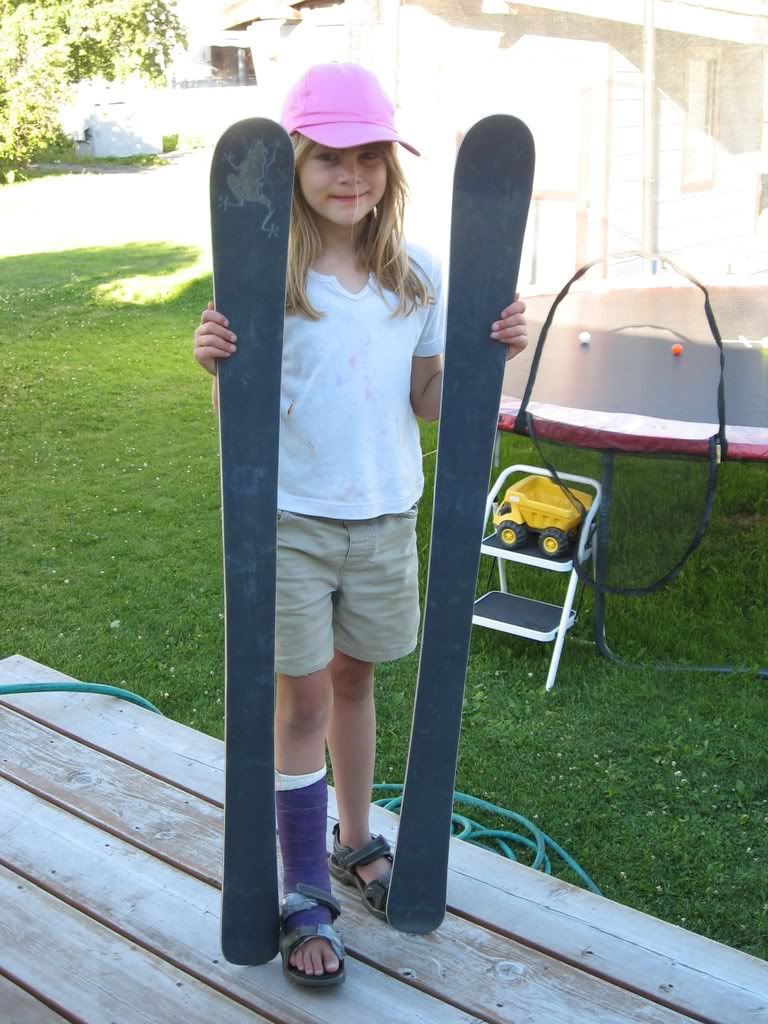
the finished product is 127cm 112,73,95. All in all I'm pretty darn happy with my first attempt.

started on my own skis last week using pretty much the same process so my next post here will be shorter.

;)

sam
You don't even have a legit signature, nothing to reveal who you are and what you do...

Best of luck to you. (uneva)
rockaukum
Posts: 558
Joined: Fri Nov 03, 2006 9:23 am
Location: Placerville area

Post by rockaukum »

Sam,
Well done! I bet the smile makes it all worth it!
ra
Post Reply