
Using a bandsaw for this has always intrigued me.
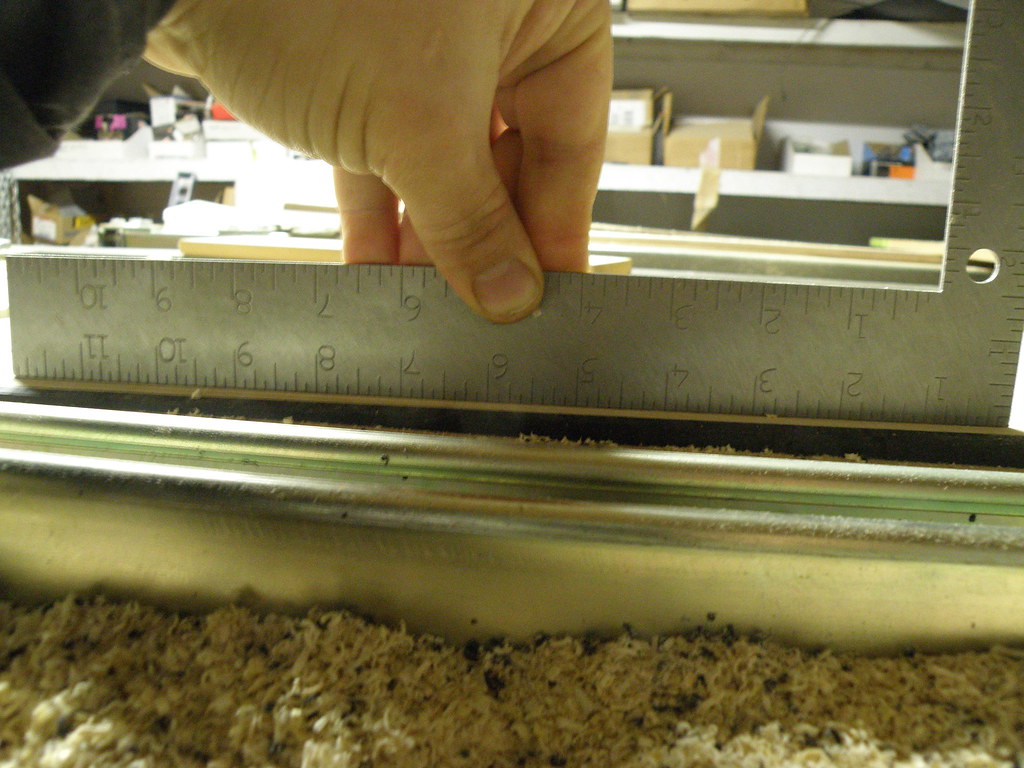
I am pretty stoked now. I went back at it this morning with a fresh attitude, and I was able to get a satisfactory core. With the jig I got within a little less than .5mm and then with a 5" block plane and block sander I was able to get everything looking great and measuring to within .3mm. Not perfect but damn good enough.
Turns out that I was actually trying to push down too hard on the core and tweaking everything by doing that. Reworking it with the shims just applying pressure, and then finishing out with the hand tools was key.
It looks like it's going to take about 2 hours to router the profile in and then sand and plane it by hand to finish spec.
adjustable reverse router bridge profiler tool
Moderators: Head Monkey, kelvin, bigKam, skidesmond, chrismp
Some news from the bandsaw jig experiment.
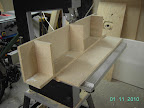
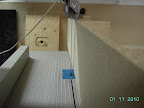
Today I build a testjig for proving my "theory" (not much of a theory).
I also did a test run.
One good observation and one bad.
The good one: It might work
The bad one: The blade needs to be really stiff and strong. I have a pretty thin blade for figure sawing. The bandsaw doesn't have the force to act on the core as a planer or a router that pushes down on the core material.
I took some pics. This is just a try.
All suggestions for improvment (or tell me to skip the experiment) are much appreciated.
-
doughboyshredder
- Posts: 1354
- Joined: Mon Sep 17, 2007 7:37 pm
about.bobbyrobie wrote:it takes 2 hours to profile a core?
Set up the jig, mark center and profile lines on core, place core in jig and clamp down, set and reset crib about 16 times, remove core from jig, check with straight edge and calipers, mark where it needs planing / sanding by hand, plane it with the block plane, sand it with the block sander, and done.
Of course, it would probably work o.k. right out of the jig, but I am going for perfection (or at least as close as I can get it with my tooling).
How long is taking to get a good core including setting up the crib, when you plane it?
OAC, I think you're on to something, but without a very high quality saw and blade I think they blade will wander too much. Head Monkey might have a rec on the blade.
Fighting gravity on a daily basis
www.Whiteroomcustomskis.com
www.Whiteroomcustomskis.com
-
MontuckyMadman

- Posts: 2395
- Joined: Fri Jun 20, 2008 9:41 pm
If you have your shims at different mm cut its like a half hour job for 2 skis.doughboyshredder wrote:How long is taking to get a good core including setting up the crib, when you plane it?bobbyrobie wrote:it takes 2 hours to profile a core?
You only need a few shims.
I have made 4 pairs this way. I applaud your efforts but just buy a shitteey planer. $250 ryobi calling your name?
-
doughboyshredder
- Posts: 1354
- Joined: Mon Sep 17, 2007 7:37 pm
What's your tolerance with the planer method?MontuckyMadman wrote:If you have your shims at different mm cut its like a half hour job for 2 skis.doughboyshredder wrote:How long is taking to get a good core including setting up the crib, when you plane it?bobbyrobie wrote:it takes 2 hours to profile a core?
You only need a few shims.
I have made 4 pairs this way. I applaud your efforts but just buy a shitteey planer. $250 ryobi calling your name?
Are you planing both cores at the same time? I would be maxing out a 13" planer for my cores, as at the tip they are 32.4cm with the sidewalls attached
-
Head Monkey

- Posts: 310
- Joined: Sun Jul 17, 2005 4:53 pm
- Location: Carnation, WA
- Contact:
On the bandsaw idea: it’s not so much your blade that needs to be stiff and strong, it’s the bandsaw. Unfortunately, I fear that without a massive bandsaw designed for resawing that you’ll just get to much deflection and bow in the blade to get a good result, especially for a snowboard core. Frankly, I wouldn’t even try it for a snowboard core with anything less than something like a MiniMax MM16 and a 1” blade. For a ski, you might get away with a typical 14” bandsaw setup really, really well with a 3/4" blade. Might. Your pictures are too small for me to see what kind of bandsaw you’re using.doughboyshredder wrote:Head Monkey might have a rec on the blade.
I used to resaw poplar stacks to make halves of core blanks on a Jet 14” bandsaw with a riser block to get the height I needed and a 3/4" blade. I never got a decent cut, no matter what blade I used, and I always had bow in the blade. I also had tracking problems called “drift” so I always had to hand-feed and track a traced line manually. I moved to a MM16 ( http://www.minimax-usa.com/index.php?pa ... &Itemid=35 ) with a 1” Lenox Tri-Master 2/3 blade and, well, wow what an amazing difference. ( https://www.lenoxtools.com/enUS/Product/Tri-master.html ) Turned making core blanks from a dreaded chore to a fun, fast time. That said, the finish I get on the wood, even from this blade, is not what I would consider adequate for the final finish on a core.
Do research on making your own veneer with a bandsaw. That’s essentially what you’re trying to do. Every issue you’ll run into (except for holding the core to your crib) will be covered there.
Personally, even already owning a MM16 with a pimp blade, I would go with a router bridge. (I would keep the base side of the core flat on the table, though, and use a variable-height guide on the bridge.) I’ve never done it myself, but I’ve seen so many people be successful with it, and it seems less prone to eat your core than the planer crib method. I know Doughboy had some initial troubles, but it sounds like he’s getting it dialed. As a point of reference, I know that Bruce at Coiler uses the router bridge method: http://www.bomberonline.com/articles/bu ... Coiler.cfm.
Good luck.
Mike
Everything I know about snowboard building, almost: MonkeyWiki, a guide to snowboard construction
Free open source ski and snowboard CADCAM: MonkeyCAM, snoCAD-X
Free open source ski and snowboard CADCAM: MonkeyCAM, snoCAD-X
-
doughboyshredder
- Posts: 1354
- Joined: Mon Sep 17, 2007 7:37 pm
http://www.bomberonline.com/articles/bu ... Coiler.cfm
forgot about that article.
This is going to be huge for me:
forgot about that article.
This is going to be huge for me:
These router cuts are only about 1 mm deep and are done by running the router in both directions because the core is now very thin and vulnerable to small differences in temperature from the heat of the router tool (ie the core will tend to bow upwards as the tool creates heat locally resulting in different depths of cut).
I think I am going to be able to get my system working real well, and will probably be able to get faster overtime.This sounds a little crude and it is but speed and deftness are important: the core is now so thin that slow action with the router can cause the top of the core to heat up and ‘crown’ resulting in non-planar surfaces. Of the final stage I can only say “Don’t try this at home.” Although the final cut is done by sanding, if done too slowly with fine paper the heat build-up would cause distortion so you need very course grit paper and a sure hand.
-
Head Monkey
- Posts: 310
- Joined: Sun Jul 17, 2005 4:53 pm
- Location: Carnation, WA
- Contact:
In CNC machining there is the concept of a “roughing pass” vs. a “finish pass”. The roughing pass is typically done using a pretty aggressive cutter, aggressive cuts, but it is nowhere near where the final cut will be. The finish pass is done with a fine cutter, slower feed rates, and at the final cut location. Because of the roughing pass, most of the material is gone and the finish pass typically only removes, say, 0.020” of material.
Apply the same technique when using your router bridge: a roughing pass with the cutter pulled up an extra 0.050” and wail on it. Then make your finishing pass with a different cutter (that will stay sharper longer because of the lighter use) and follow Bruce’s advice from that article, and you should be golden. I believe that with practice and a reasonable router bridge you can get CNC-quality cores, just with a little more manual labor, which is an awesome tradeoff.
Apply the same technique when using your router bridge: a roughing pass with the cutter pulled up an extra 0.050” and wail on it. Then make your finishing pass with a different cutter (that will stay sharper longer because of the lighter use) and follow Bruce’s advice from that article, and you should be golden. I believe that with practice and a reasonable router bridge you can get CNC-quality cores, just with a little more manual labor, which is an awesome tradeoff.
Everything I know about snowboard building, almost: MonkeyWiki, a guide to snowboard construction
Free open source ski and snowboard CADCAM: MonkeyCAM, snoCAD-X
Free open source ski and snowboard CADCAM: MonkeyCAM, snoCAD-X
Head Monkey, you're probably right. I need a much more stable or stronger machine...:-(
I read a couple of articles how you make jigs for tapered profiles. But I'm not sure if it's suitable for skicores. Definitely not for snowboards
But I will change the blade first before I throw this experiment overboard.
The R&D department has some job to do today!
Cheers!
I read a couple of articles how you make jigs for tapered profiles. But I'm not sure if it's suitable for skicores. Definitely not for snowboards
But I will change the blade first before I throw this experiment overboard.
The R&D department has some job to do today!
Cheers!
-
MontuckyMadman
- Posts: 2395
- Joined: Fri Jun 20, 2008 9:41 pm
I do both at the same time and get to 1mm from final and then belt sand for roughening and get exactly what I want with a digital caliper. I just use a couple real easy counted passes on the core and remove 1mm and get a rough surface, easy for bonding.
Its flat enough for me. Tough to measure the entire width of the core for uniformity.
I made
It just seems allot easier and less time consuming.
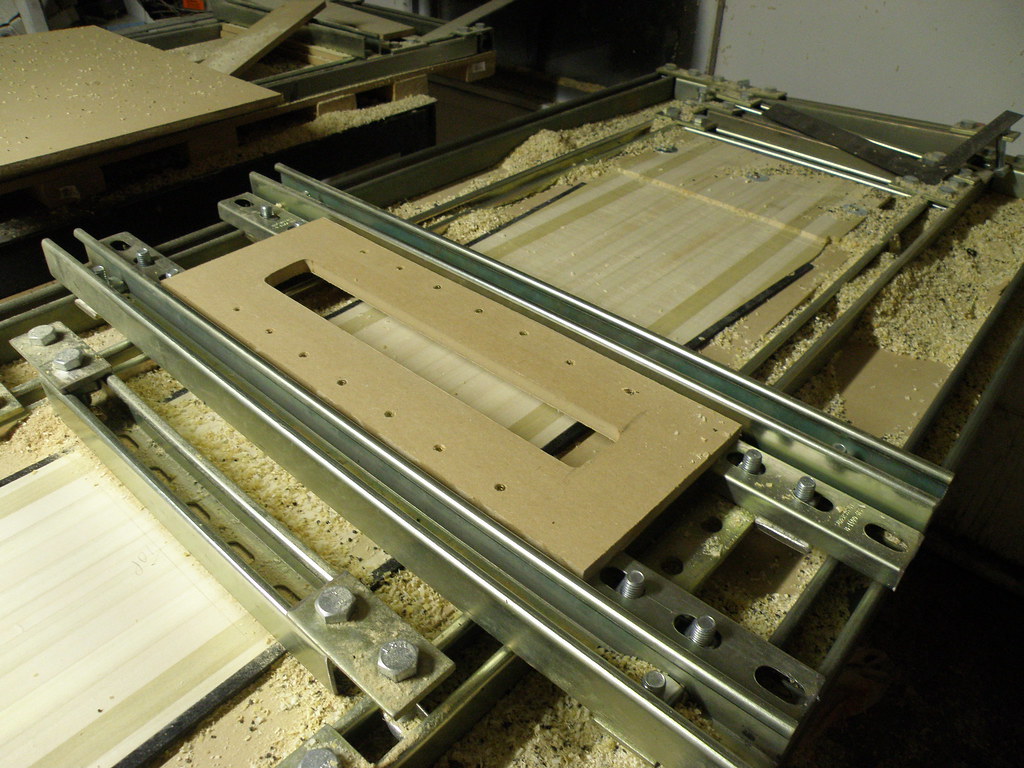
We have used hot glue and tiny brads in the front of the core to hold it down.
The main holes in the middle hold the core down with countersunk screws that are replaced by dowels during layup for alignment.
Sounds like a tough push at that width. The widest I have gone so far is 140mm per ski.
Its flat enough for me. Tough to measure the entire width of the core for uniformity.
I made
It just seems allot easier and less time consuming.
We have used hot glue and tiny brads in the front of the core to hold it down.
The main holes in the middle hold the core down with countersunk screws that are replaced by dowels during layup for alignment.
Sounds like a tough push at that width. The widest I have gone so far is 140mm per ski.
-
doughboyshredder
- Posts: 1354
- Joined: Mon Sep 17, 2007 7:37 pm
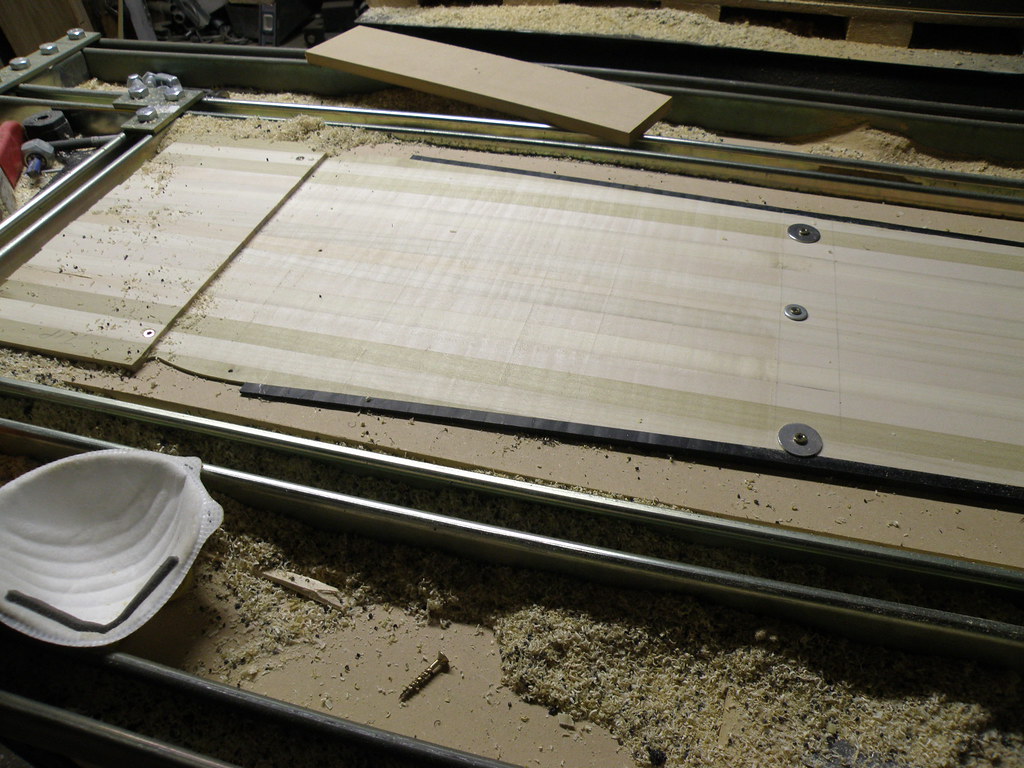
Got it frackin dialed!!!!! Getting to within .25 mm of target right off the profiler. I eliminated the strut bolts so my crib is now free floating. I was worried about it lifting, but if it lifts that won't damage the core, so why waste the time bolting and unbolting for each pass? Saved over an hour there. I am now holding the core down in a few key places with general purpose wood screws. I figure a few holes through the core, filled with putty is no big deal until I can figure out a different way to hold them down. Last, but definitely not least I added a piece of mdf to the crib to make the movement of the router smoother.
All said I am now stoked!

All said I am now stoked!

You could and rig some rollers that move with your router carriage. If you stopped the carriage from being able to move up or down you could have a roller on either side as wide as your cores. These could have their axel ends mounted on firm springs so they would force the core down but also move with the contours. The key to using the thicknesser is the rollers that press the core into the contour. If you could adapt the idea to your carriage it would hold the core down as you went along
-
doughboyshredder
- Posts: 1354
- Joined: Mon Sep 17, 2007 7:37 pm
Yeah, I actually looked in to that quite a bit, but couldn't come up with a design that I thought would work well. Definitely a good idea.falls wrote:You could and rig some rollers that move with your router carriage. If you stopped the carriage from being able to move up or down you could have a roller on either side as wide as your cores. These could have their axel ends mounted on firm springs so they would force the core down but also move with the contours. The key to using the thicknesser is the rollers that press the core into the contour. If you could adapt the idea to your carriage it would hold the core down as you went along